Tight Quilled Flower Tutorial : A Shaker Card
Tight Quilled Flower Tutorial : A Shaker Card
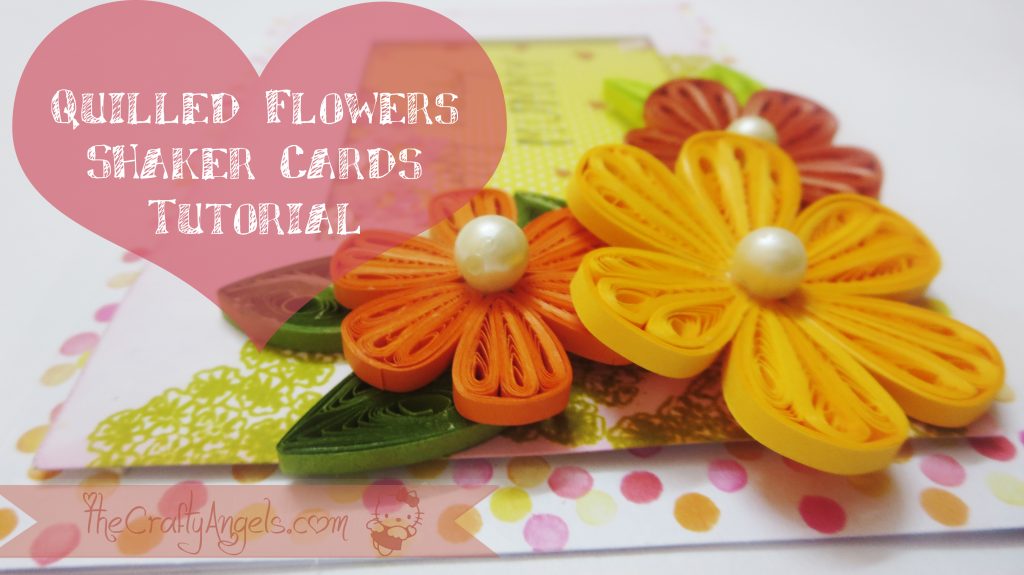
I had posted a tutorial on bakers twine blow few days back and I did tell you that it was for my mother’s birthday. She had a good birthday celebration on 23rd May at our house with my other two sisters being there this time. She loved the card and I am happy that this time I put in so much efforts into making something for her unlike all the other birthday gifts I have ever giver her so far.
Be sure to also check out all the quilling tutorials covered :
- Beginners quilling tools & supplies
- Basic Quilling tutorial : Making Flat Tight Quilled Coils
- Basic Quilling instructions : Quilled Teardrop Shape
- How to make Quilled Flower Petals without tools
- How to make Quilling Leaves without tools
- Quilling Butterfly Tutorial
- Tight Quilled Flower Tutorial
- Beehive technique Quilled flower tutorial
- Quilled Wall Hanging Tutorial
- Quilled Hearts Card Tutorial
- Quilled Malaysian flowers Tutorial
- Quilling Comb Flower Tutorial with Video
- Double Sided Quilling Comb review & Tutorial
- Quilling Combing technique : Quilled bird
So not keeping you waiting for more time, today’s post is about the birthday card 🙂 with tight quilled flower tutorial.I had earlier shared a sneaky peaky photo of the card and here is the full version. Did you like them?
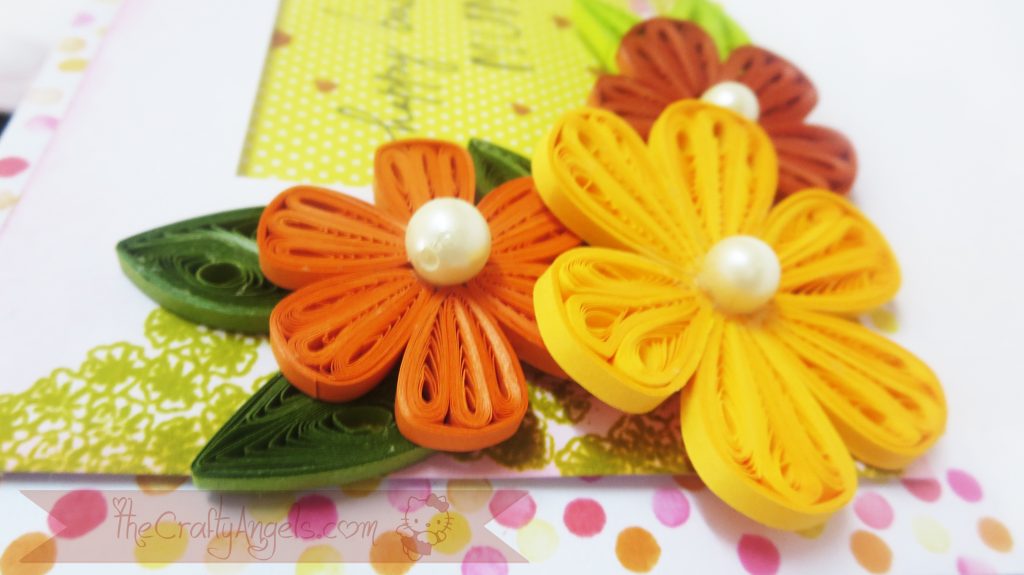
Tight Quilled Flower Tutorial : Materials required
- For quilling :
- Circle sizer
- Slotted quilling needle
- embellishments for flower center
- quilling strips
- Glue
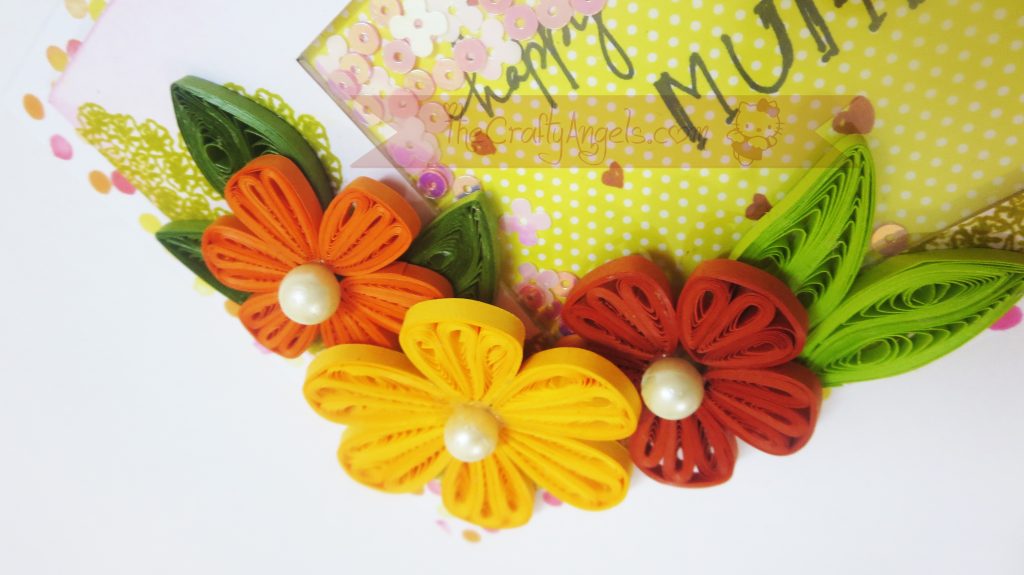
- For card
- Cardstock (I used white base)
- Embellishments for shaker elements
- Pattern paper
- Transparent plastic sheet/OHP sheet
- Double sided foam tape
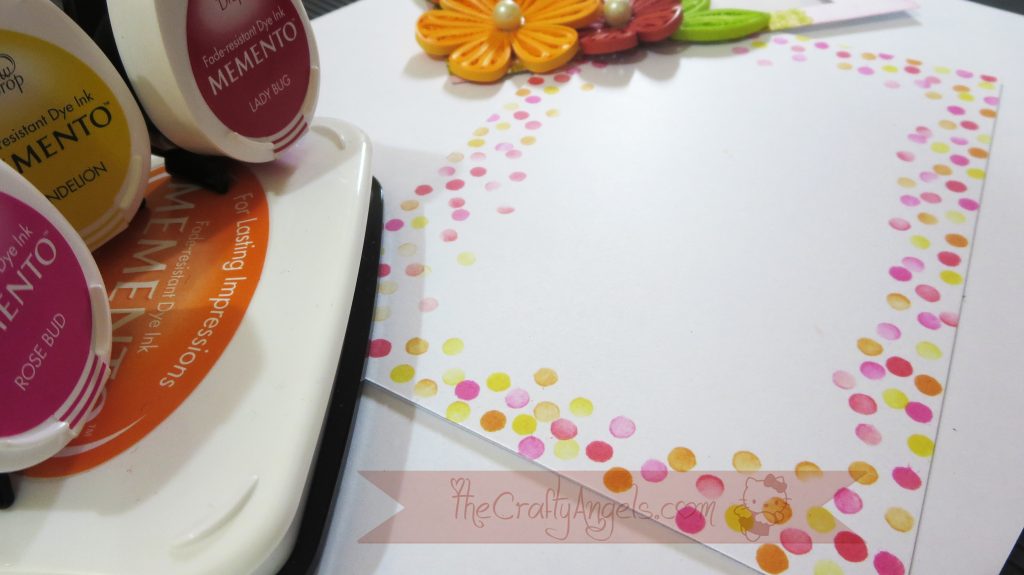
- Inkpad ( various colors – I used memento dewdrops)
- Pencil back eraser ( to use for making confetti dots)
Tight Quilled Flower tutorial for a Shaker Card
I have covered many other quilling tutorials in the past and you need to refer to this particular tutorial on how to make quilled teardrop shapes (HERE) to understand the entire steps in this tight quilled flower tutorial.
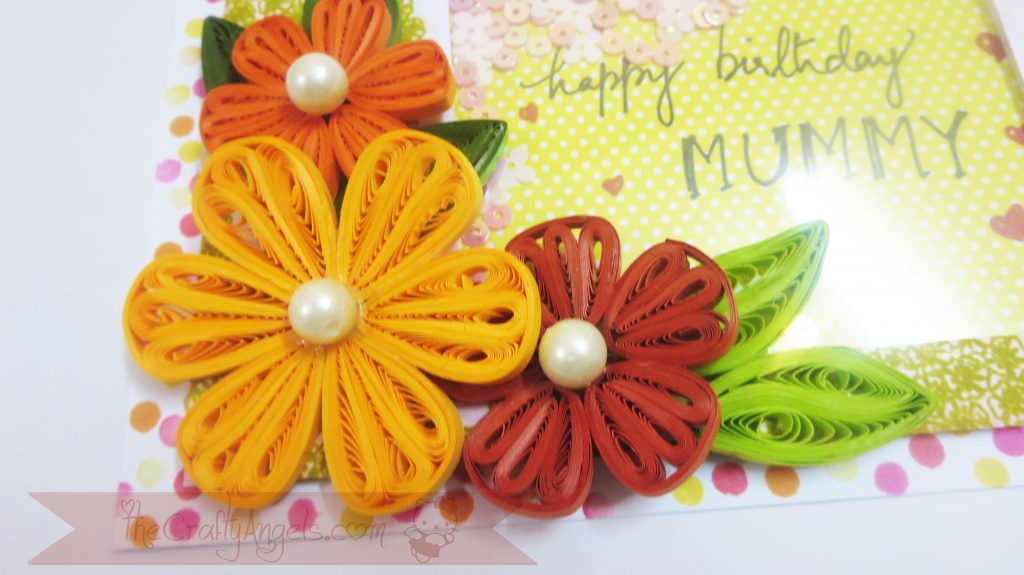
- For quilled flower, I chose three different colors of 3mm strips in almost same color range of orangish-yellowish tones for my three flowers. Lesser gsm strips worked well for this tight quilled flower tutorial.
- For any quilling work, I generally start off by making a demo piece to determine the length of strip I require. I had visualized a small bunch of three flowers of different sizes forming a border along the card corner and so tried out different lengths to get the correct size flower. Read on to know how to make them !
- The flower petal is basically a cluster of tight quilled teardrop shapes. You can read in detail on how to make teardrop quilled shape covered (HERE) previously.
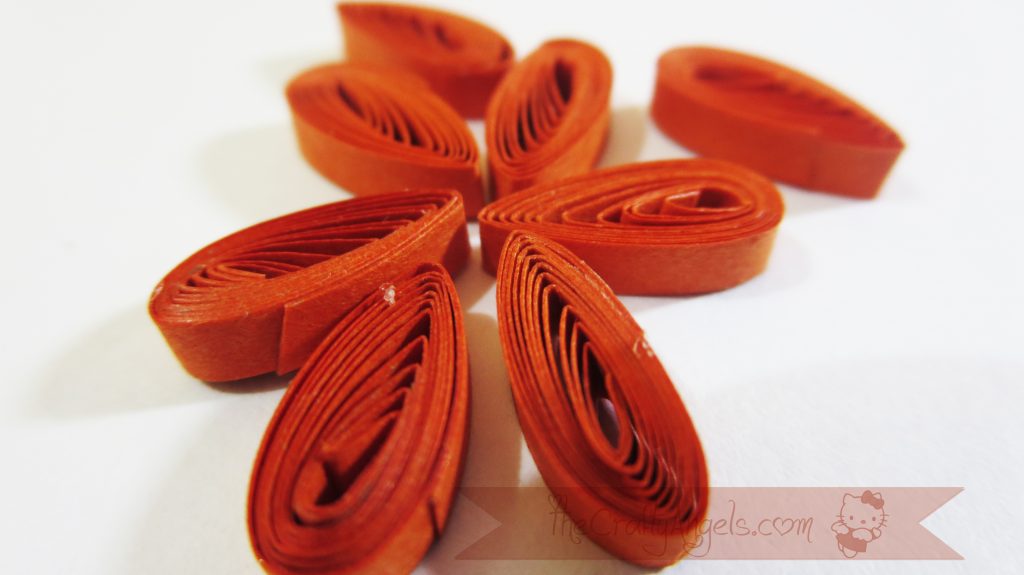
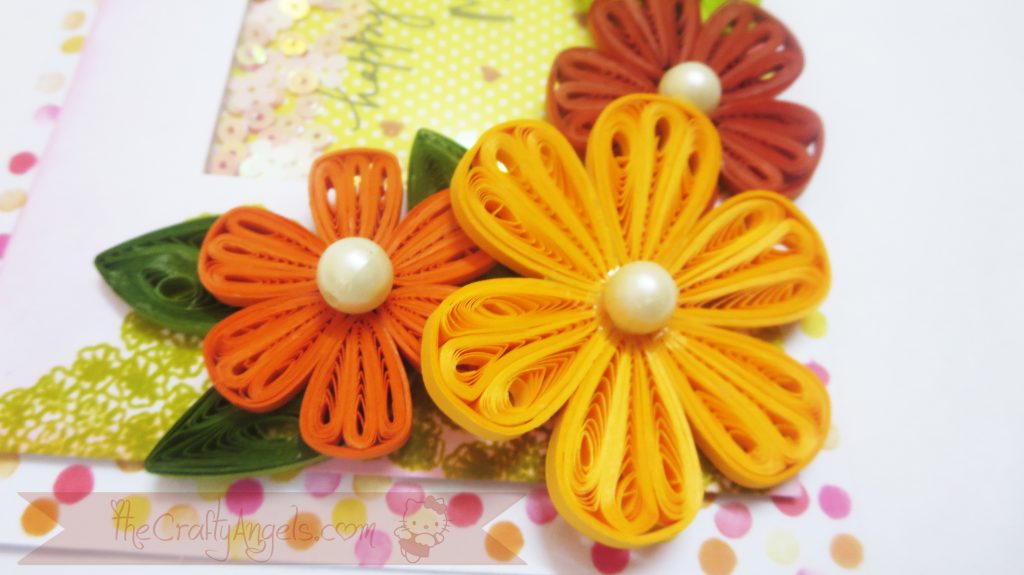
- Just press the quilled tight teardrop shape really really flat as much a possible so that you can accommodate at least 3 – 4 of such shapes to for a petal. If your flattening hasn’t flattened your shape enough, your petal will look like a circle instead of a tapered triangle. The brown shade quilling strip was a little thicker compared to other two shades and hence I had a real bad time pressing it flat. The result was almost round petals but that would still work!
- Keeping the thinner/tapered ends of all the flattened quilled teardrop shape on one side, arrange at least 4 of such shapes side to side such that they resemble a petal shape.
- Take a similar colour long quilling strip and secure the shapes together by running the strip along with glue all around it. Liked the petal? This is similar almost to the tight quilled flower tutorial I did previously using a quilling comb.
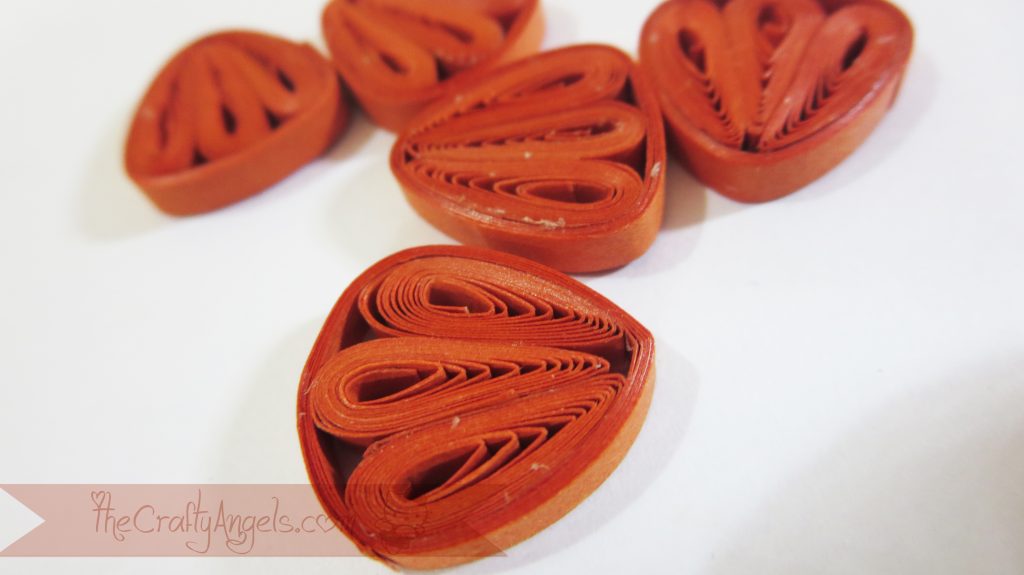
- Making the tiny teardrop shapes for the flower is time consuming and the most difficult part as well. BUt hey quilling is all about patience so no matter what quilled item you try, you need to save truckloads of patience beforehand 😛
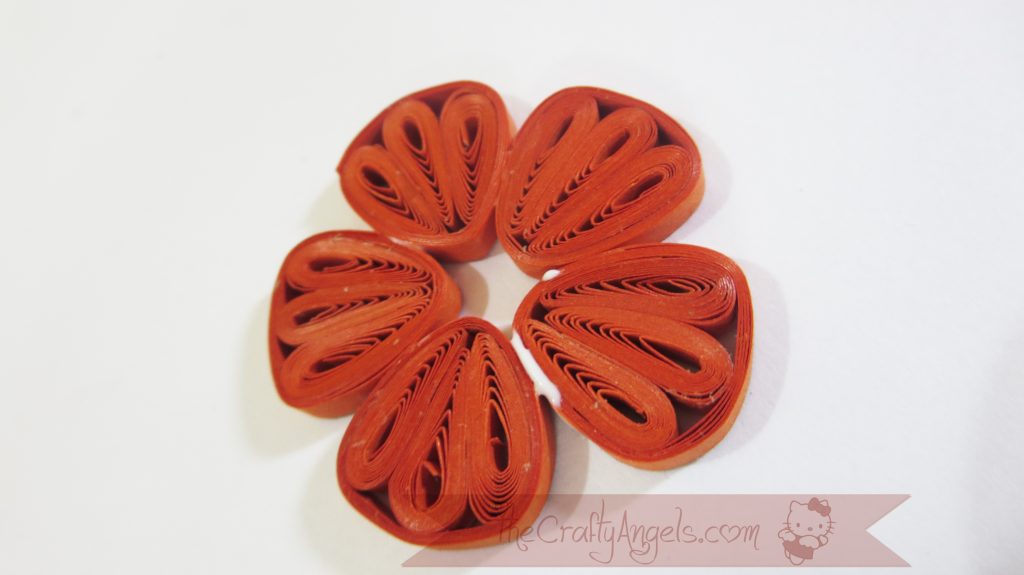
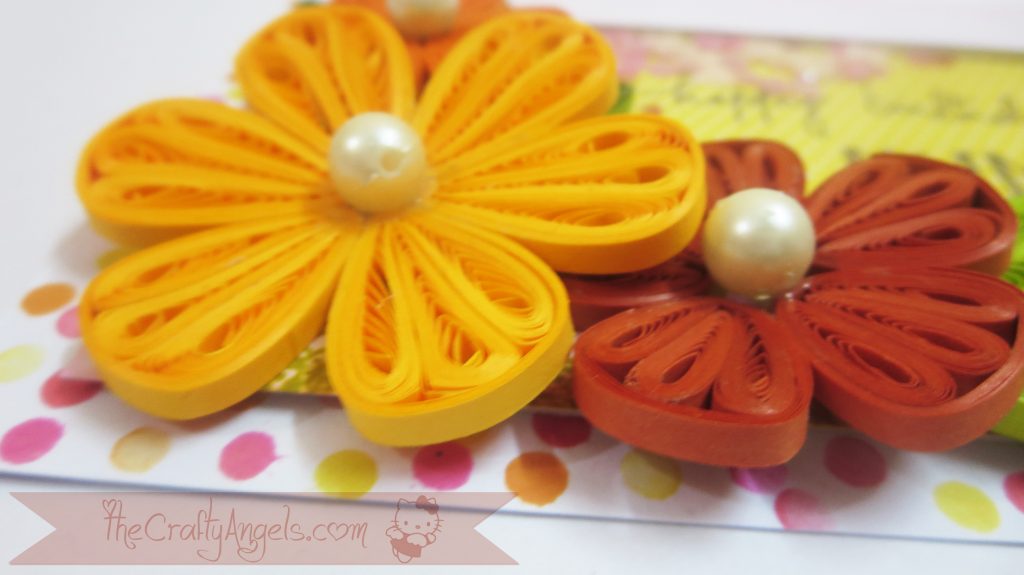
- Once the petals are done, there is hardly much to do other than sticking the petals side to side. I wanted a 3d effect for the flower so I placed the flower atop my circle sizer and kept a heave pearl ring on top of it(right at the center) to weigh it down at the center. See it totally worked 🙂
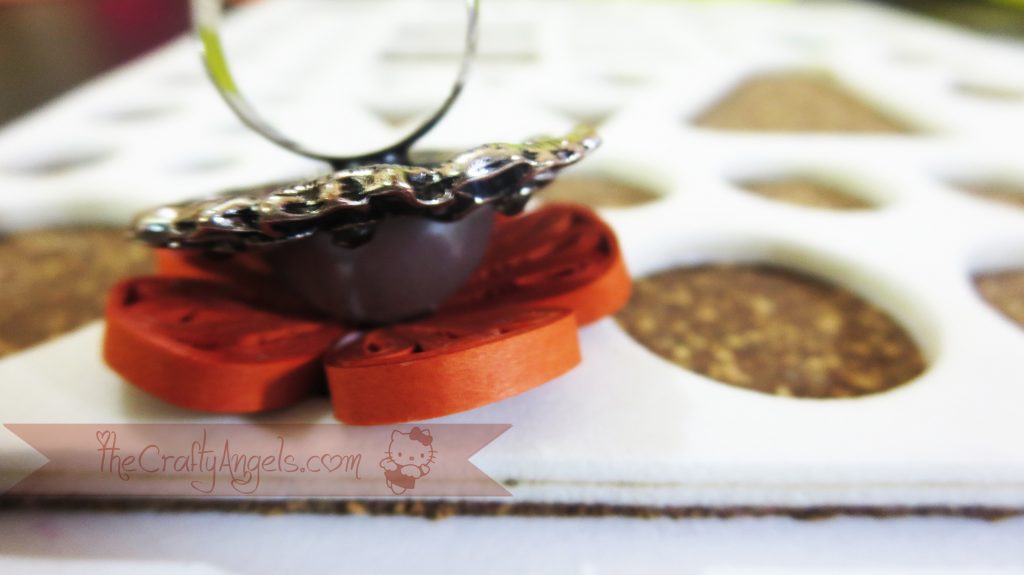
- Once the glue applied along the petals had dried and the flower had a slightly slanting 3d effect, I stuck some pearl beads at the center to cover up that empty space. If your petals are nicely tapered to triangle shape, you will hardly have any gap at the center but as I told you since my strips were a little thick, I had some troubles. But nevertheless, there is solution to every problem ha ha !
- Coming to the leaves, I think I should make a separate tutorial for them because while trying them, I did end up making quite a few design combinations. I’l just explain in short how I did this particular leaf i made for the card.The basic shape is marquise – its more like an oval shape tapered at the longer ends ( like an eye!). You need to make a normal teardrop shape like how you made on for the flowers. Holding your teardrop at the tapered end, press the opposite rounded end to make a tapering there as well.
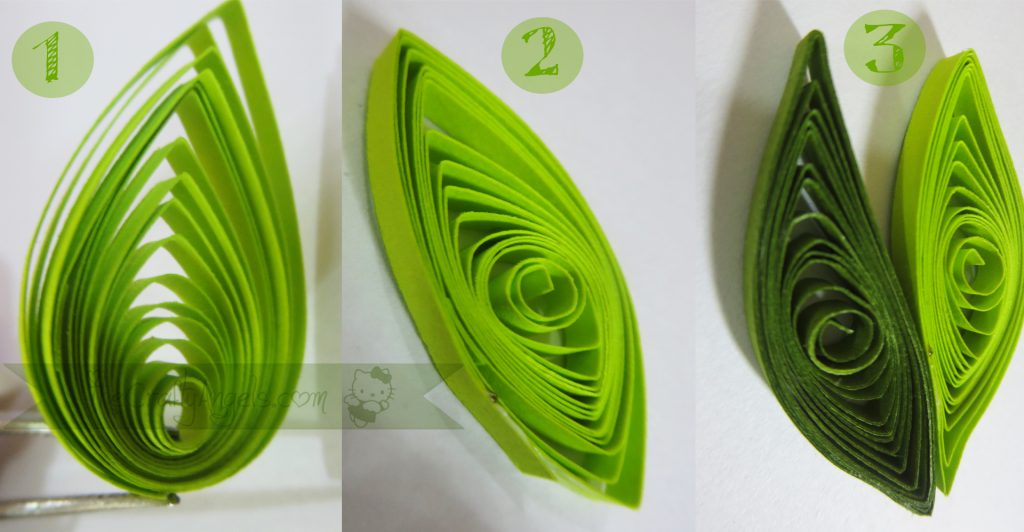
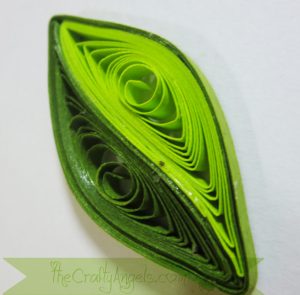
- Once you made the marquise shapes, you can stick two of them together to make a leaf and also I glued a strip all around the leaf to keep it secured.I shall definitely do a detailed tutorial on marquise shape and link it up here. Till then please bear with this two line tutorial 😛
Tight Quilled Flower Tutorial : Tips & Tricks
- The important tip will be to select strips that are really thin and flimsy because they hold together tightly and give a nice effect. Mine were little thicker ones and so my coil is very much visible and they are not really tight!
- Try to make loose teardrop shapes so that when you flatten them, they become very lean and nice. Also, the more of these shapes you compile into a petal, the more beautiful it looks.
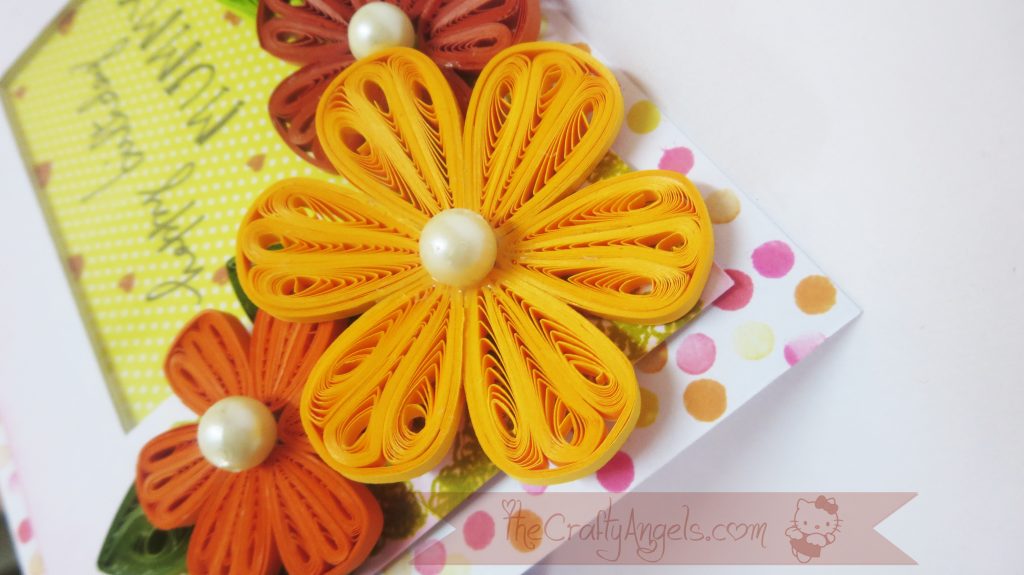
- Try to get your petal into a triangle shape with sharp tapering. The tapering as I said depends again on the basic shapes you used for the petal. The sharper the tapering, the lesser will be the gap in the middle when you stick the petals side by side into a flower.
- You can always cover up the center gap with embellishments like pearls/buttons/pollens etc no matter ho big it is 😛
- For giving a 3d effect to the flower, you can place the flower into a bottle cap or a circle sizer if you have one and put some pressure at the center.
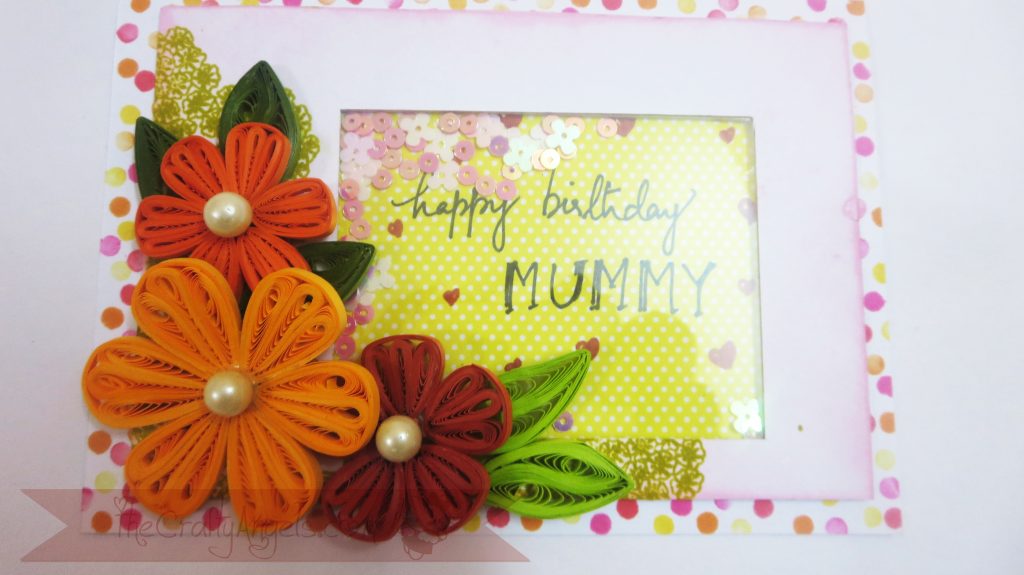
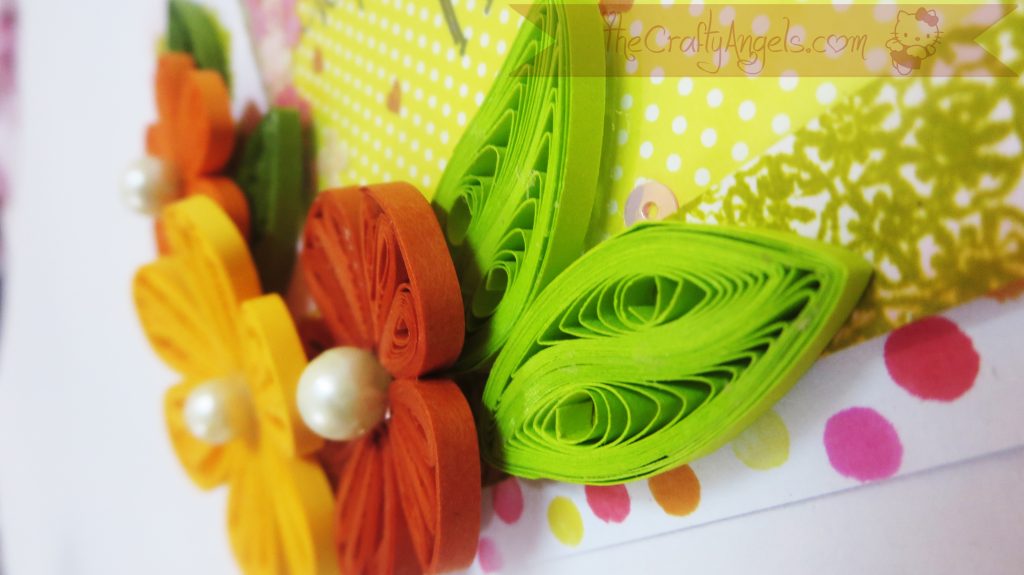
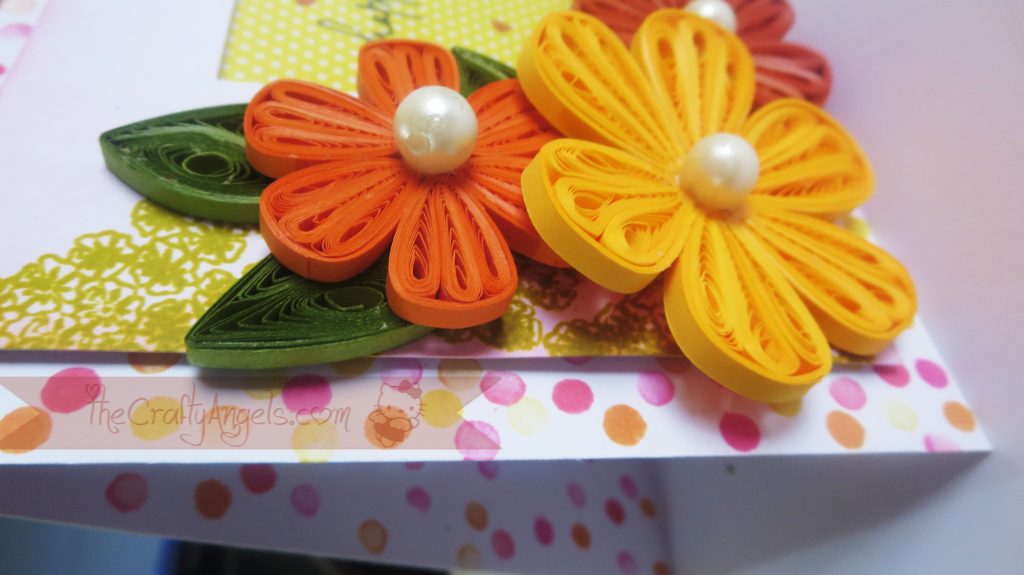
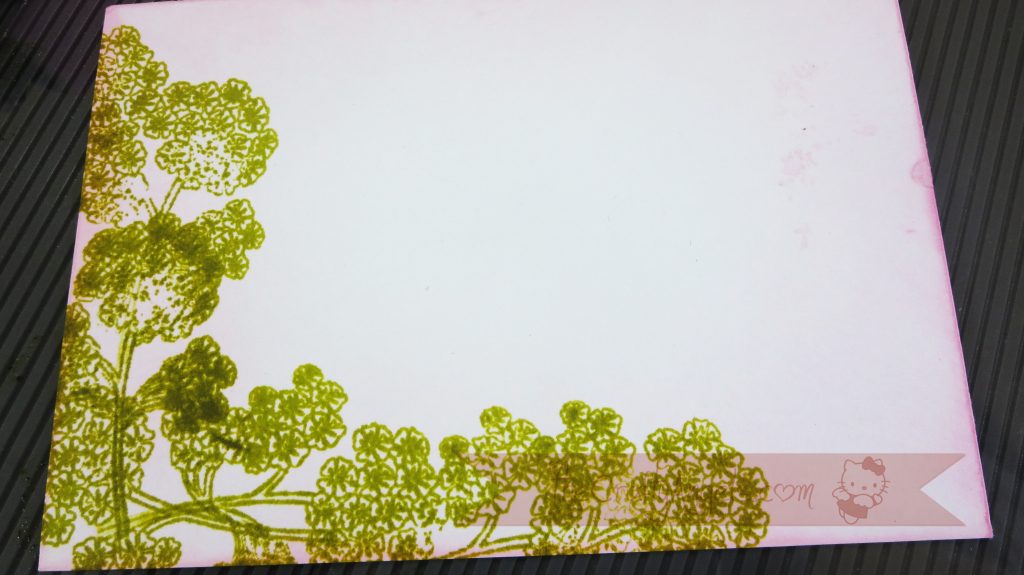
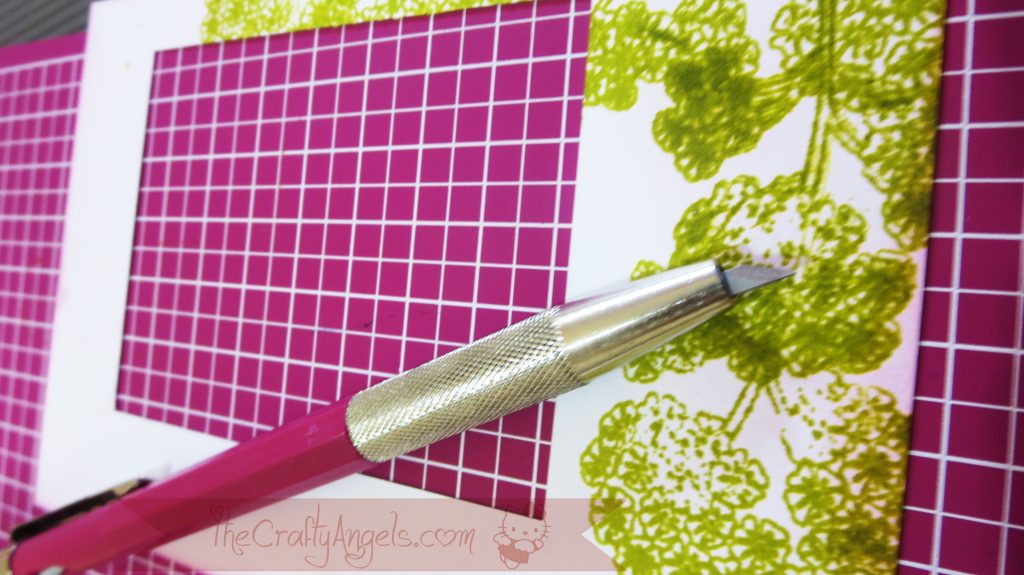
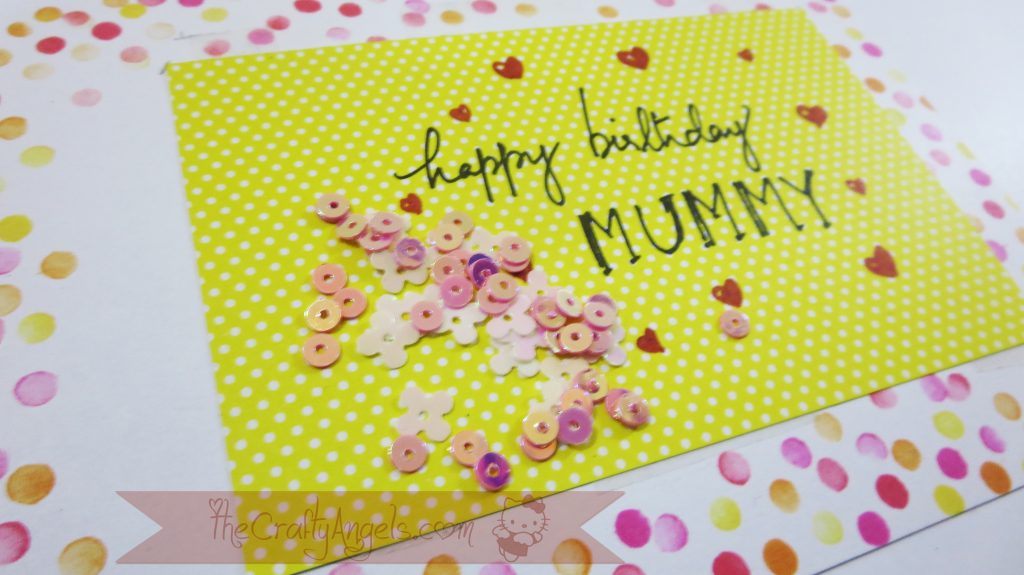
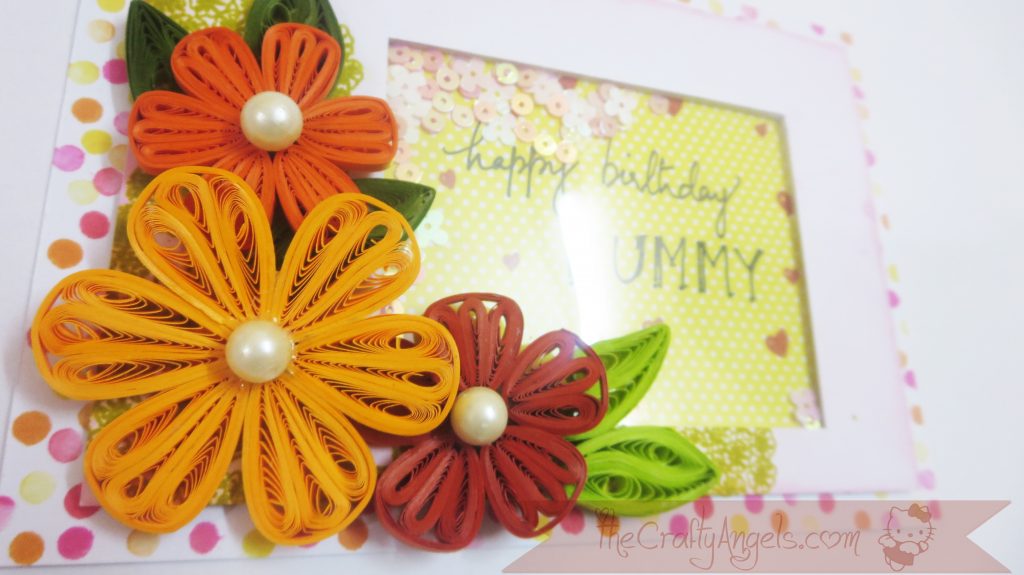
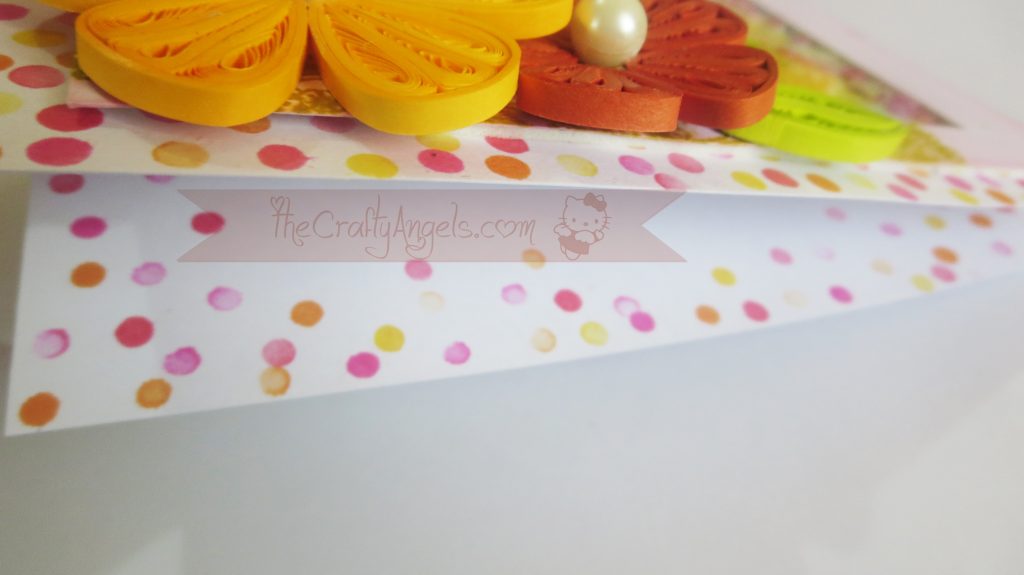
Did you like my tight quilled flower card? This tight quilled flower tutorial is a short one because almost all the steps have already been covered in this similar quilled flower (HERE). I’m not an expert in card making so I’m conveniently avoiding a tutorial on how I made the card base and all. Nevertheless, here are some in progress pictures of the card and the flowers 🙂
So did you like this tight quilled flower tutorial? I’m linking this tight quilled flower tutorial with three online challenges :
- Indian Quilling Challenge : 123 recipe : The challenge requires one to create a work with quilling as a focus and also having a recipe of 1,2&3. When I read recipe, all my favourite cooking blogs came into my mind 😛 I decided to not just have 1 ( card), 2 (layers), 3 (flowers) but also combinations like 5(2+3- leaves), 5( 2+3 petals), 6 ( 3+2+1 petals) ..I started checking the possibilities and I even went upto the extent of writing 3! but lets just keep the recipe free from permutations and combinations and anything mathematics!
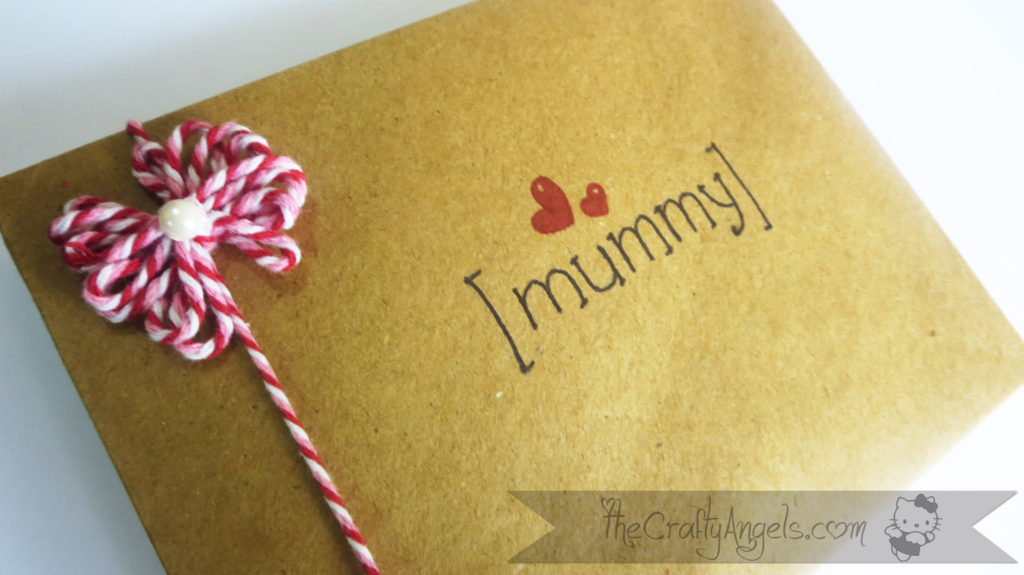
- Beyond Grey Challenges: Make your own embellishment : I already submitted the bakers twine bow on the card envelope for this challenge. Im linking the tight quilled flower embellishments as well for the same challenge.
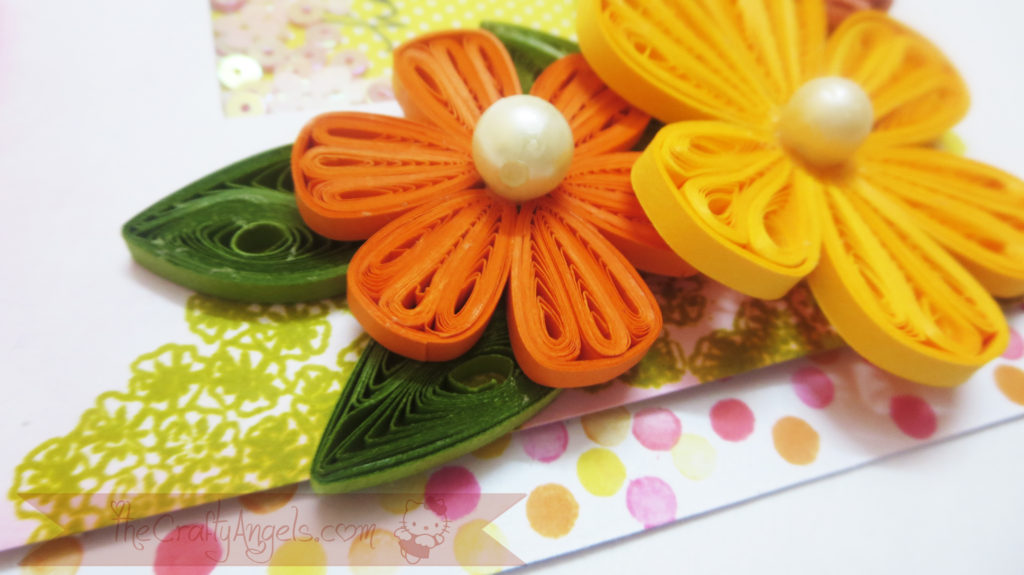
- Kraftzone : Summer splash moodboard challenge : The rule is to include three colors from the moodboard and also to have flowers. I have chosen shades of Orange in the flowers, Pink in the sequins & stamped confetti dots and green with the leaves.
- Hobbymela : Mothers Day an unconditional Love : Although this card was not a specific mother’s day card, it was definitely a card for ‘My mothers birthday” 🙂 Although I never understood her dialogue of “when you become a mother you will understand”, I totally get the point now. Although I can never go back and undo things of my past, I also understand that mothers are always forgiving and loving no matter what. Love you a lot mummy 🙂
- D.L.Arts Challenge : Anything goes.
xoxo Angela

Very neat and beautiful Quilled card. Thanks for playing along Kraftzone Challenge#15.
All the Best
Thankyou Meeta for visiting me 🙂 It was a pleasure to play along with kraftzone 🙂
Your flowers are so stunning! I love them!
Thank you for plying along at BGC!
Thankyou Aneta 🙂 Always loving playing along with BCG 🙂