
Quilling Technique Tutorial : How to make Quilled Flower Petals without tools #14
Be sure to also check out all the quilling tutorials covered :
- Beginners quilling tools & supplies
- Basic Quilling tutorial : Making Flat Tight Quilled Coils
- Basic Quilling instructions : Quilled Teardrop Shape
- How to make Quilled Flower Petals without tools
- How to make Quilling Leaves without tools
- Quilling Butterfly Tutorial
- Tight Quilled Flower Tutorial
- Beehive technique Quilled flower tutorial
- Quilled Wall Hanging Tutorial
- Quilled Hearts Card Tutorial
- Quilled Malaysian flowers Tutorial
- Quilling Comb Flower Tutorial with Video
- Double Sided Quilling Comb review & Tutorial
- Quilling Combing technique : Quilled bird
Quilling Technique Tutorial : How to make Quilled Flower Petals without tools
Hey! Its been quite a long break I took since my last post. I agree craft blogging isnt as much fun as crafting! But anyhow i am determined that this month Im gonna post all of my finished but unposted craft works. So todays tutorial is on making Quilled flower petals without quilling tools. Actually I used this technique to make my first ever large scale craft work which in fact is the very reason behind setting up this craft blog :).I shall cover the whole project in another picture heavy post but for now, i have made this tutorial for making quilled flower petals for a sunflower without any quilling tools.
Materials required to make quilled flower petals:
- Quilling strips – you can learn how to make your own quilling strips HERE.
- Glue
- Comb
Step by step tutorial for making quilled flower petals
The easiest way to describe it is just 2 steps :
- Wind your quilling paper arounnd the comb by leaving one teeth between each windings. Secure the end to the roll with glue.
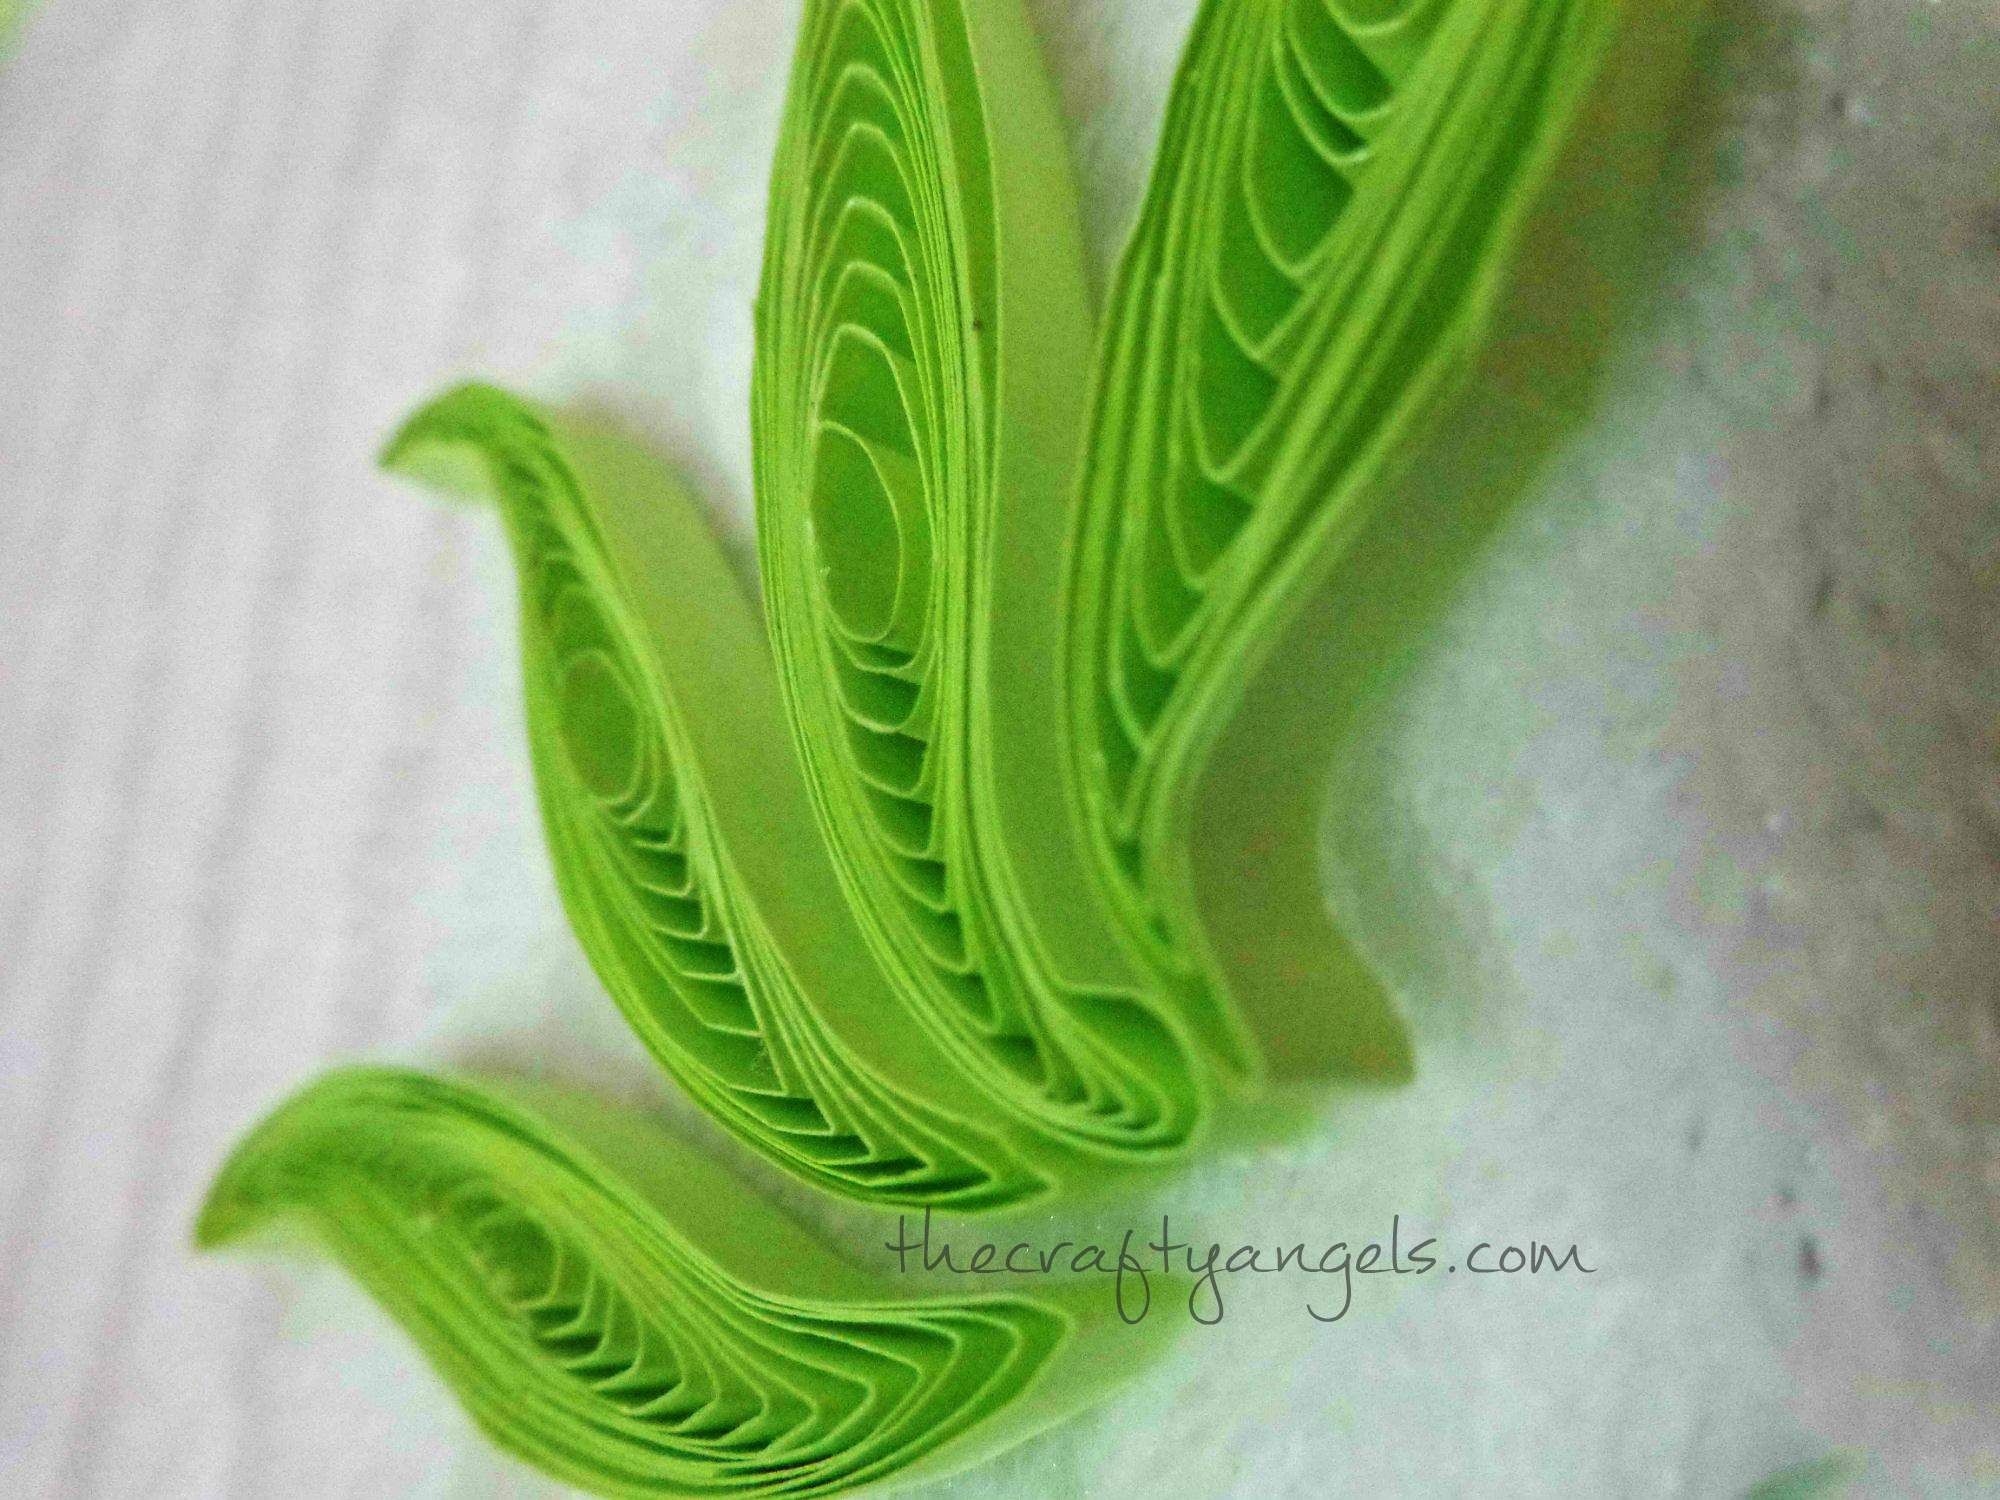
- Take out the spiral quilled stuff from the comb and twist the ends to opposite directions. Tada!!!
- Done!
Okay now if you dint understand what i just said now, see the pic below and read instructions again 🙂 
So here is after which you remove the enlongated quilled flower coil from the comb and this is what its gonna look like. The idea of using a comb here is to have same size/length quilled flower petals. If you remember a similar idea was used HERE to make a quilled flower leaf.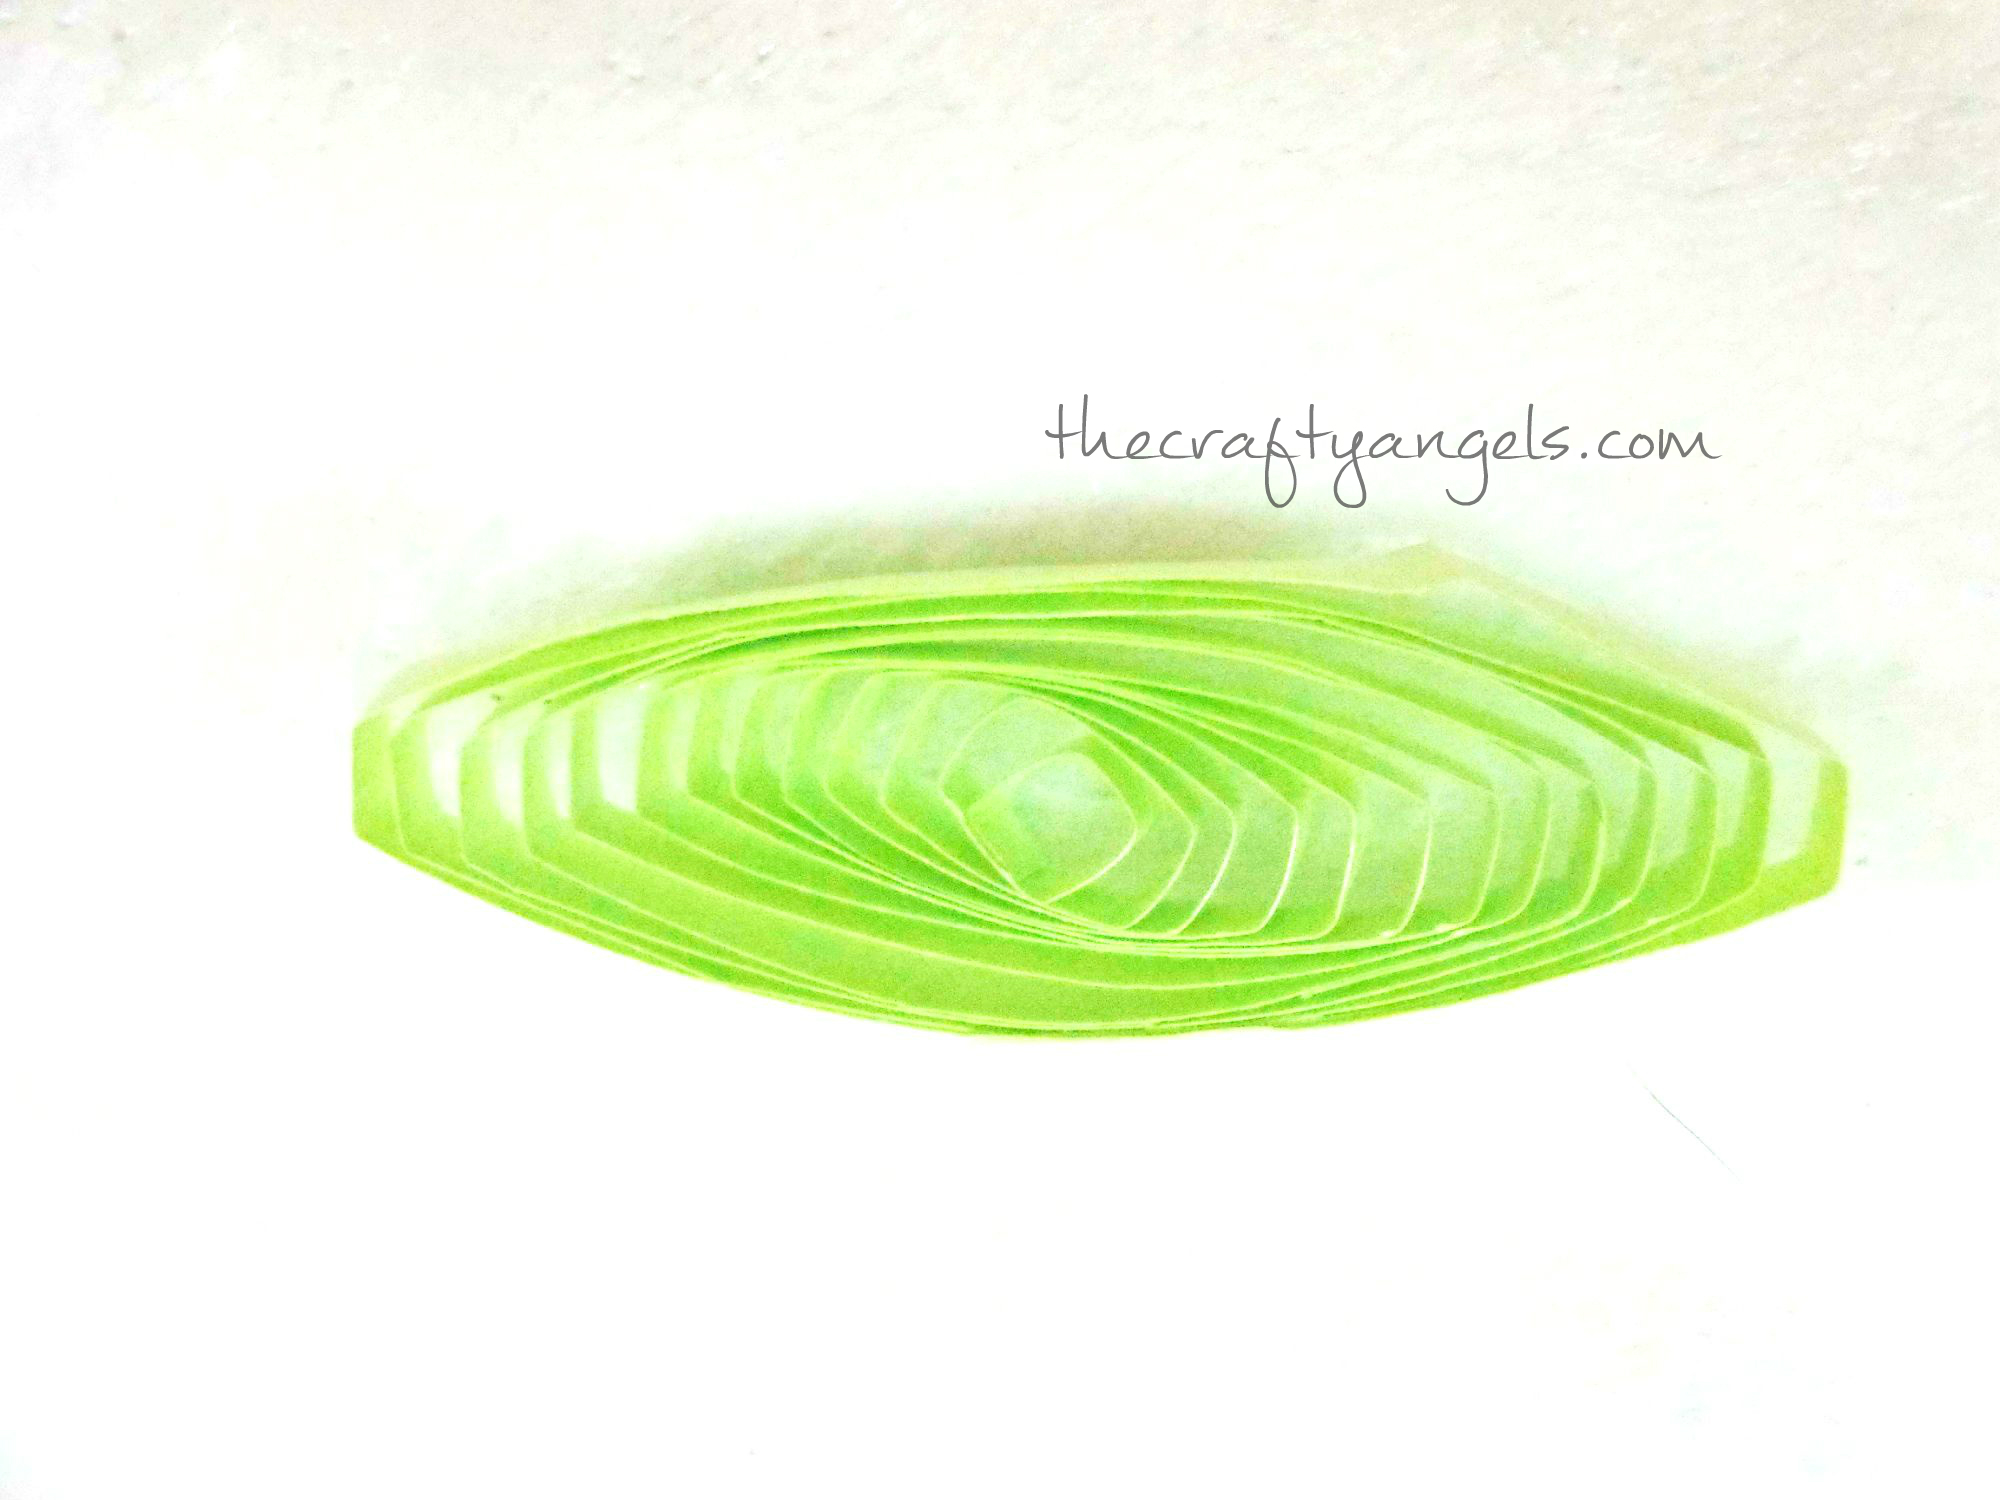
Okay so wasnt it very easy till now? Its not gonna get difficult anyways! Just twist the top and bottom ends of the long coil to opposite directions to finally make cute lil quilled flower petals.Mostly these quilled flower petals can be used to make quilled sunflowers i guess but thats a very easy thing for any quilling beginner to try out.
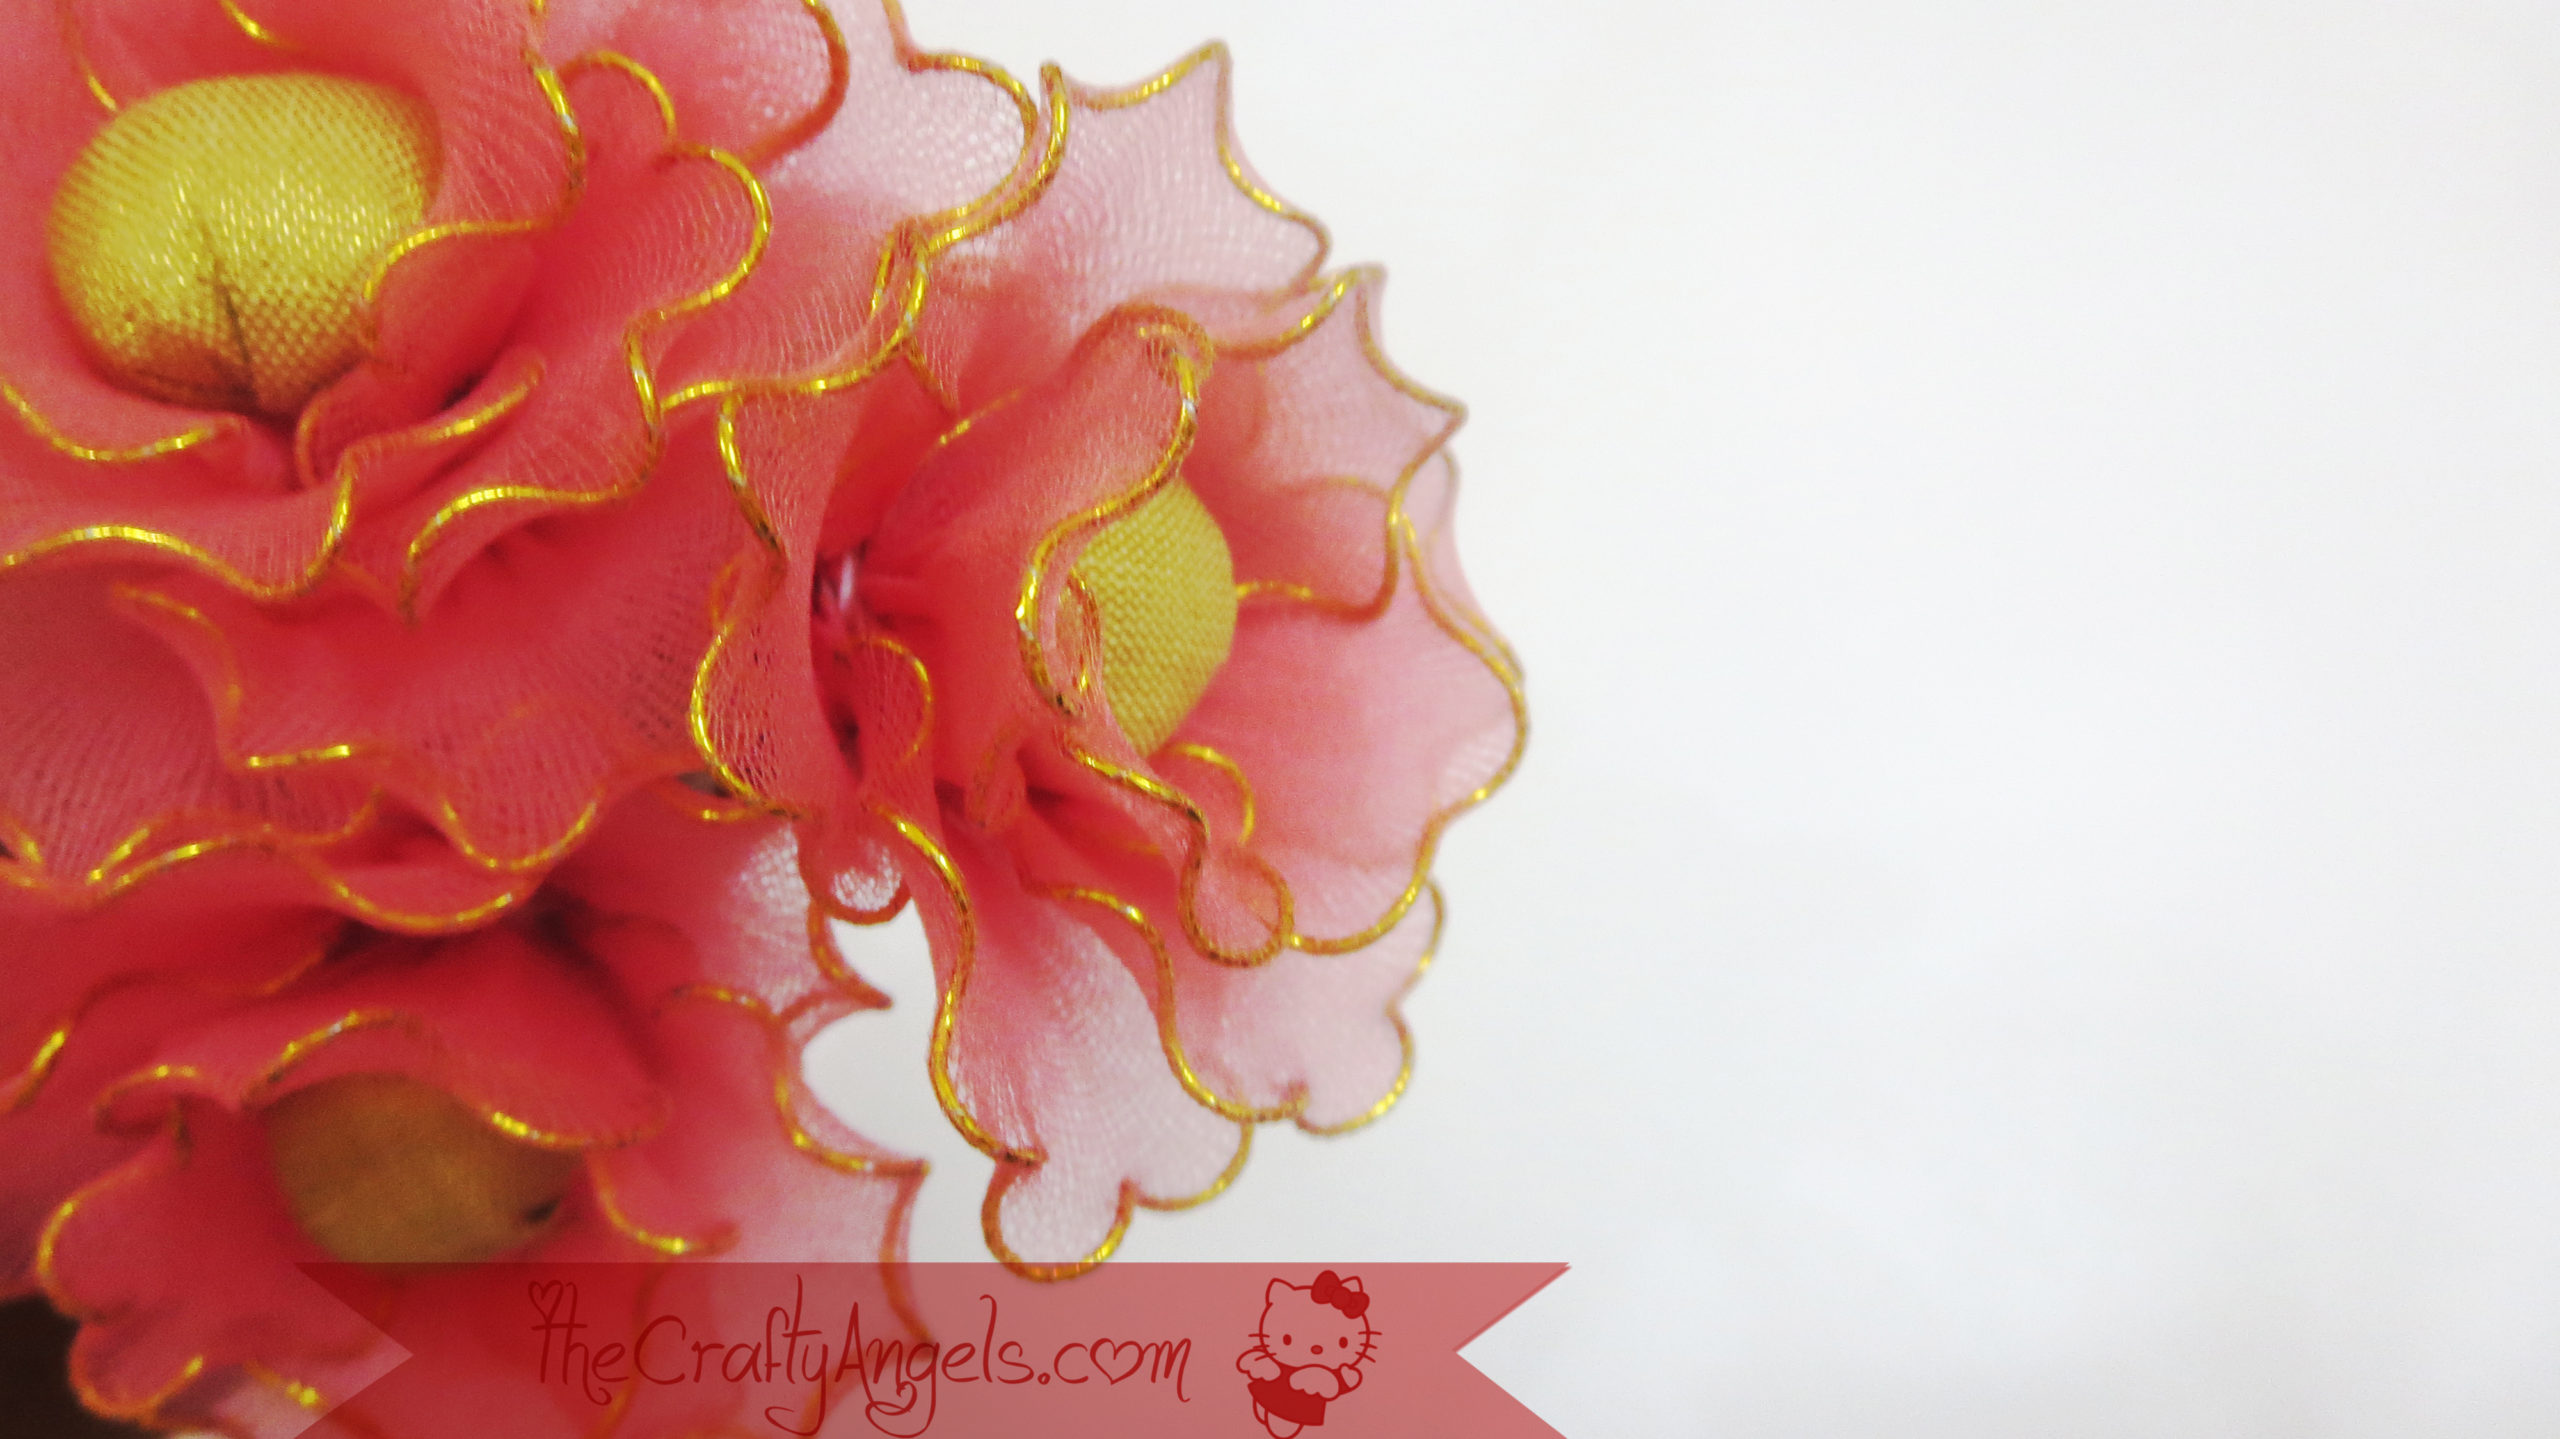
Now here is a sneak peak of the actual quilled flower as in quilled sunflower project i did last year :
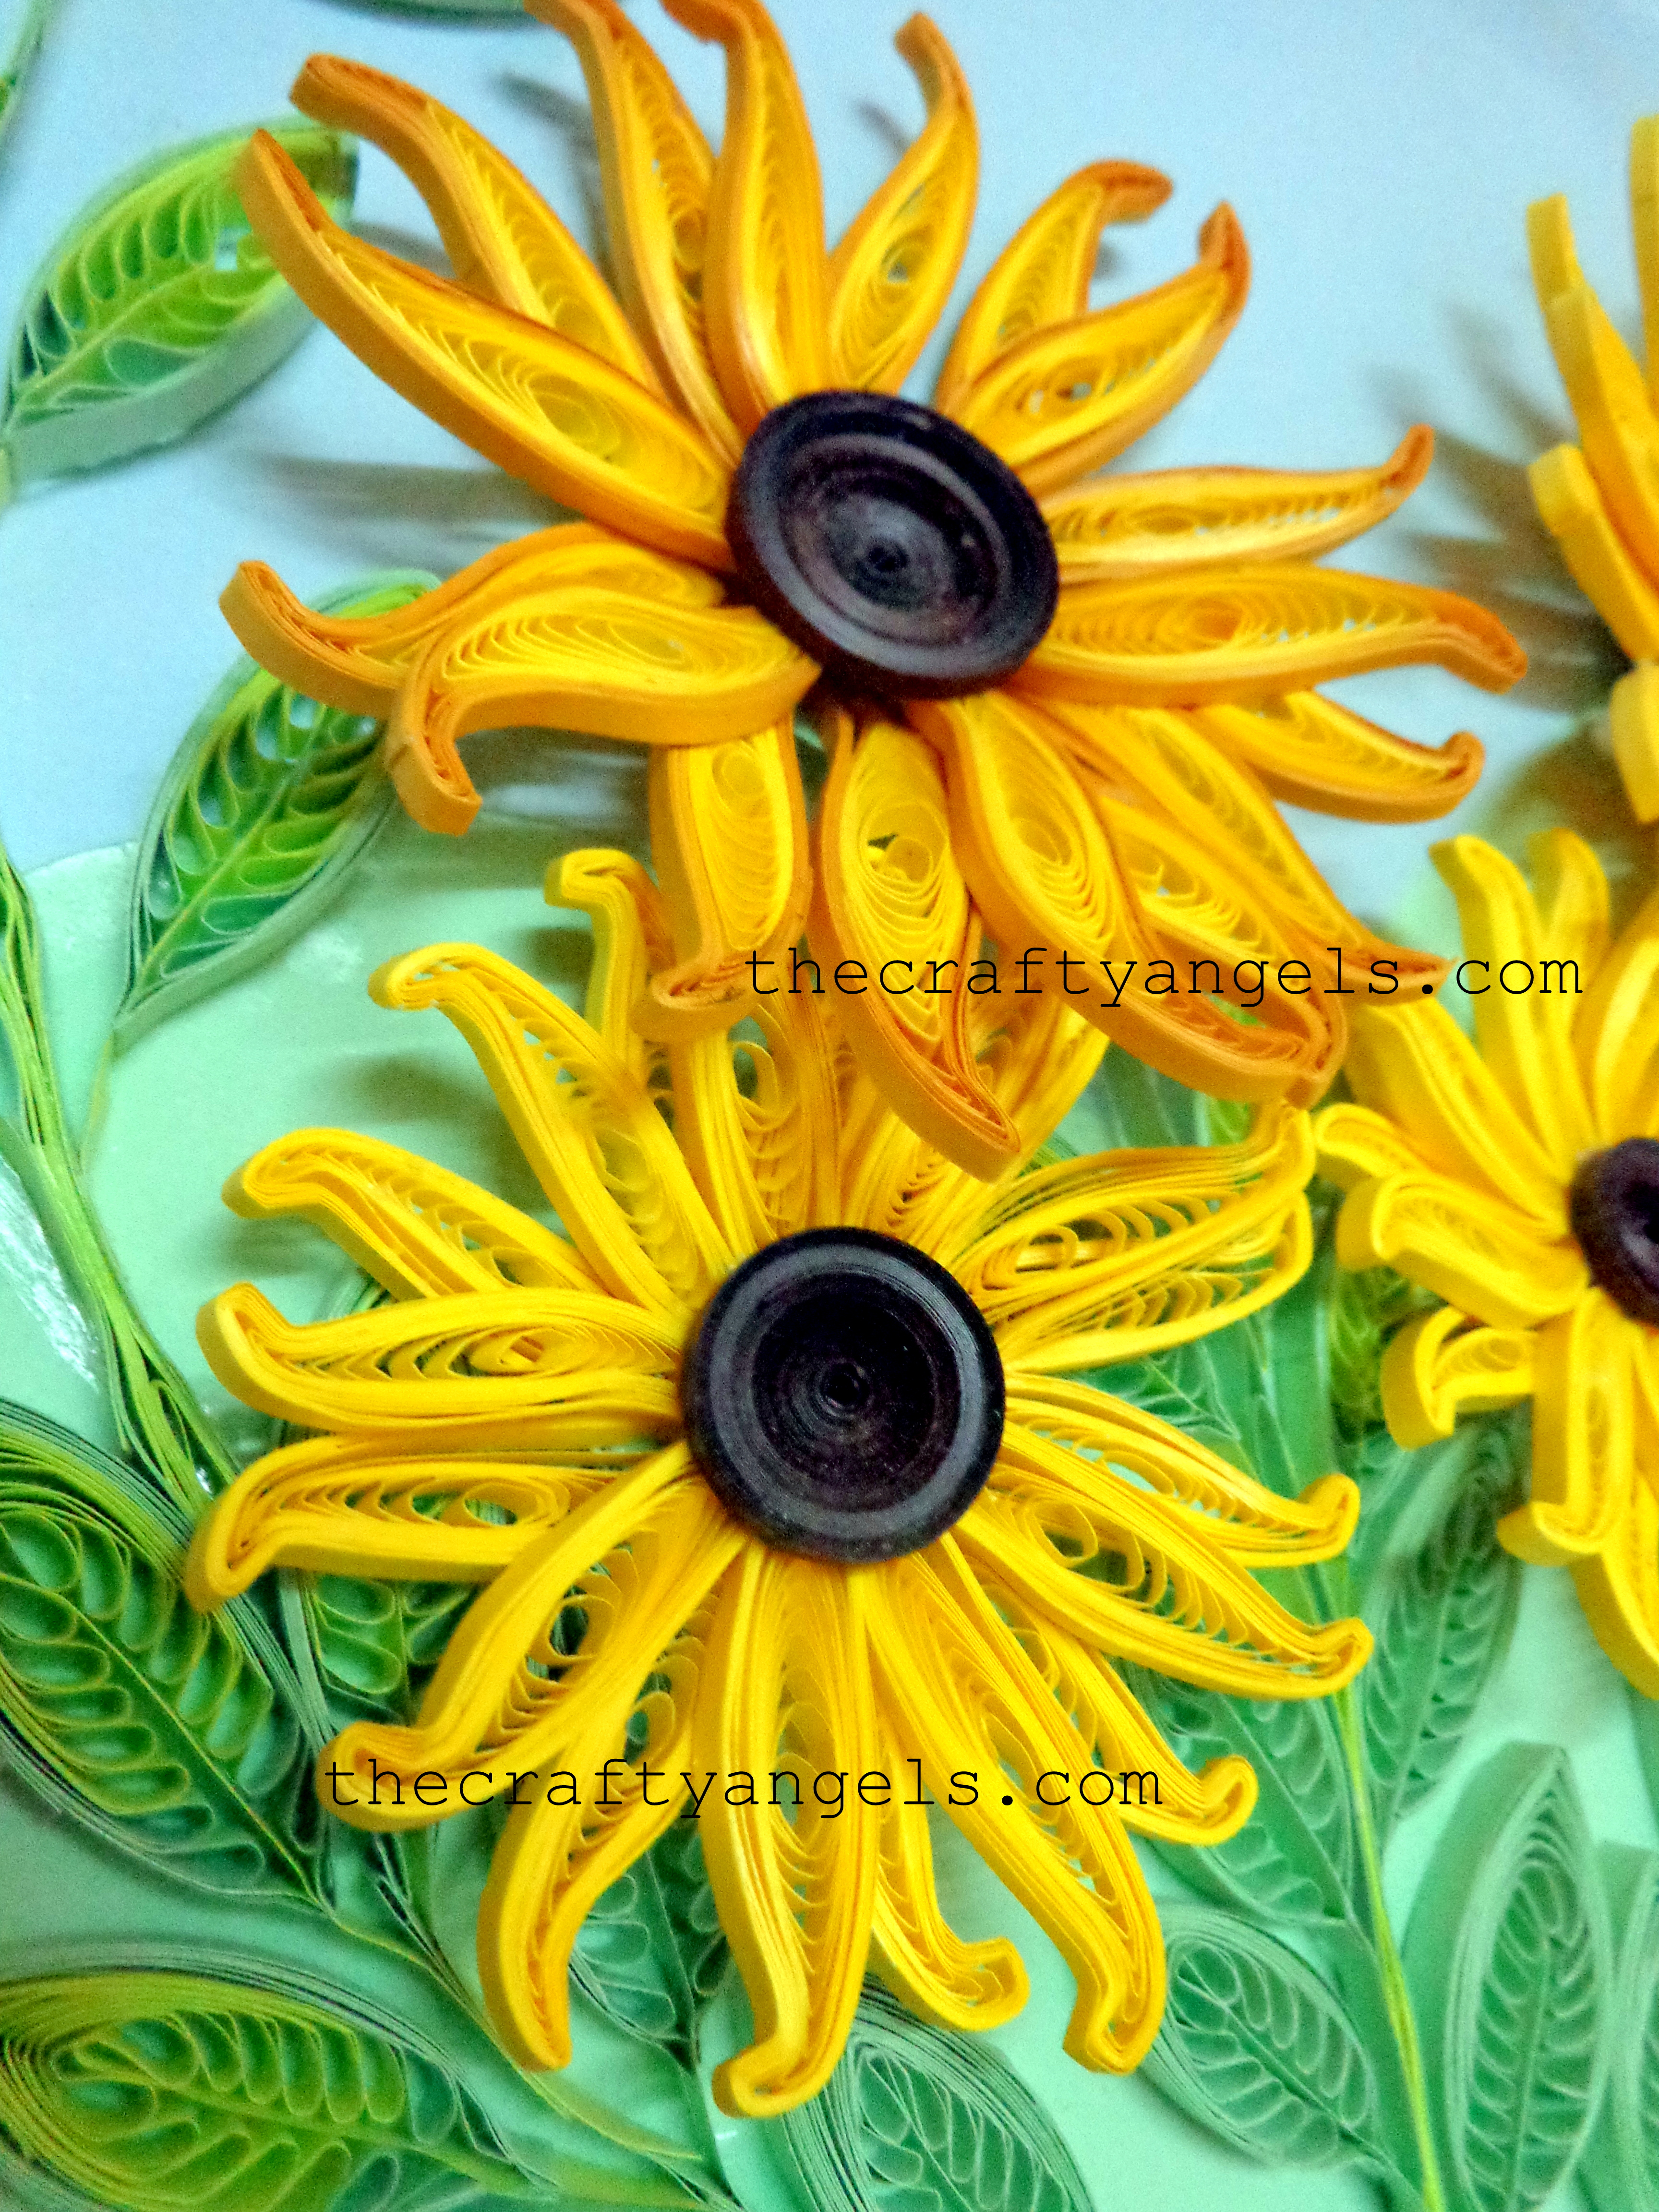
Are they pretty ?? Well as i promised, more pictures and stories of the projects will come up soon. Meanwhile you can try out other quilling project from the quilling tutorials i have shared HERE.
Do consider sharing if you think they are worth trying


That is simply gorgeous!!
Hey krupa! welcome to thecraftyangels 🙂 and thanks for your lovely compliment..actually that encourages me to try quilling again even though it keeps testing my patience 😛 you should try quilling as well..You being a fashion blogger should know how much quilled jewelry are a rage in india right now!!
Very useful, easy and beauty! Thanks to share!
You can visit me here http://www.creaquilling.blogspot.com
Hey pily 🙂 you too have a great blog there! i loved your quilled angel and im definitely gonna try them out. Dint know it was this easy to make ! do drop in at my blog whenever you find time 🙂
You have made the most beautiful design in most easy way… I always messed up with papers and tools while trying to do something like this..
Aw thankyou grace 🙂 This was my first quilling work and I had just a slotted tool that time which I did not use here! This was quite an easy method for me right then to get uniform sized and distributed petals. Im glad that this tutorial even though so simple helped you 🙂 Will keep sharing more. Do come back 🙂
You are so talented! Although I have been quilling for several years, I have learned some new techniques that will be very useful in future projects. Thank you for sharing your expertise with us.
Thankyou so much Kathryn! I am not quilling much these days mostly due to lack of time but I have to tell you quilling is by far the best craft 🙂 especially because there are so much you can do , so much techniques you can discover yourself through practice 🙂 Glad that you found my tutorials useful:)