
Basic Quilling instructions : Quilled Teardrop Shape
Hello All!
Basic Quilling instructions : Quilled Teardrop Shape
So last day I shared with you guys a very basic quilling tutorial on how to make really FLAT tight quilled coils which you can check out HERE. I thought nobody would want to read such basic basic really basic posts but I was surprised to see the turnout & response and so I figured that I need to share more of my secret quilling tips with you guys 😀
Be sure to also check out all the quilling tutorials covered :
- Beginners quilling tools & supplies
- Basic Quilling tutorial : Making Flat Tight Quilled Coils
- Basic Quilling instructions : Quilled Teardrop Shape
- How to make Quilled Flower Petals without tools
- How to make Quilling Leaves without tools
- Quilling Butterfly Tutorial
- Tight Quilled Flower Tutorial
- Beehive technique Quilled flower tutorial
- Quilled Wall Hanging Tutorial
- Quilled Hearts Card Tutorial
- Quilled Malaysian flowers Tutorial
- Quilling Comb Flower Tutorial with Video
- Double Sided Quilling Comb review & Tutorial
- Quilling Combing technique : Quilled bird
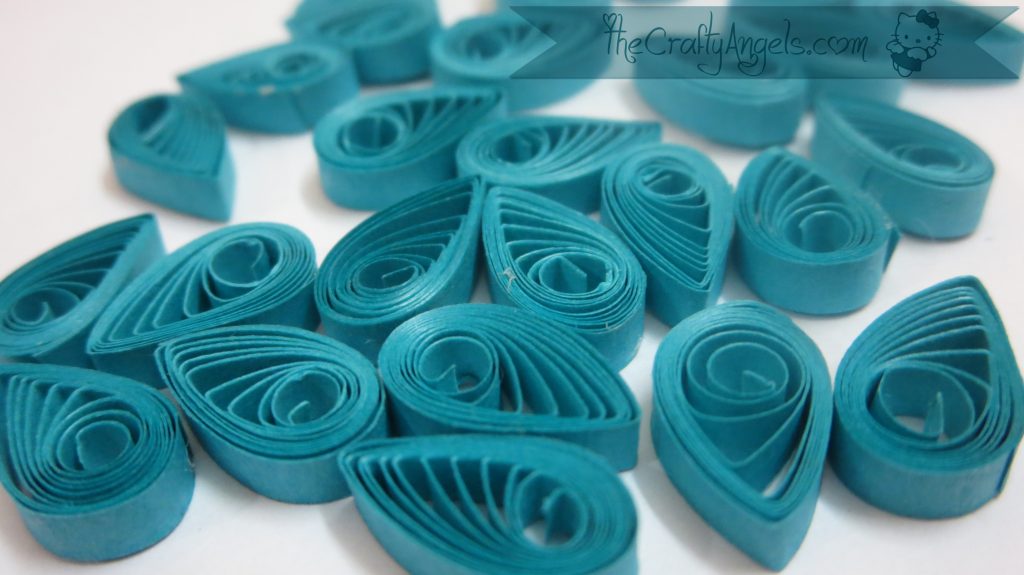
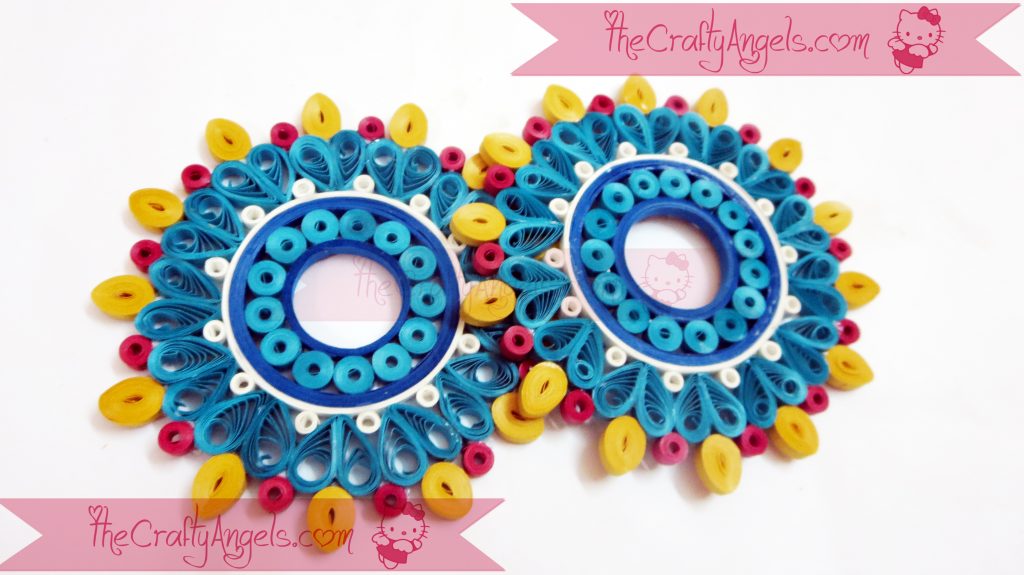
Todays is yet another basic shape – Quilled Teardrop ( Tight and loose) that come handy in a lot of projects especially flowers and earrings. Probably the paper quilling instruction for quilled teardrop that im sharing with you all might be a lesser taken path but trust me they give you really pretty end results. So try these quilled teardrops atleast once!

Okay so after my Easy Crepe Flowers project (HERE) for my Zupiterg antique flower vase ( which you can win through a free GIVEAWAY HERE) , I have been working on this pretty big bigger than usual quilled wall hanging project for my home. These are the shapes Im currently making for the same and I shall put up a tutorial for the quilled wall hanging once it is done!
Materials required to make Quilled Teardrops : A Basic Quilling Instructions
- Quilling strips
- Slotted Quilling tool
- Tweezers
- Glue
- Quilling board for loose quilled teardrop only)
Step by step Instructions to make Loose coil Quilled Teardrops :A Basic Quilling Instructions
I have seen so many projects that are so beautiful but when I try them it turns out like some 2 year old’s project! I tried these quilled butterflies in my initial days of quilling HERE ( I had also shared a tutorial!) after seeing these beautiful ones from Honey’s blog (HERE). Now look at the below photo of both our works and tell me which one is better – Honey’s of course! No doubt! The main beauty of Honey’s butterflies lies in the evenness of the quilled teardrop – each round of the loop is placed so elegantly inside the quilled teardrop. So lets get straight into the tutorial!
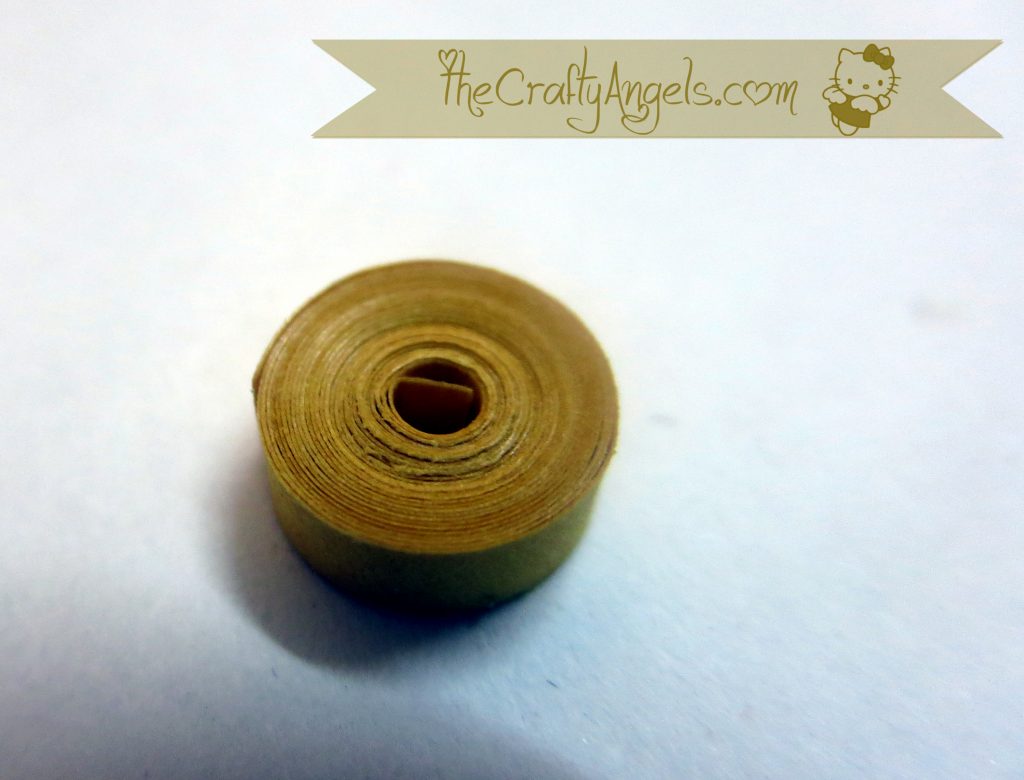
- Take a quilling strip and start rolling into a tight coil. You may want to refer to my previous tutorial on Flat Tight Quilled Coils (HERE) to get it right.
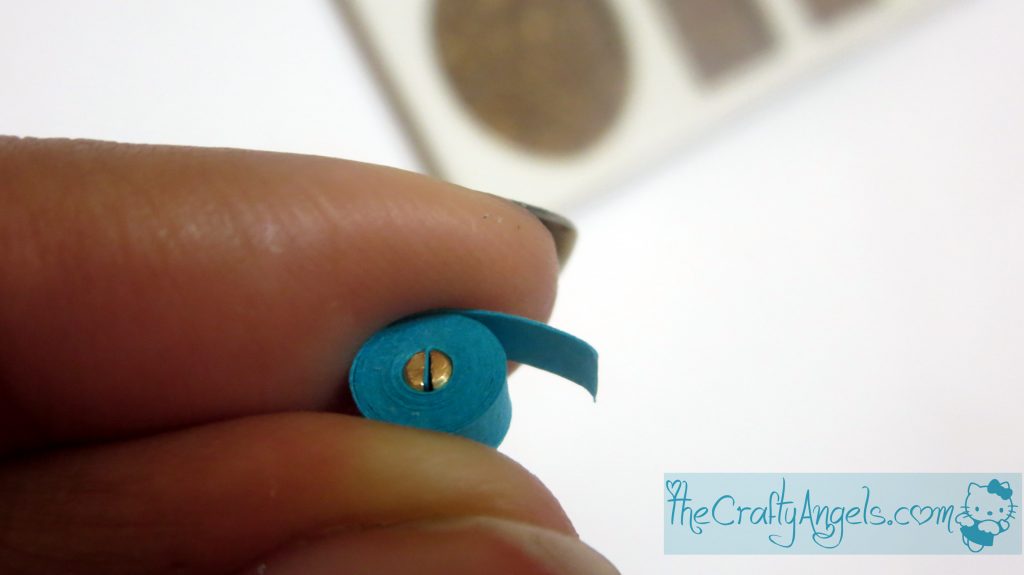
- Once your coils is done ( decide on the length of the strip by gluing to or more strips together depending on the size of the quilled teardrop required), place it inside the circle of your quilling board.
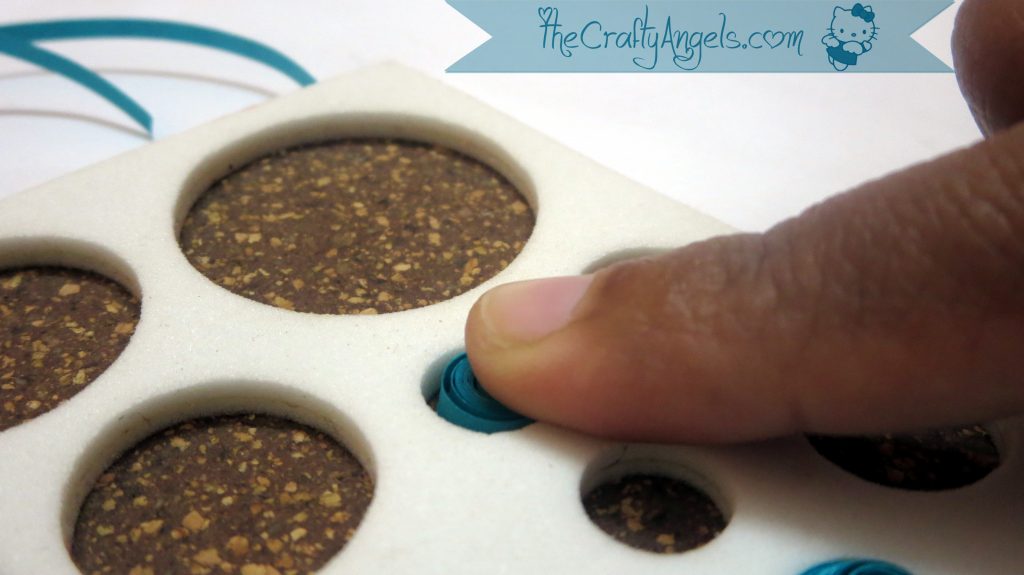
- Now the important thing to follow is that your tight coil should be almost half the size of the circle you are choosing. Small coil inside big circle = different sized teardrops & Big coil inside small circle = loops too close inside quilled teardop. So the ideal size ratio would be tight coil = half circle of board. I wanted a little tight teardrop for my project since it doesnt have a base to hold the loops intact so my tight coil is almost 3/4th of the board circle size.
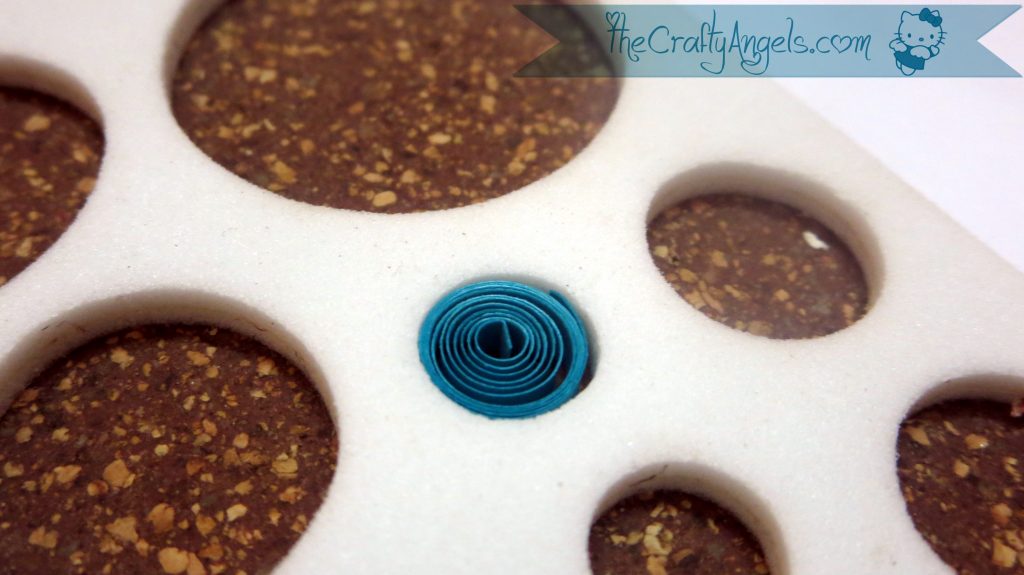
- Allow your tight coil to uncoil on its own and if you are planning for many teardrops, you can fill in all your circles at a go and get to the next step.
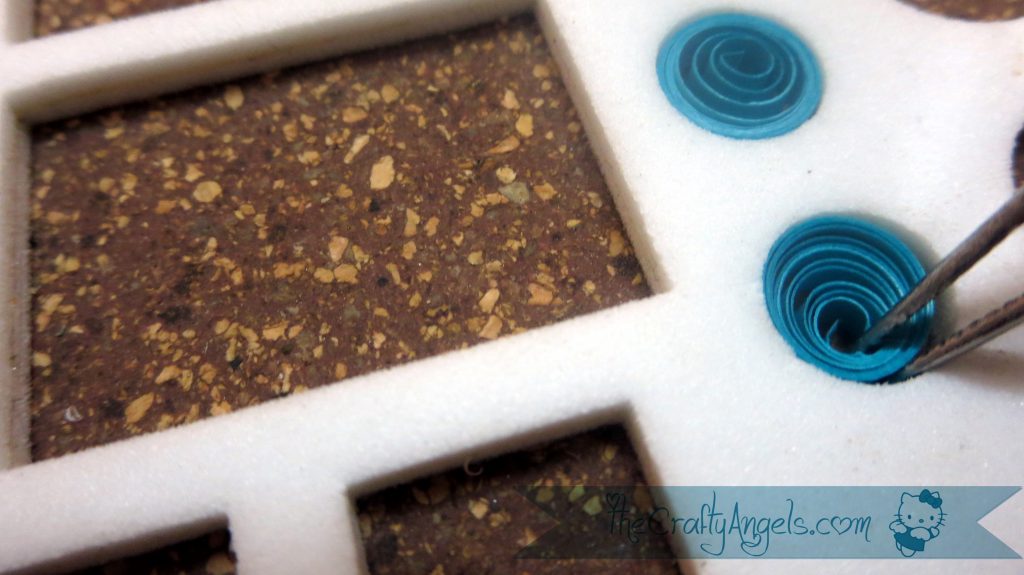
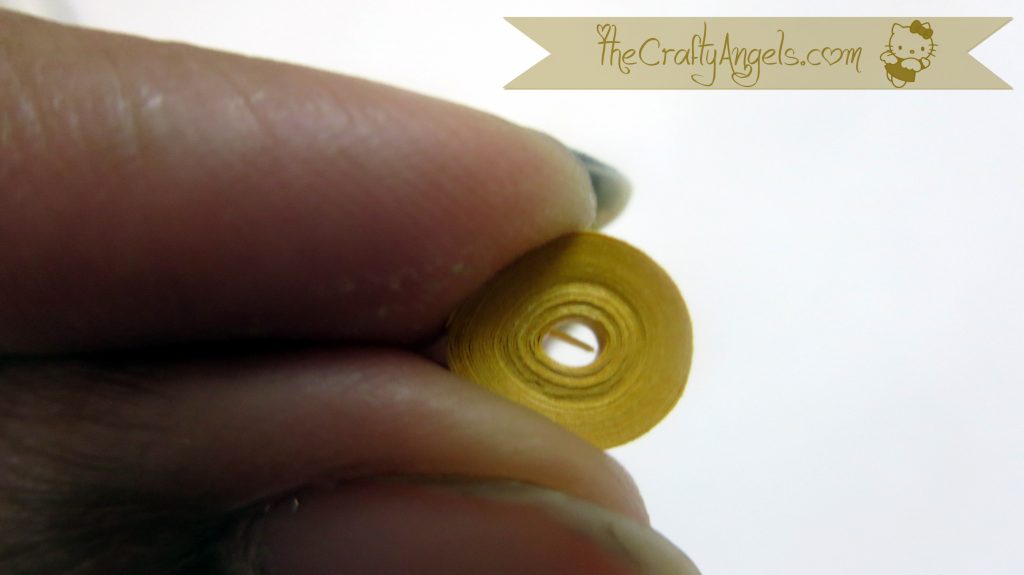
- Once it uncoils, Insert your slotted tool tip into the inside ind of the coil like in photo below and coil in the direction of coil tightening ( argh my english! I cant think of better word combination to make you guys understand :P). After a while, the whole coil will start to rotate inside the circle and that when your loops will seem to be evenly distributed inside the circle.

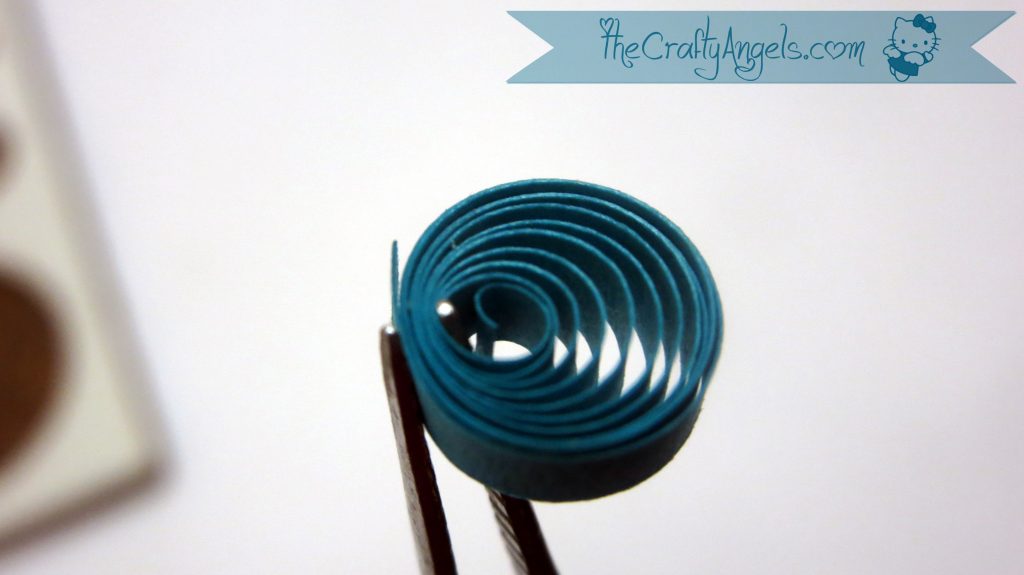
- Now bring your slotted tools needle to one corner of the circle and with the help of your tweezers, hold the coil between the outside edge and center as in below photo.

- Pull out the coil from the board with your tweezers and pinch the opposite end ( opposite to where your tweezer is holding the coil – okay just see the photo!)
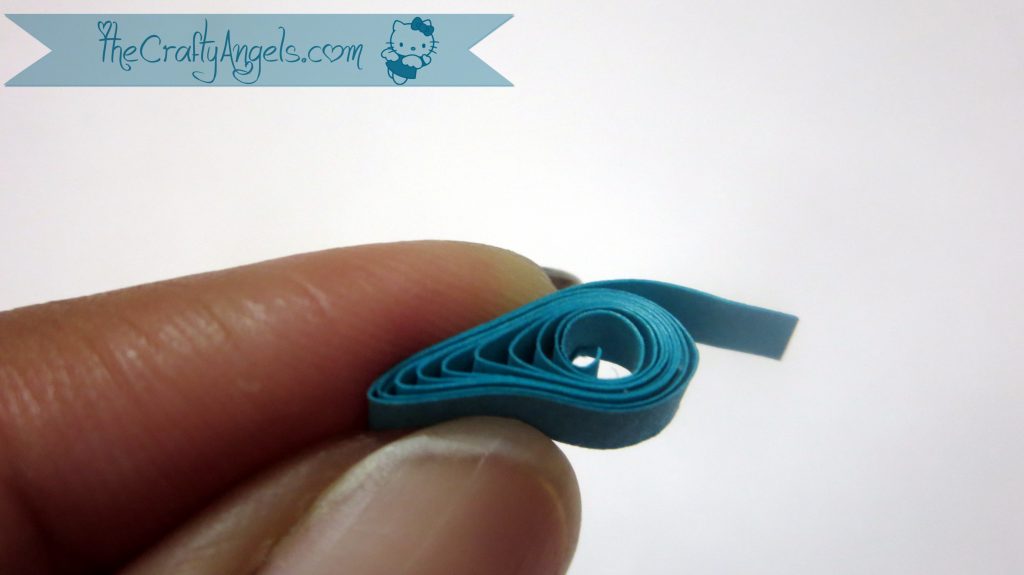
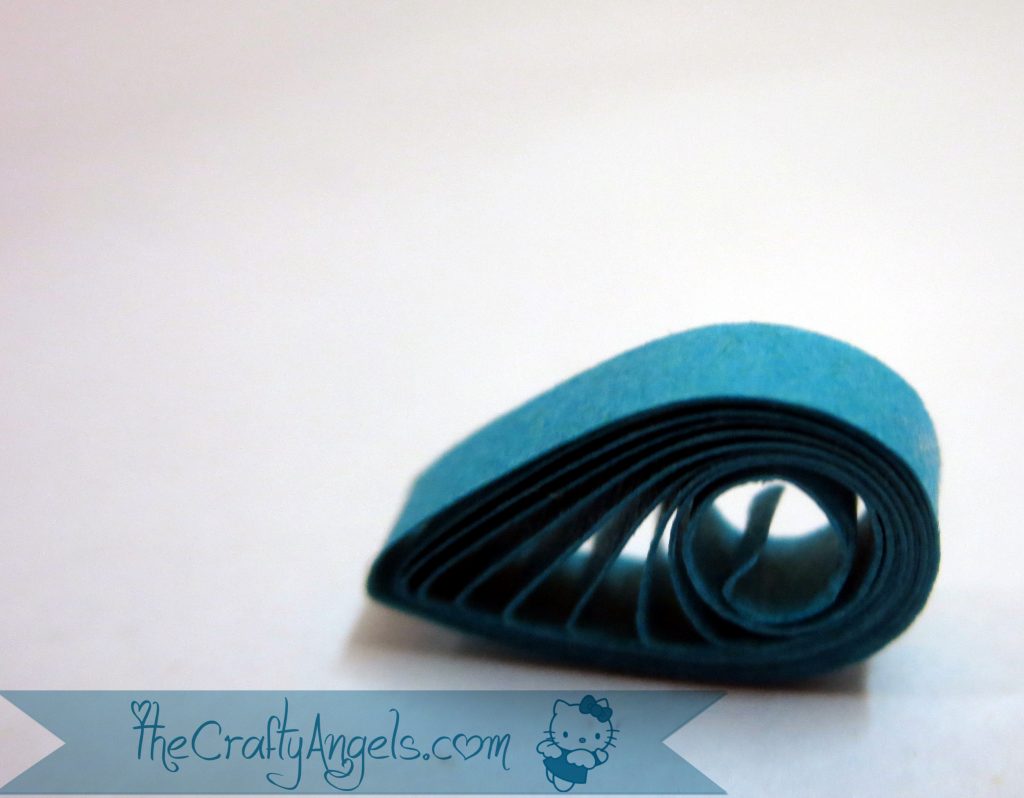
- You got the quilled teardrop right baby! Glue the open ends of your quilling strips to the quilled teardop and yayy you are done!
Step by step Instructions to make Tight coil Quilled Teardrops :A Basic Quilling Instructions
- Okay so this one is very easy.
- Make your tight coil with the help of slotted tool. You may want to refer to tutorial on making flat quilled tight coils (HERE) if you haven’t already read them.
- Secure the ends of the quilling strips onto the tight coil by using glue.
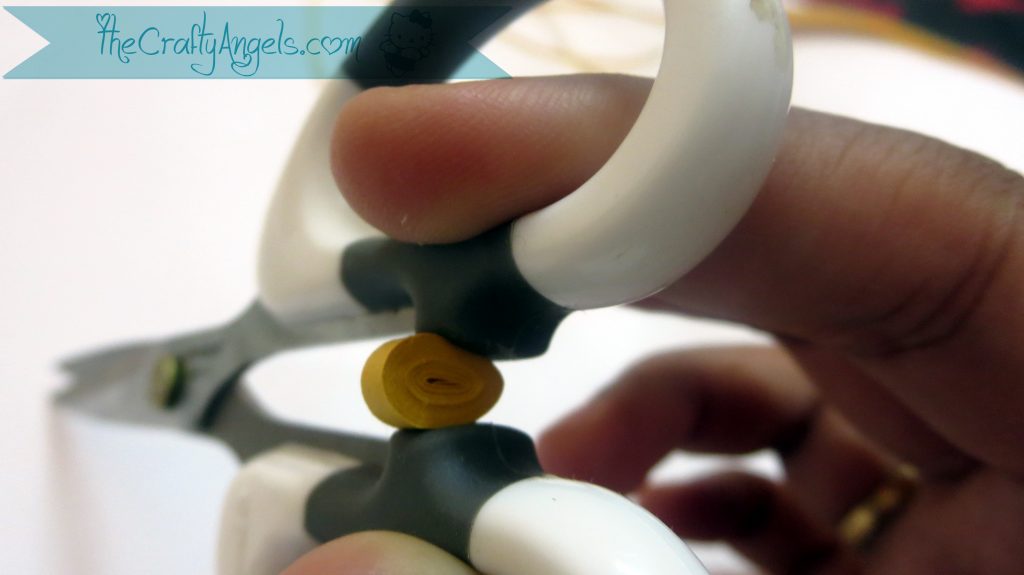
- Pinch once and of the tight coil real hard. I mean REAL HARD!
- I know its very difficult especially when you are doing a big project you need to make many quilled teardrops!So here is the little trick I follow – place the tight coil between the handles of your scissors and press it 😀 tadaaa!! Try this and thank me later 😉
Hope this tutorial was very useful for you guys. Will come up with more paper quilling tutorials soon but until then, here is a sneak peak of the project Im currently working on 🙂 If you did feel that this tutorial was useful, please do share it & pin it so that it might be useful to others as well 🙂
xoxo
Angela


Hello Hope you are doing well Am a beginner in quilling . The tearsdrop shape does not look the same. What mistake am doing ? Stay safe..