Cardmaking : Quilled Hearts Card Tutorial
Cardmaking : Quilled Hearts Card Tutorial
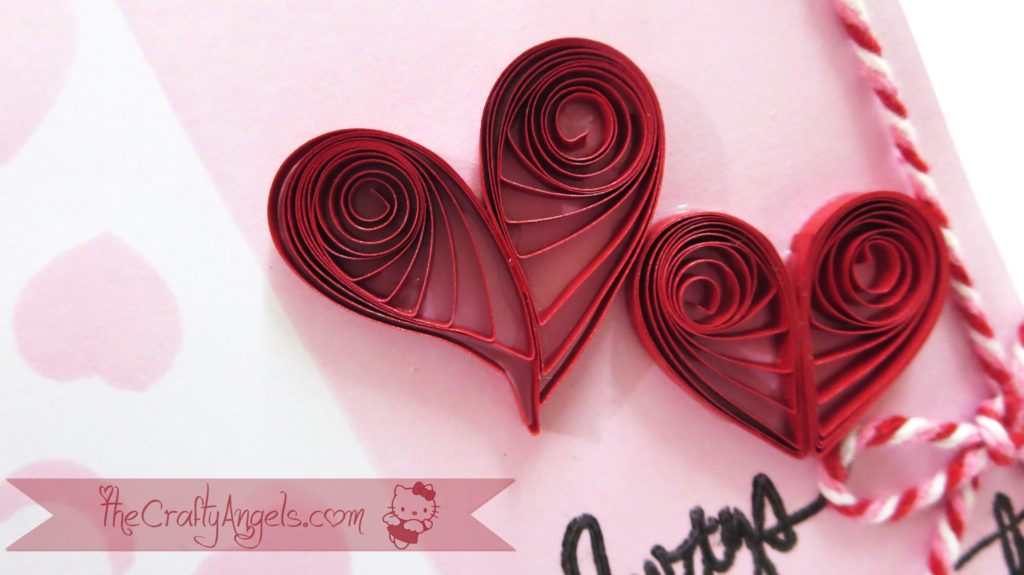
I know its sort of boring to see similar posts at a go and trust me its even more boring making them! As you might know I have recently taken the plunge into cardmaking and my cards are very simple to make with hardly any element or twist but I loved making them 🙂 This heart card is very much different from the Confetti hearts card (HERE) that I did earlier since this one is a Quilled card and also I have used stencils to make the background. If you havent seen my previous post on quilling basics HERE, please do check them out because you will be needing them to make these quilled hearts card.
Be sure to also check out all the quilling tutorials covered :
- Beginners quilling tools & supplies
- Basic Quilling tutorial : Making Flat Tight Quilled Coils
- Basic Quilling instructions : Quilled Teardrop Shape
- How to make Quilled Flower Petals without tools
- How to make Quilling Leaves without tools
- Quilling Butterfly Tutorial
- Tight Quilled Flower Tutorial
- Beehive technique Quilled flower tutorial
- Quilled Wall Hanging Tutorial
- Quilled Hearts Card Tutorial
- Quilled Malaysian flowers Tutorial
- Quilling Comb Flower Tutorial with Video
- Double Sided Quilling Comb review & Tutorial
- Quilling Combing technique : Quilled bird
Materials Used to make Quilled Hearts Card Tutorial :
- A4 cardstock
- Rangers Distress ink in shade : spun sugar
- Rangers Distress ink blender
- Clear scraps Heart wall stencils ( HERE)
- Bakers twine
- Red quilling strips
- Slotted Quilling tool and Board
- Heidi Swapp Stamps
- glue
Step by step Tutorial on How to make Quilled Hearts Card :
I first went about making the quilled hearts for the card since I had been quilling continuously for a while then! For making the quilled hearts, first make loose coil like below and pinch them at a corner to get teardrop shape.
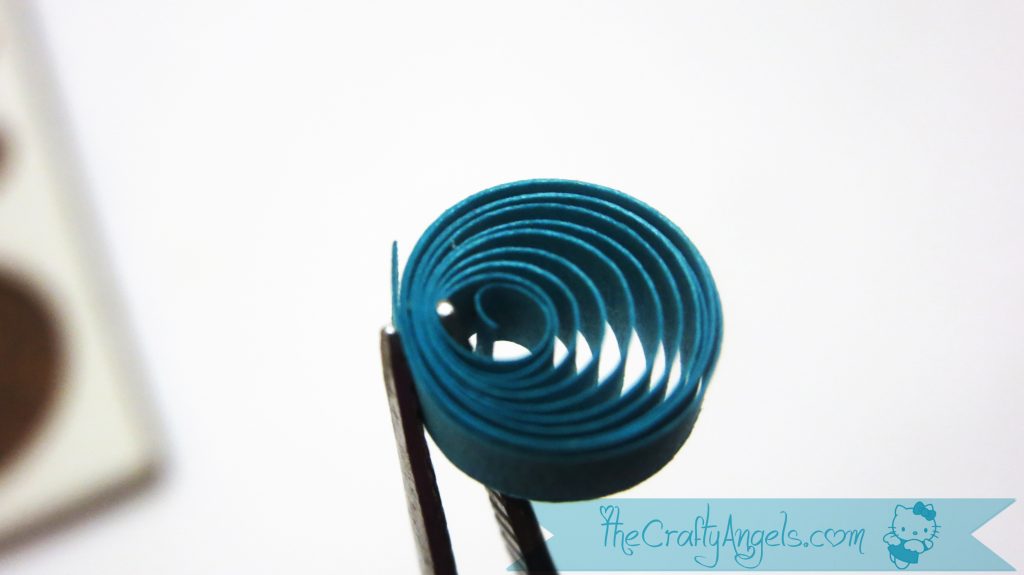
I had previously shared a very detailed tutorial with little secret tips on making these perfect quilled teardrop shapes which you can refer to HERE.
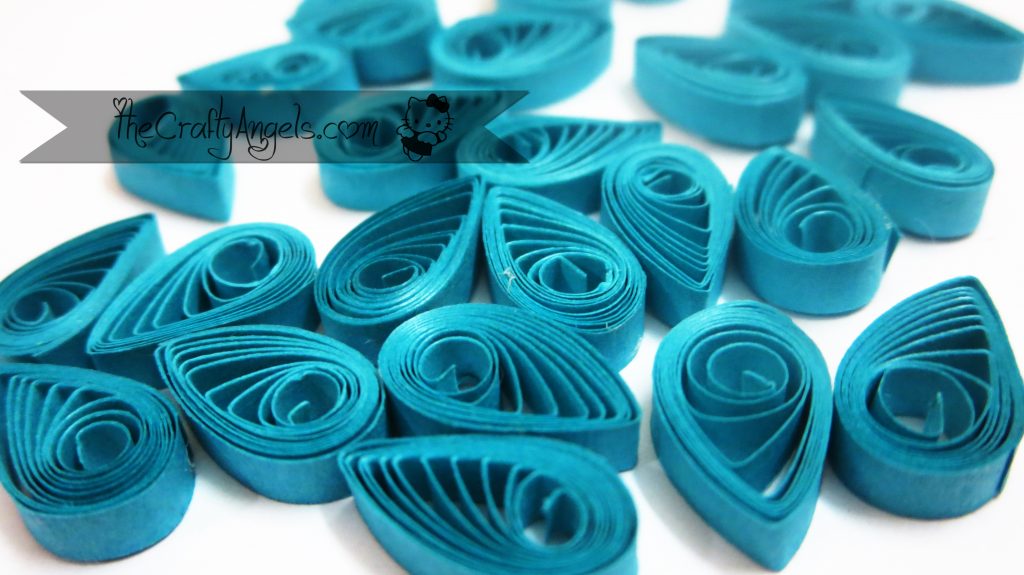
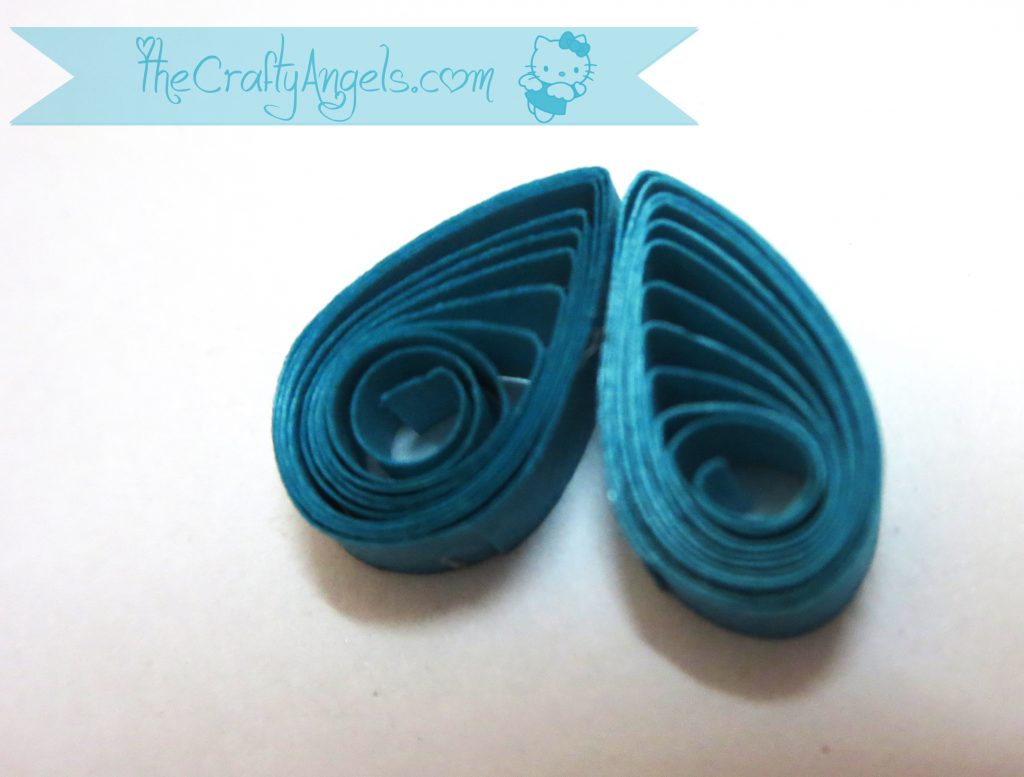
Once you have two quilled teardrops, all you need to do is to stick them together. I would prefer having them with the coils slanting towards center line but the other way is okay as well as you can see from the two different hearts on the card.
Now coming to the quilled hearts card base, I have only one base layer for the card for which I have used a white A4 cardstock folded to half. I used rangers distress ink in the shade spun sugar and heartwall stencils to create a light hearts background on the card base.
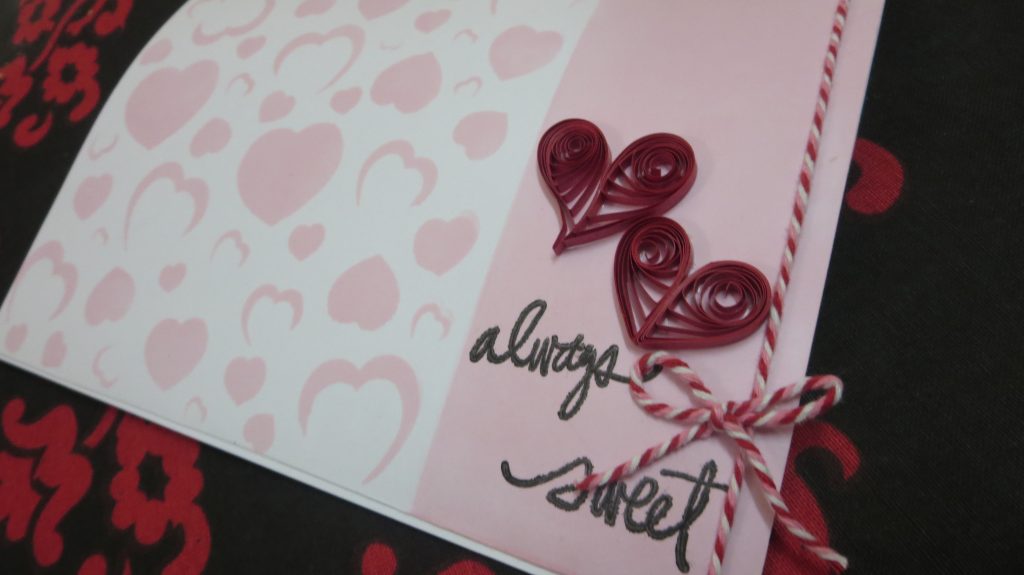
I left a vertical space thats is fully blended with distress ink spun sugar where I wanted to place my quilled hearts and stamp the sentiments.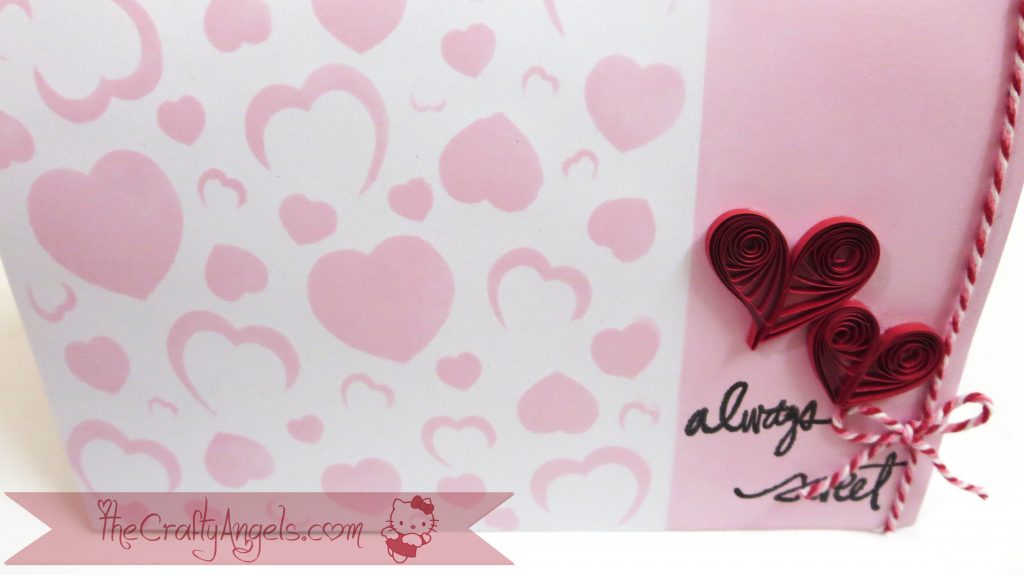
I felt the space was too empty looking so after adding the quilled hearts and the “always sweet” sentiment, I added a bakers twine across along with a bow.
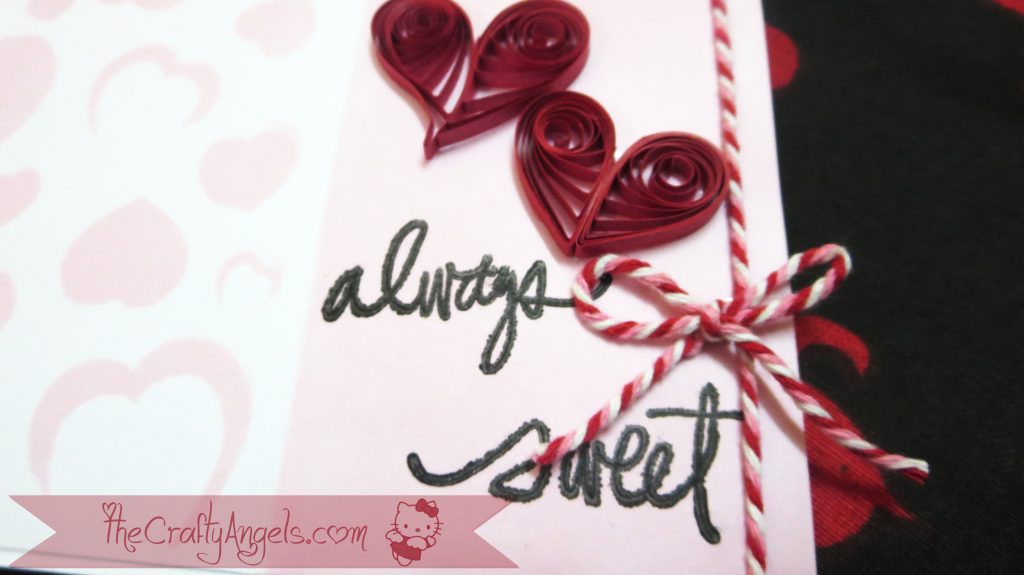
This was officially my first try at stamping and as you can see its bleeding crazy :P! I did not probably dry out the stamp after using it for my first use!And here is a close up view of the quilled hearts and ofcourse the pathetic stamping 😛 !
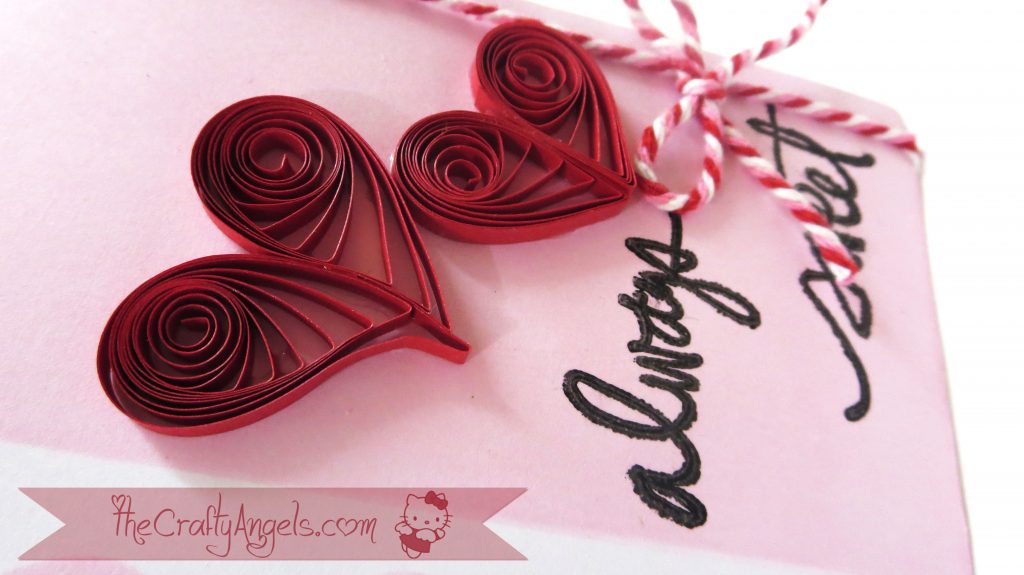
Hope you guys liked my card 🙂 Will be trying more of these but Im yet to get hold of that creative genie in me to push me harder with nicer (is that a word?!) designs 🙂 Till then see you around 🙂
Linking to :
- Cards Galore Challenges : Anything goes (HERE)
- Sisters of Craft Challenges : Anything goes (HERE)
- Countryview Challenges : Anything goes (HERE)
- Glitter and Sparkle Challenge : Anything Goes (HERE)
- DL Arts challenge : Anything Goes (HERE)

The quilled hearts are lovely, very effective. I like your use of stencils for the background, and I don’t think your stamping is pathetic at all ! Keep going with it 🙂 Thanks for joining in with the Sisters of Craft Challenge, good luck and best wishes, Anne DT x
Thankyou Anne 🙂 I have a lot to learn and lot to improvise on when it comes to papercrafting techniques! I was so disappointed that my stamped letter bleeded like hell 🙁 but atleast I learnt a lesson 😀 Thanks for dropping by Anna 🙂
Beautiful card – wonderful tutorial I love those hearts.
Thank you for joining my DL.ART Thankful Thursday Anything Goes MARCH Linky Party. Have a blessed day
DIANA L.
http://dianamlarson.blogspot.com http://dianamlarson.ctmh.com
Thankyou Diana for the kind words 🙂 Thats a lot of encouragement 🙂
Hi Angela! First of all, Thanks for your sweet comments on my easel card. Hope you’ll visit again. I see you have lots of beautiful tutorials. And the one on quilling tools was really useful! Thanks for sharing :). And your quilled creations are really wonderful!!
Thankyou Sarah for your kind words 🙂 Will keep trying new crafts and share tutorials as much time allows me to 🙂 and definitely will keep visiting you as well 🙂
Love your gorgeous project….Thanks for sharing with us at Country View.xxx
Thankyou Doreen for dropping by 🙂
Such a beautiful card and amazing quilling. Thank you for joining us at the Crafts Galore Encore Challenge Anything Goes.
Thankyou Monica 🙂