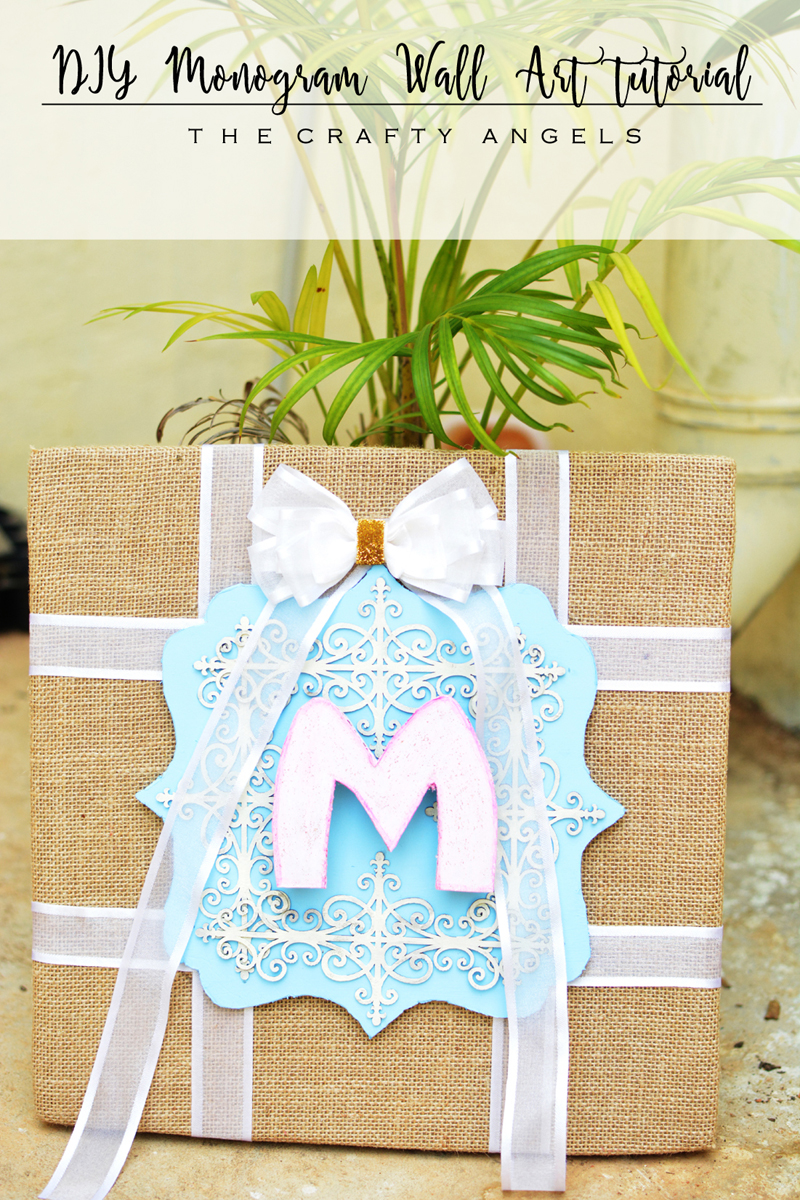
Making chic DIY Monogram wall art for Nursery
DIY Monogram wall frame so perfect for your nursery. Try this absolutely classic chic monogram frame with burlap background and pastel flourishes 🙂
I have become so lazy about crafting and blogging no doubt. To be quite frank I have no idea whats eating up all my time but, I have no time to blog 😛 Maybe its the office work that leaves my brain twisted and devoid of creativity when I reach back or its the messy home that need a little long term overhaul but either ways, I promise that I wont be totally hibernating! Today’s post is on how I made these simple DIY monogram wall art that I am planning to put up in my daughters nursery ( yeah I need to change the monogram from M to G!). I love all the pretty nursery decor ideas ruling pinterest but to be frank, I don’t know where to get all the supplies in India. I know how unpleasant it is when you have all the energy and creativity to make something but you have absolutely no clue as to where from to source the supplies! I have multiple sources and mostly online but I guess I buy things just because I like them and I happen to use them long long later! Okay no blaberrings – straight to the tutorial.
Materials required to make DIY monogram nursery wall art :

- Background canvas
- Ribbons
- Foam board
- chalkpaints
- flourish chipboards
- glue
- accessories
DIY Monogram Frame on Itsy Bisty burlap Panel
So the background canvas you use for your DIY monogram wall art can be anything. I wanted a chic look so I went for burlap with pastel shades. I hope to bring out another monogram tutorial on spring theme if you would like to try that as well. The burlap panel is from Itsybitsy and they are quite sturdy and long lasting if you are looking for a good base frame. Alternately, you can also use a cardboard from packaging box and stick burlap pattern paper (now available at Itsybitsy) for your base canvas.
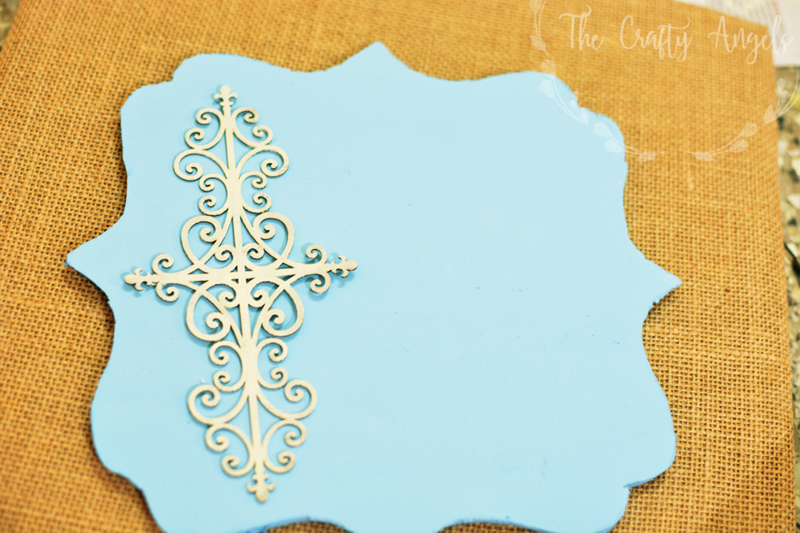
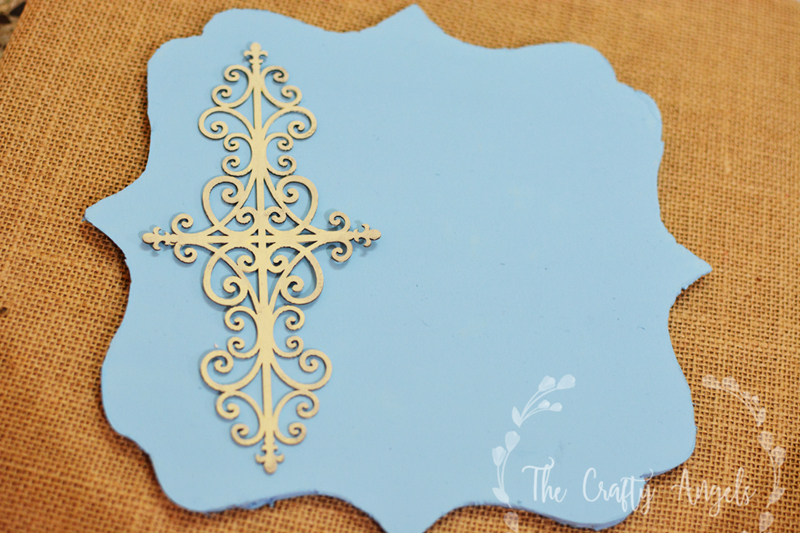
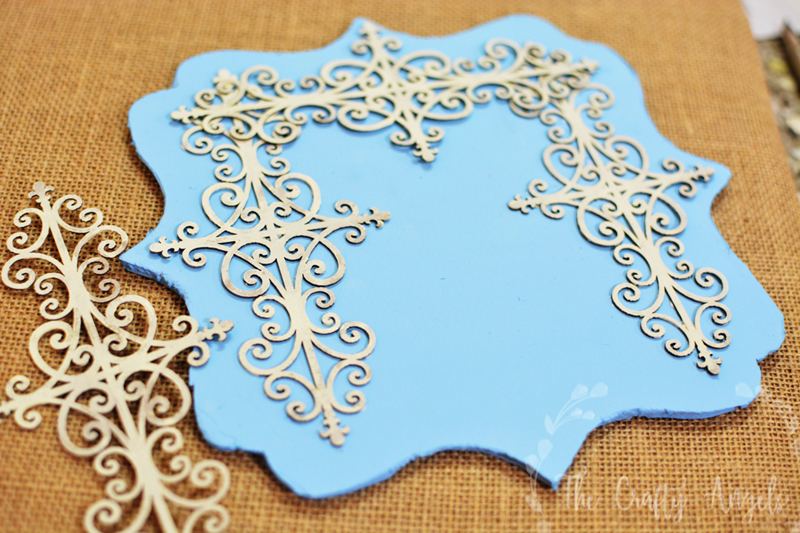
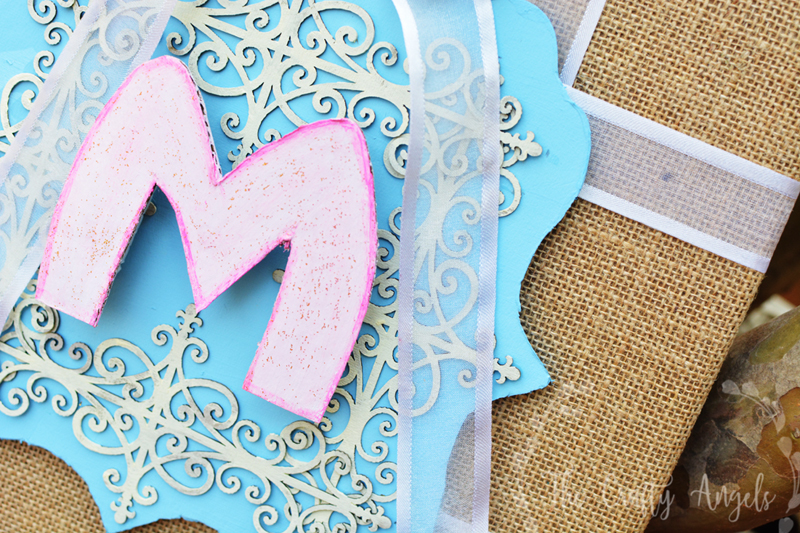
The pretty look of the DIY monogram wall art is from the combination of burlap, pastel and chic flourishes! You can think of your own combination of elements if you want a different look. I started off by drawing out a vintage label shape from foam a board from Itsy Bitsy. For the frame I first drew an outline on a piece of paper and traced it out on the foam board before cutting it out. For getting a symmetric shape of frame, cut out a square paper and fold it into 8 (yes a triangle) and then cut out your shape. I did a little trial and error to get the shape I desired, so you can open the folds and check every time before cutting out again to ensure you have the desired shape.
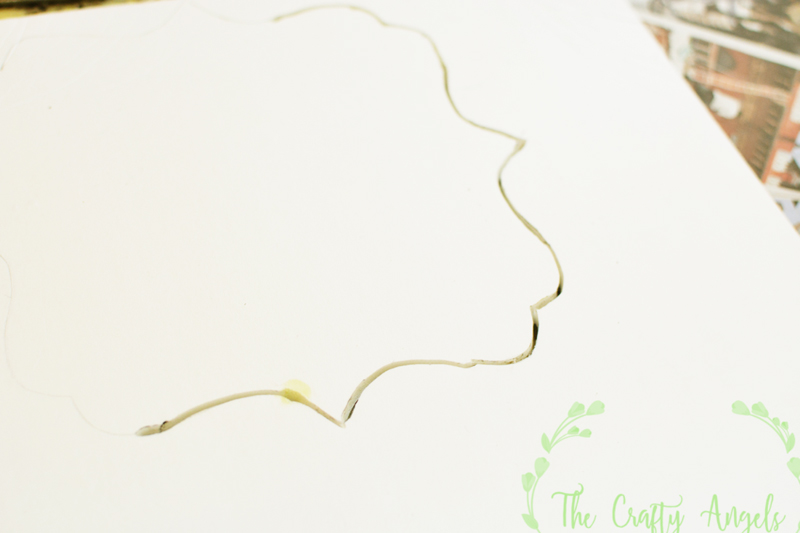
I had earlier shared a geometric lampshade with foam boards where I had explained in detail, my experience with cutting foam board. But this time since my frame had to cut the frame in curves and turns, I had to adopt a different method. I took a needle ( the needle with a handle which I don’t know is used for what! but I had it at home) and heated it under a candle flame before tracing over the frame border that I had drawn on the foam board. I covered small areas and again heated the needle before cutting the rest of the parts. A blade will work too but since there were small curves, a needle would be more precise. The edges wherever its little staggered can be rectified by running hot needle along those edges at the end.
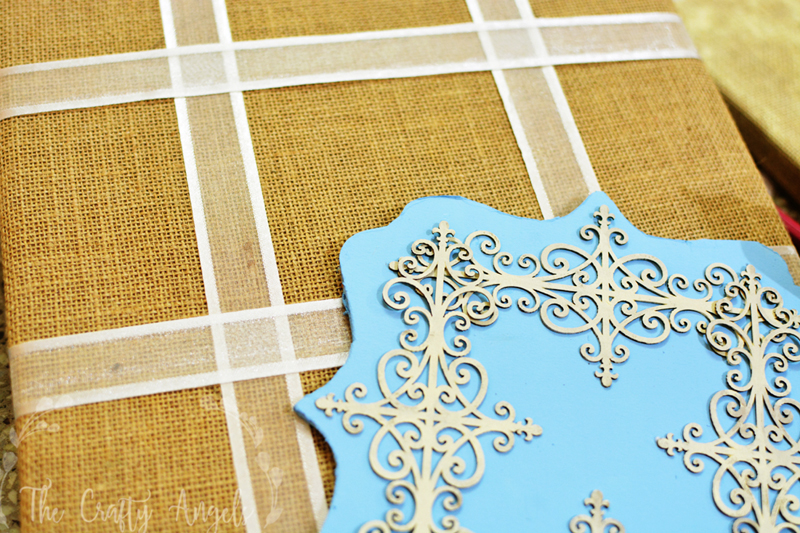
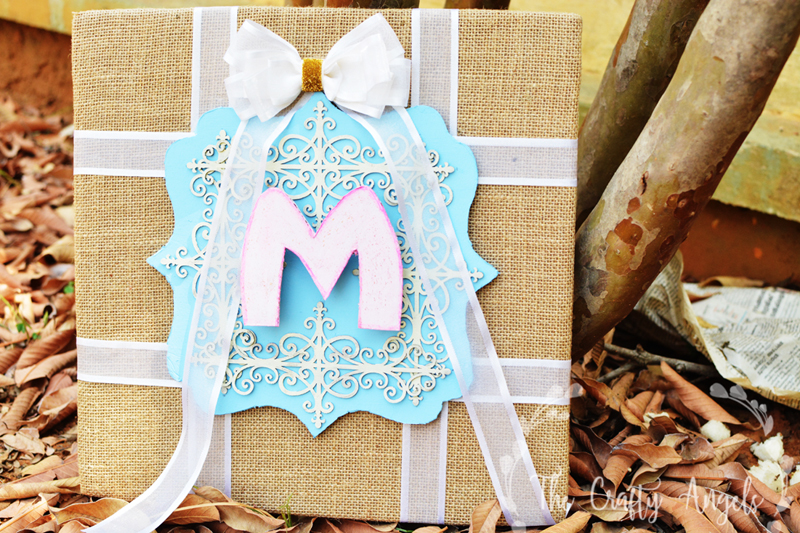
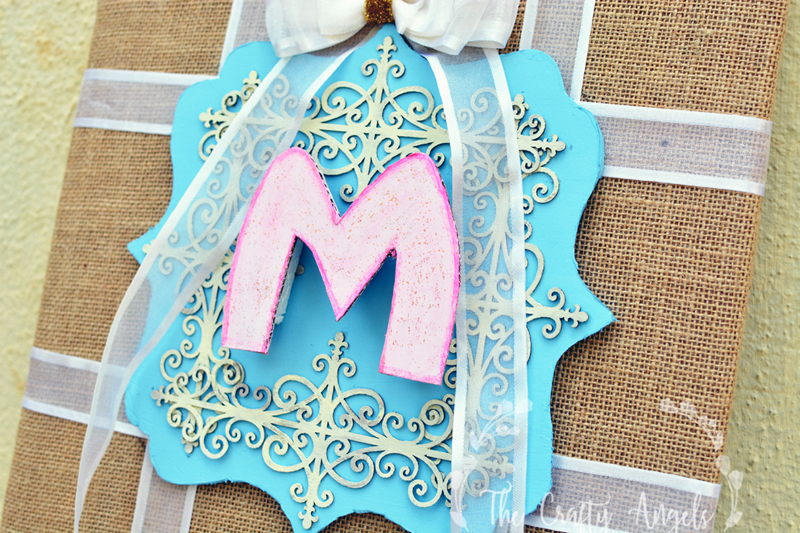
This was my initial plan for DIY monogram wall art but I wanted a little more detail so added a white organza ribbon on the burlap panel. I wanted them to be a part of the blue foam board frame and not make another frame totally so I placed the foam frame at the middle and marked the corners with a pencil on the burlap panel. I then placed 4 ribbons in such a way that they formed a small square with their corners overlapping the points I marked. I used cello-tape to adhere these ribbons tightly to the back of the burlap panel.

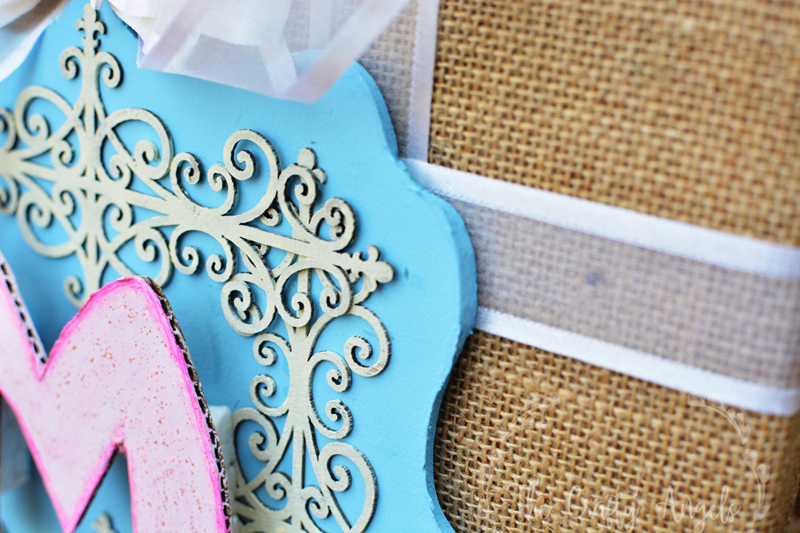
The final piece I made was a monogram cut out from a carton board. Instead, you can use MDF or chipboard alphabets or place a chalkboard to write sentiments, its totally up to you. I cut out an M (as it was easiest to make :P) and painted it with French Rose matte acrylic paint from Itsy Bitsy.
(Design inspiration courtesy : shaken together life & love of family and life )
xoxo Angela