
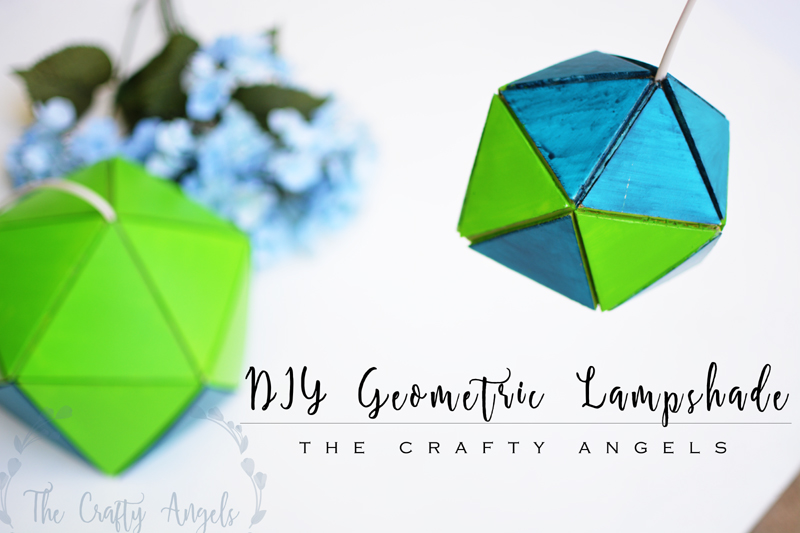
DIY Geometric lampshade tutorial
Made these DIY geometric lampshade for my crafting table and I cant believe how easy it has been. Cut out triangles and assemble to make these pretty shade !!
I made these pretty DIY geometric lampshade as my very first DT post for Itsybitsy and I loved how they turned out to be. I think its the colors. I always love this combination of blue and green. Vibrant and pretty! I made these out of foam boards and you can buy them from itsybitsy. These boards are durable and easy to work with and also are available in various shades other than white.
Let’s jump right to the tutorial for these DIY geometric lampshade but before that a few things about foam boards.
How to work with Foam Board :
- Foam boards are usually about 0.5 cm thick. These do not break as such but when bent, develop creases which are permanent. They come is storeable sizes but be careful about the corners.
- These boards are somewhat similar to thermocol boards but thankfully do not crumble into smaller pieces while cutting, that’s a big plus point.
- The best way to cut them out in desirable shapes is to use a sharp paper knife. Instead of digging the knife all the way till bottom and then trying to drag it along the line, I would recommend you to cut them out layer by layer by moving the knife across the line multiple times in the same direction. I had a few pieces which dragged while cutting out and hence has staggered edges. However, the ones I cut layer by layer came out with super smooth edge finish.
- These boards are sensitive to paints, so be sure to use only acrylic/fabric paints. I painted them with spray paint and top layer melted off!
- Normal glue does not stick the sheets together so a better option will be double sided tacky tapes or even silicon glue.
- Foam boards are neither as fragile as thermocol sheets nor do they become soft like cardboards during the rainy season.
- They are the best bet for creating 3D models for school projects and also DIYs for home.
Tutorial for making DIY Geometric lampshade with foam boards:
Coming back to the tutorial; these DIY geometric lampshade is super easy to make but calls for a little bit of patience! Links to all the supplies used are tagged at the end of this post so go ahead and try your hands on making these lampshades.
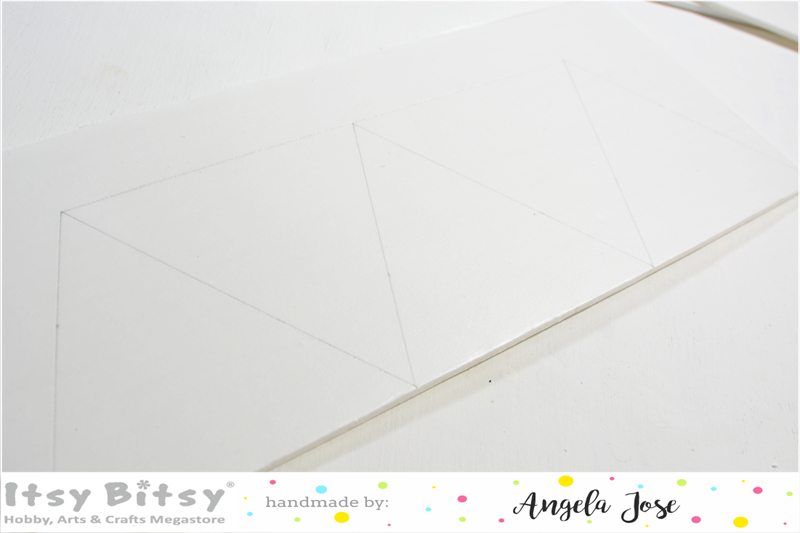
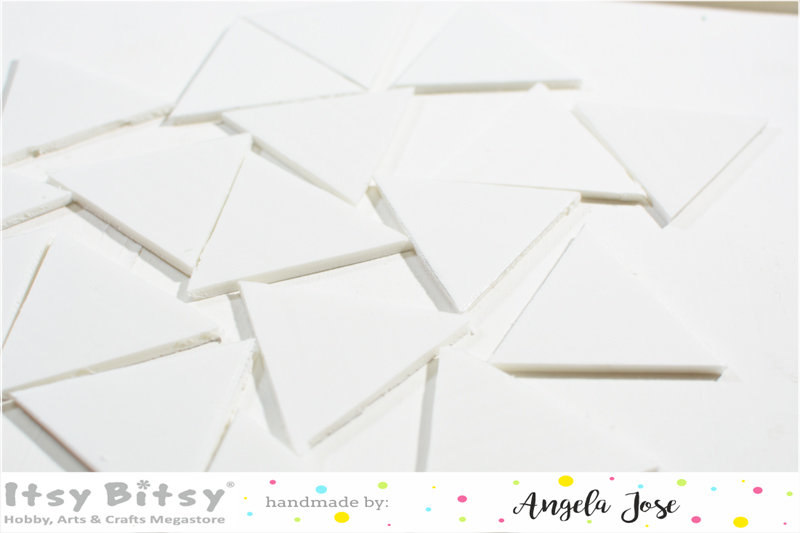
Next, you need to cut them out carefully. As I mentioned, keep a ruler and draw lines with your knife one over the other till the foam board is completely cut. Cut out 15 such triangles for one lampshade.
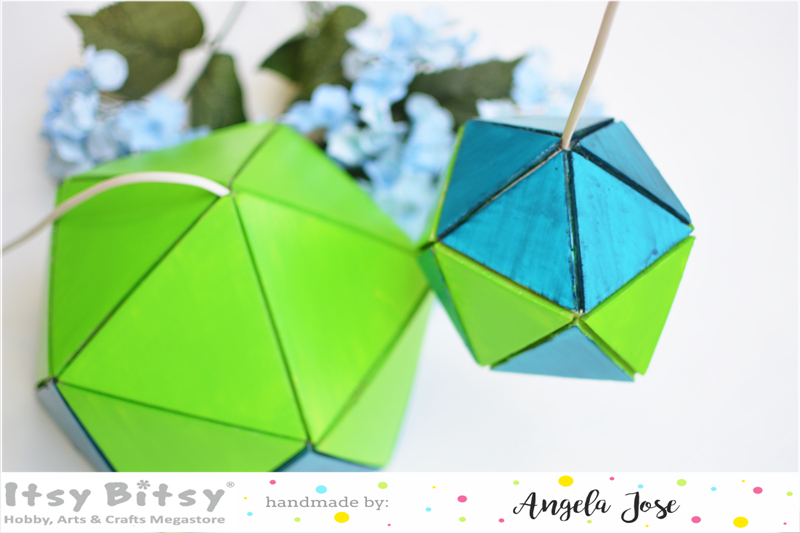
Next you need to choose the color scheme for your lampshade and how they should be arranged. Both my DIY geometric lampshade are different in color arrangement. My personal favorite is the smaller one.
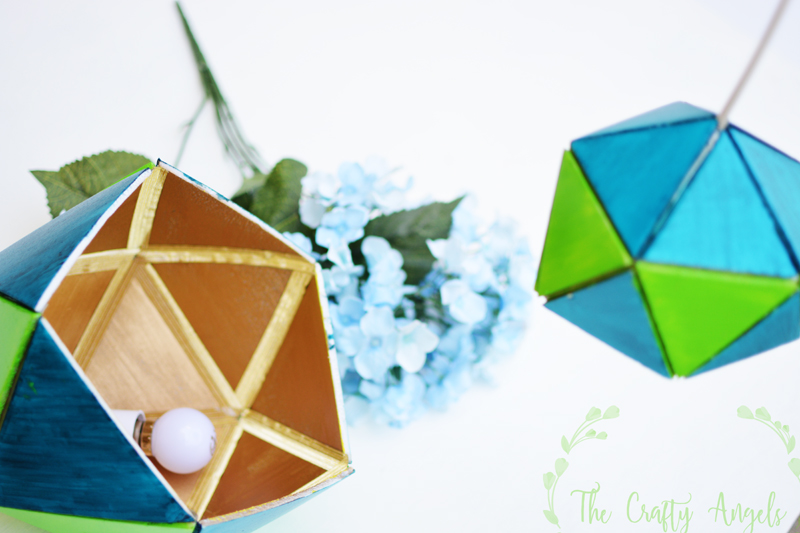
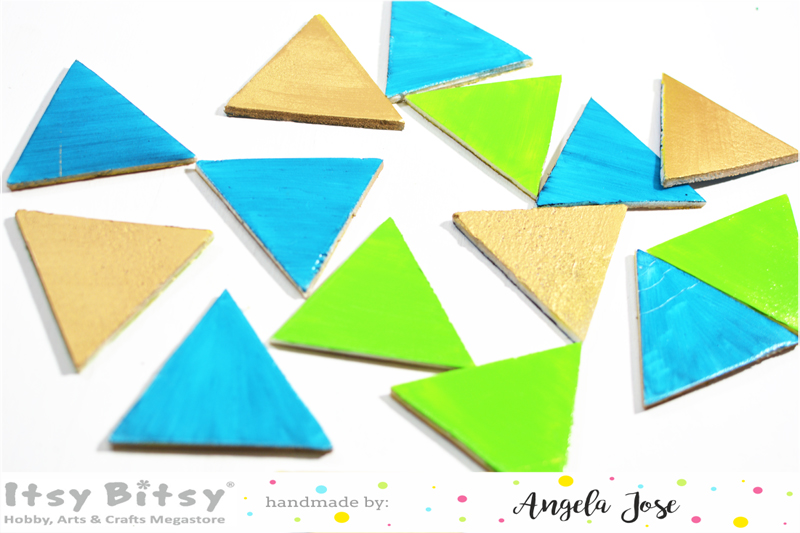
I painted one side of the triangles with Camlin acrylic colors in cadmium green pale shade & turquoise deep and once they were dry, I spray painted the other side with gold. But as I told you, too much spray paint kind of melted the board surface as you can see from the pic.
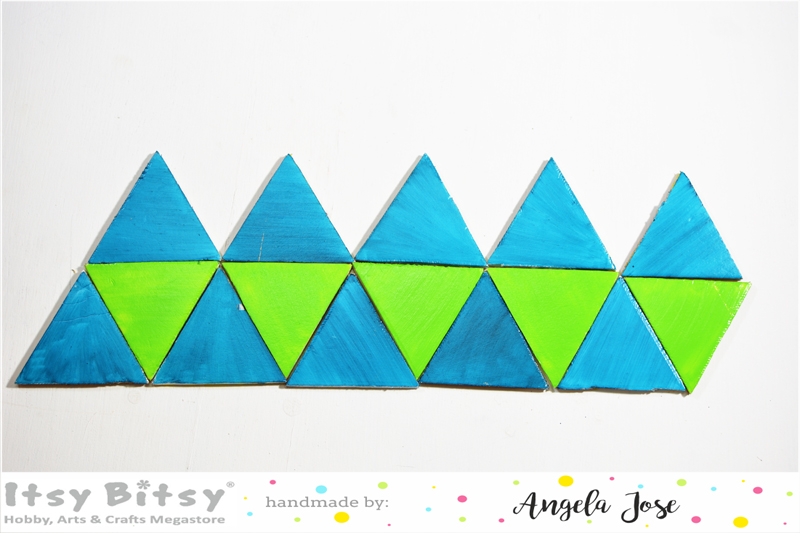
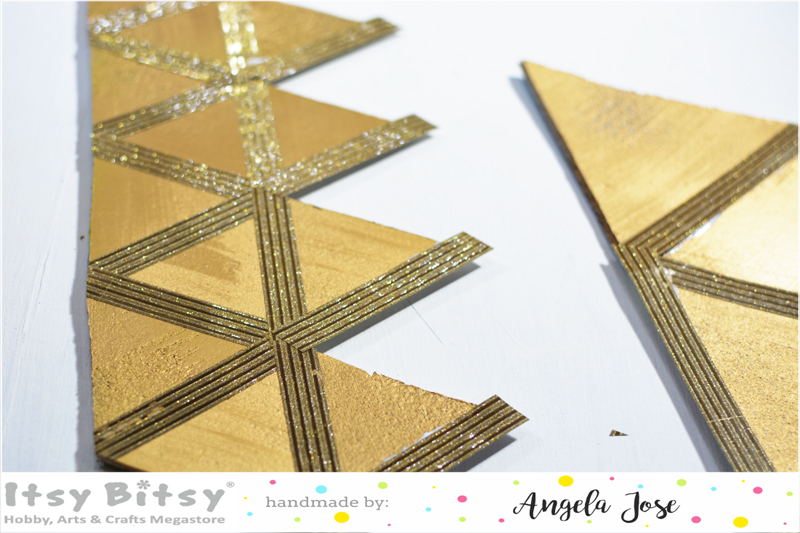
Arrange the triangles as shown the picture below or in any color combination as you like. Next, fix these triangle side by side by using tape at the back. (Be sure of the counts of triangles as given in the picture below – 5 triangles in layer one, another 5 triangles upside down in layer two and last layer of 5 triangles in between)
Since the foam board was not taking glue well,what I did was I used double sided tacky tape and covered them with a matching gold stripes washi tape. This is how the backside will look.
The final part is a little tricky. Help from a second person might prove advantageous for holding the lamp while you stick the dome part. Each of the triangle at the top line needs to be stuck side by side carefully.
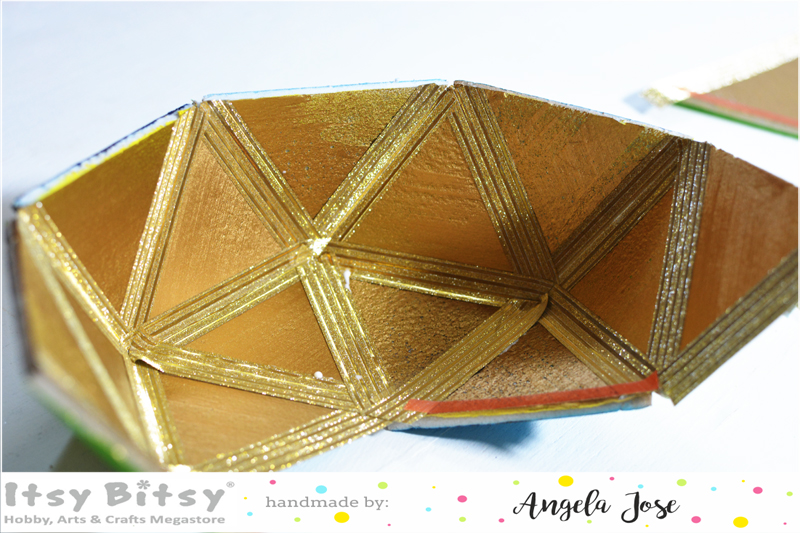
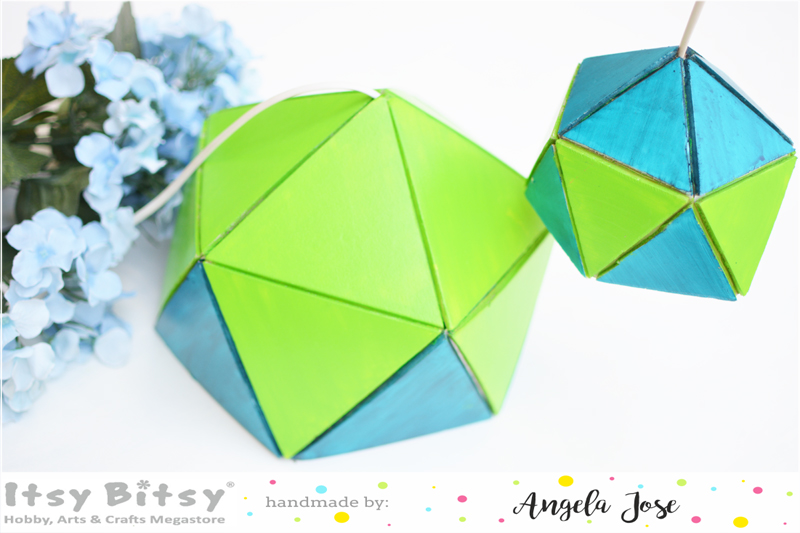
Once all the triangles are fixed side by side, your DIY geometric lampshade is ready! A final touch-up on any areas that missed paints can be done right now. Add your light bulb to the lampshade ( since the triangles are stuck together with washi tape, a small hole at the top dome will allow the cable pass through.)
A few more pictures of the finished DIY geometric lampshade before I hang them next to my crafting table 🙂
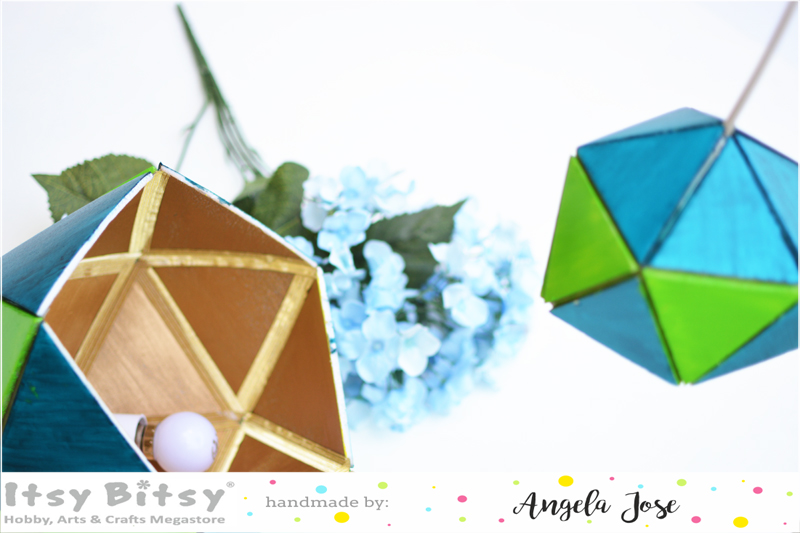
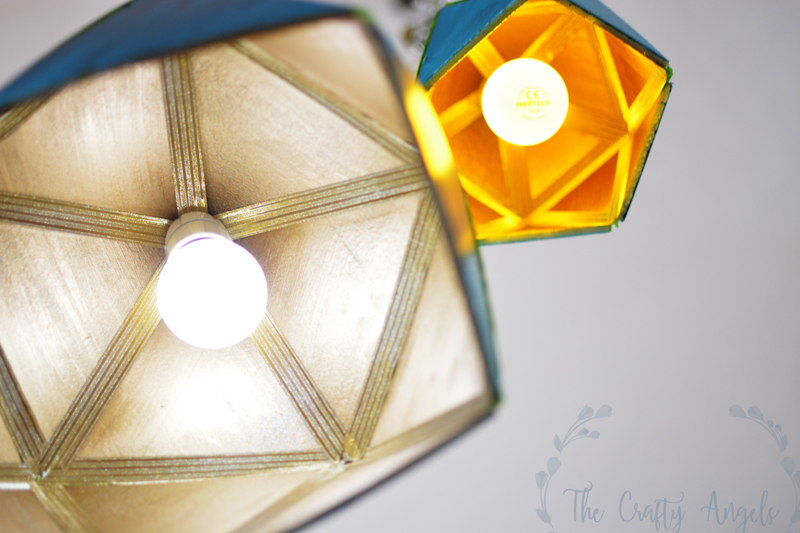
Home home decor projects lined up for this year so stay tuned 🙂 Hope you liked these simple DIY geometric lampshade tutorial.
Supplies used :
- Foam boards
- Red tacky tape
- Gold washi tape
- Camlin artist acrylic color Cadmium Green pale
- Camlin artist acrylic color Turquoise deep
- Gold spray paint
xoxo Angela
very nice
nagalakshmy
Thankyou Nagalakshmi. So glad you liked the tutorial 🙂