
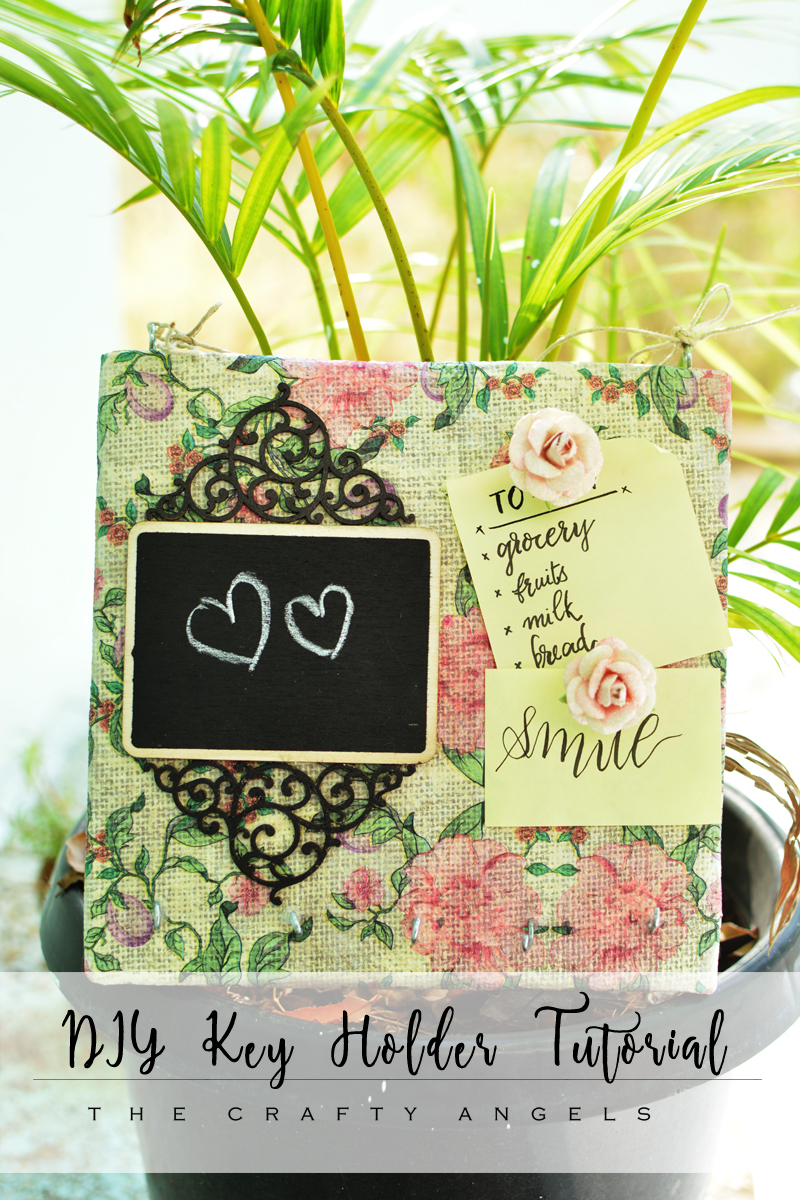
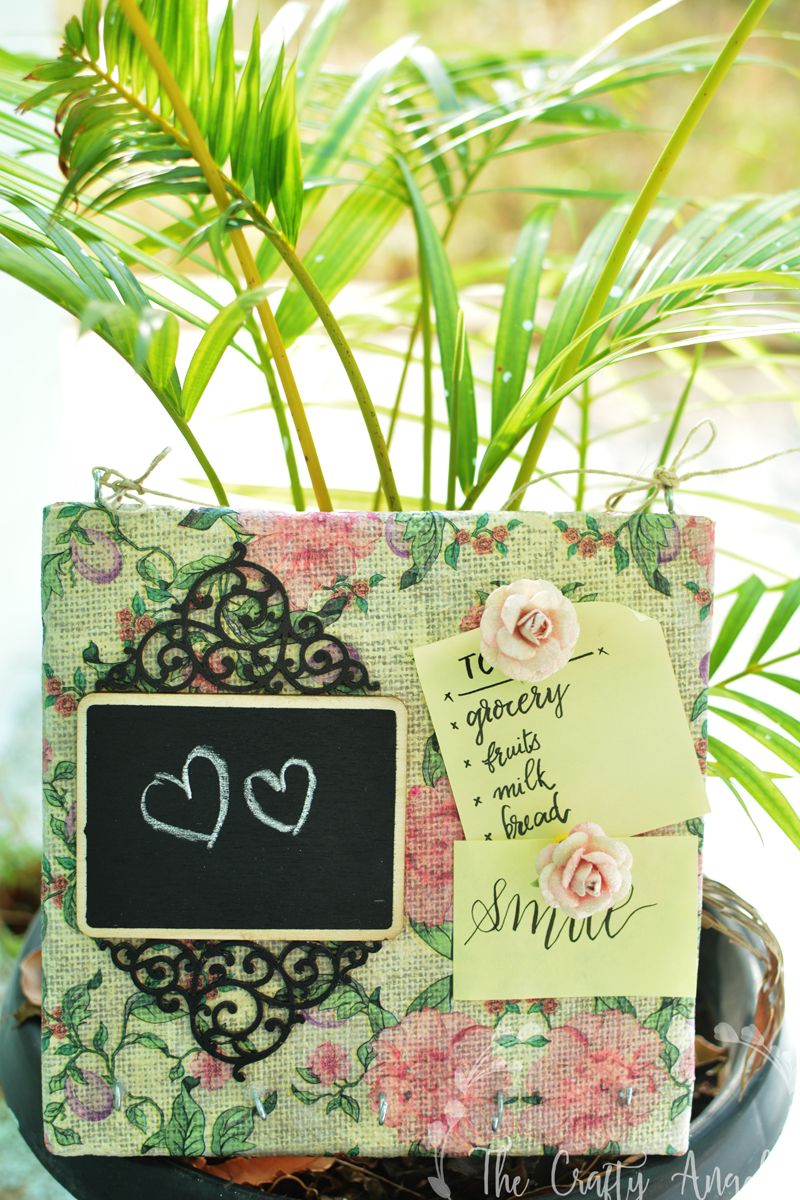
How to make a Stunning floral Entryway DIY Keyholder
Make your own personalised DIY keyholder to match your home style. I made these absolutely floral vintage DIY keyholder with a streatched burlap canvas by decoupaging a floral napkin over 🙂
So as usual I sit down late night after my daughter has slept to put up yet another tutorial post. And I was left wondering if anybody is even reading these posts. If anybody is looking out for the next tutorial or post from thecraftyangels? I have no idea who are my readers although I know there is ample number of visitors but who are you guys? Do drop in a “hi” if you are a regular here 🙂 Coming to the post, remember the DIY Monogram tutorial I did last week ? Today’s post like the last one used a burlap canvas board as a base and you can purchase them from Itsybitsy. I decided to throw away my old key holder which had worn out completely and was definitely not the first thing I wanted anyone to notice as they entered my home. So I made this really pretty entryway DIY key holder and I am sure you would it love it 🙂
[irp posts=”5045″ name=”Making chic DIY Monogram wall art for Nursery”]
Materials required to make DIY Key Holder :
- Burlap canvas board
- Floral decoupage napkin
- Decoupage glue
- Accessories to adorn the canvas
- Cup/eye hooks
- String
DIY Keyholder with ItsyBitsy Burlap Canvas
[irp posts=”4865″ name=”Making Hexagon wall shelf with Popsicles”]
I love making minimalist DIY projects and I hope you love seeing and getting inspired from them. These DIY decoupaged key holders are just perfect addition to your home and not just key-holders, you can use the same procedure to make them as a wall frame or photo-frame as well. And the floral spring vibes ahhh! Impeccable 😀
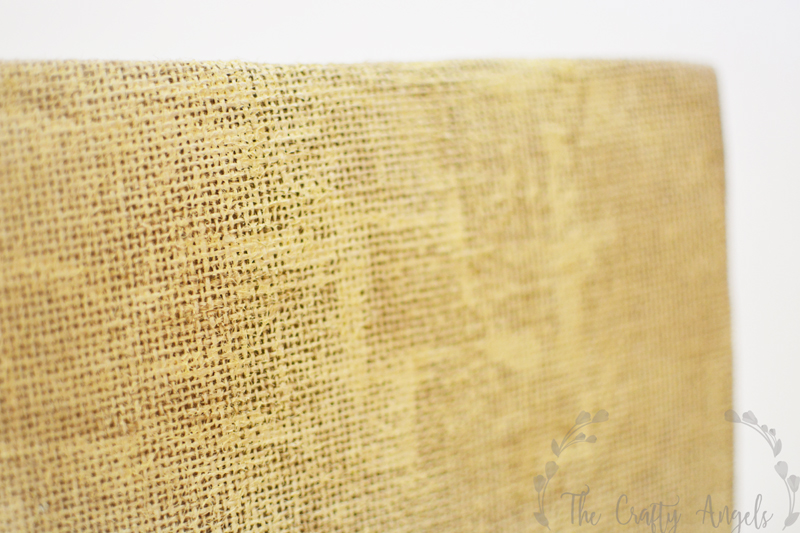
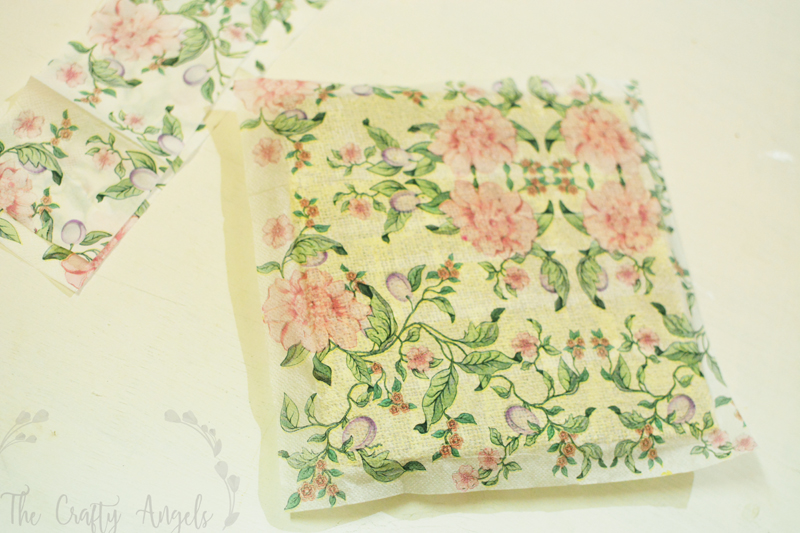
I started off with an 8″x8″ stretched burlap panel and painted it with chalkpaint in the shade fortune cookie. The decoupage paper I had planned to use had white background with flowers all over and I wanted the colors of the flowers to be a little vivid. You can choose any light shade of paints for the background and it needn’t be like totally white-washed, just a small scratchy layer of paint.
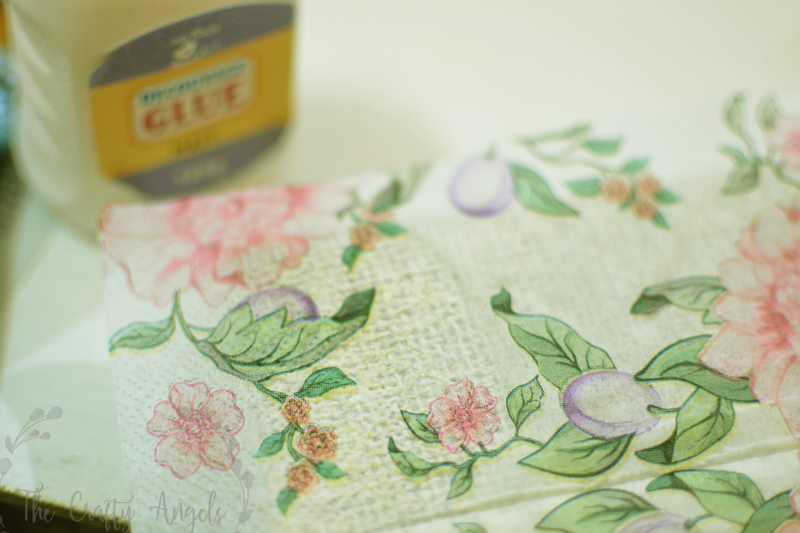
Using decoupage glue from itsybitsy, I pasted my decoupage napkin over the burlap panel. Start from one corner and start applying glue in strip of lines and not all together. Make sure you apply just little glue with brush to form a really thin layer as they tend to pile up between the burlap threads. Once you have placed the napkin on glue, with help of your fingers or a tissue paper roll, dab on them to make sure the napkin is blending and merging well with the burlap texture. If you have excess glue beneath, the napkin will start tearing off as you press them to the surface so remember to wipe off excess glue.
[irp posts=”3278″ name=”Creative ideas to decorate blank wall”]
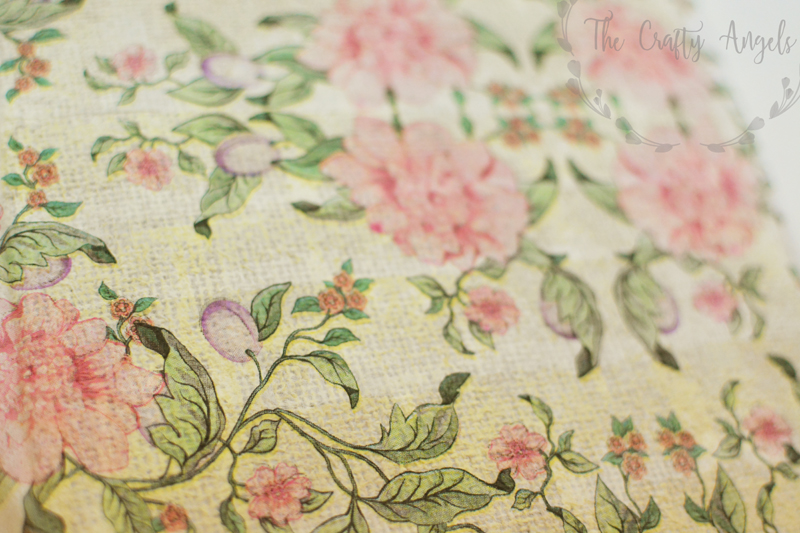
Once the entire panel was complete, I let it dry for a couple of hours before putting a coat of same decoupage glue all over its surface. Decoupage over burlap created an interesting output actually. It has a look of burlap due to the replication of texture over its surface , but at the same time, it is so much more versatile in the sense that you can incorporate anything into burlapy feel as long as you have it in the form of decoupage napkin 🙂
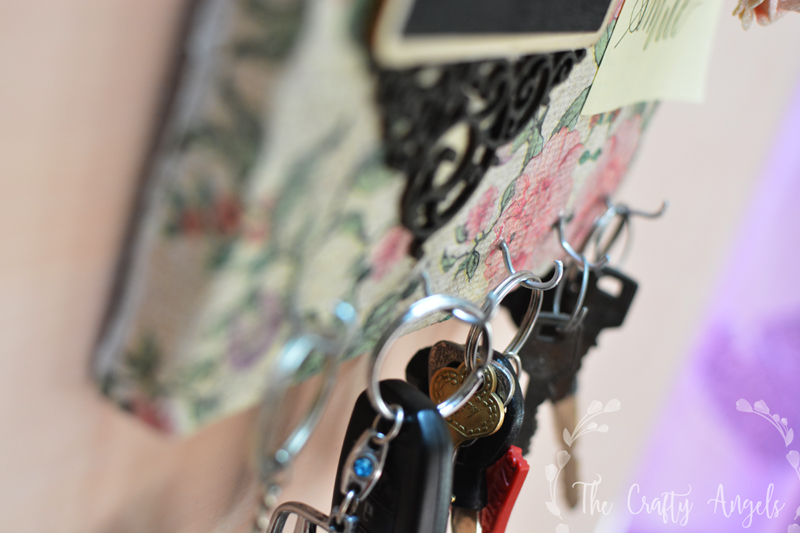
The rest of it are just simple arrangements of various elements to form the key hanger. I used simple round hook purchased from local hardware store to hang the burlap panel. Interesting thing is the burlap panel screws in your screws so well! Just put an initial small hole like impression and then keep twisting it like a screw and it fits well. I wanted to be extra sure so I put a small drop of silicon glue at the screw point 😉
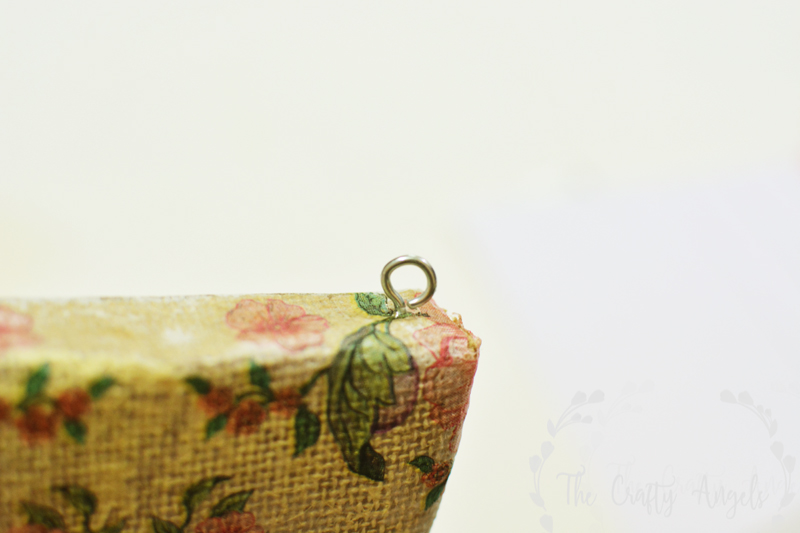
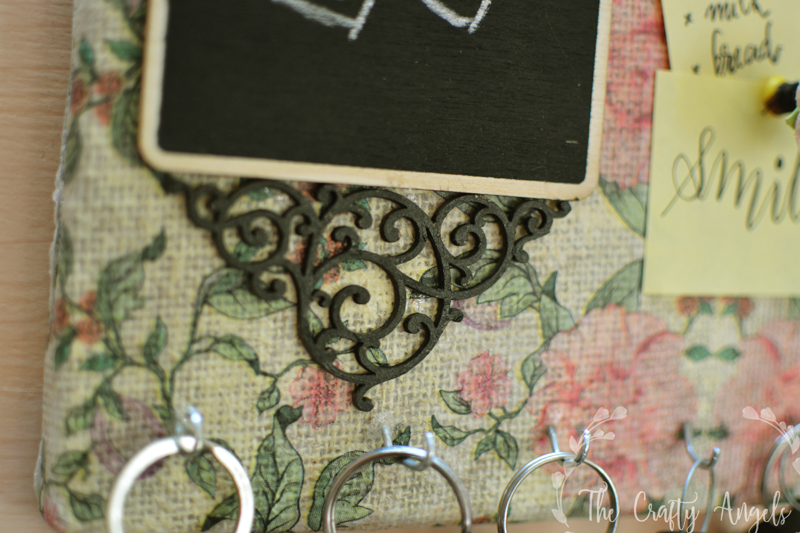
For the hooks to hand the keys too, I used the same screws- just that I opened the hook part to hold the keys !
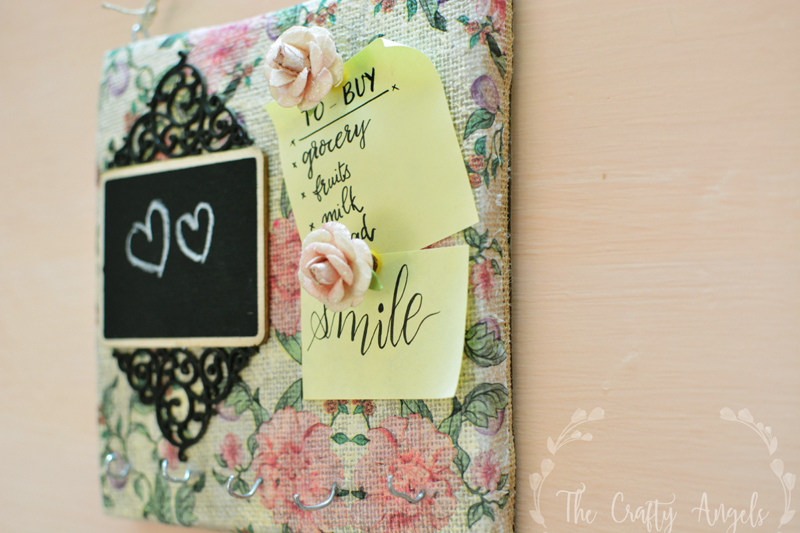
The rest of the area had to be used wisely and one idea I had was to put up a mirror with chipboard backgrounds but then I found these tiny chalkboard on Itsybitsy and I couldn’t wait to use them here! I used the help of two corner flourish chipboards from Itsybitsy to adjust the space on the panel and the rest of the space, I though I wouldd leave aside to put up messages/notes etc.
[irp posts=”2859″ name=”Decorate your home – 10 things to shop for as a beginner”]
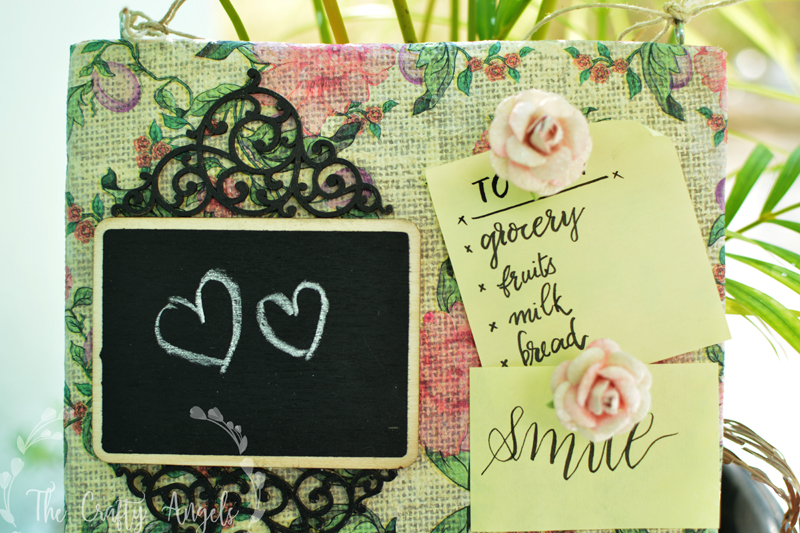
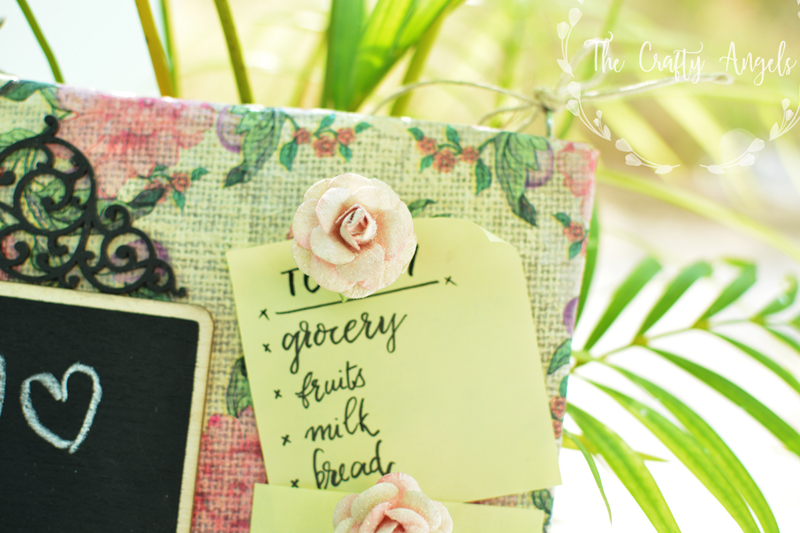
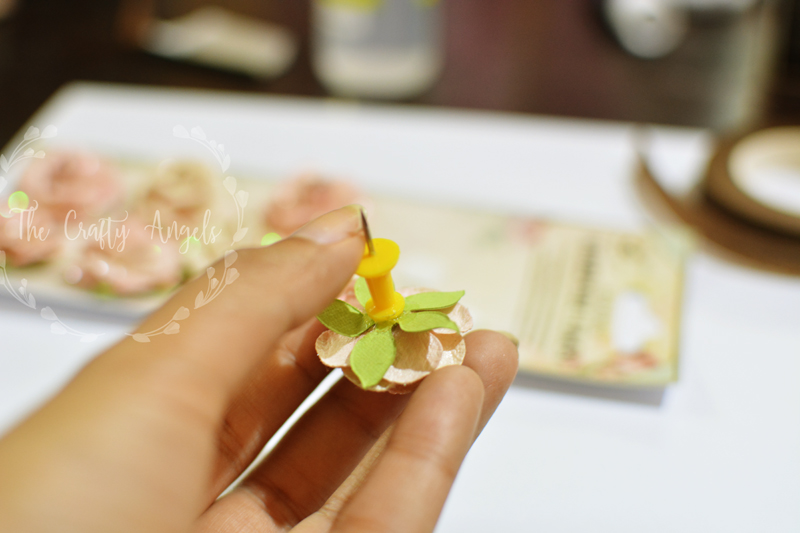
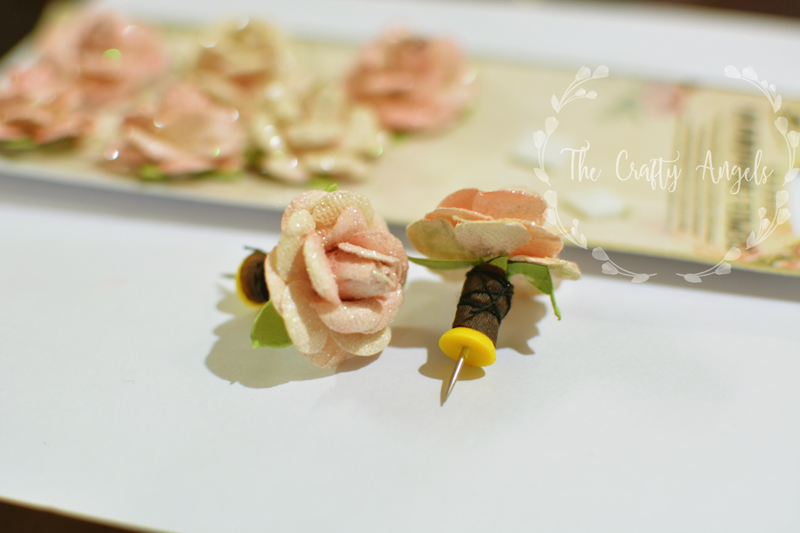
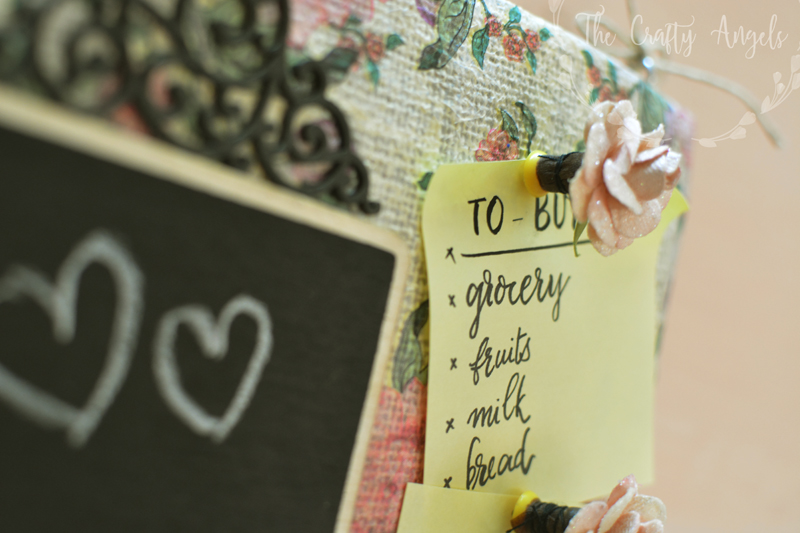
Due to the textury nature of burlap panel, sticky notes weren’t sticking well so I made these small push pins using paper flower embellishments from Itsybitsy. These flowers have sepals too which I folded on to the push pin after putting a small drop of silicon glue and secured with floral tape. To be just extra sure I tied them around with s thread 🙂
Pretty huh? Its amazing how you can add your handmade love to everyday things you use. I am sure we all neglect the entry way of our house and often our keys end up in handbags or dining table of showcase shelves. Try these simple keyholders and add that much needed organisation element to your home 🙂
Did you like my new DIY keyholder? If you happen to make a new DIY keyholder for your home, be sure to let me know 🙂 I would love to see the new design .
xoxo Angela

Hi, I come to your blog frequently to see if you have posted something new :-). So I will be reading your tutorials :-D.
Thanks,
Vidya
Hello vidya, good to know that you look forward to my posts. I am not posting that frequently these days as my daughter started going to school and things are yet to fall in place. Will definitely put up a post for your sake this week 🙂 You made my day 🙂
Hi Angela,
I read your tutorials regularly. Very impressed especially I know how difficult it is to balance your work and family life..still finding time to follow your passion. .Good work..Keep going..Looking forward to see more of your tutorials, esp how you did DIY tent for your daughter’s room.
Regards,
Maria
Dear Maria, Thanyou for the huge love. I love love love when somebody takes out time to acknowledge the effort that goes into each blog post. Thankyou so much 🙂 I will sure be sharing the DIY tent tutorial. As of now the tent is not putting up well so I need to find a permanent fix. I think it is only fair when you share projects that really work after all the efforts that put into it 🙂
Absolutely beautiful ! Where do you buy burlap panel from ?
Thankyou so much Anitha 🙂 These burlap panels are from itsybitsy – you can shop online at http://itsybitsy.in/ or find their offline stores in india from their site. They have burlap panels in two sizes 8″x8″ and 12″x12″. The one I have used for this project is 8″ one 🙂
too Good Article
thanks Vaidik 🙂
I love DIY. Its very different and unique.
http://trabeauli.com/bedroom-decorating-ideas/