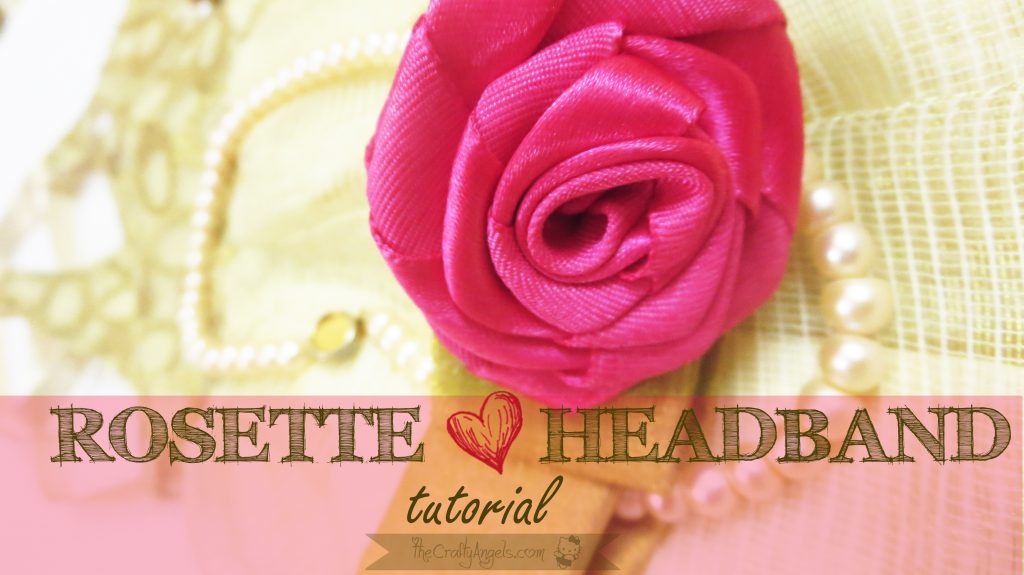
Bow & Rosette Headband Tutorial
Hey guys!
Bow & Rosette Headband Tutorial
My daughter turned one last year and to my surprise, these days she actually wants to dress up when we go out and doesn throw away her head bands anymore 😀 Yaaay! So the crafter in me is cooking up all sorts of designs for her headbands and hairclips! And everytime I see a beautiful one at the stores especially rosette headbands, I’m like – okayI need to make that one!
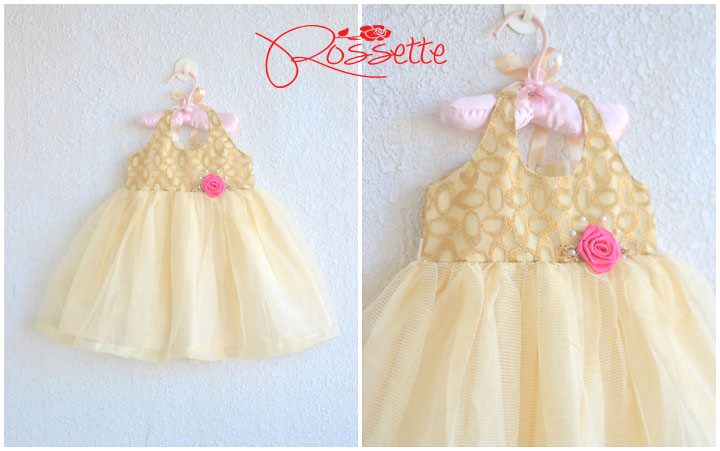
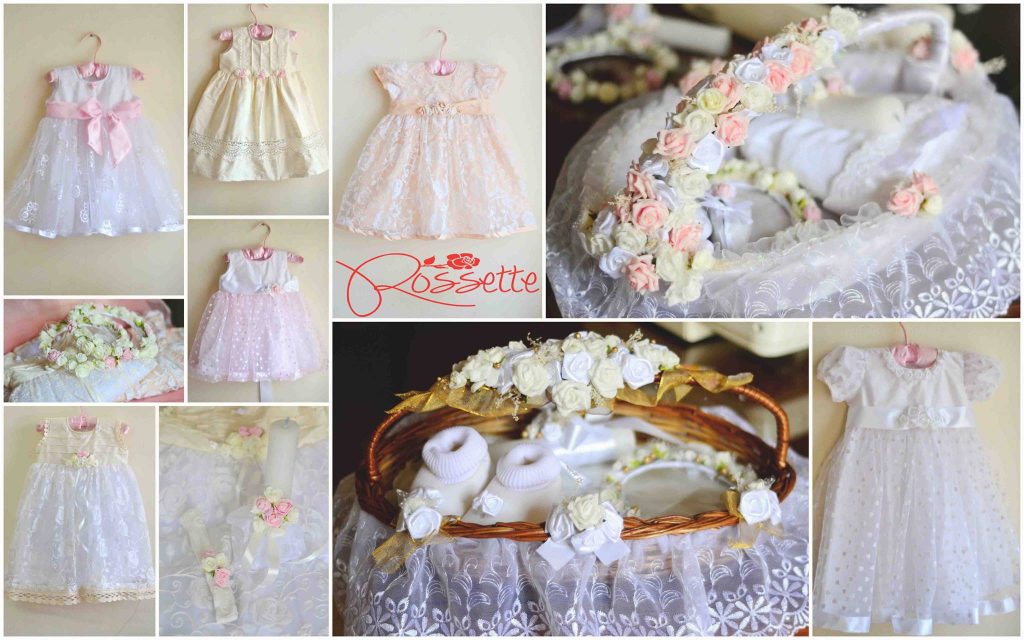
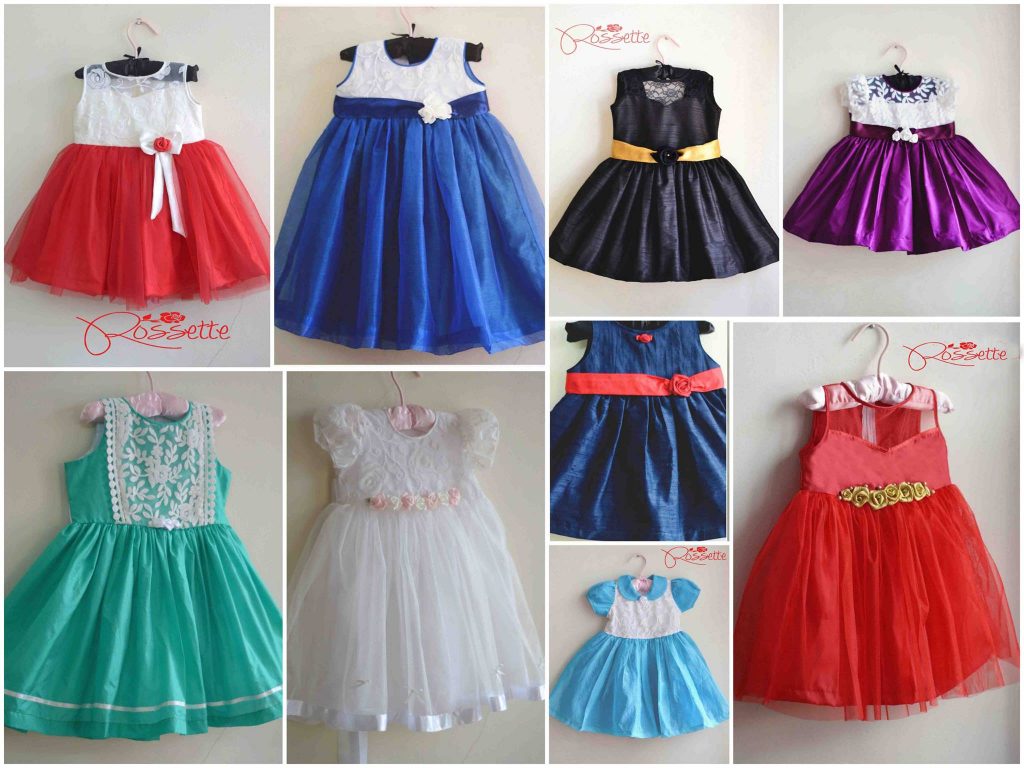
Anyhow this time, I bought these beautiful dress from Rossette creations and unfortunately they have stopped making matching headband for their dresses. But fortunately for me, this is an opportunity to feed my headband craving mind 😛 Before we start the turorial , lemme tell you something about Rossette Creations – I totaly totally love them! and if you are in India and you have a baby girl younger than 4 yrs old, you definitey have to check out their online store HERE. You will be spoilt of choices but unfortunately (yet again!), their stocks sell out like hot cakes and so you need to follow their stock upload dates to grab one !
Rossette Creations Kottayam & Bangalore
I came to know about Rossette Creations through my friend who had bought her daughter’s first birthday dress from them. When I checked out their facebook shop I was like I want them all!! And that was the time when G was not even born 😛 (haha!) I ordered G’s first dress from Rossette creations and that was for her baptism. Rossette Creations takes up custom orders for baptism sets which includes baptism dress, candle, crown, headband and basket and are priced are priced around Rs.4k. I dint not get the full set but bought only the baptism dress and headband which cost me lesser. For G’s first birthday again I chose a candy pink dress from Rossette and we loved it , infact everybody loved it 🙂 I should say that their dresses really made her look like a cute angel! This is the third dress that I got from rossette and thankfully unlike the previous one which were custom made, I got one for her age group still not sold out!
“Chartered accountant Neethu Jeevan Mathew who runs online kids’ wear store Rossette Creations, along with her mother, Susamma Ipe, a former home science teacher, says: “My mother is deft at tailoring and stitches and embroiders each dress by hand. It’s a time-consuming task and the demand for customised dresses for christenings and parties is so much that we actually had to stop making daily wear garments – a segment with which we started off our business.” Susamma adds: It was a strategic decision too because these dresses are more profitable to make. Besides, I enjoy the challenge of creating one-of-a-kind dresses.” The duo’s Facebook page has 11,578 ‘likes’ and counting.” ( from The Hindu HERE ) And their facebook page presently has a whooping 18k+ likes now!
The dress this time did not come with a headband ( I think only customised ones can be made with headbands on order) so I decided to make one rosette headband myself 🙂
Materials required to make bow & ribbon rosette headband
- Satin ribbon ( atleast 1 inch wide)
- Hot glue
- needle and thread
- Elastic
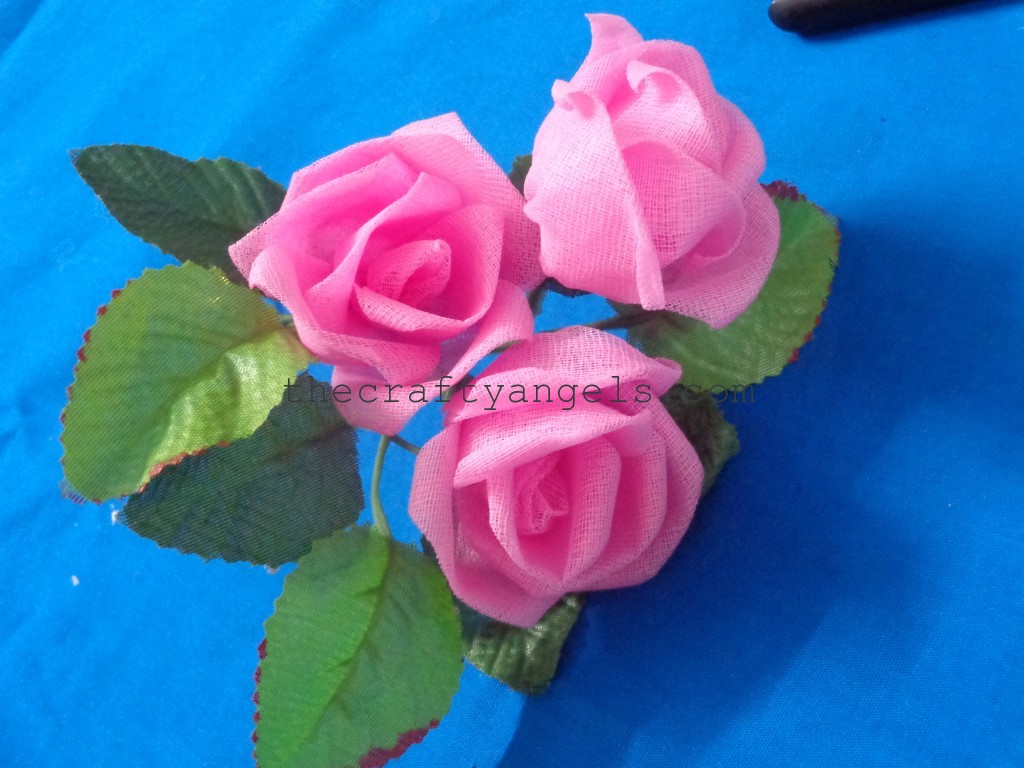
Step by step procedure to make bow&ribbon rosette headband
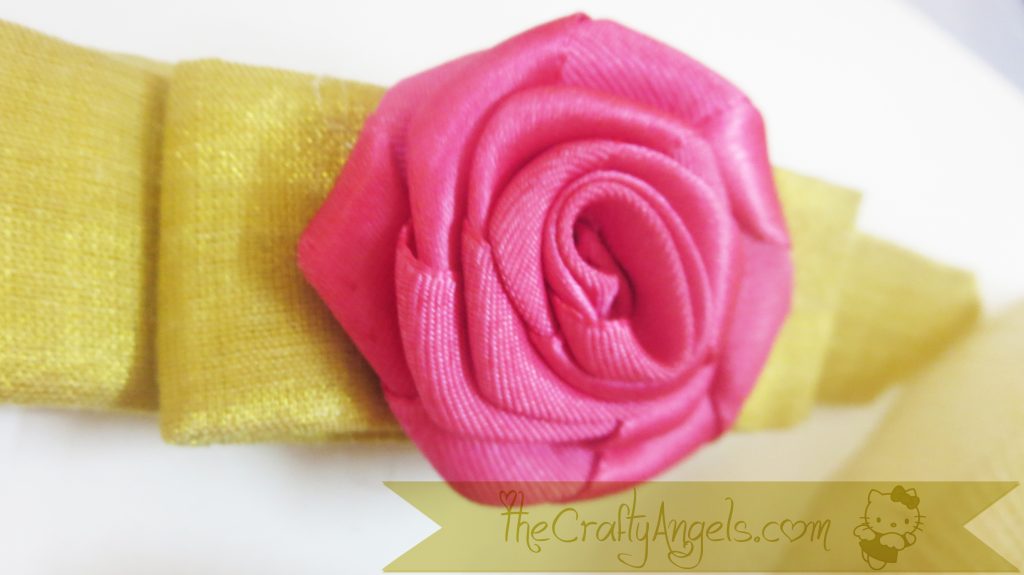
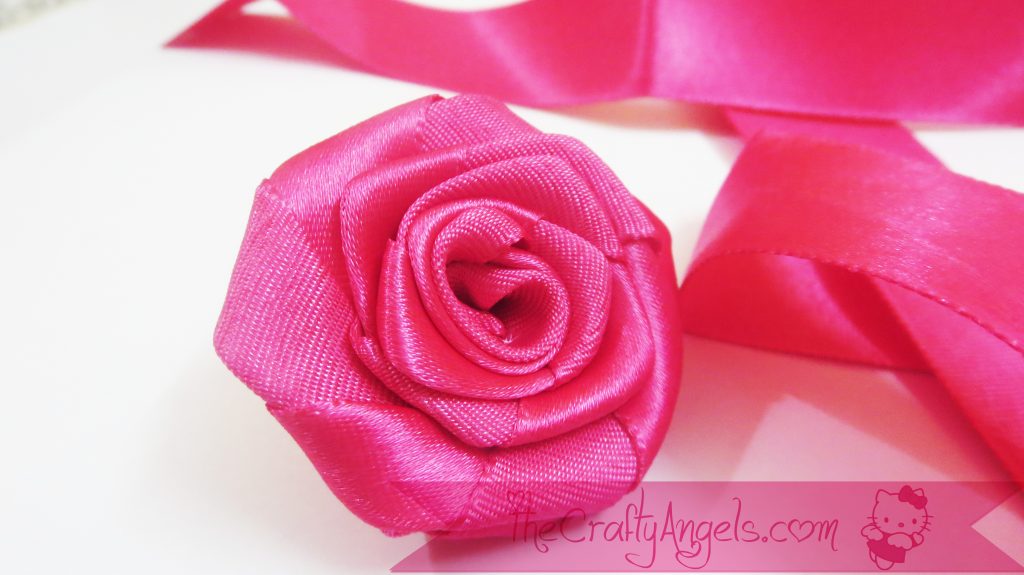
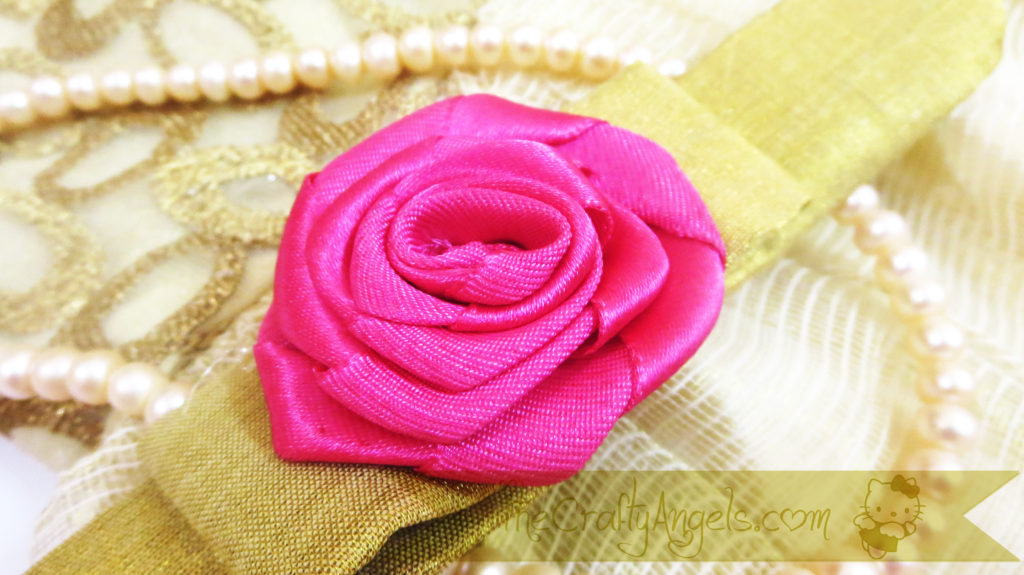
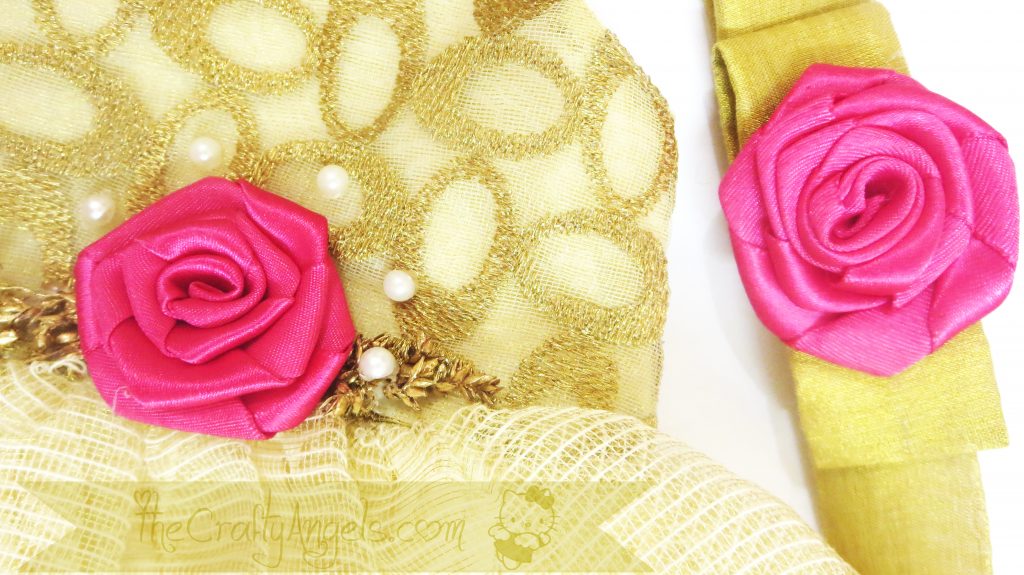
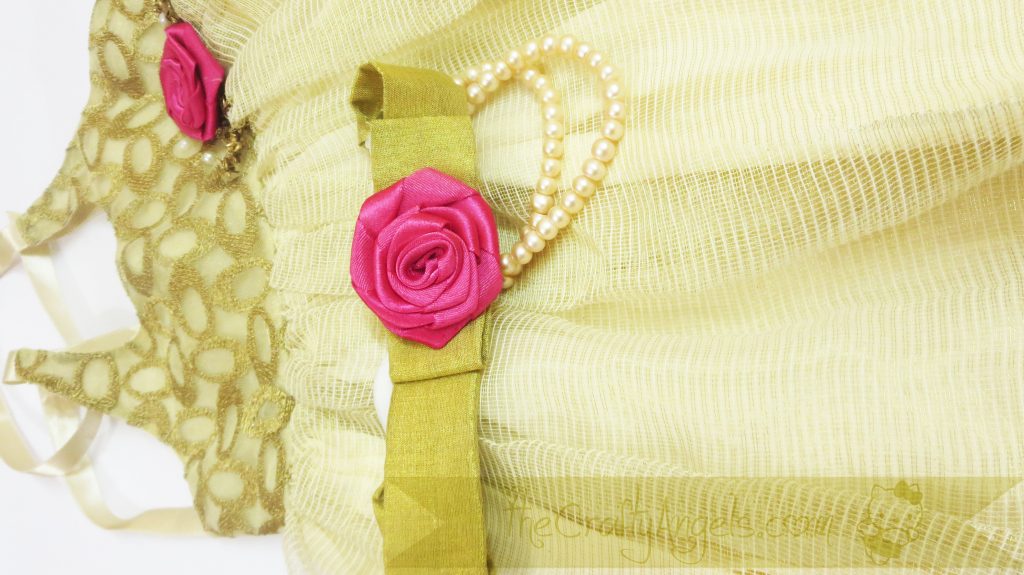
The rosette headband is a modified and combined version of bow tutorial (HERE) and rosette (HERE). The only difficult work to be done for this rosette headband is making the rosette and that is as simple as a cakewalk! The dress that I bought as you can see in the picture is one with embroidered halter yoke and kotta dress with a pop of pink rossette at waistband. So for this rosette headband, I decided to keep the band and bow as gold and finish with a pink rosette same as the one on the dress. Read through to know how I made this rosette headband 🙂
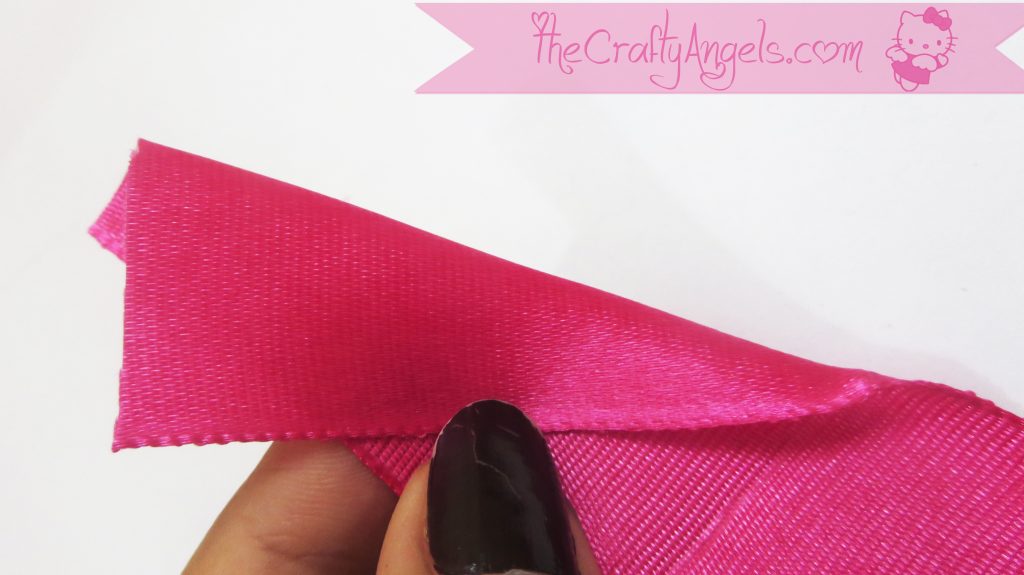
Take your ribbon and measure about an inch from the ends and fold it along 30 degrees angle like in the photo below.
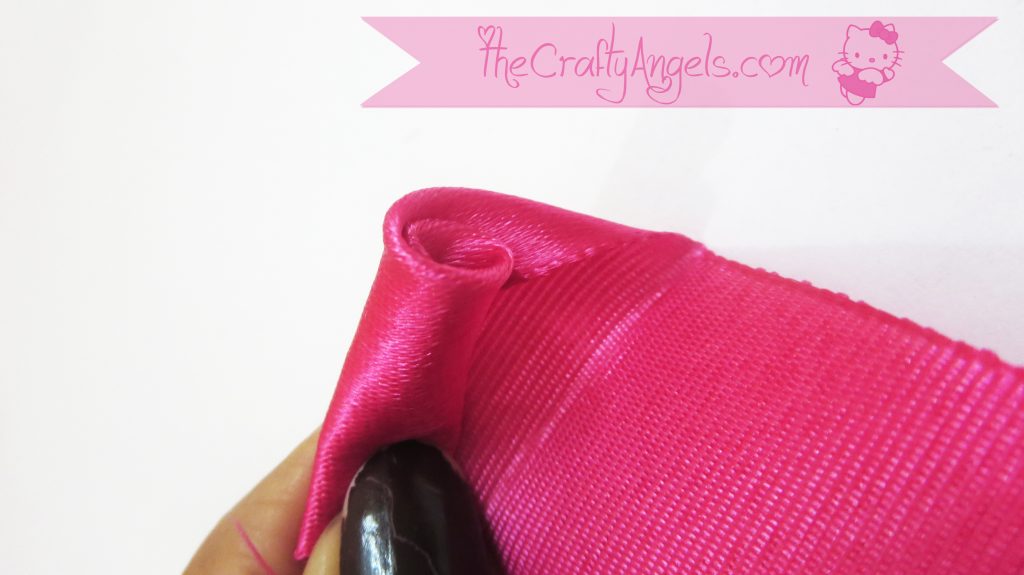
- Start rolling your ribbon along the folded crease till you have say about 1cm of fold still left to cover.
The rolled part is going to be the center bud of your rosette and it needs to be held tight. (You can sew through with your needle and secure it right now or you can secure them at the end).
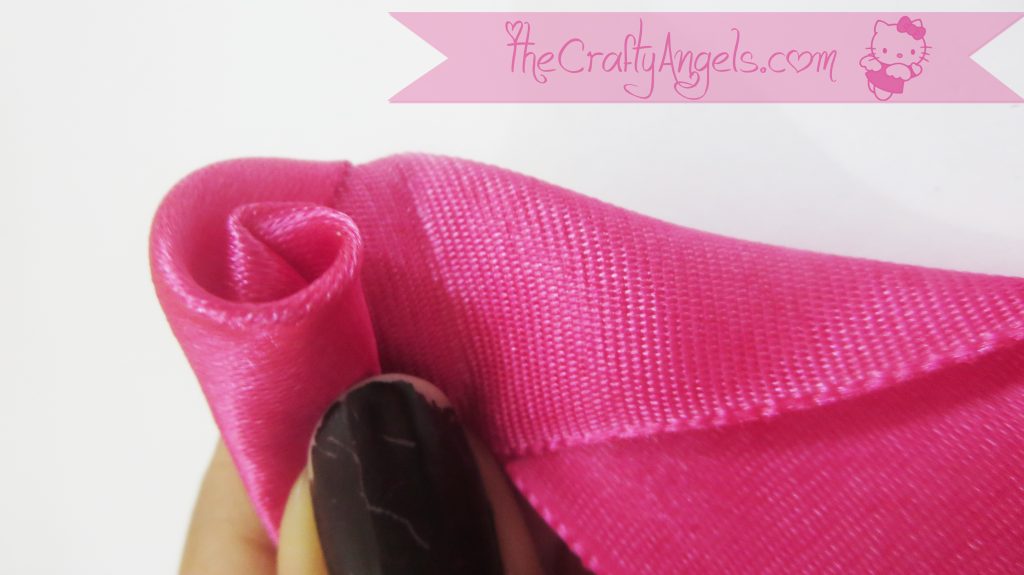
Fold your ribbon outwards ie away from your bud and again roll over along the new fold till you have just almost 1cm to cover.
Keep doing the same over and over again till you get the desired size of flower. Now the catch here is that apart from the center bud, the rest of the flower will almost be a flat shape of twisted ribbon.
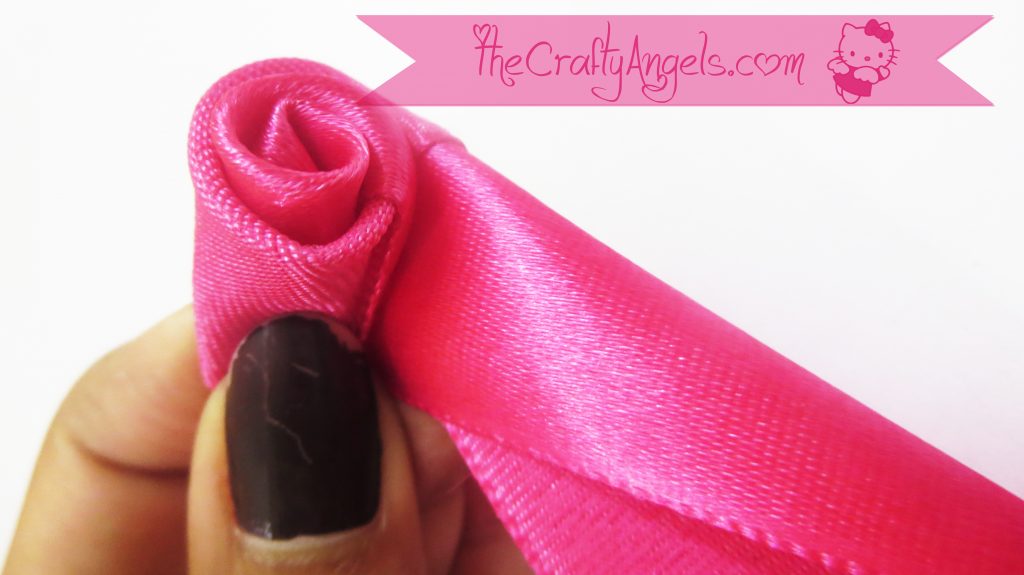
You can loosedn up the rolls or tighten them depending on which your rosette will get a smaller or bigger size.
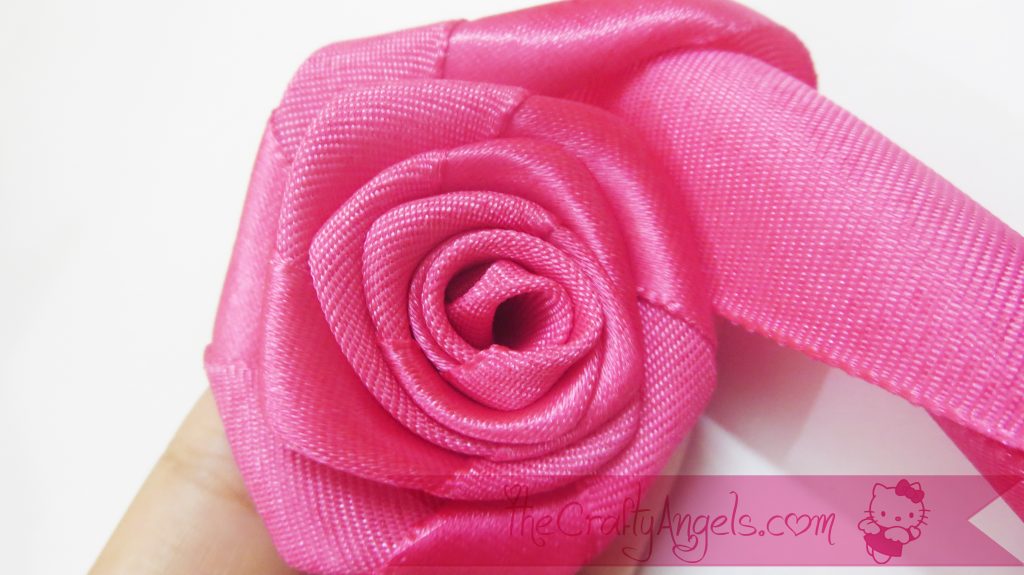
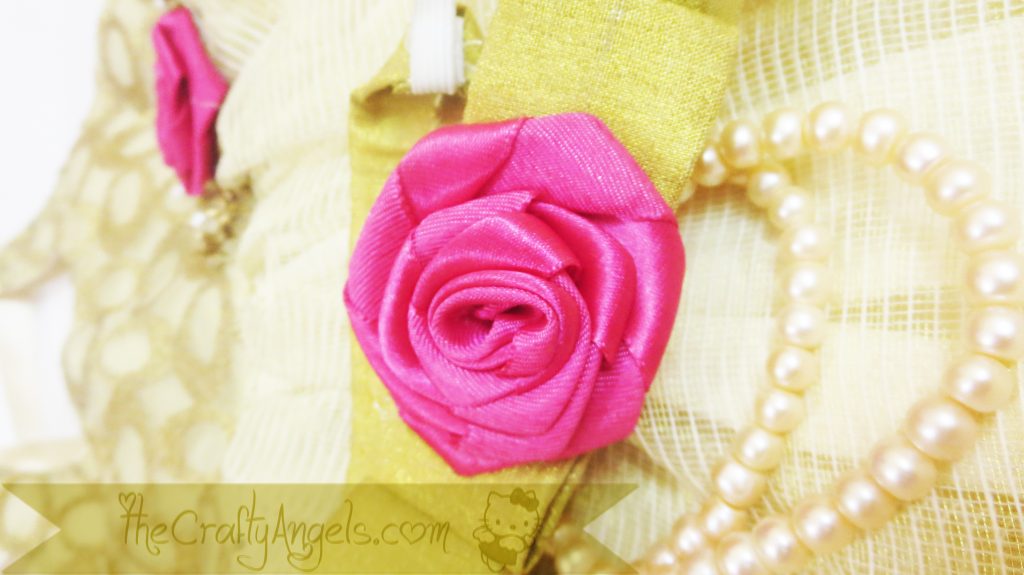
Once you are done, take your needle and sew through the backside to secure all the layers of rosette.
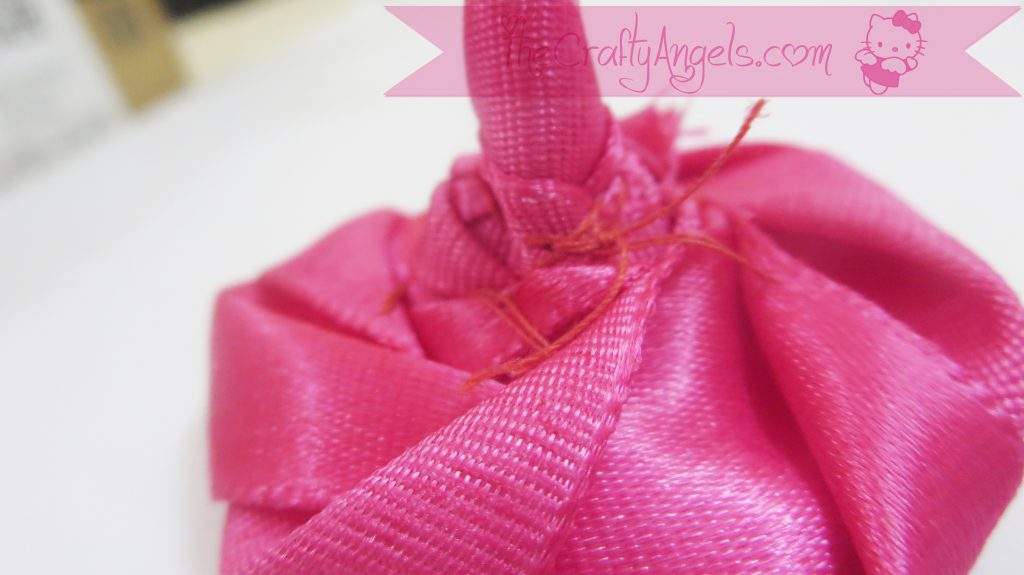
You can chop of that center ribbon bump and cover up the mess with another piece of same ribbon or felt.
Now for the band part of the rosette headband, its very easy although I spent the maximum time on it! Thats because I dint have a gold ribbon and I dont own a sewing machine 🙁
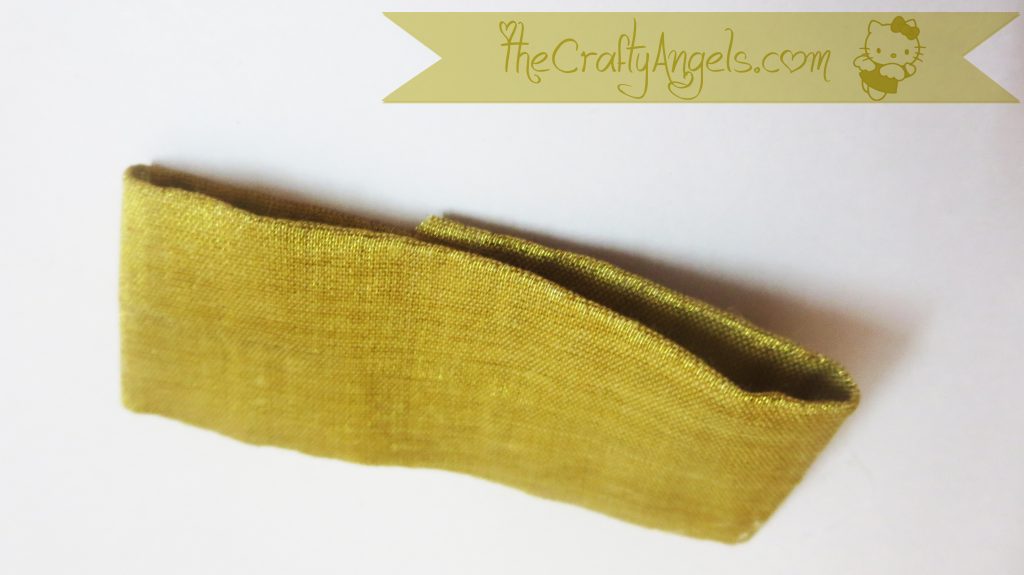
Take your ribbon and fold it into a ring formation and keep you rosette at the center to check if the folded ends are in sync. If not, adjust the ring size and position the flower at the middle where appropriate. Once you have done this, glue the ends of the ring, glue the bottom of ring with top , and secure the rosette at the center.
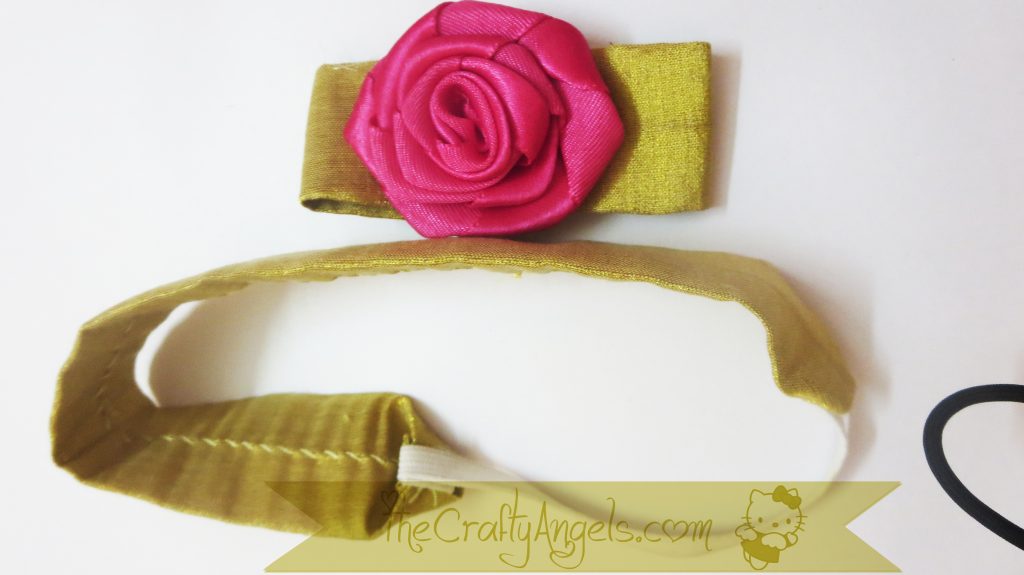
Measure the length of ribbon required for the headband and cover about 1/4th of that lentgh with elastic. If you have a sewing machine, you can sew the elastic over the ribbon but since i did not, i just let the elastic show outside at the backside.
You can they fix the bow&rosette on the headband preferably a little away from the center 🙂
Tips and tricks in making rosette headband :
- Use the widest ribbon that you have – atleast an inch wide else ist a little difficult to get the rosette shape.
- You can keep stictching up the ribbon after each roll/layer or keep it for the end.
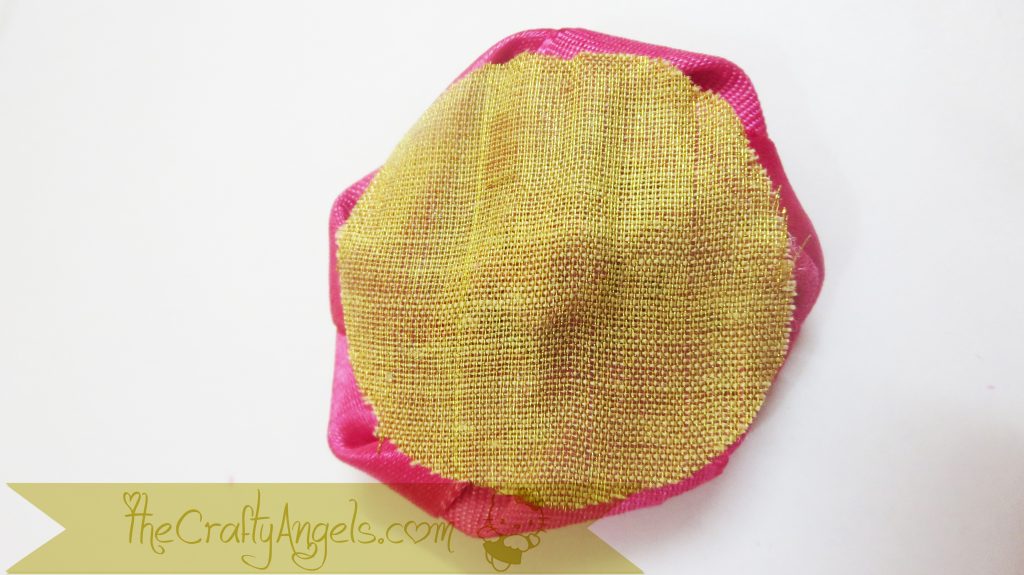
- Make sure to stick a layer at the back after completing the rosette so that the messy part doesnt come out by any chance.
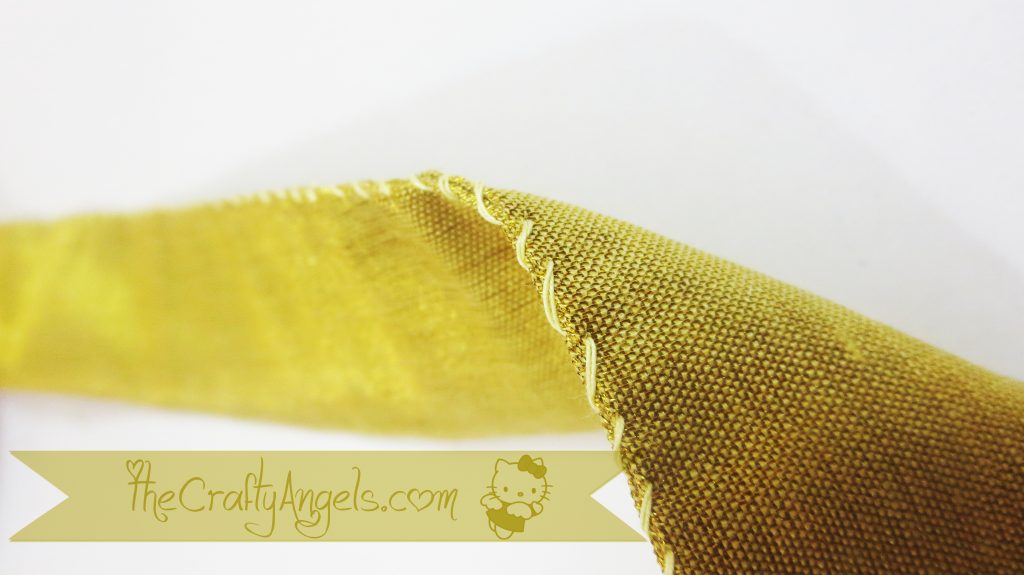
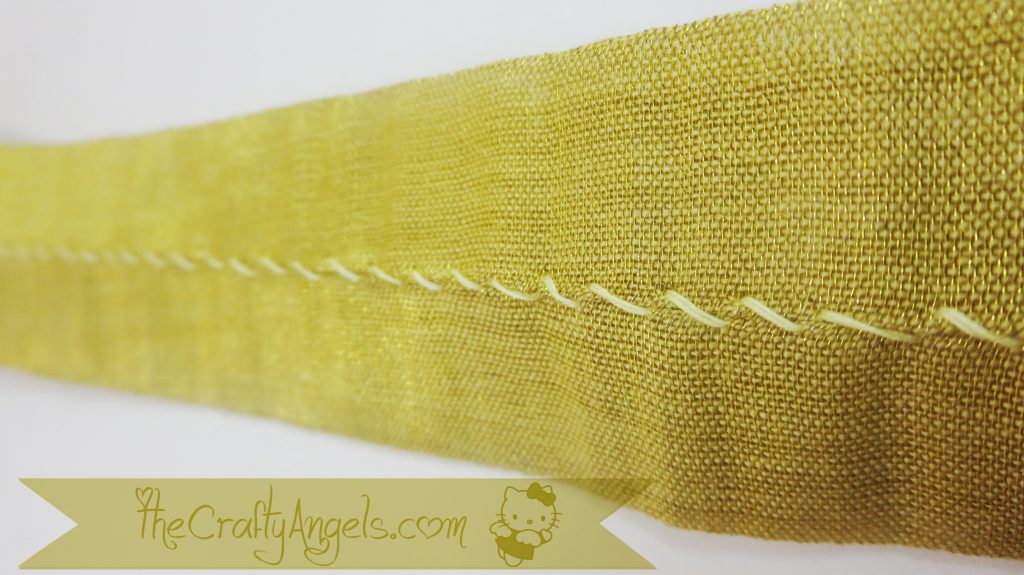
- For the headband, if you do not have a ribbon, cut fabric into twice desired width and hem the ends together like I did. Once the stitching os over, bring the stich to the center and iron the fabric so that the handstitch is not visible on the rosette headband.
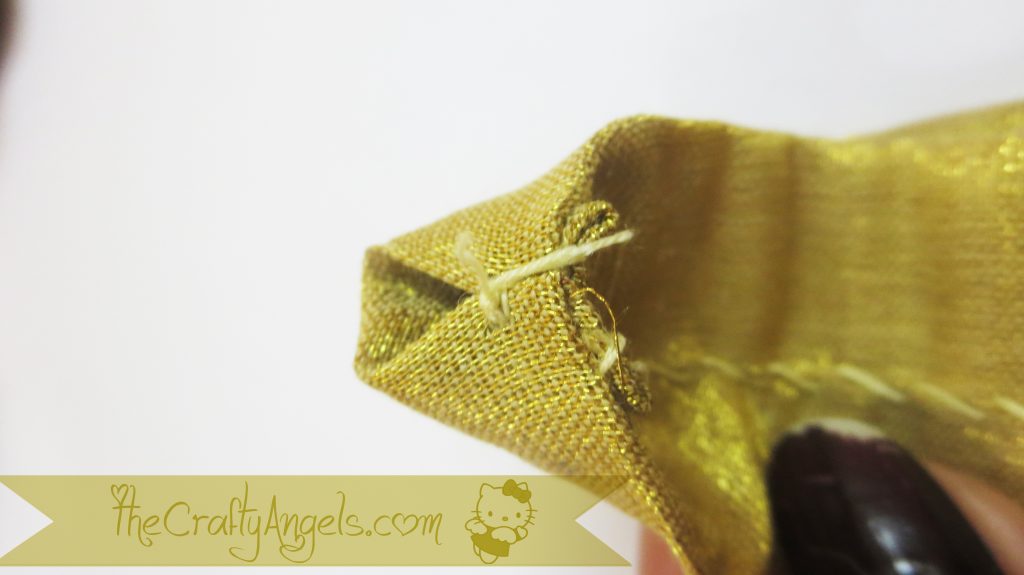
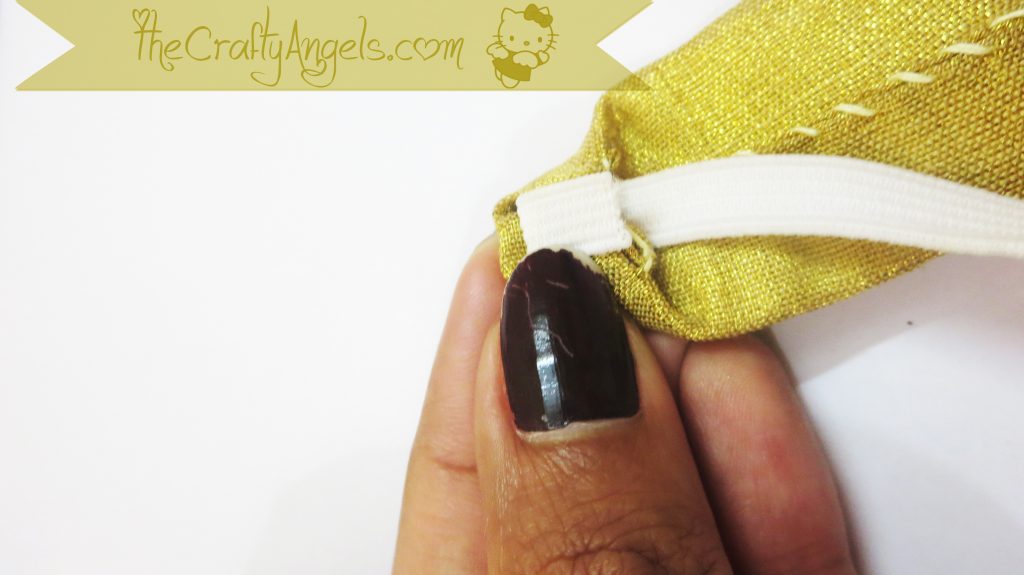
- For securing an elastic to the rosette headband, you can simply stitch it to the ends or follow what i did. I sticthed together the egdes of each ends together such that a pseudo thriangle is formed through with the elastic could pass through. I used hot glue to secure the elastic since hanstiching elastic was a very bad idea ( the last time i tried it was a disaster :P!)
- For the bow part, I suggest that you apply glue from the center to 1/4th length of the bow and not just a dot at the center. When you baby wears the headband, due to the curvature of her head, the bow will look a little odd otherwise.

Craft suppies sources for rosette headband :
- Ribbon – itsybitsy ( they have a set of pink & purple shade ribbons of 1.5inch width)
- Hot glue – itsybitsy ( old one – need to change it though because its either leaking and literally making cobwebs everywhere or not working! any suggestions for new one?)
- Gold fabric – local textile shop
- elastic – ponycraft ( they have heck loads of elastics!)
- Matching dress – Rossette Creations (HERE)
Hope you all liked this easy yet festive rosette headband I made for my daughter 🙂 Do browse the blog for more headband related tutorials 🙂 Till then bbye !
xoxo
Angela