Swirl paper roses tutorial
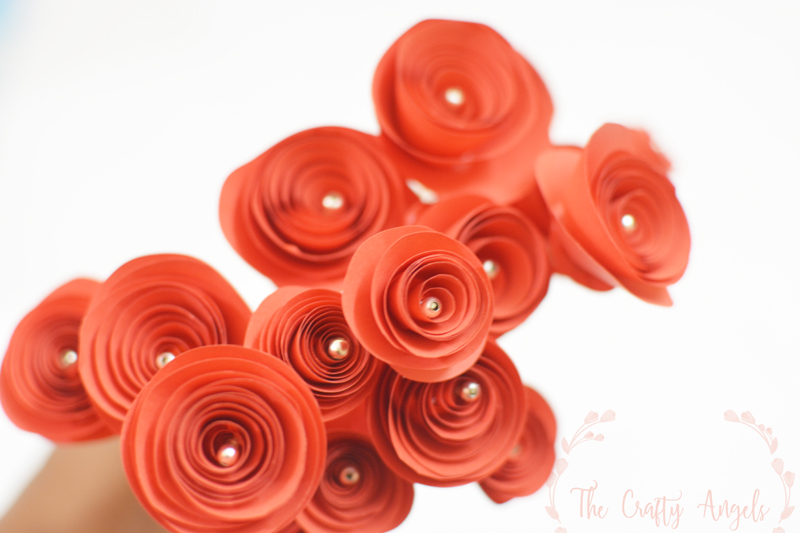
Love making paper flowers ? Then this swirl paper roses are the perfect ones. Such a simple craft and lets bet that you won’t stop till you make hundreds of them!
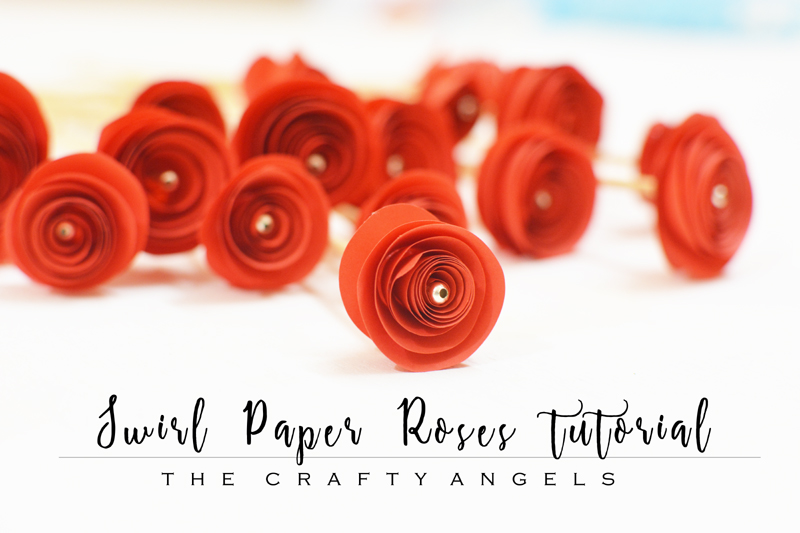
My crafting world has gone haywire thanks to all the work at office and because I feel like I need to rest more when I am back than work myself up with blog and crafts. Anyways valentines day is nearing and if you haven’t yet decided on what to give your loved ones, stay tuned for tutorials on simple handmade love for your valentine. Lets start with handmade swirl paper roses which looks totally pretty and are so so so really easy to make. Trust me they are so simple and beautiful! And in case you like to check out more paper flower tutorial, don’t forget to check them on my blog.
Materials required to make swirl paper roses :
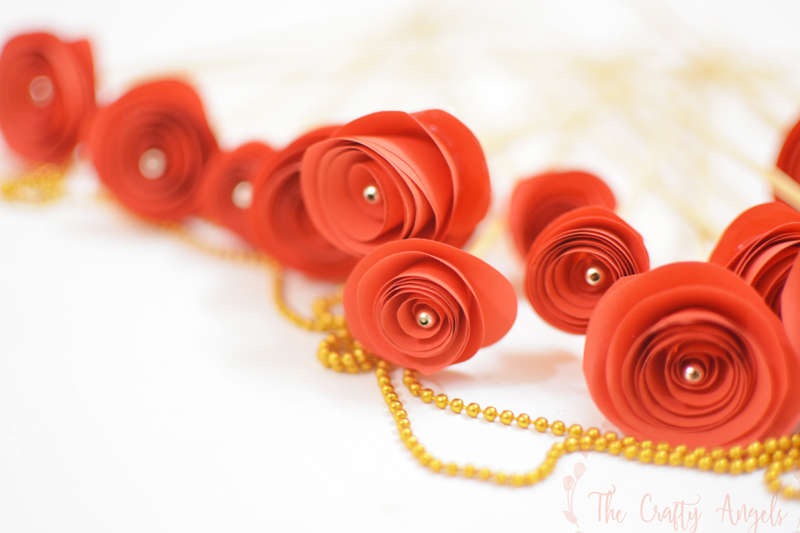
- Colored papers ( 80gsm)
- Circle template or a drawing compass
- Hot glue
- skewer sticks
- beads
How to make swirl paper roses :
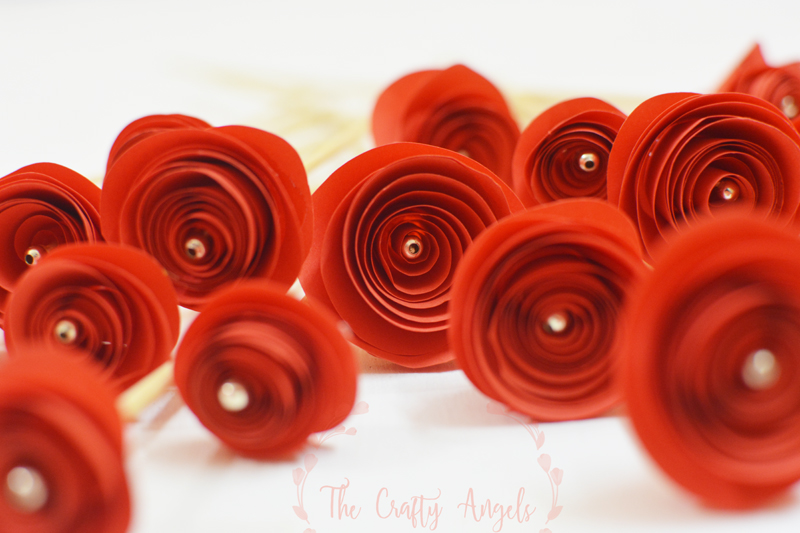
The roses look delightful and super pretty right? But they are pure simple to make. Just trust me on this, cut out a small piece of paper and try it out yourself. Start out by drawing circles with your any round container lid or using your drawing compass. Try taking different circle sizes so you have variation in the flowers when you are bunching them up into a boquet.
Cut out these circles and then from the outside, going towards inside, keep cutting through concentric circles. I initially drew perfectly concentric circles and joined them into a swirl with pencil before starting to cut them out. But then when I made more of these roses, I realised that the more naturally I cut through , the better my roses looked. Dont care about circles being equally spaced or anything just keep cutting even if your hand shakes! When you reach the inner center of the circle, you will have a small circle and just let it be. The circle will be the base to stick your rose onto.
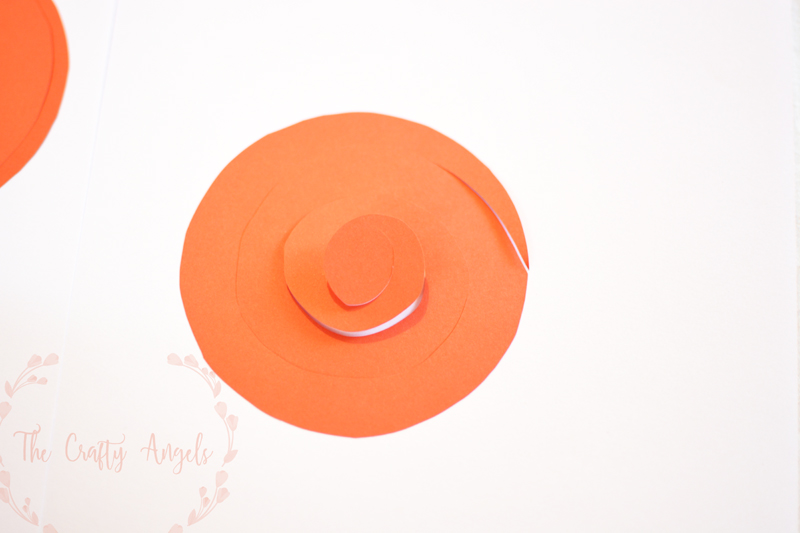
Once you have done that, start rolling your swirl starting from the outer edge of the circle and keep rolling tight towards the inside.
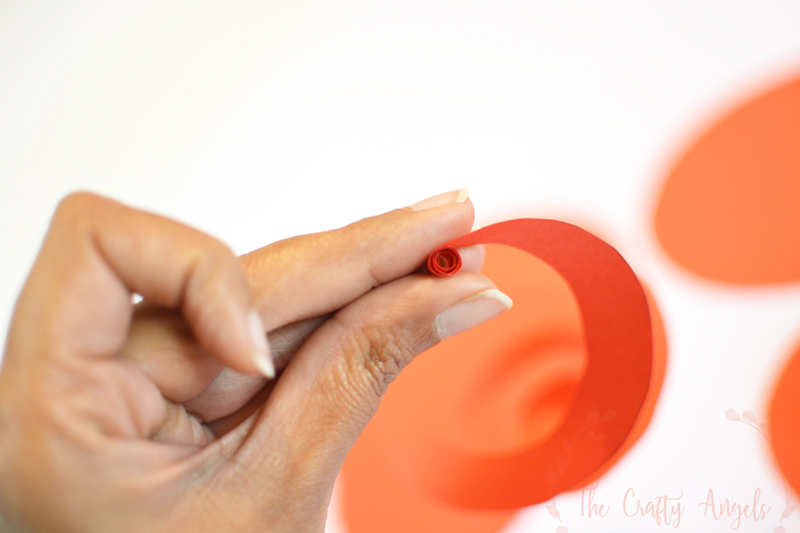
Leave the coil and it will uncoil itself to some extent and that will be the perfect rose.
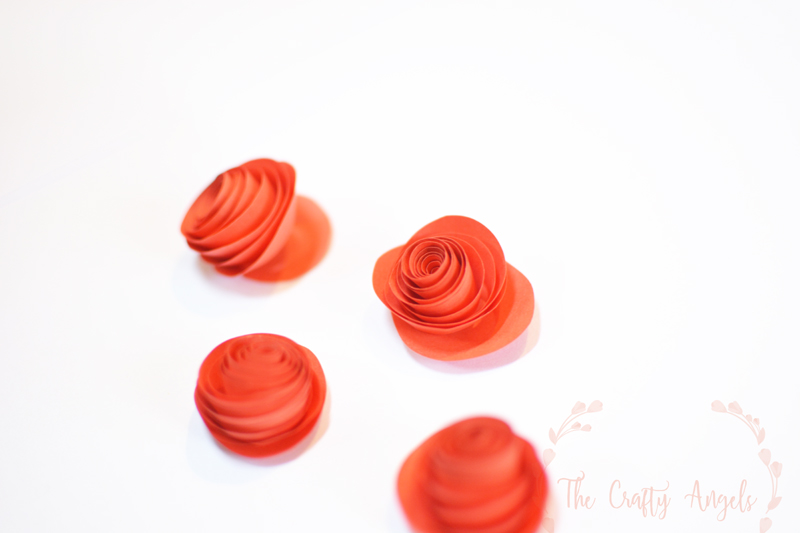
As I told you previously, the inner circle will be the base where your rose rests on. So apply a drop of hot glue and let your coiled rose rest on it.
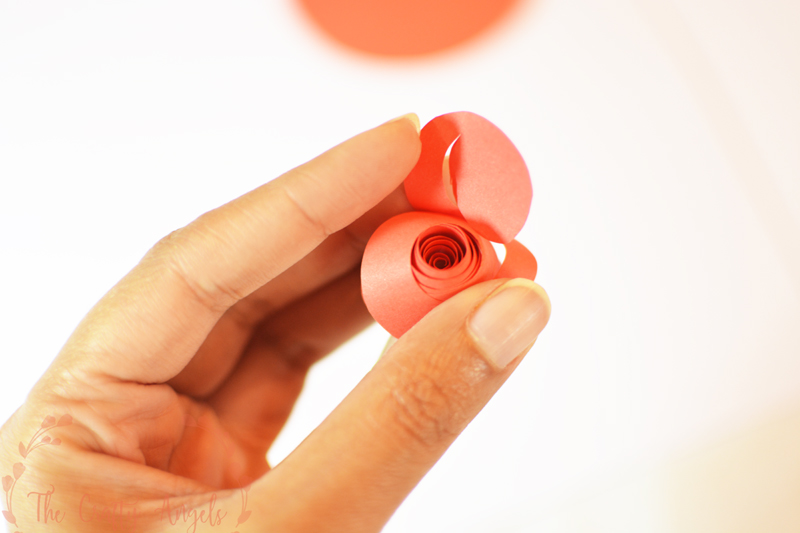
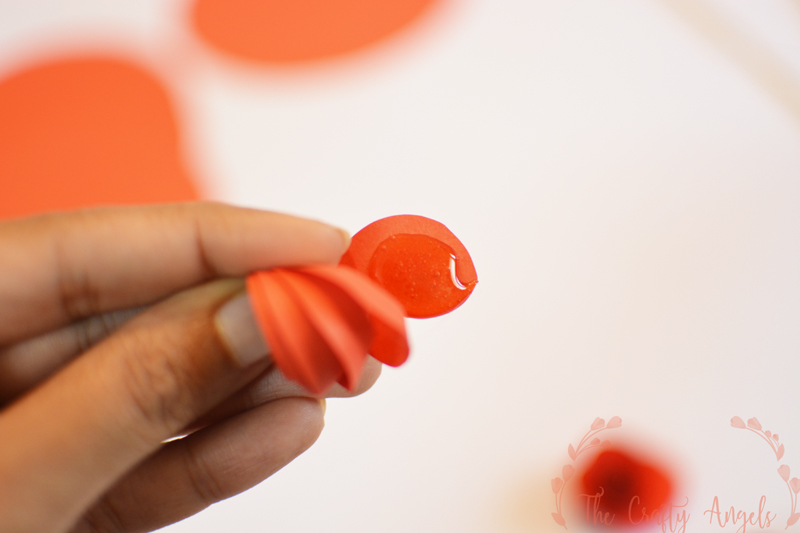
Your coil might not have layers of equal height so just give a slight press with your finger so that all layers sticks onto the glue.
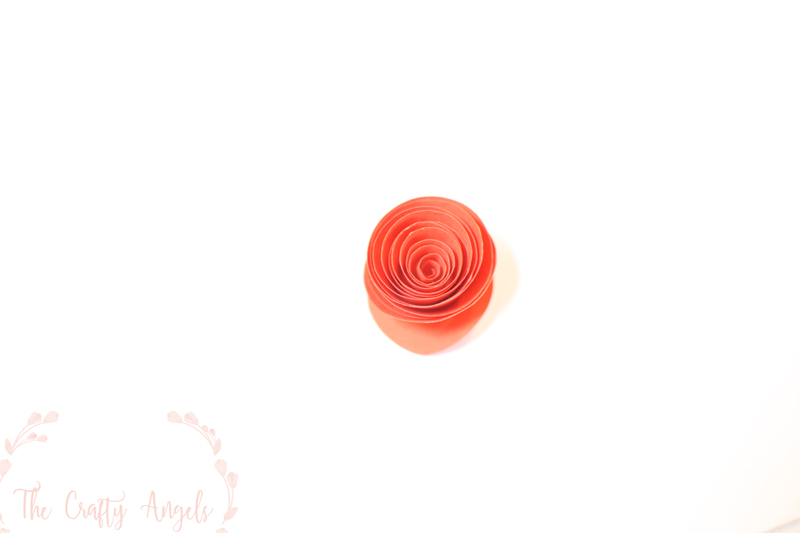
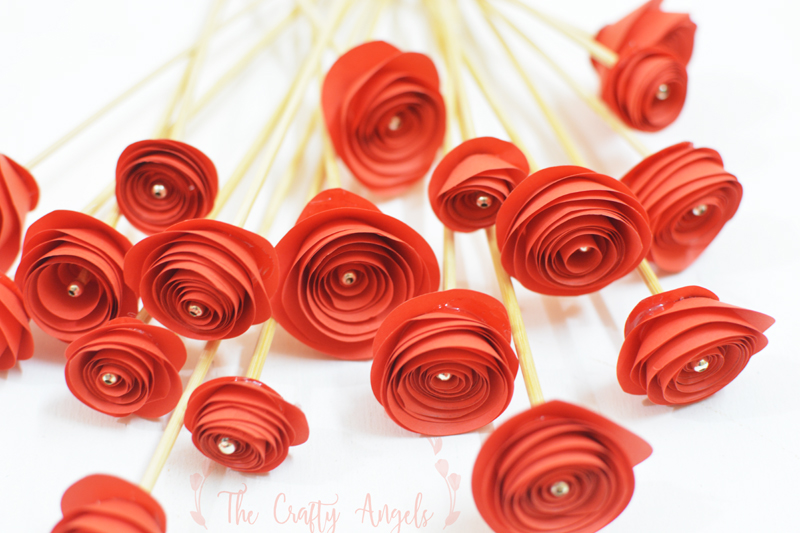
While the glue is still hot and not set, poke the center of the flower from the bottom side with the sharp side of your skewer and insert till it is visible through the center of your coiled rose flower on the other side. Since the glue is hot, the skewer will adhere will and hold the flower.
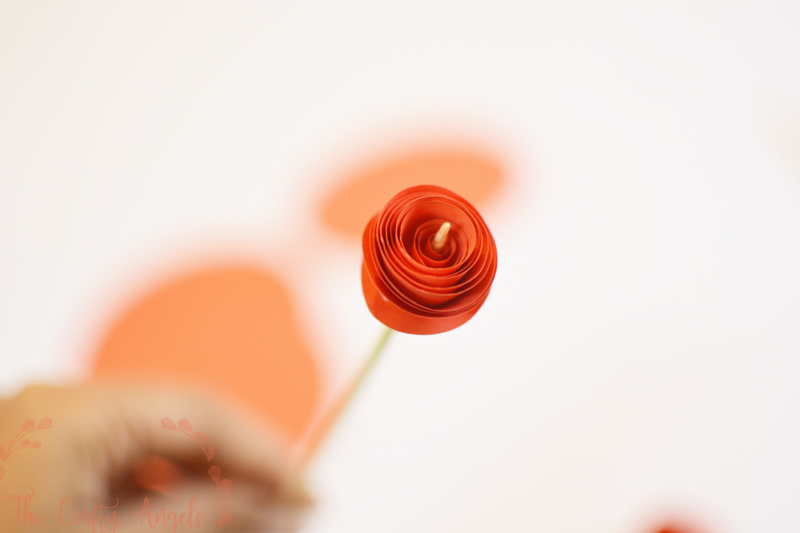
If you want to ensure, just put another drop of glue at the back adjoining the skewer and the base.
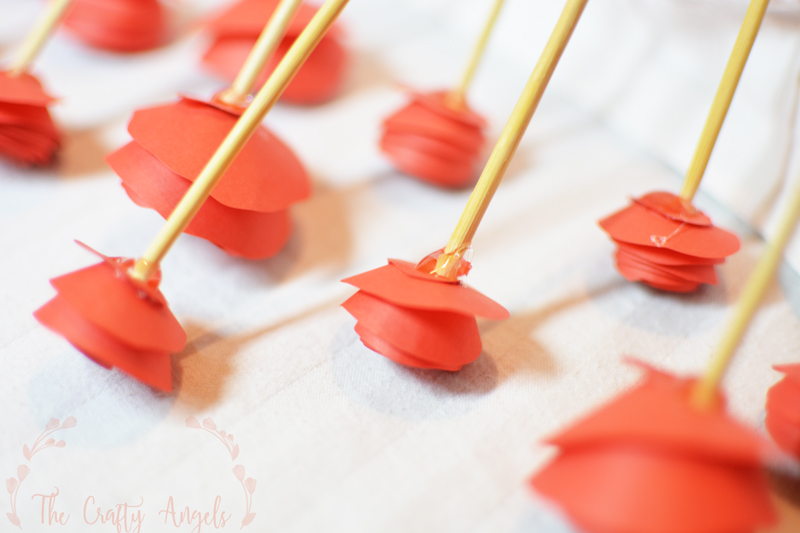
You are done with the roses and I am sure you have made up your mind to fill your house with them! An added detail would be to add a small contrast shade bead on the skewer edge thats there at the center of our paper swirl rose. Makes it even more prettier.
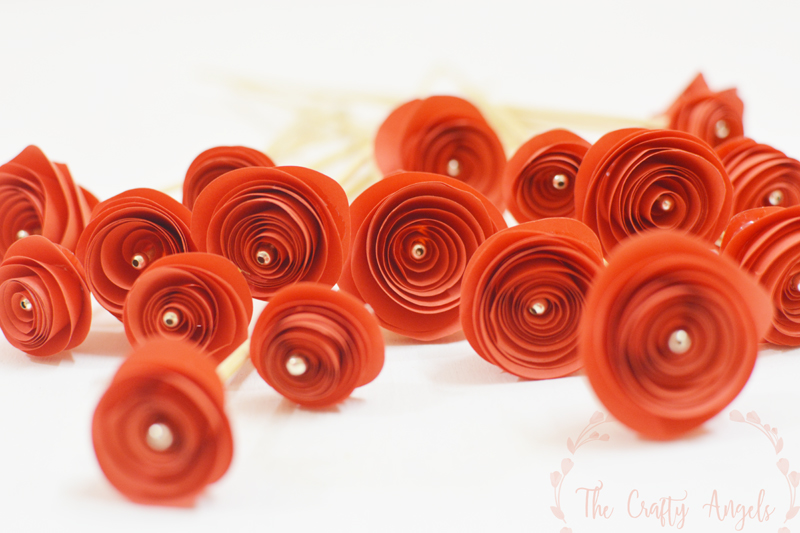
I hope you guys would love making these swirl paper roses as much as I did. Loads more pretty pictures to tempt you into trying these 🙂
