Redecorate your wall with DIY Decorative Wall plate
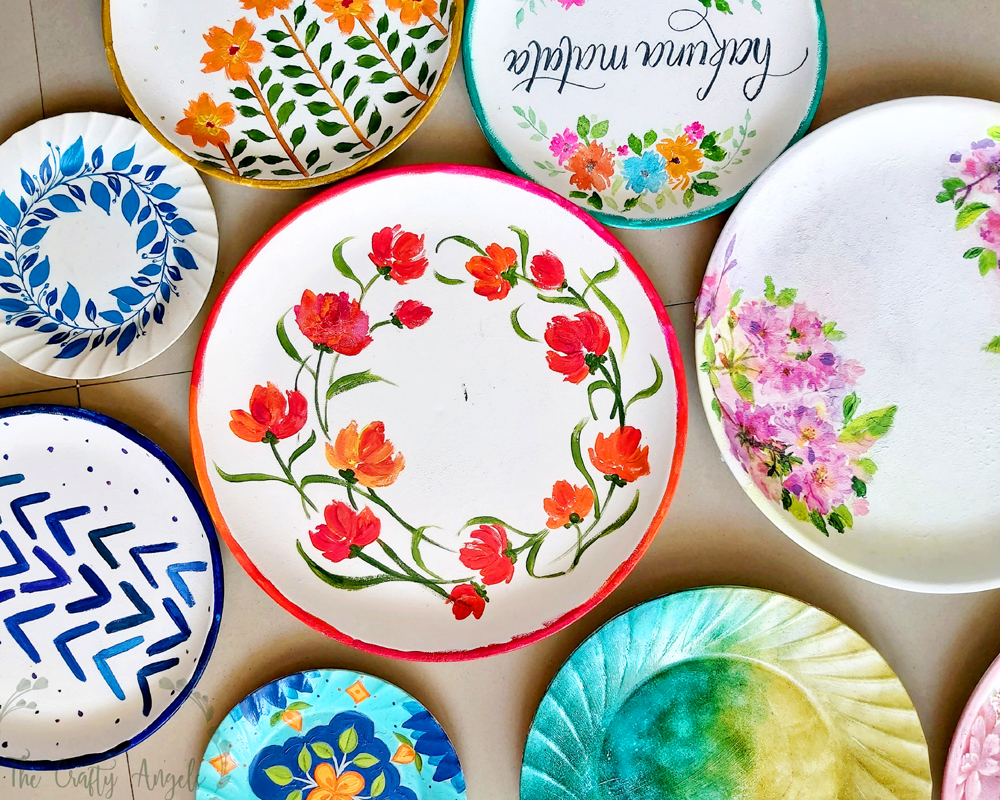
Hello guys 🙂 We all know that walls are the real canvases at our home and decorating them wisely is the key to having a good looking home. The most common thing we all do for walls is to nail in lot of framed photographs or put up wall stickers. Not that either of them is a bad choice of decorating walls but they can be classified as just “normal” and also you cant do that to every other wall at home right? DIY decorative wall plate is the perfect choice if you are looking for interesting ways to customise your wall.
I had earlier posted blog on making a DIY gallery wall with DIY paper photo frames, which again is a quirky way of decorating your wall. But for now, lets check how to make these DIY decorative wall plate .
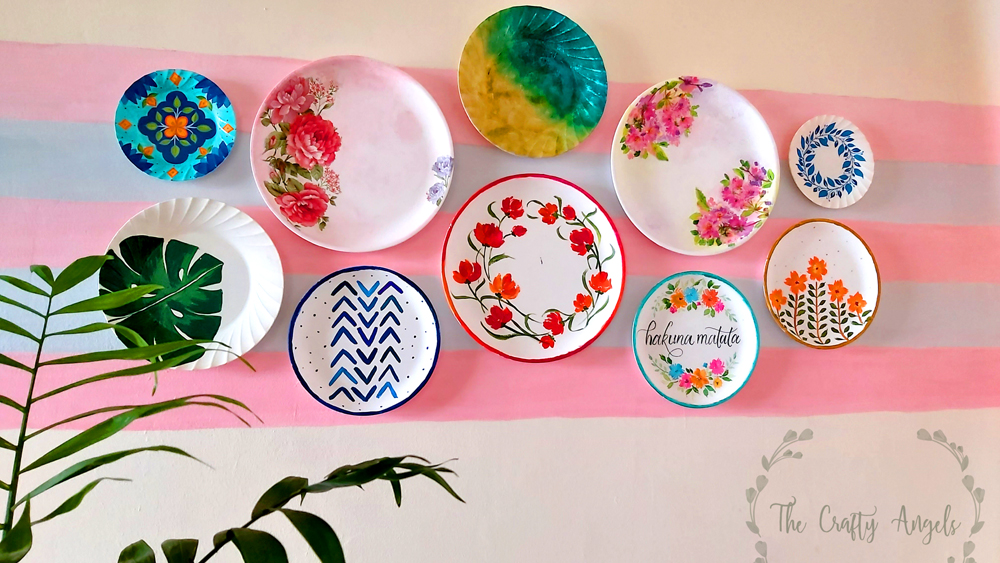
Wall plates is a really interesting decor choice for filling up space on blank walls. Search for decorative wall plates and you will be flooded with umpteen number of online stores selling pretty wall plates, most of them being ceramic plates. Although my initial plan was to purchase pretty hand-painted wall plates, I changed my mind later because of all the bad experiences we had trying to put up nails on the walls at our new home. The walls are so fragile on the outside that the entire putty chips out when you hammer in a nail ! The next thought of course was to DIY my own light weight wallplates and here you go. I have the tutorial for it and you too can make them in a jiffy 🙂
Here is the video for one of the plates 🙂
Materials required to make DIY decorative Wall plates :
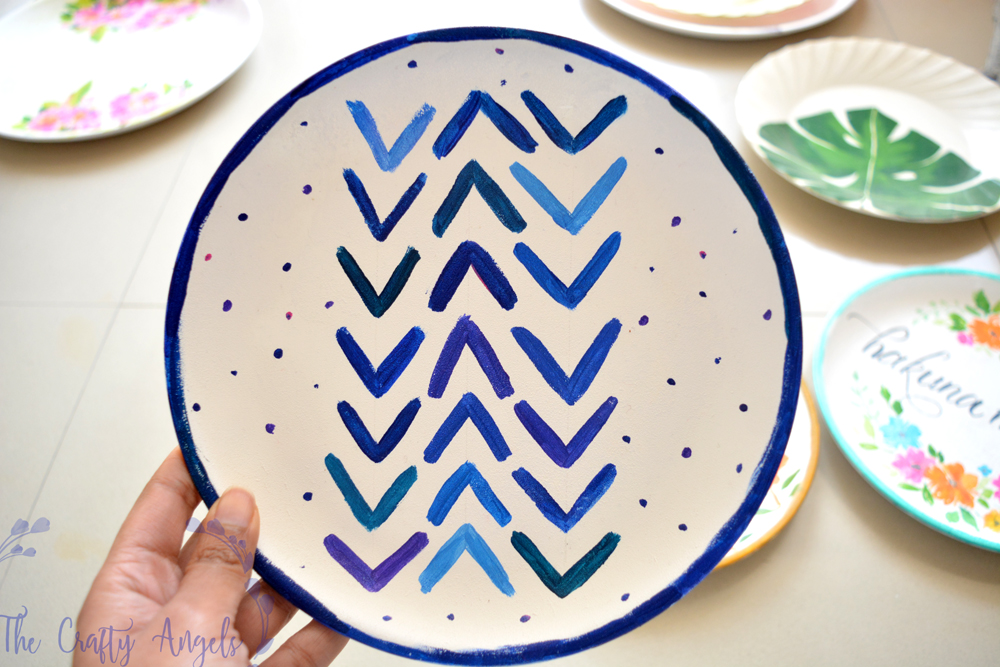
- Plastic plates in white. (Plate 1, 2 & 3)
- Primer/Gesso (from Camlin)
- Sponge daubers
- Fevicryl acrylic paints
- Painting brushes
- Double sided tape (3M)
How to make DIY decorative wall plates.
For starters, decide the wall where you want to decorate with plates and have a basic idea of how may plates and of how many sizes you might need. It looks more beautiful when your wall plates are of atleast two different sizes so that they beautifully merge on the wall.
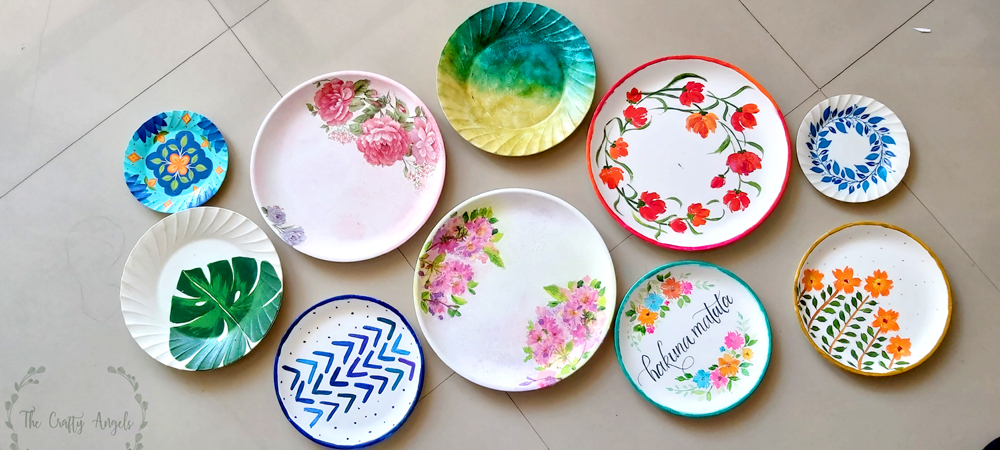
I made these DIY decorative wall plate in two sets – one which was made 2 years back and another one that I just finished last week. I first bought white dining plates (full size & half size) from amazon . Since the plates were gloss finish, I first applied a coat of white matte gesso with the help of sponge daubers.
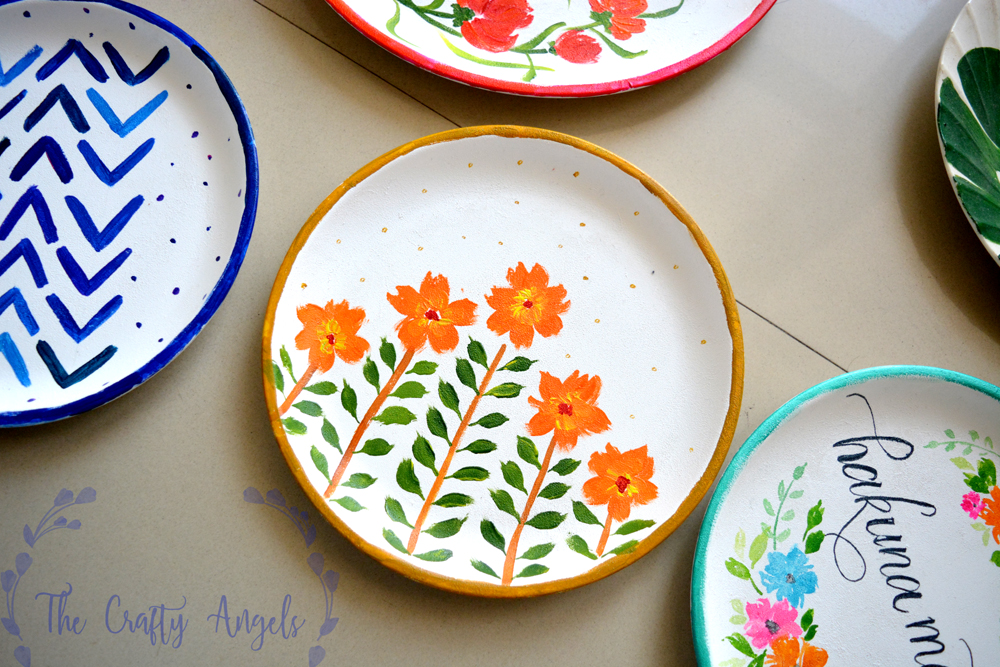
Once the plates were ready to paint, I searched on Pinterest for some quirky prints and easy patterns that I could use. The theme of my wall plates was “handmade” so basically I could just paint anything! But most importantly I wanted it to have florals, wreaths & lettering because you know why!
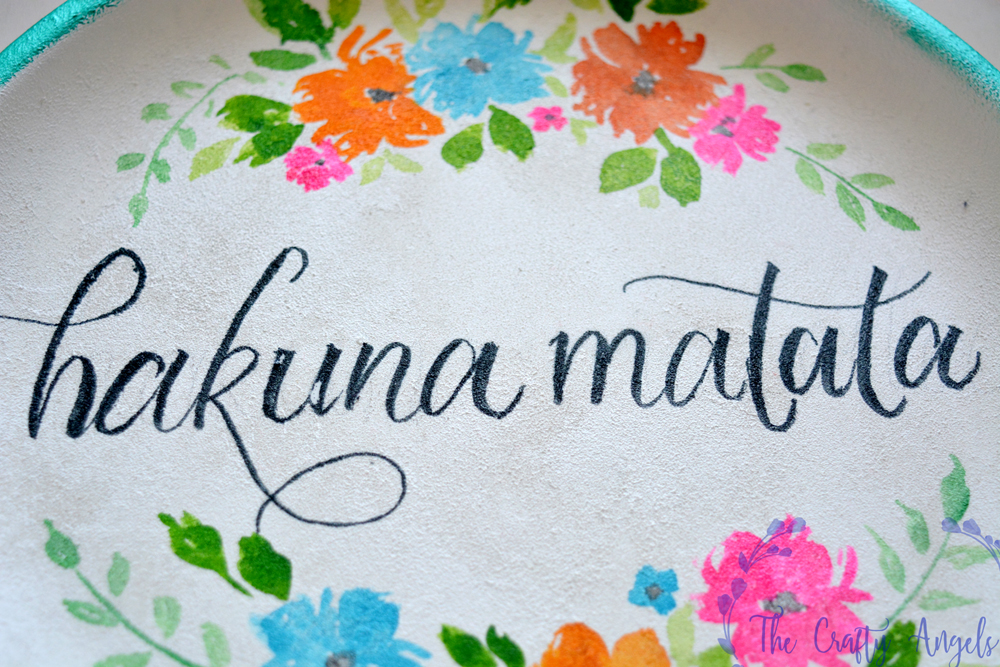
So here are the closeup paintings that I made. Few of them are really simple and easy to make, while a few I agree needs a bit of practice on paper before execution on the plates.
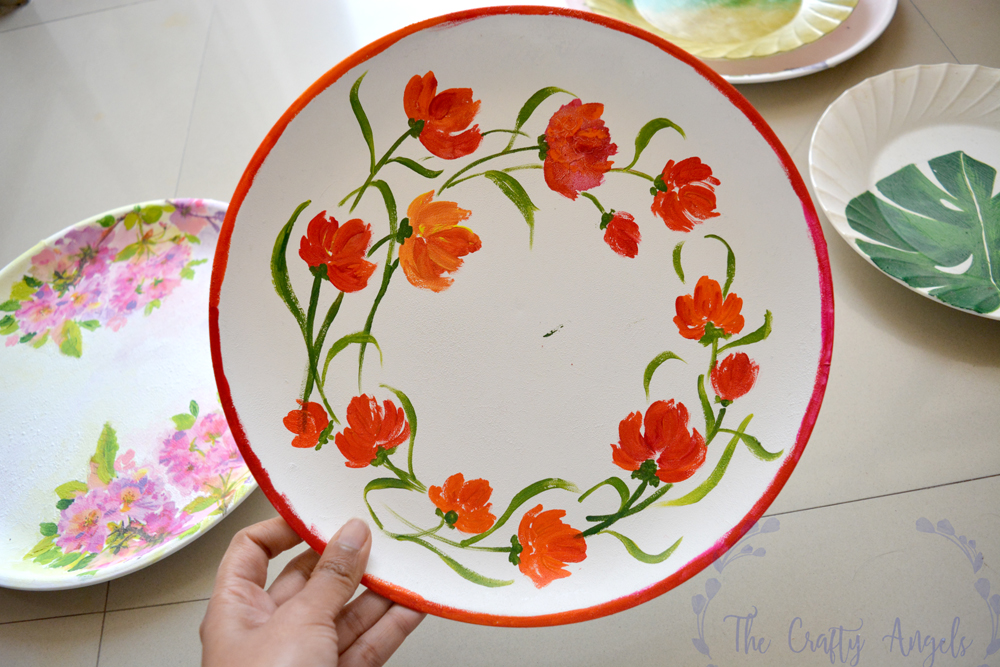
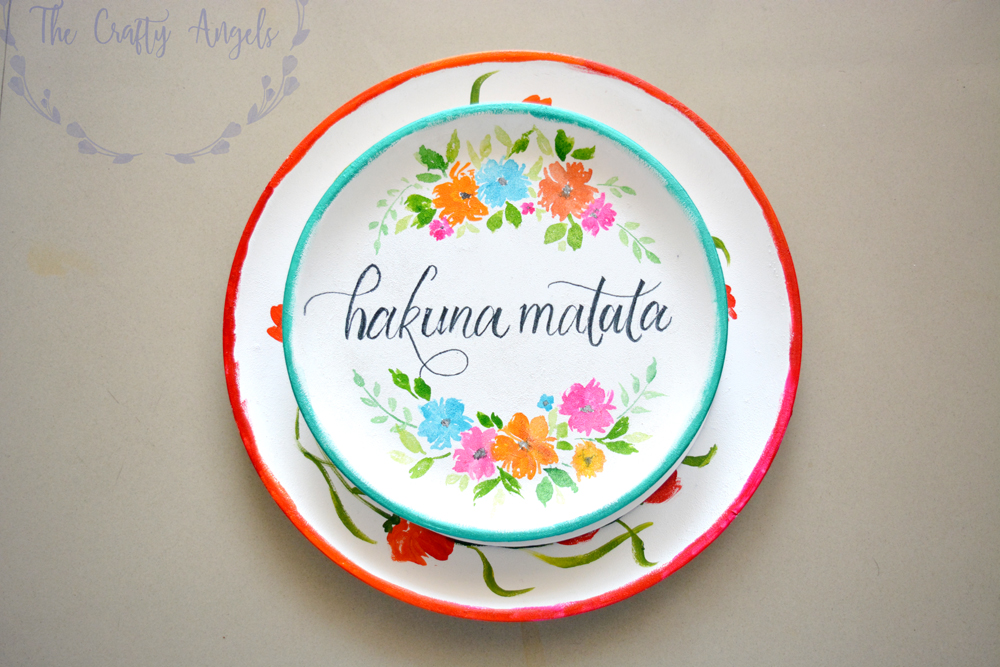
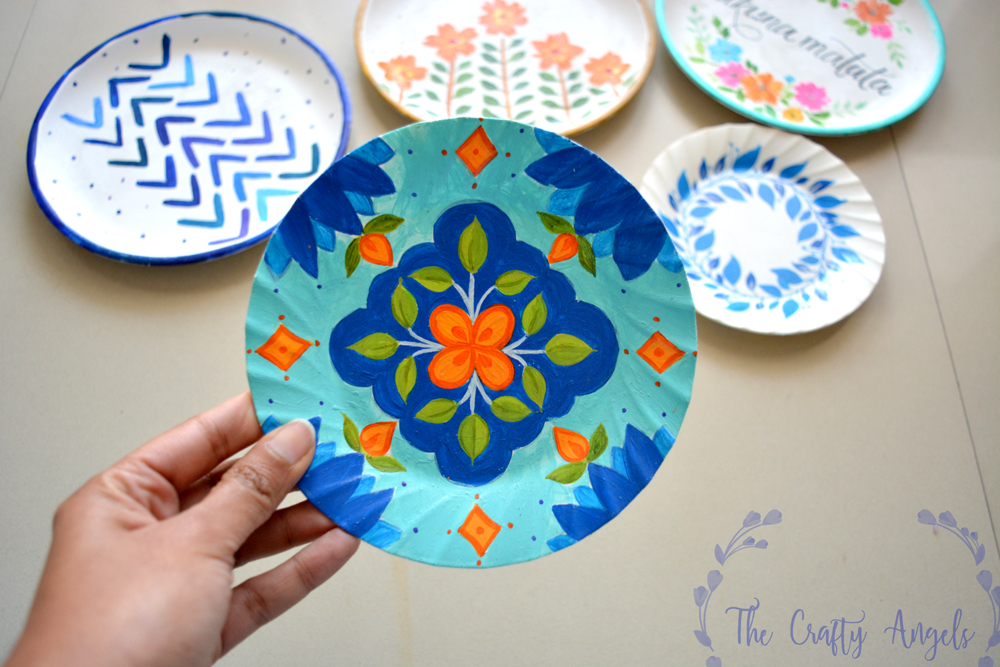
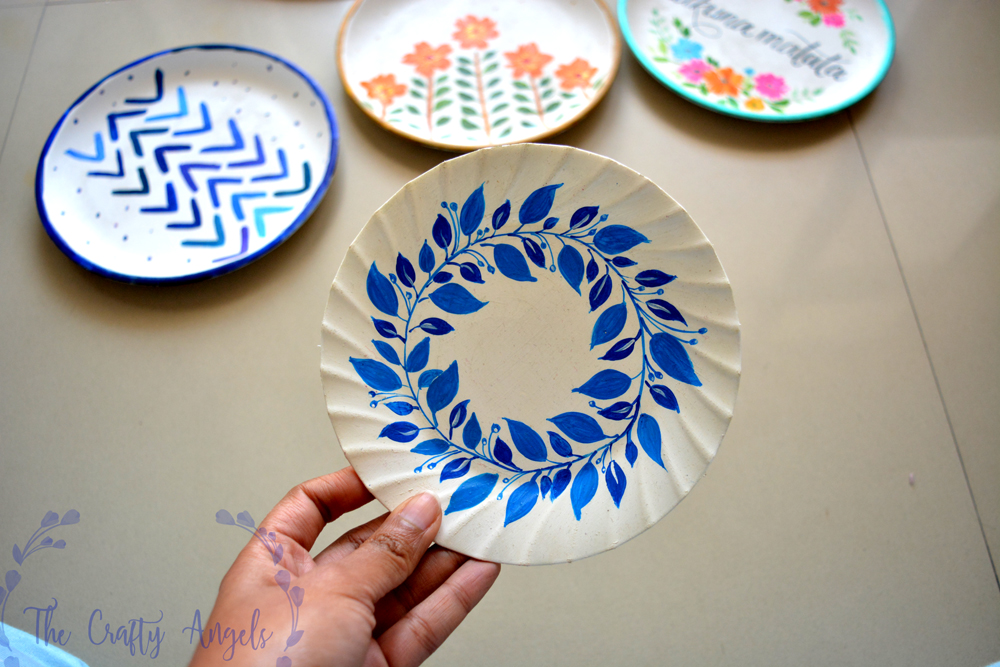
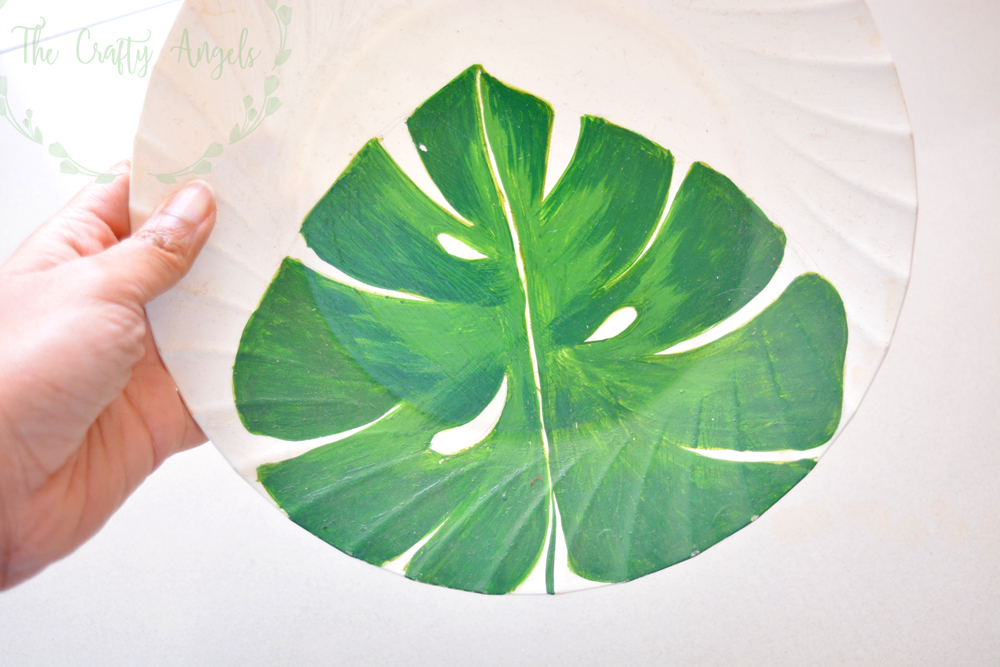
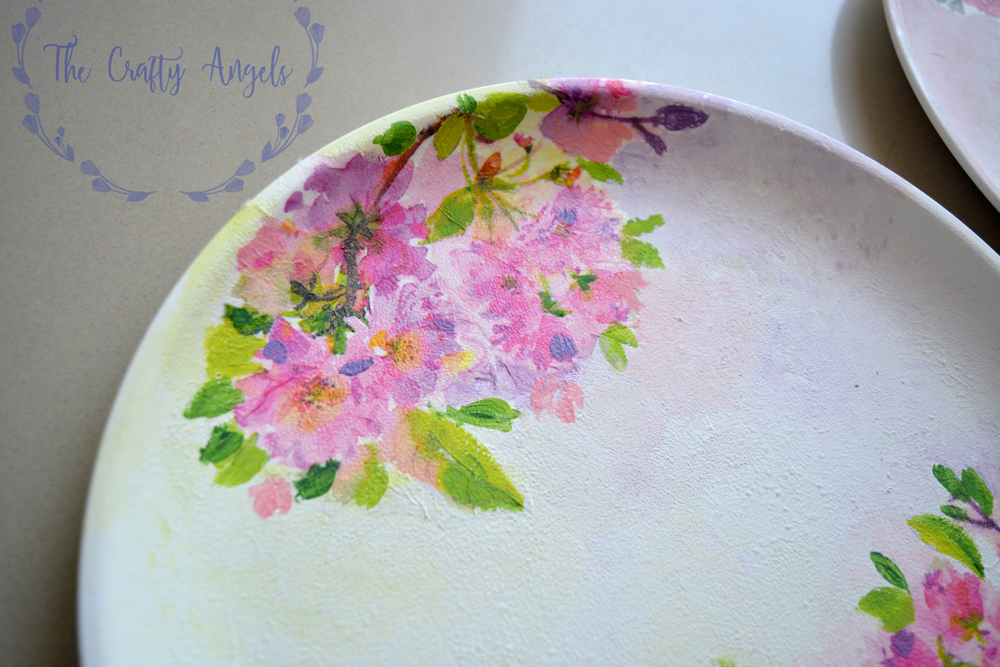
While I did like all my handpainted wallplates, I wanted a few plates with really elegant florals. So I decoupaged floral papers on two of the wall plates. Also dabbed a bit of similar colors here and there so that the decoupage work merged with the plate, otherwise it was oddly standing out against the white.
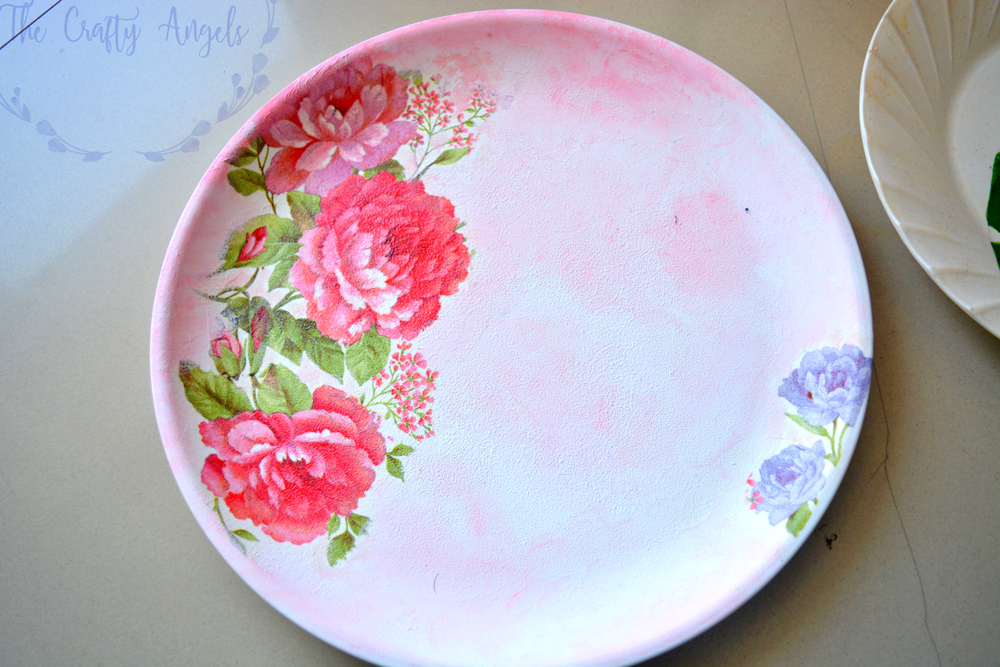
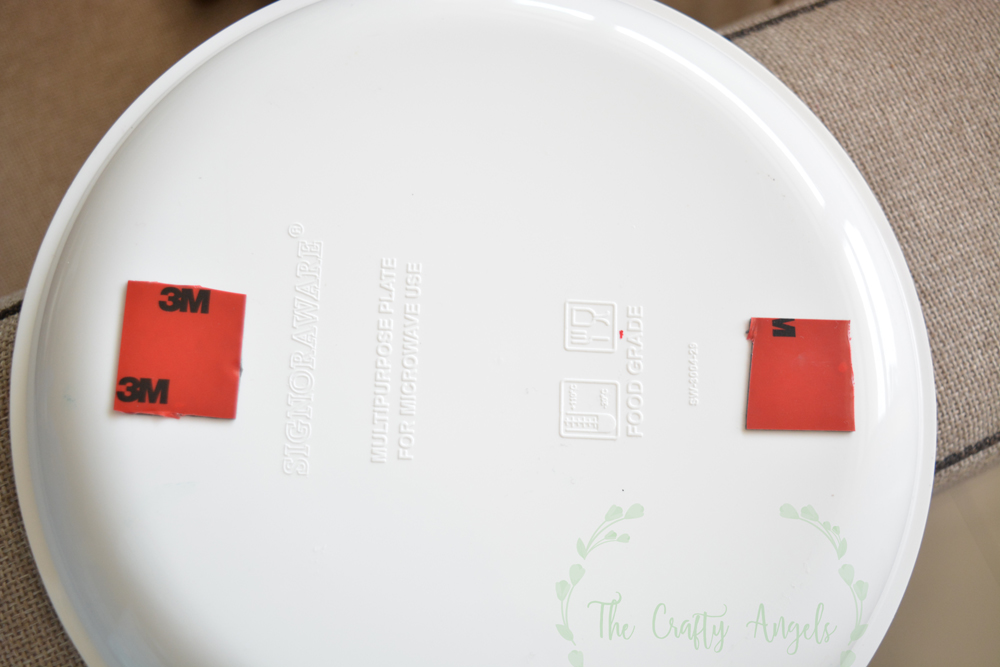
For putting up these wall plates on the wall, I used double sided tapes from 3M. I used these for the older set of plates and they stayed put for more than a year at our old home.
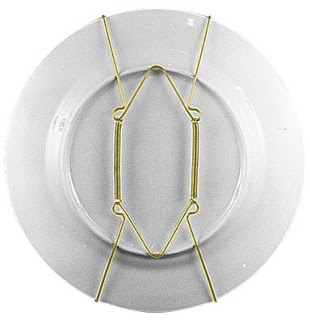
But if you are hanging ceramic wall plates, double sided wall tapes will not suffice and you will definitely need to put up some nails. If you are hanging heirloom or decorative plates which does not have hooks, you can purchase multipurpose hangers available here & here.
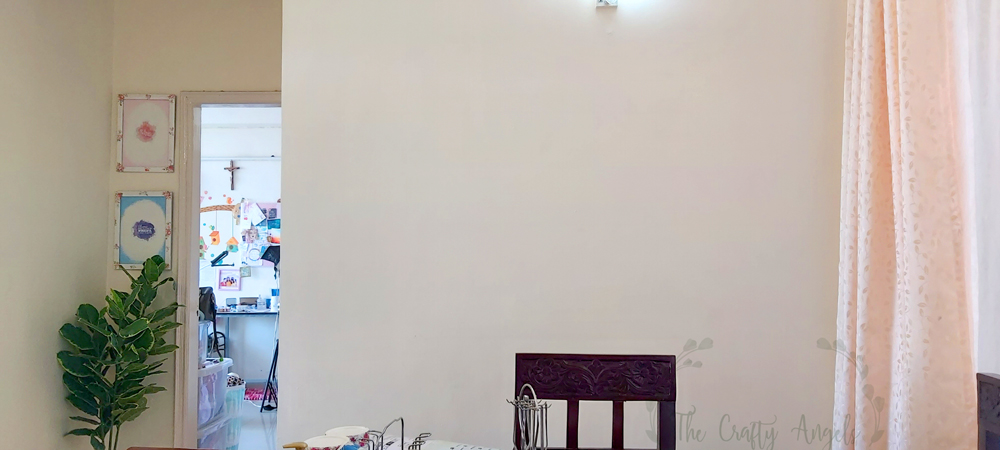
Before you put up your wall plates, you could really check up pinterest for inspiration on how you are going to hang them. They could be vertical, horizontal, curved, or with pattern background etc. For mine, the wall where I had planned to put up the plates was the one adjacent to the dining area and honestly, the wall was too huge.
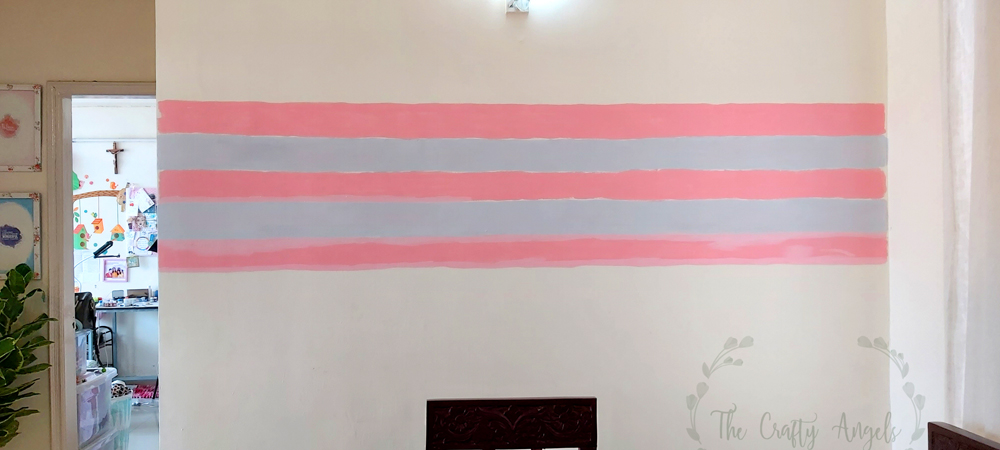
So instead of just putting up the plates straightaway, I first divided the wall horizontally by painting stripes of powder pink and light grey ( with chalk paints because my normal wall paints were spoiled during transport). Another pro-tip on deciding the layout of plates on the wall would be to approximate the area that you have on your wall , create a fake area with thread or so on the floor and place your plates. I decided the layout of plates by placing them on the floor, took a photo of it, and later referred to this picture while sticking the plates to the wall.
Well anyways, I hope you guys liked this idea of decorating your wall with DIY decorative wall plates. If you are making these DIY decorative wall plate or are using any wall plates in your home, do shoot me up with a photo, I would love to add them to my next blog post on layout for wallplates.
(Also if you arent following me on Instagram yet, please do join me. I mostly post candid stuffs about our home, our tiny little lives and of course our creative work in everyday)
Until next time,
xoxo Angela

Loved the idea . Surely shall make a try with meterial that I have ….
Wall plates have some sleek designs that not only look good but are durable and functional too. Thanks for the insights—definitely going to consider this next time I do any redecorating!”