How to choose stamps, inks & papers for cardmaking in India
Papercrafting and cardmaking can be confusing not knowing how to choose stamps inks papers etc for your works. I have put in my word of advice from my own experience in cardmaking and I hope it helps you choose and craft wisely 🙂
This is in continuation with my previous post (cant even remember when the last post was!) on beginners tips for cardmaking in India. The previous post outlined the general styles of cardmaking and introduction to supplies; this post will cover what to invest on when you are trying cardmaking for the first time 🙂
I have been into making cards for probably the last 3 years now and its actually a funny story as to how I ended up starting this cardmaking journey! I was gifted this pretty little stamp from paper smooches & penny black by one kind and generous crafter and till then I had no supplies to work with it. My journey began trying to buy supplies to use those 2 stamps and you know what? After 3 years my confusion on how to choose stamps inks papers has never stopped and now I have this enormous supplies for cardmaking, half of which were purchased out of impulse and the rest few which were a huge mistake! I had hardly anybody to guide me back then so I am here to share my little knowledge on buying the right few supplies to get you started with cardmaking – especially in India.
[irp posts=”2882″ name=”Cardmaking Basics for beginners”]
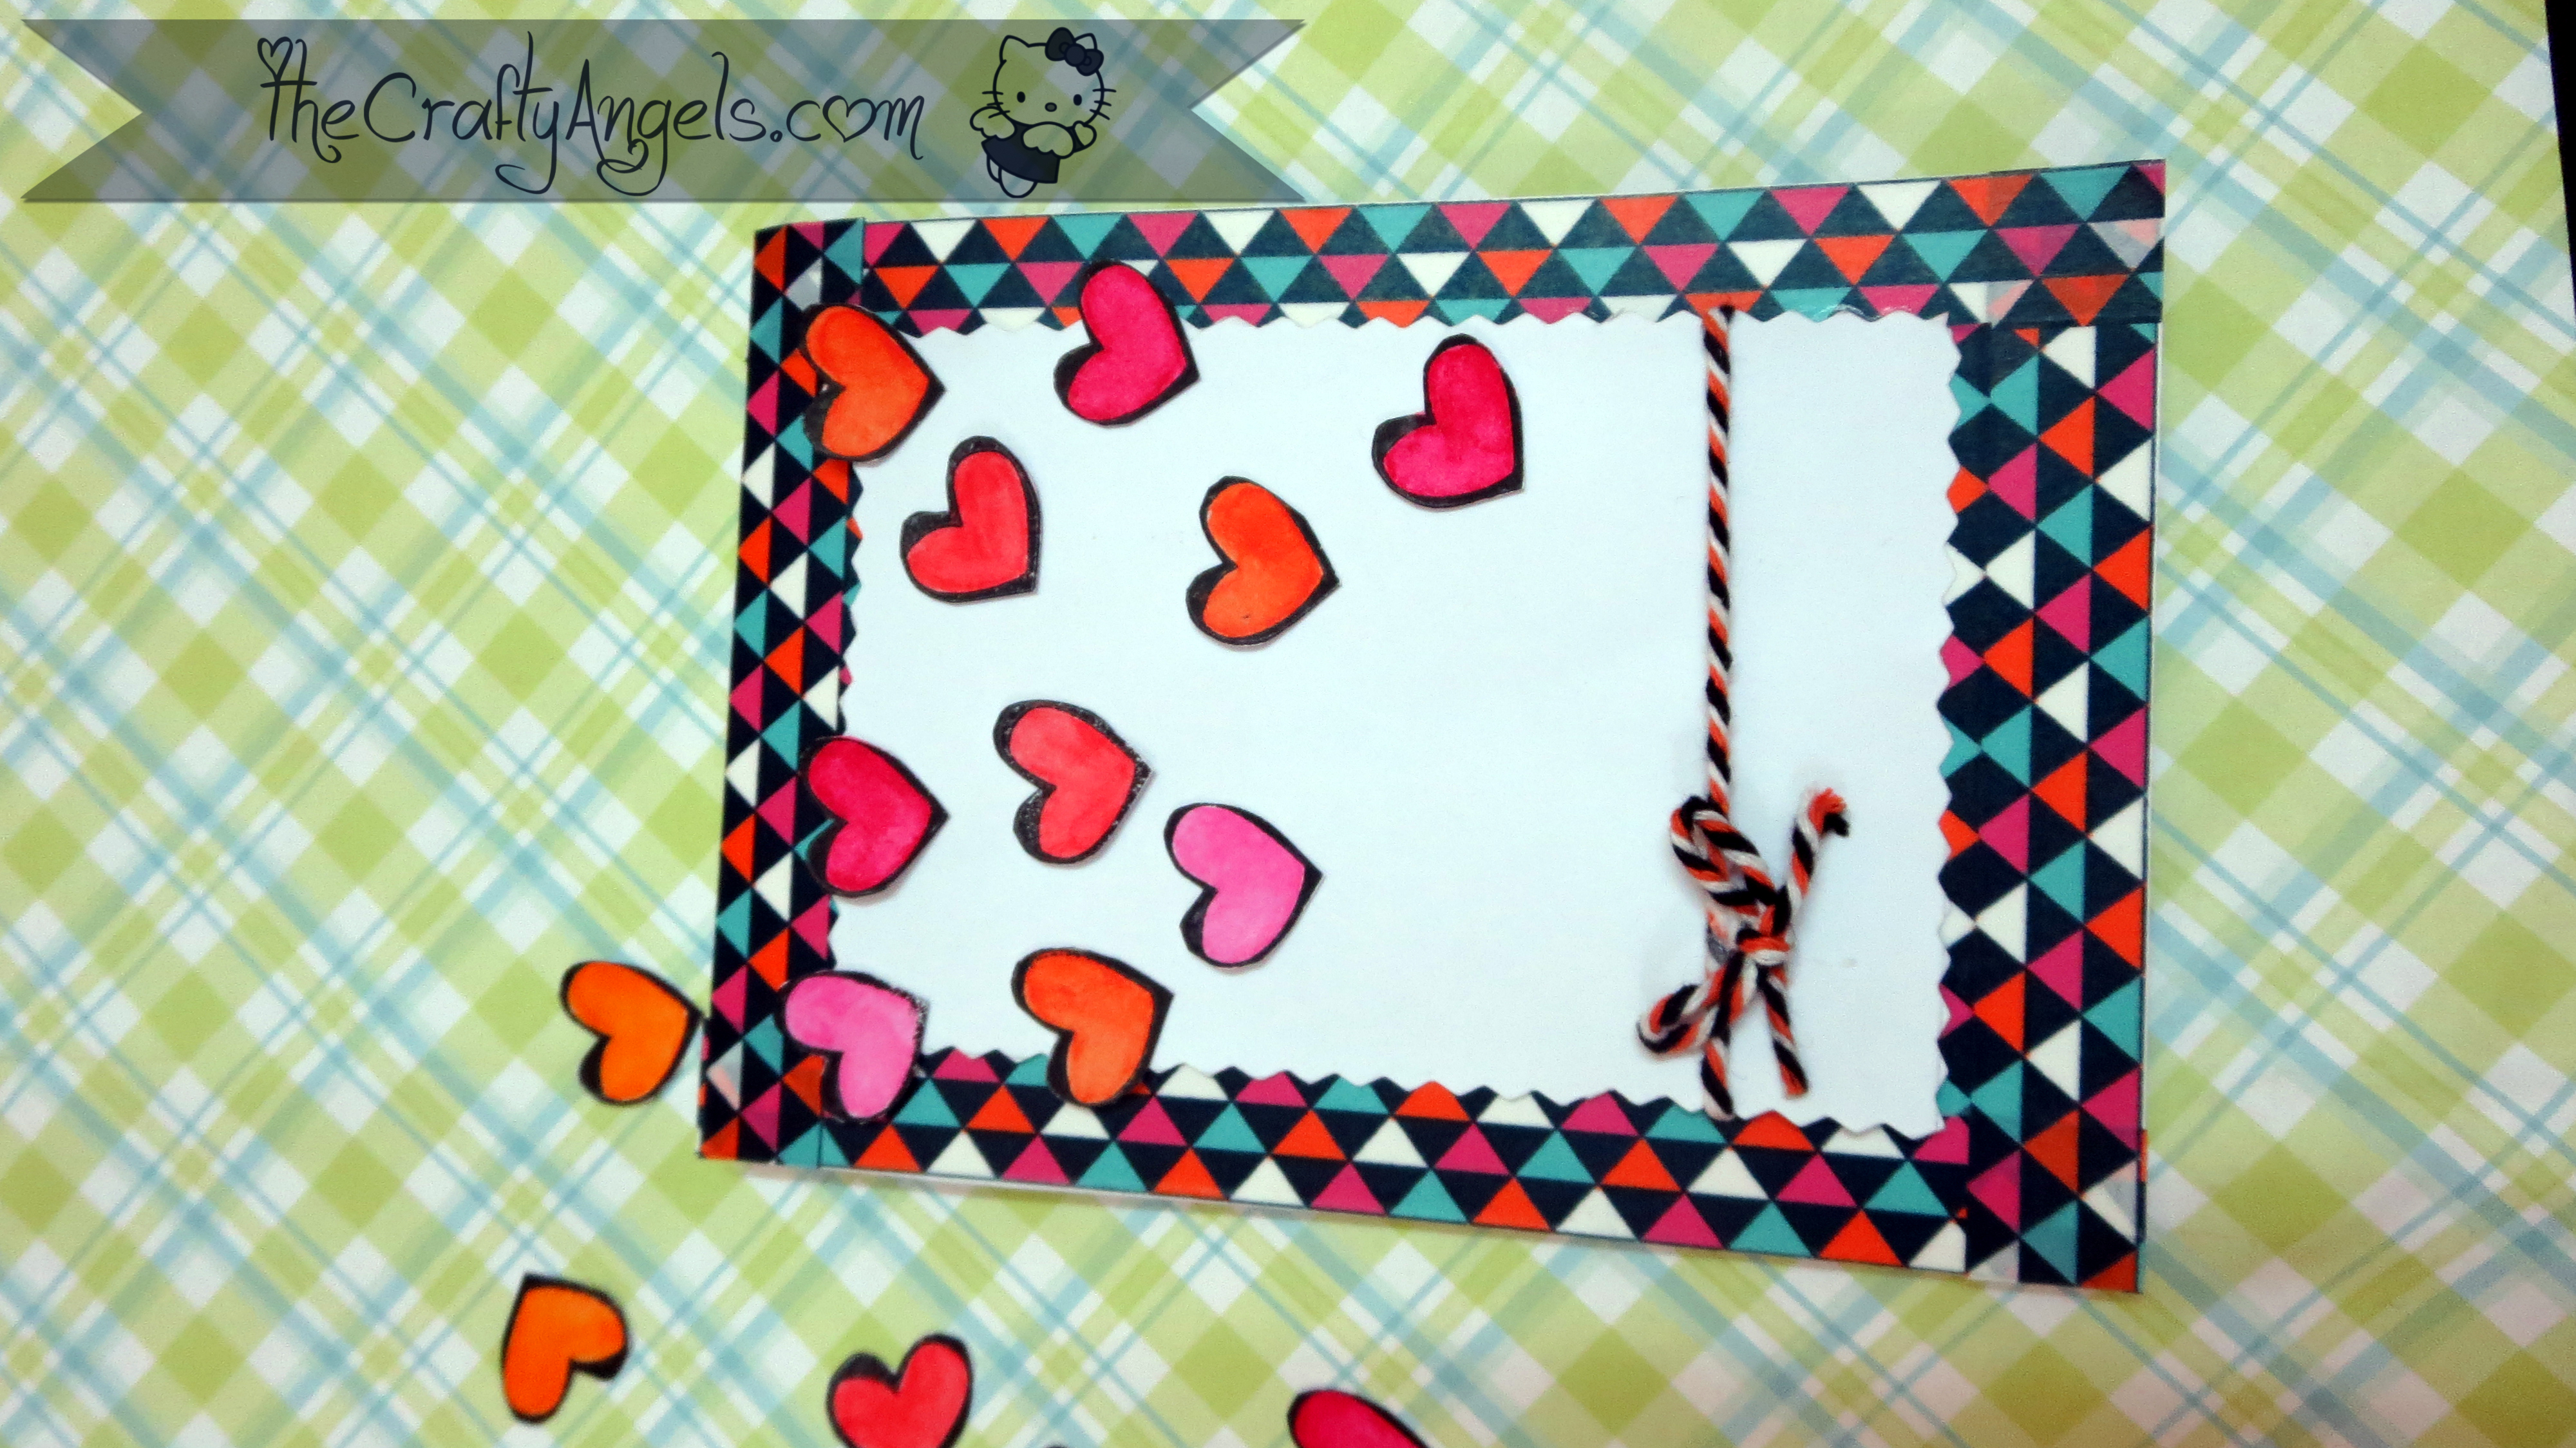
On a lighter note, would you like to see the first card I made? I probably don’t have it at all but here is a link to one of the first cards I shared on this blog. I feel so funny looking at the quality of cards I made back then, but, there is always a learning curve for everything so its alright 🙂
How to choose STAMPS inks papers :
Stamps, like the office seal you use, which can be pressed against an ink-pad and the image can made multiple times. These stamps for cardmaking come in variety of types, shapes, images and prices too and you will be overwhelmed on what to purchase. From the material used for making the stamps, there are basically two types – clear stamps and rubber stamps.
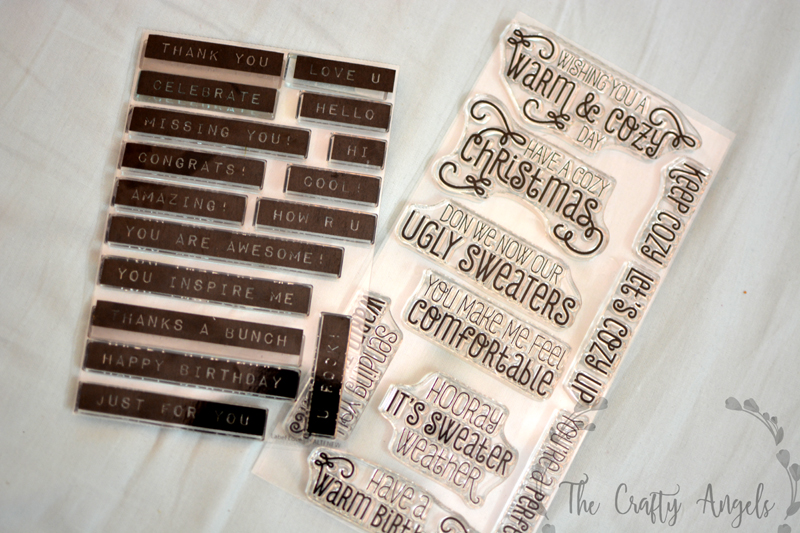
Clear stamps : They are transparent and you can actually see your paper through the stamp. They are much useful when it comes to storing because they are less bulkier than the rubber stamps, they are flexible and if you want to stamp over the same image, clear stamp lets you see the paper beneath for better alignment.
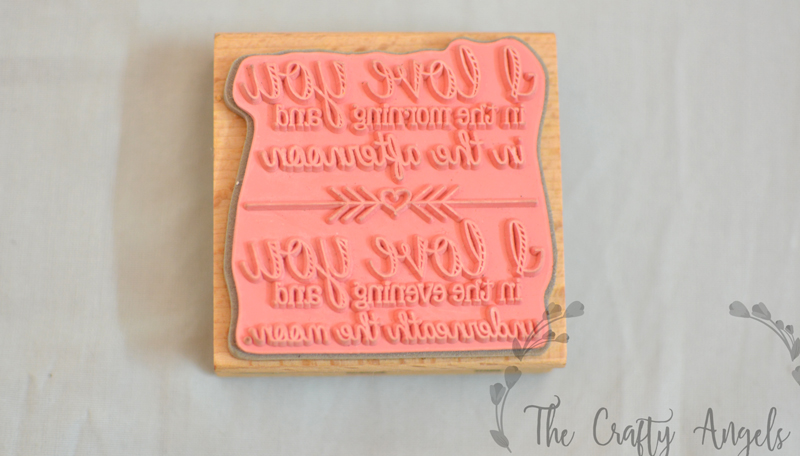
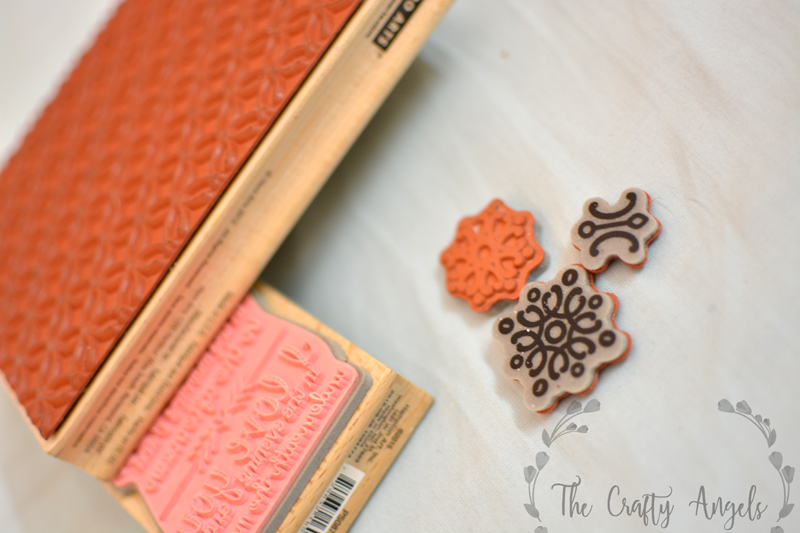
Rubber stamps : They come in different colors but most prominently red. The grey/red side of the stamp will have a picture of the image that the stamp will form but you cannot see through the stamp. Although they have this disadvantage, I feel rubber stamps give much better coverage or impression than clear stamps. But when I purchase, its not like I always purchase rubber stamps or clear stamps. For me its the image that matters because quality wise both are good to work with.
Mounted & Unmounted stamps : Clear acrylic stamps are always unmounted ie, they can be peeled off from its packaging and they need to be mounted on a stamping block in order to make an impression.
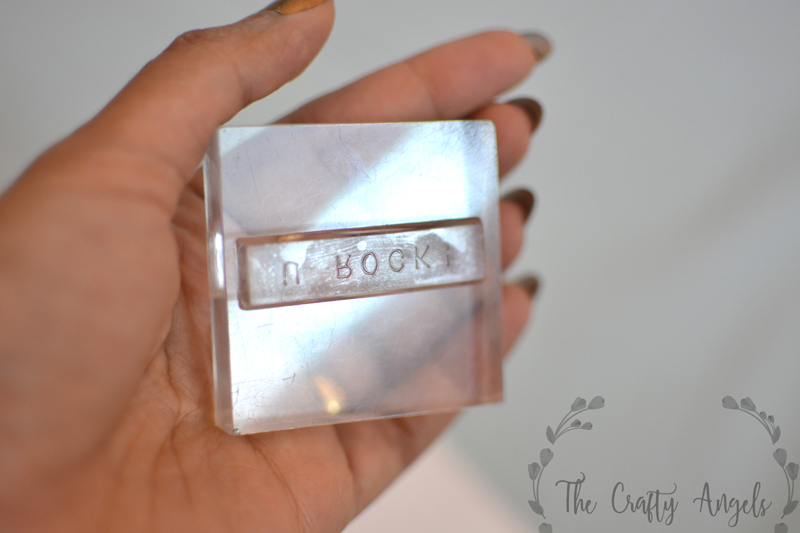
Mounted stamps are mostly rubber stamps, mounted (permanently fixed) on a wooden base, which means you need to simply apply ink and press against paper for impression. I own a few mounted background stamps but mostly otherwise its all unmounted stamps as they save a lot of storage space.
What stamps to purchase as a beginner to cardmaking ?
As a beginner, you should be investing in the right amount of stamps to get you started instead of just buying anything that is available at the cheapest rate. Bad quality stamp or ink which doesn’t work well might even put out your enthusiasm to try cardmaking so try reading through the below tips and also I have my few favorites listed underneath.
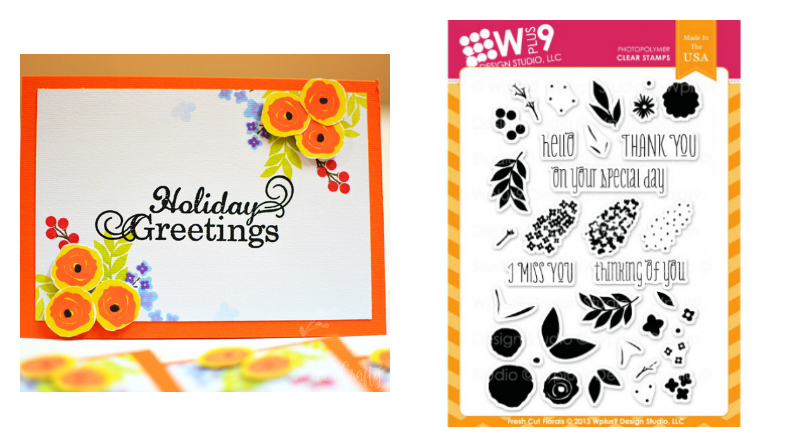
Block image stamps : These are stamps that are not outlines but they have large area in coverage. These are perfect for beginners because you don’t have to worry about how to paint the insides of outline images etc. Just apply ink over your stamp and press against the paper. I love these kinds of stamps when it comes to making multiple cards of same type because all I have to do is stamp 🙂 This is my favorite block image stamp and here is an example of card made using these stamps.
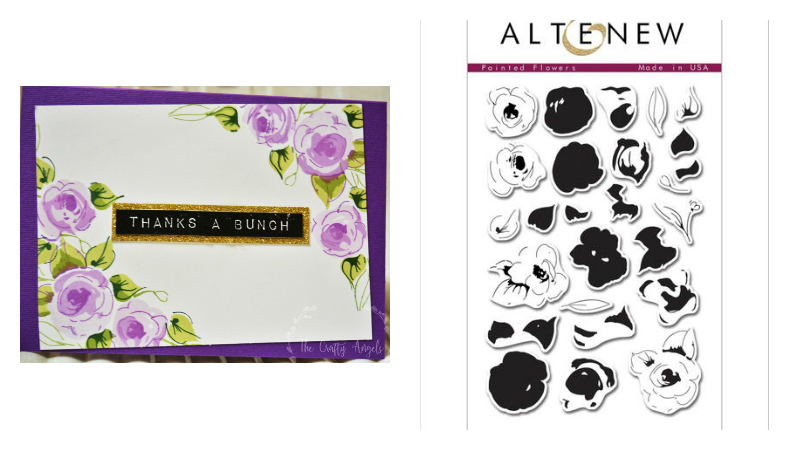
The latest version of block image stamps are called layered stamps and they are also really pretty but the downside is you will have to invest in ink pads of similar shade family. One of my favorite layered stamp is these flowers here and as you can see, I have used three shades of purple and three shades of green to get the layered effect. The stampset will consists of certain stamps that you have to stamp over a previously formed image to give the effect of depth/reality to the object. As a beginner, I insist to go with normal block images and once you are into cardmaking, start adding more colors to your stash and then go for layered stamps.
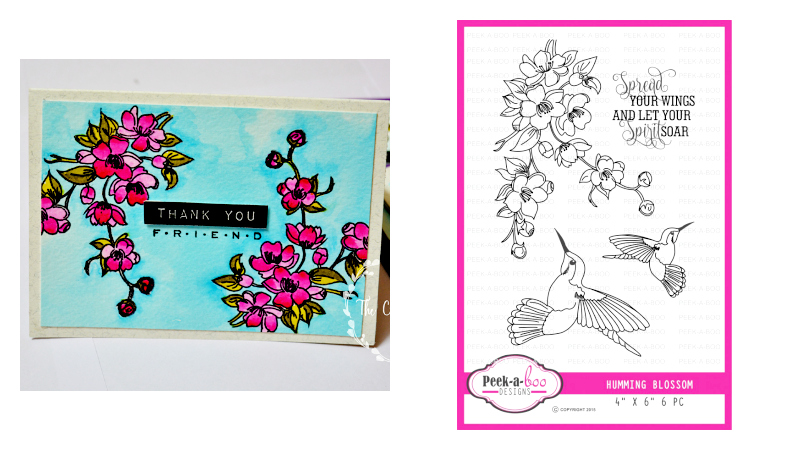
Outline image stamps : As is evident from the name, these are only for outlines and you will have to color the image with watercolor or copics or zigs or anything like that. They are time consuming yes but these stamps give you the opportunity to be more creative and artistic. These are one of my favourite outline image stamps and this is how I used them one of my cards. I used drawing inks from camlin to paint them and you can use even water color or pencil shades for these will work well.
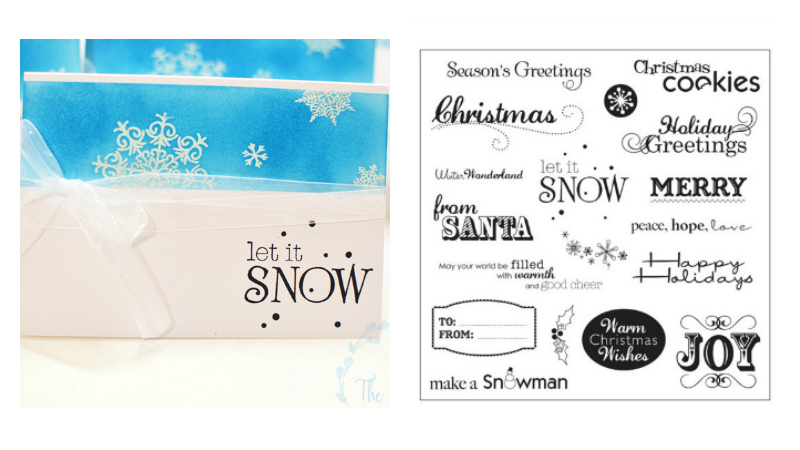
Sentiment stamps : These stamps very important but we often forget about the sentiments. Now few of the image stamps we purchase comes with a matching sentiment so you don’t need a separate sentiment stamp but I love to have a variety of sentiments especially in different fonts that can be used with same image without having to look the same. I love this sentiments stamps from fiskars that I bought from my friend and they went so well with the snowflake stamps I had with me ( which did not have sentiments).
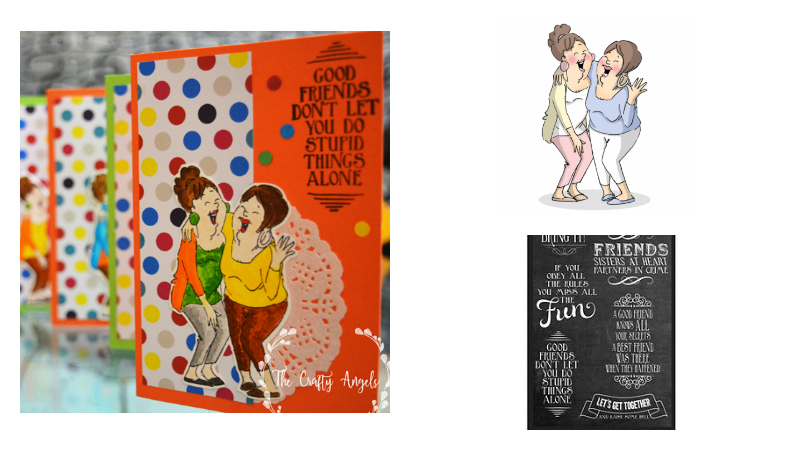
These laughing ladies stamps from art impressions did not come with sentiments but went perfectly well with a different sentiment stampset.
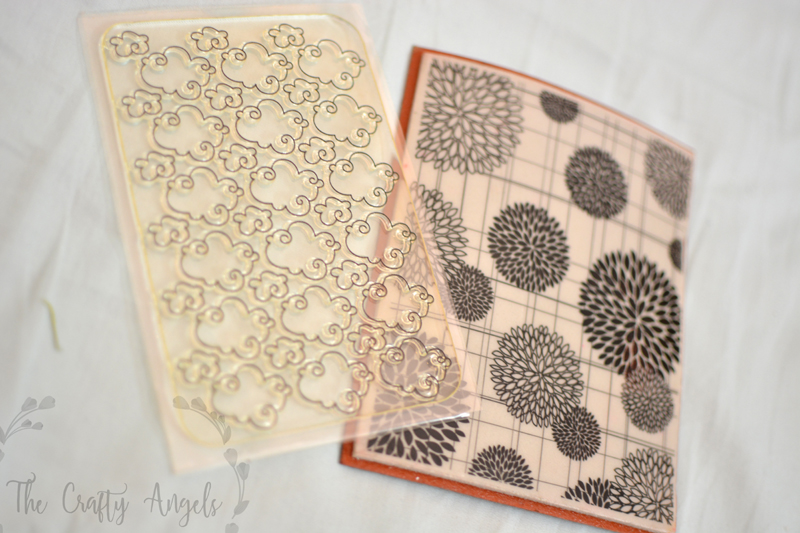
There are background stamps which are not necessary at this stage but they are really big size stamps which cover the entire area of your card – as a background. Although I have a few background stamps, I have never used them in my cards ( yes some stuffs are just for hoarding :P)
Tips for purchasing stamps :
- When in doubt go for florals because they are perfect for any occasion. Be it birthday , anniversary , sympathy card or anything, flowers say it well, provided your sentiment is perfect.
- For sentiments, purchase most used ones like birthdays, anniversary wishes etc instead of choosing ones like “you are my sunshine” etc
- Even if you don’t have sentiments, you can write them down (hone your calligraphy skills a bit) like how I did with these diwali cards.
- There are loads of brands that provide stamps and fortunately for Indians, we have many made in India stamps coming up. Few of my personal favourites from Indian companies are here – their quality is good and also are affordable.
How to choose stamps INKS papers ?
I am not an inkpad expert but these are the ones I use and I can say that you don’t need anything beyond these when you are just starting out with cardmaking.
Dye ink : These are inks similar to the violet seal inkpad you have in offices. Just normal liquid ink over a cloth based pad. The thing about dye inks are that they dry out fast – as soon as you stamp, the paper absorbs the ink and they don’t smudge. But then they are not opaque ie if you stamp a yellow image over a blue cardstock its most likely that your image will be greenish. So as long as you are aware of the color chart, these inks are more than what you need as a starter. In the market you get dye inks that are water based and waterproof.
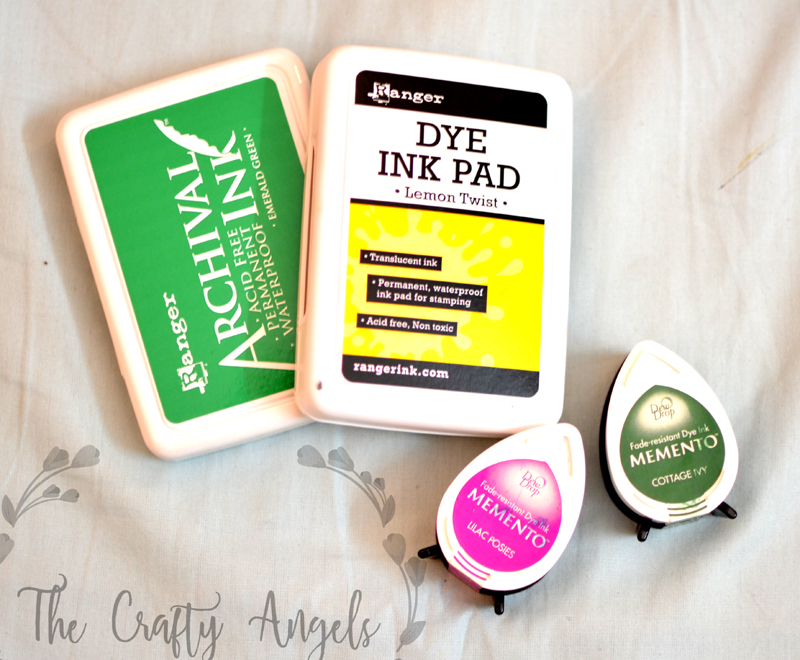
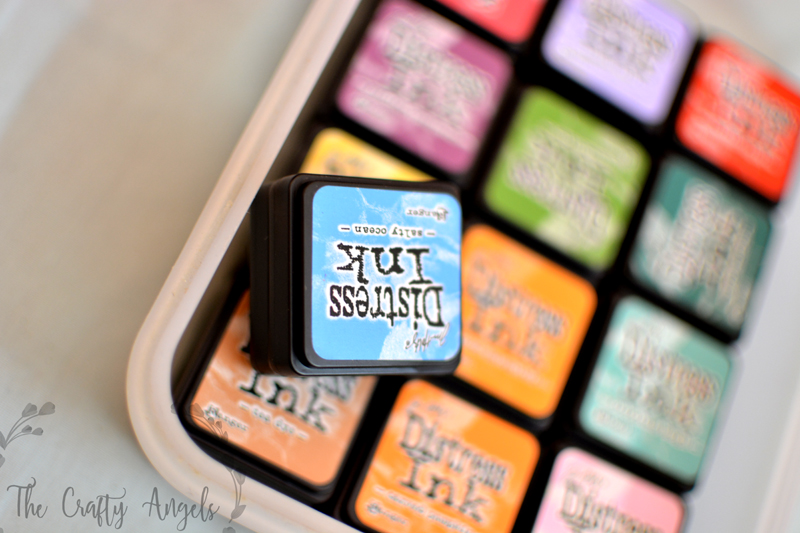
Distress inks are examples of water based dye inks that can be used for blending, painting etc ie, once applied, they can be modified with help of water. Memento and rangers archival are examples of waterproof inks which cannot be used for painting but work well for stamping solid & outline images.
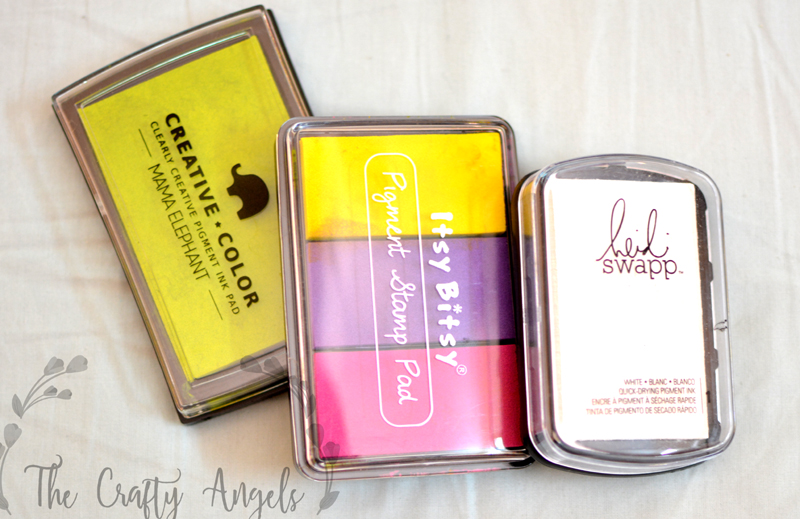
Pigment ink : These come on foam pads and they look more like a bright thick ink if you press your stamp against the pad. These inks don’t get absorbed into paper so they stay over it and take a little time to dry out. But the advantage is that they are bright and render solid opaque colors. I am not much of a fan of pigment inks but I purchase them just for the sake of neon/bright effects they give. Also there is another technique called heat embossing ( which required another whole lot of supplies) wherein, a heat embossing powder is applied over an area, heat with a heat gut and the area pop up in an embossed look. In order to hold the heat embossing powder to the paper/area, pigment inks are used as they take time to dry once applied/stamped. The orange shade of dye ink and pigment ink are very different because the pigment ink give a lot of fun and bold touch to the stamped image.
What are the inks in my stash ?
The most used ink is of course the black ones and my personal favourite is the versafine onyx black after archival black.
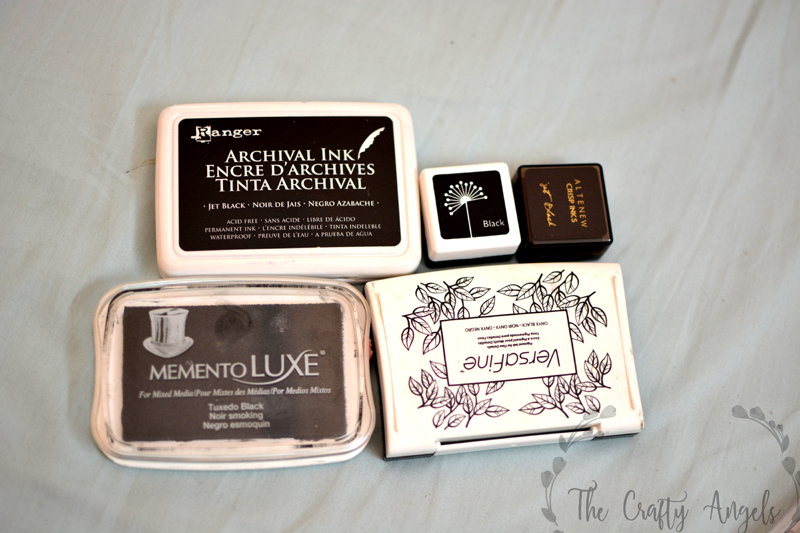
The next best used shades are memento dew drops in different shades. I recently purchased sets of altenew crisp dye inkpads for use in my layered stamps and they are not an essential for beginner. Although I use memento, a lot rangers dye ink pads are much much better but they come in bigger size only which is costlier but definitely worth the money. I have only two pigment inkpads from mama elephant and I hardly use them. Distress inks yes I have a whole bunch of them but I hardly use all the shades – a mistake in color selection that I made long back!
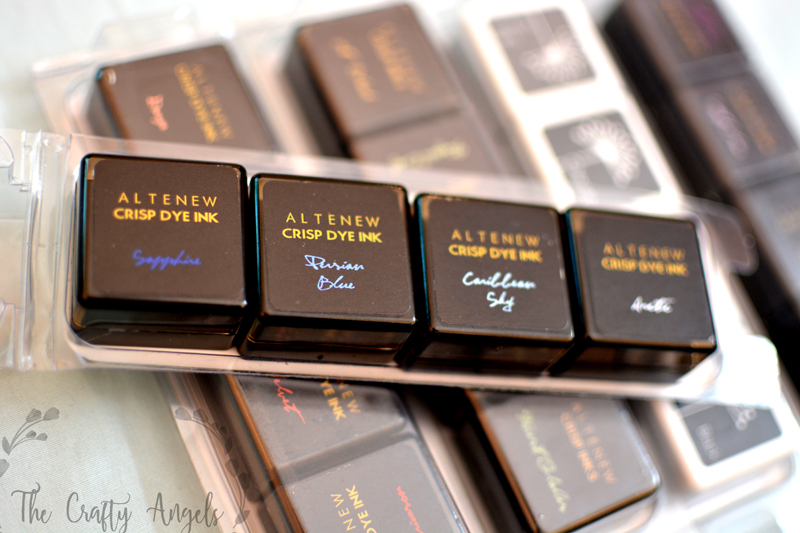
My choice of colors for you to buy will be black versafine onyx, choice of shades in memento ( if you want to save on money) or rangers dye inks.
How to choose stamps inks PAPERS ?
Now papers play such a huge role in the final quality of your stamping and so you have to be really careful. Your local stationery shop will retail cardstock in a4 size but they are really chart paper ( used for school projects) quality only. If you are serious about the quality of your image/card, go for fabriano elle erre cardstocks ( 220gsm). They come in various shades and bianco is the one in white shade. They absorb ink well and the images are always always crisp. Fabriano elle erre is my personal favourite but these days I am shifting to bielo cardstocks (300gsm). These are priced a little higher than fabrioano elle erre but they are thicker and also very very good for blending distress inks. For watercolors, I use brustro watercolor papers and they are really thick with textures for good watercoloring.
I hope you are now happy and not so confused as before onhow to choose stamps inks papers for your cardmaking/crafting journey. I have this list of craft shops on my blog that supply almost all the items mentioned in this blogpost if you want to buy them.
What other tools do I need for starting cardmaking?
- Paper trimmer and scorer – I purchased a combined trimmer and scoreboard from WRMK and I have never had any complaints with them. Cutting your cardstock into your basic card size can be done with scissors as well but the perfection in the finish can be achieved with trimmer only. Score board is essential to fold your cards at the center or whichever area you want to fold to be. They cost you somewhere near to 2k but they are worth the investment. Also a commonly asked question is the size of cardstock. I recently saw a haul video where the girl was surprised at how small the size of the precut cardstock was! The universal size of cards are callEd a2 size – 4.25″x5.5″ but then you will have to do a lot of trimming to achieve this size from an A4 size. I generally cut my A4 card stock into half and then fold the two halves into half which gives me a card size of 4.25″x5.875″ which works for me 🙂
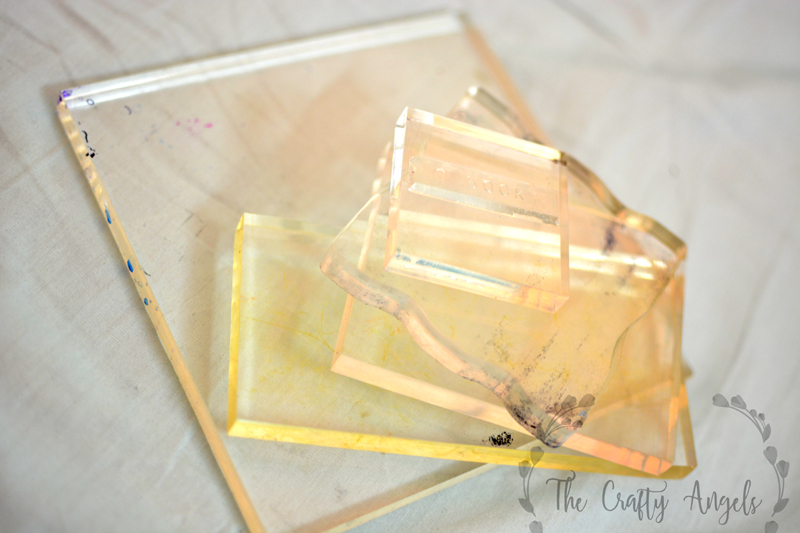
- Acrylic blocks – the clear/rubber stamp does not have a base to hold (unmounted stamps) which you will need to purchase separately. There are many types and sizes of acrylic blocks available in market but I advice you to purchase the smallest around 1.5″x1.5″ and another 3″x3″ or somewhere near to that. I read on blogs and purchased a wide one for background, long one for sentiment, curvy one for ease of holding , none of which I use except the 2 smallest ones. There are ones with grid lines which are good to align the stamps straight. Also these days a lot of multi stamping tools are available like misti, impresso, stampoholic etc but they are only necessary if you are making multiple cards of same design.
- Stamp cleaner and spray bottle – you can use normal soap water in a spray bottle with damp cloth for cleaning but once in a while its always good to give them a bath with stamp cleaners that remove all the in residues that get stuck in between the stamps especially between the smaller sentiments
- Foam pad – invest in a mouse pad that is foam based and use them as your base to place the cardstock while you stamp. They give that necessary cushion effect to withstand the pressure and also makes sure your stamp doesn’t get over pressed giving a blurry image.
Hope you got a fairly good idea on what to buy and what not to buy as a beginner to cardmaking. In continuation to this post on how to choose stamps inks papers, I will come up with another post on my favourite sets of stamps in India. You can also invest in some standard accessories like sequins, half pearls, organza ribbons, satin ribbons, bakers twine etc to add lot more details into your cards 🙂

Very nice tips! I hope you come back to posting more, I really love card making =)
I am new to card making and was wondering which ink pad to buy and your post was really helpful. Thanks for sharing your insight on this topic.
Hey Chandini. I am so glad you loved the post and helped you 🙂 When i started with cardmaking, I found it so difficult to grasp things because the number of options on supplies available. Also all the supplies were so costly! Glad I could pen down a post based on my starting trouble 🙂 Will post similar series soon 🙂