Easy 3D Origami Christmas Tree making Tutorial for Kids
Bring in holiday cheer in each corner of your home with these pretty 3D origami Christmas trees that can be used in holiday vignettes. Also they are pretty easy once you get the hang of the folds and I am sure will be fun activity to engage kids with this holiday season.
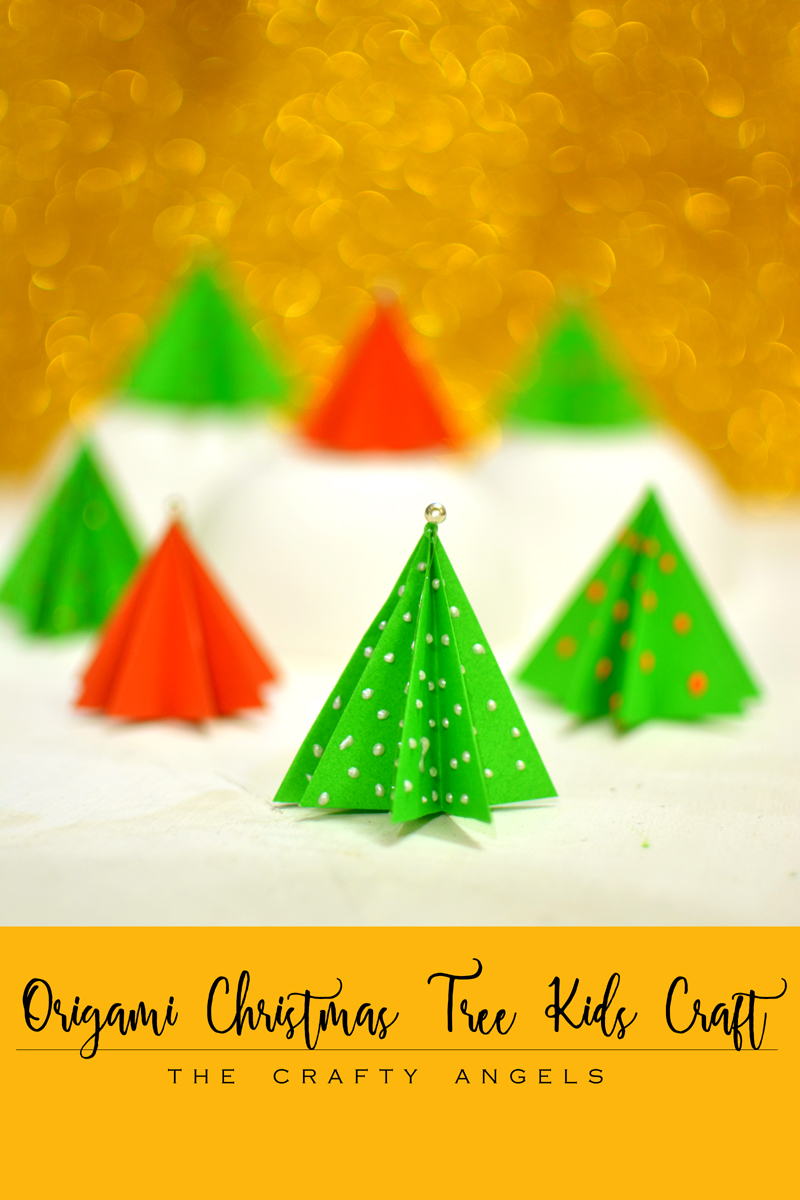
Every year for christmas, I sink in the work of making Christmas cards for friends and family that I get hardly anytime to craft. This is year was no exception in that matter but then again I have loads of ideas and I am going to keep my Christmas mojo going till end of January next year. Anyways, coming to today’s tutorial, its a very simple kids craft on how to make origami christmas trees. As kids, Christmas was always about decorating christmas trees and making nativity scenes. And I want this Christmas to be the same too- making Christmas trees with my daughter. My daughter is not old enough actually to try these Christmsa trees but I think I could try these this year and note down the tutorial with tips for her next Christmas! Okay lets start 🙂
[irp posts=”4264″ name=”Paper Christmas Tree Garland Tutorial”]

Materials required for making 3D Origami Christmas Tree :

- Origami papers ( I use artrex 80gsm color paper for origami – available with anandha stationery)
- Glue
- Pen,paper,scissors
How to make 3D Origami Christmas Tree :


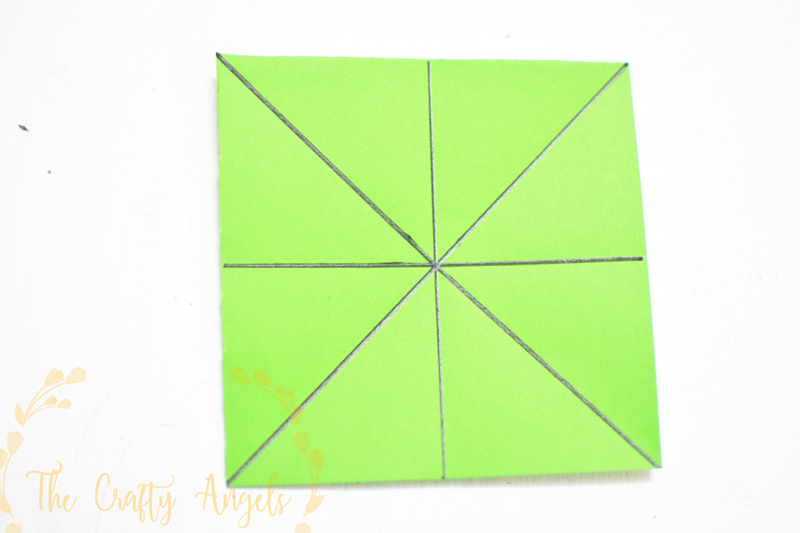
The tutorial might be a little hard to follow in pictures and if you cant get it right, I have added a link to the youtube video that helped me make these. To start off with, cut out a square shape colored paper of any size and fold it along the lines shown in below picture.
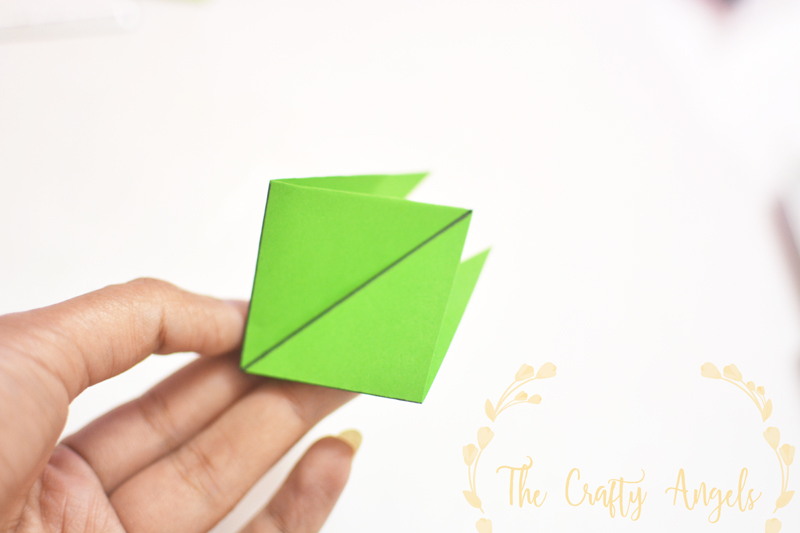
Now fold along the lines such that the four corners join together and like in the below picture.
Next, fold the outside corners to inside such that the edges fall in line with the middle line. I don’t know what I’m typing but hope the below picture clarifies what I meant!
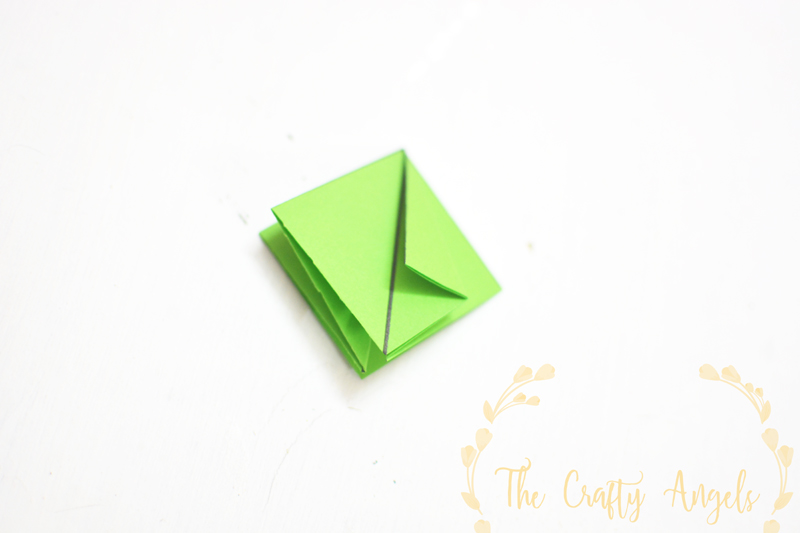
Do that for all the four edges and you are almost there!
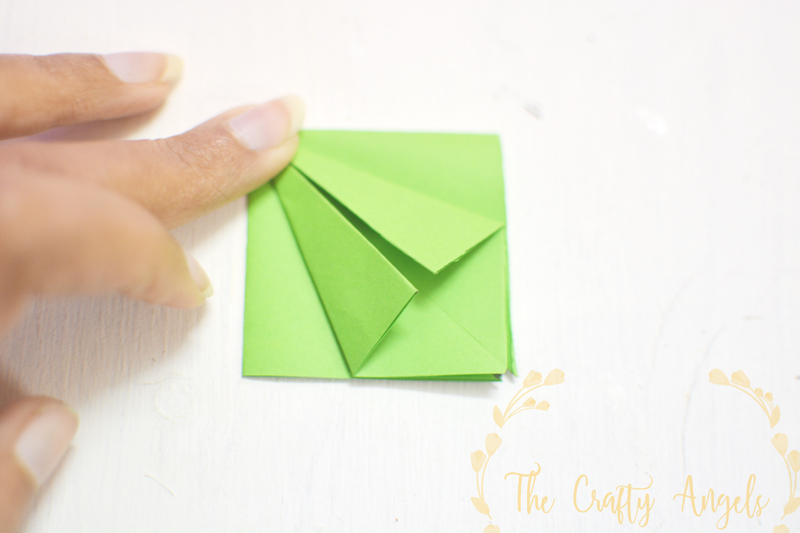
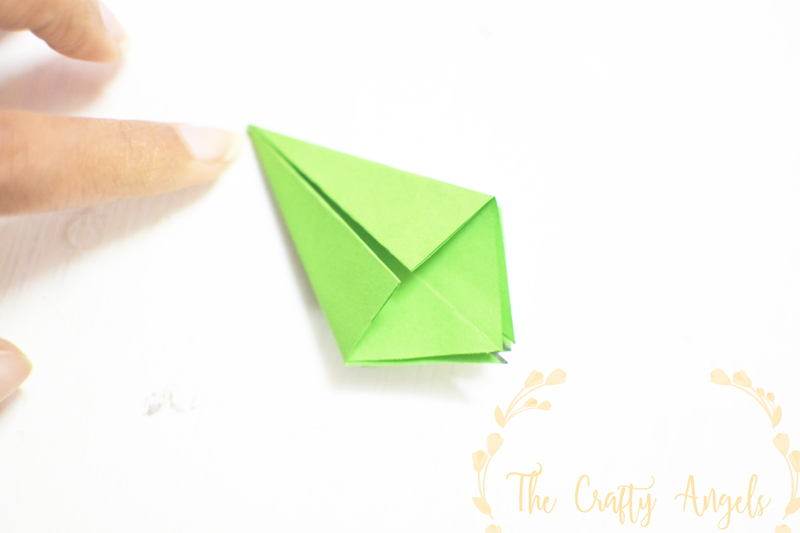 The next step is unexplainable in words but I am trying – Open the fold you just made and along the newly made crease/fold, flatten the folded side. I know it didn’t make any sense but check the below picture and read this again. Makes sense? Nah? okay forget it. To next step 😛
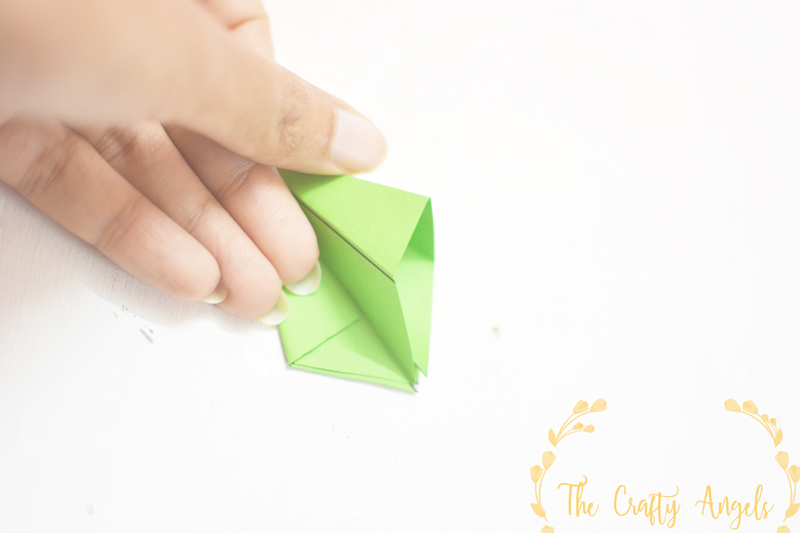
Do this to all the four corners and your final shape should look something like this.
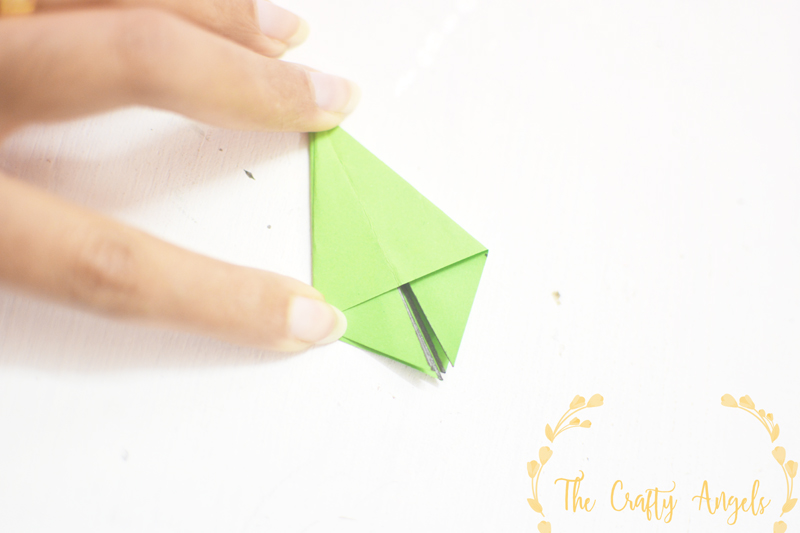
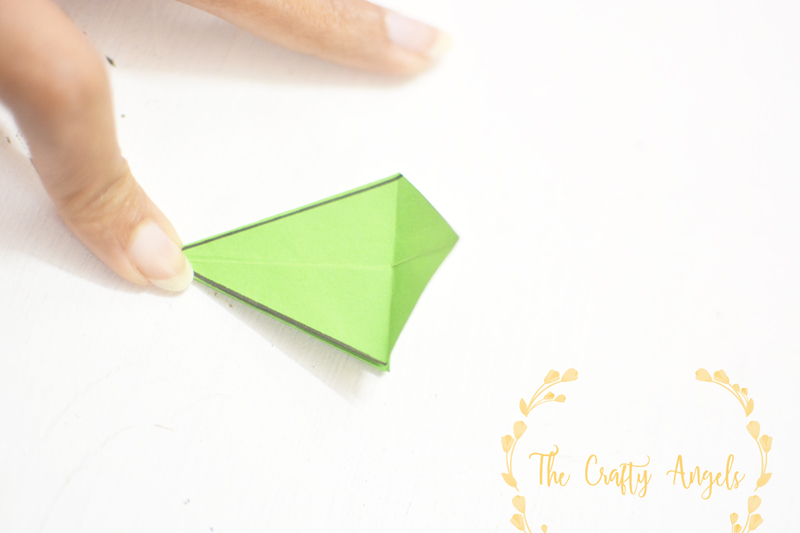
The final and last step – flip the folded edges such that you get a wide triangle at the base and thats 4 sides that gives you this shape. Fold the bottom triangle in line with the base line that you see in the top picture. I fold it outside first and then along the same line fold it back inside and tuck it safely.
Once you have done this triangle fold to the inside for all four sides, here is how your tree will look like from bottom. 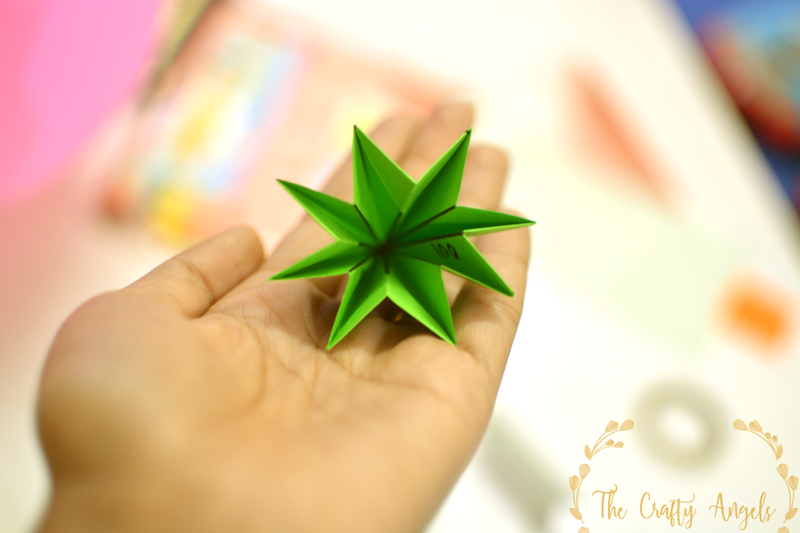 Well thats it your 3D origami Christmas tree is done but I figured the tree doesn’t stay tall for a long time and it keeps opening up in a day. I added a small drop of glue into the middle top corner of the tree and let the tree rest inside a small glass upside down so that when the glue dried, the folds will stay together and not let the tree flatten out.
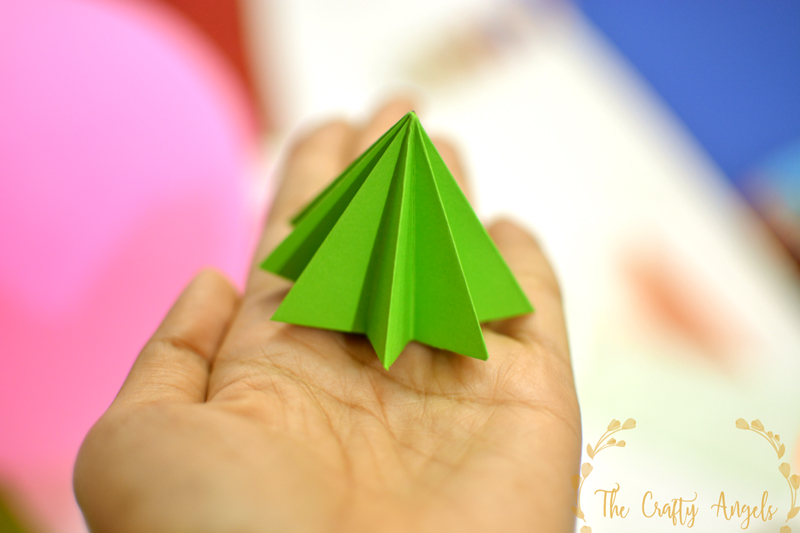
I made a couple of these 3D Origami Christmas tree and I made a little variations with colors and patterns. I used some 3D outliners to add dots and stripes for some added details. I also used the colored paper cups that I had made as hanging lights garland as stands for the trees.


Did you like these 3D Origami Christmas Tree ? If you did, I am sure you would like these version of Christmas crafts as well. Happy crafting and keep us updated about your christmas crafting by tagging @thecraftyangels on instagram 🙂
xox Angela






These are so creative! I’m definitely going to share the idea with the parents I know. Thanks!
Thanks Kelly 🙂 I’m sure you would enjoy making them 🙂
These origami 3d trees look awesome! Even though Christmas passed, I’m still gonna have fun with this craft. Thanks!