Creating a DIY Gallery wall on budget
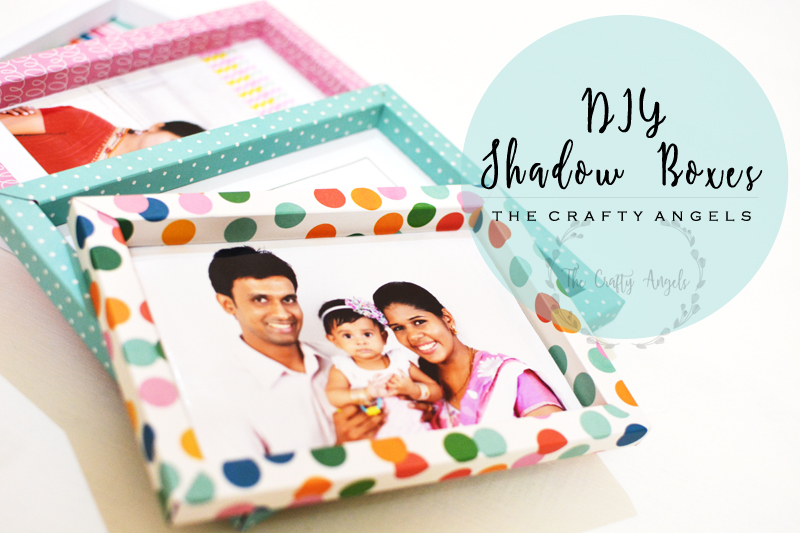
Take your wall decor to the next level with these simple and cheap DIY gallery wall frames made with paper card stocks and little creativity 🙂
Are you looking to decorate your home or your hostel room , or even your work space? An interesting gallery wall changes the entire look of a blank wall and when you can keep changing the contents of the frames, its going to be really versatile, especially because you can change the contents depending on your mood, life goals, season etc. A typical gallery wall requires photo frames in different sizes which is going to cost you a bomb and when it comes to rental apartments, imagine the pain in adding all those wall hooks for all your frames 🙁
Edit (May 2020 ) : A video on the same has been uploaded on my Youtube Channel and same is included at the end of this post. Be sure to watch it 🙂
[irp posts=”4565″ name=”DIY Geometric lampshade tutorial”]
You might know I stay in my company provided accommodation and there is just so much limitations to how much of a permanent modification I can make in my home. But the plus point of company quarter is that its spacious, and it has a huge garden space , talking about which, gardening has been a side passion these days and you can catch up with me on Instagram for garden updates 🙂 .
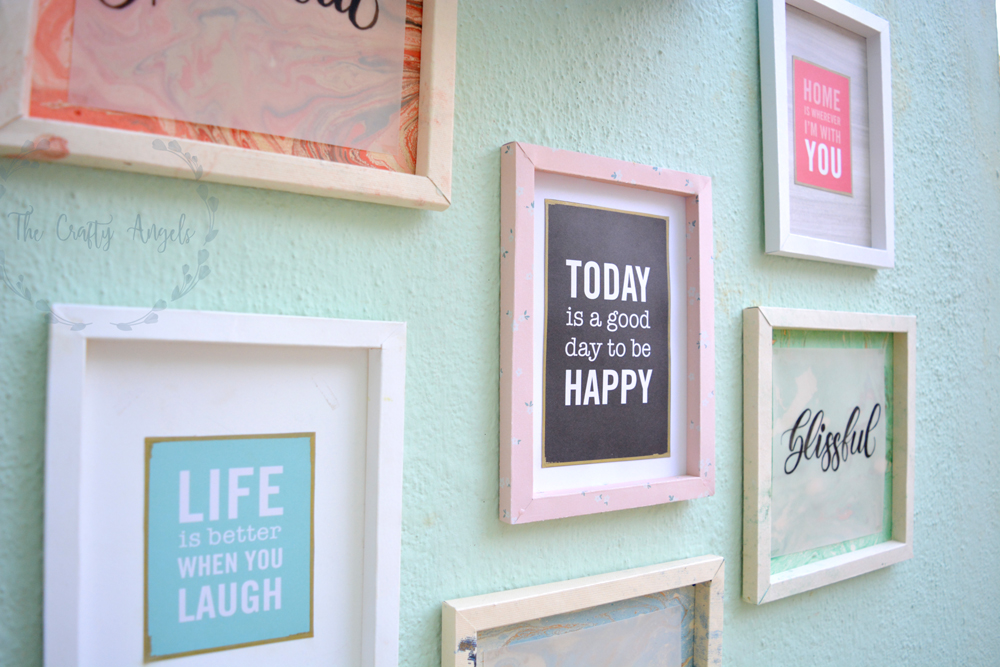
Well coming back to DIY gallery wall, if you are the creative types person who think about “how can I make this myself” every time you see something nice, hop on and lets have fun making these DIY gallery wall on a budget! Before you start on the project, two things to think about would be area of wall to cover and content of your gallery wall. Check out some of my favorite inspirations from Pinterest ( I have listed my favorites at the end of this post so be sure to check them out) before you make one for your own.
Materials required to make DIY Gallery wall with handmade paper frames :
- 12×12 inch pattern papers of your choice
- Scoring board & scoring knife
- Glue
- Photographs/printouts/handlettered cutouts
Step by step procedure to make DIY Gallery wall with handmade paper frames :
Since these gallery wall frames are supposed to be for one time installation and they are really cheap to make , I did really make a second lot , just to post this tutorial. The original gallery wall which I made years back, is right in front of my craft desk and is like a small collection of memories I cherish.
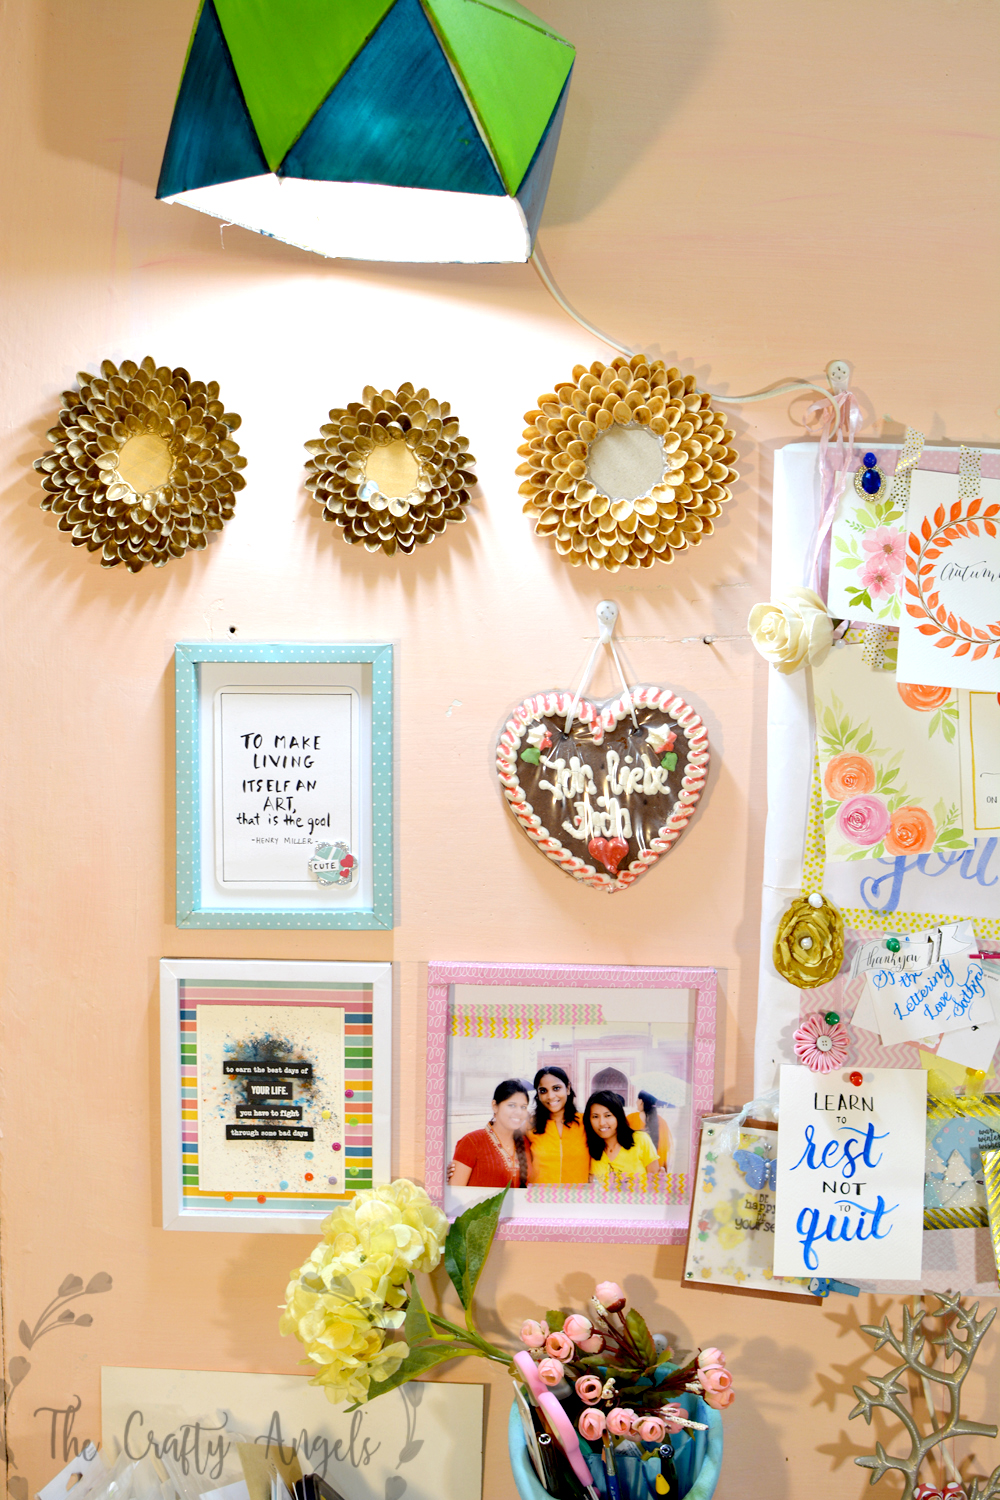
Since the lighting is a bit on the lower side at my work desk, I decided to make another set of DIY gallery wall frames just for a photo-shoot. See I told you they are really cheap and really easy to make 🙂
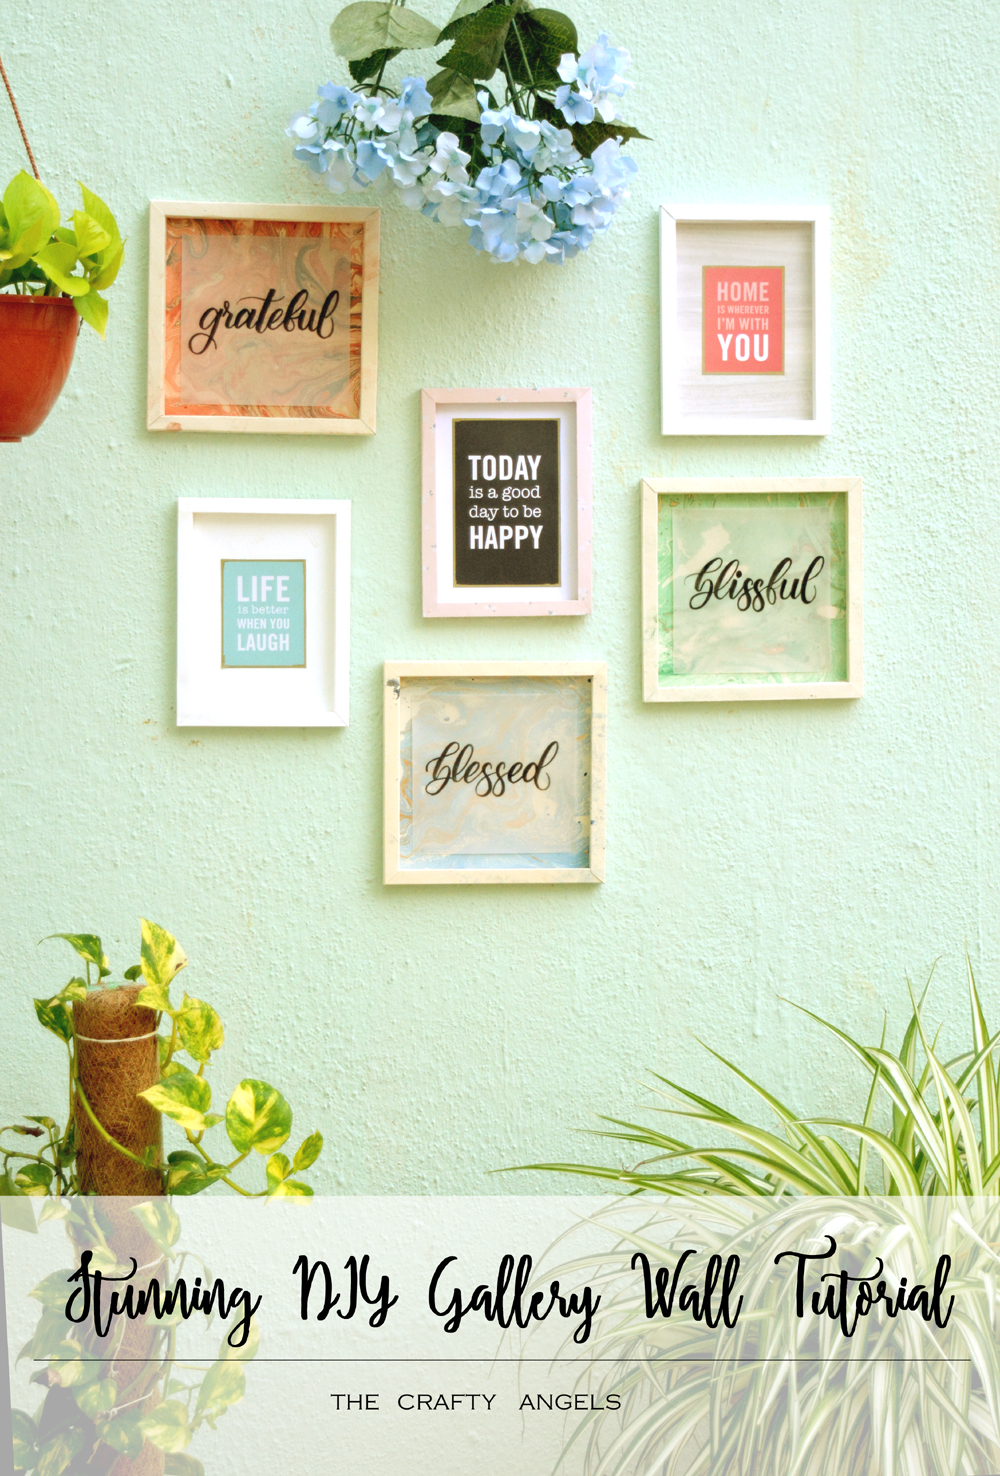
I am not going to share the tutorial for the wall in the post as I have already covered that in detail in my earlier post which you can check here. I chose few pretty card stocks from my collection to make these wall frames and if you want an exact replica of these, these are marbled cardstock from Itsybitsy , wood pattern cardstock from papericious and some are assorted paper I had.
Sizes of individual photo frames are totally your choice and I think square shapes will be easier to arrange into a symmetrical gallery layout. The content of the frames are really your choice and you get a lot of inspiration on pinterest. If you aren’t too good with paining or calligraphy, you can download printables and pretty images from the internet and insert in your frames.
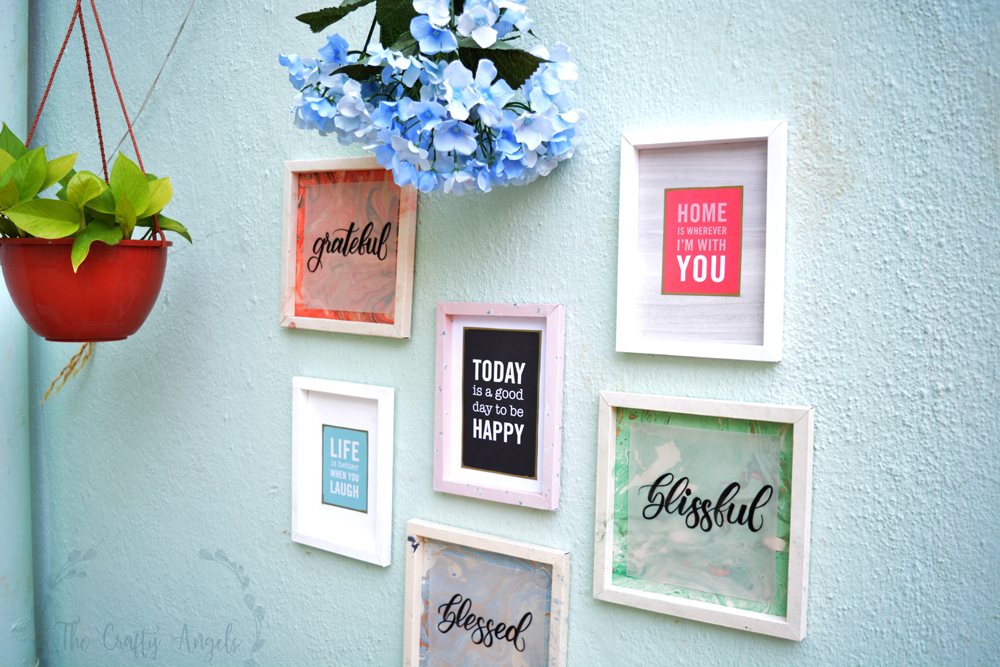
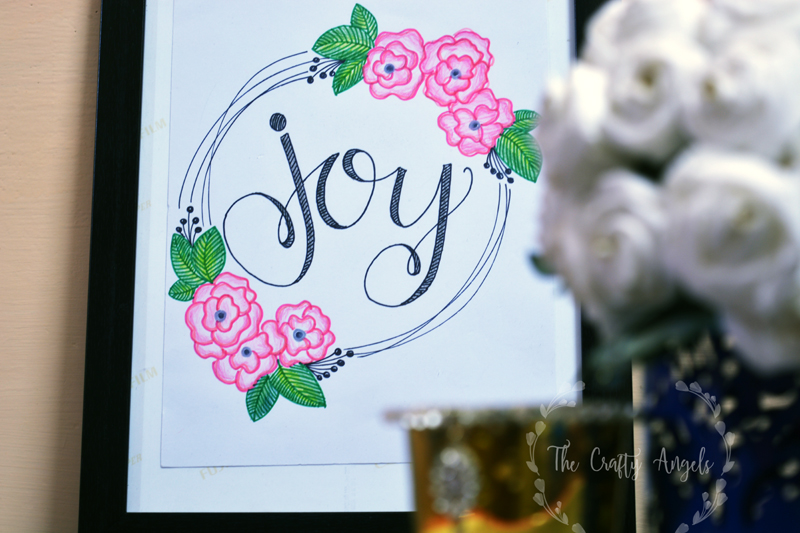
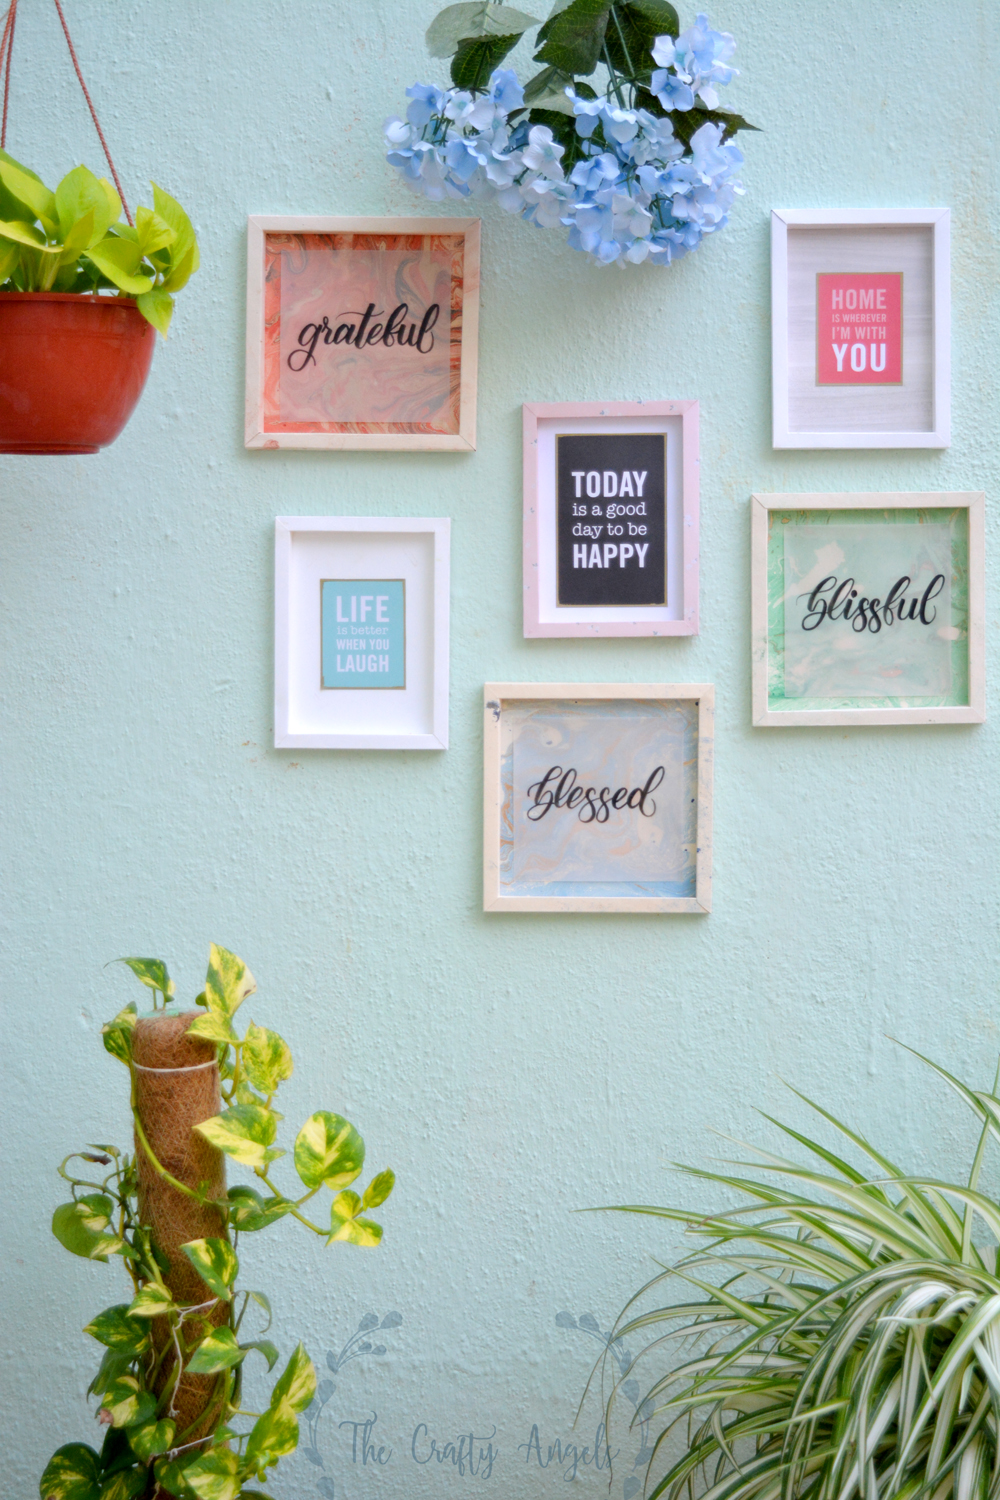
As for my gallery wall, I have used a mix of brushlettered happy words and also some printed quotes in my present post. In the gallery wall thats at my workdesk, I have added photographs and creative works that my friends sent over to me . A mix of various elements such as geometric wall shelves, wall curios or even decorative mirrors mixed with these frames would look awesome – just play with your creativity and find what works the best in your eyes.
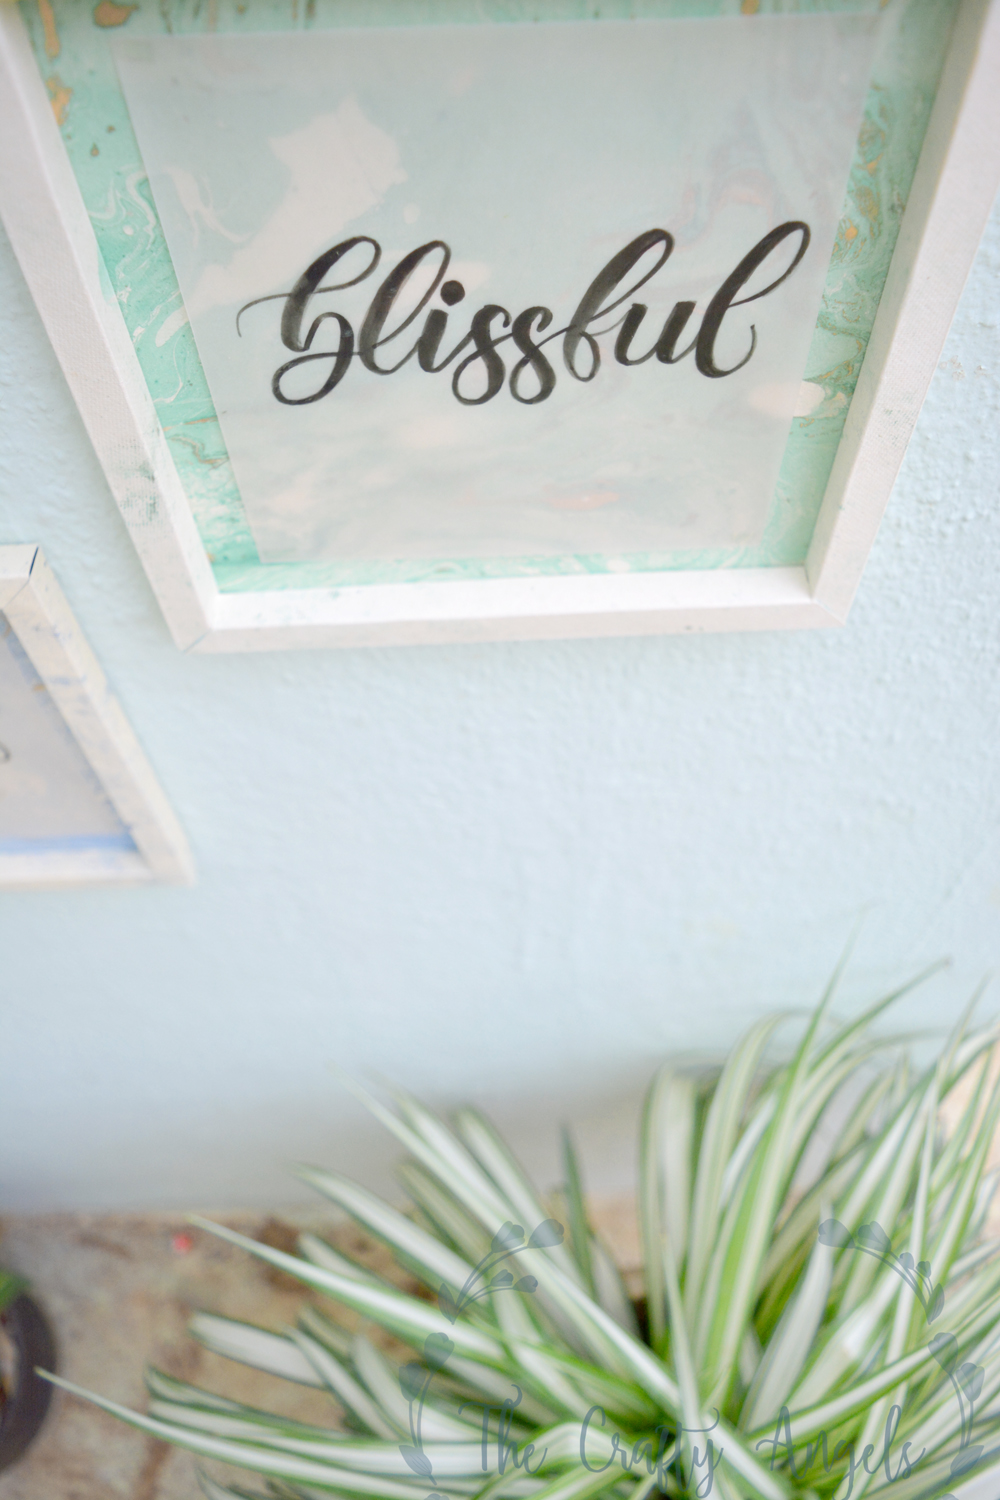
The best way to add content to your paper frame will be to play with the patterns, try to create color blocks, add variety of elements like plant block colored frames, handlettered frames, fabric frames etc . I mean just put in all your favourite memoirs be it shells, ribbons, photographs, fridge magnets etc, and try to imagine how it will look good inside the frame. In case of photos printed in specific sized that do not match the size of the frame, try adding washi tapes, decorative elements, laces etc to even out blank spaces.
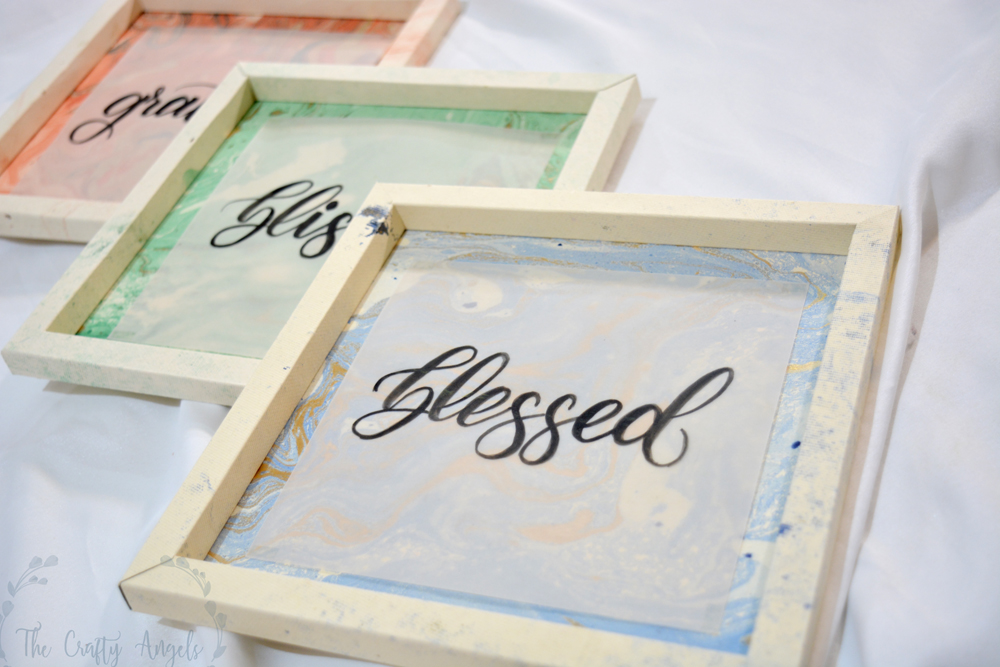
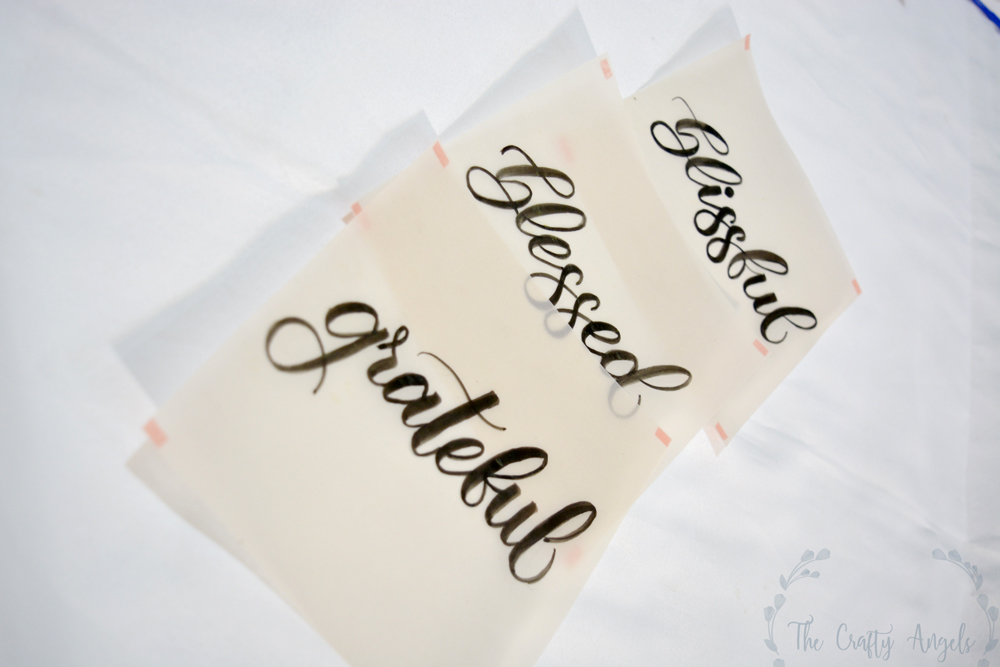
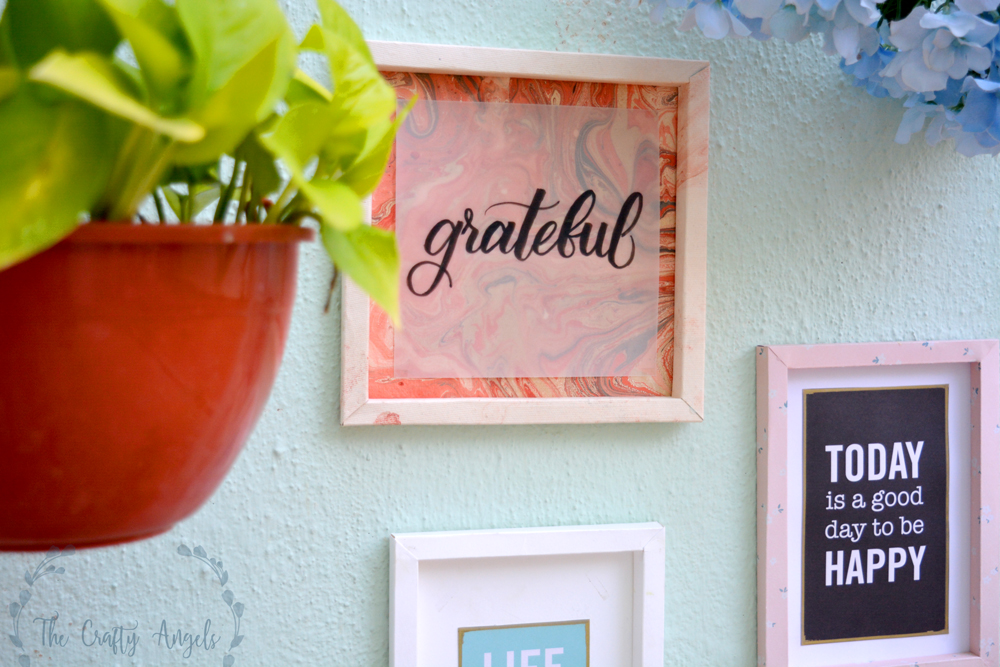
If you are interested in adding your own brushlettered quotes or words like these, I highly recommend you check my previous posts on getting started with calligraphy. The quotes in here have all be written in camlin black drawing ink, with round brush (size zero) on a thick vellum sheet. Since my frames where I was planning to insert these words, had a really pretty marbled background pattern, I thought it would be unfair if I totally hide it out so I chose to letter then on a vellum sheet instead of regular white sheet.
The best thing about these wall gallery frames are that they are weightless and hence can be mounted on wall with a single bit of double sided foam tape. One suggestion I have for getting the layout right on the wall is to take a rope and measure the dimensions of the area you want to set the gallery at, with the help of a rope or twine and lay it on the floor in the same shape ( Thanks to Ekta – Garden Up video for this trick). Place the frames inside your faux wall area and mix n match them until you are satisfied with how they look.
So, did you like this post ? I really love how a small changes especially curated by your hands can really a whole difference to the way you see your home. My craft desk is really my most happiest place to settle down after my hectic work days and even when I don’t paint or craft, sometimes I just sit there and listen to music. Its my magical place 🙂
So what are you waiting for? Pickup a blank wall and start filling it in 😀 Running short of inspiration? I’ve got it covered – check these out!
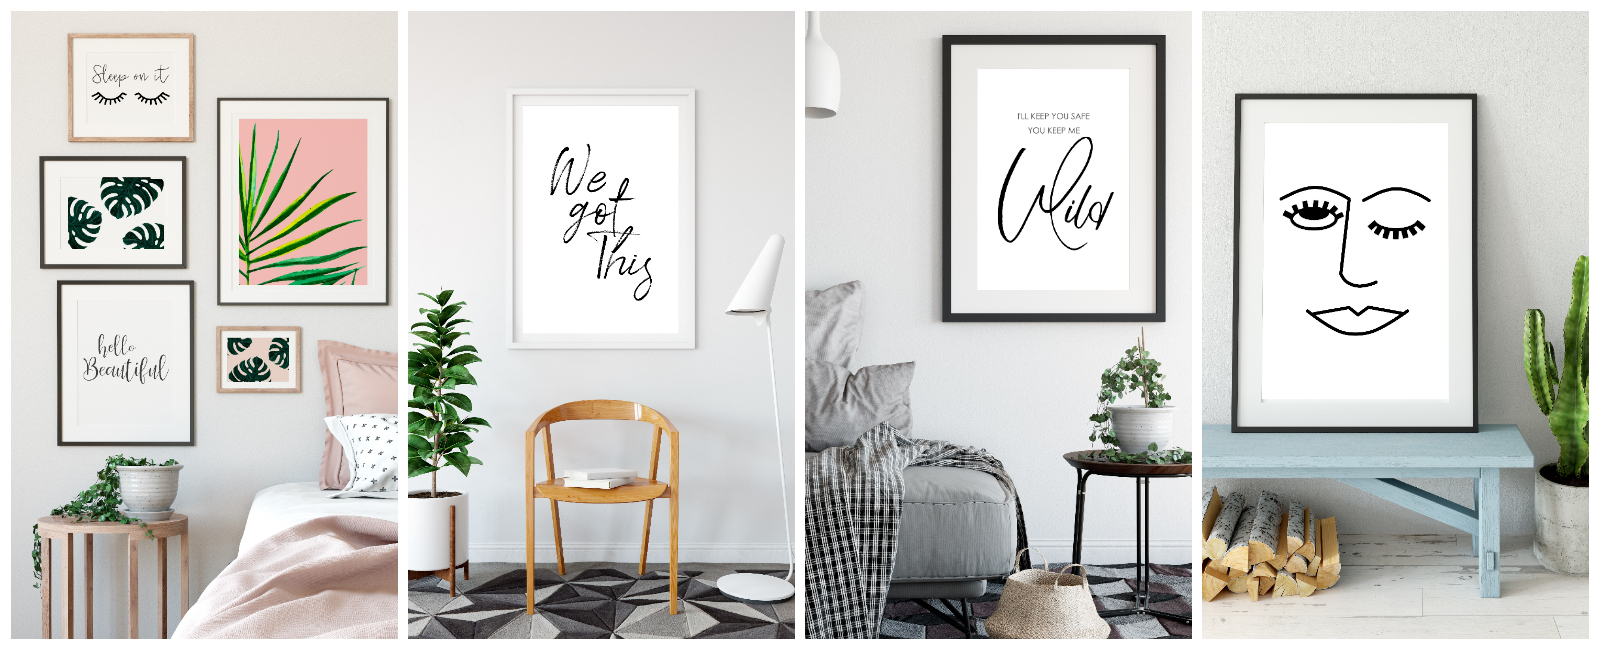
The Minimalist style gallery wall :
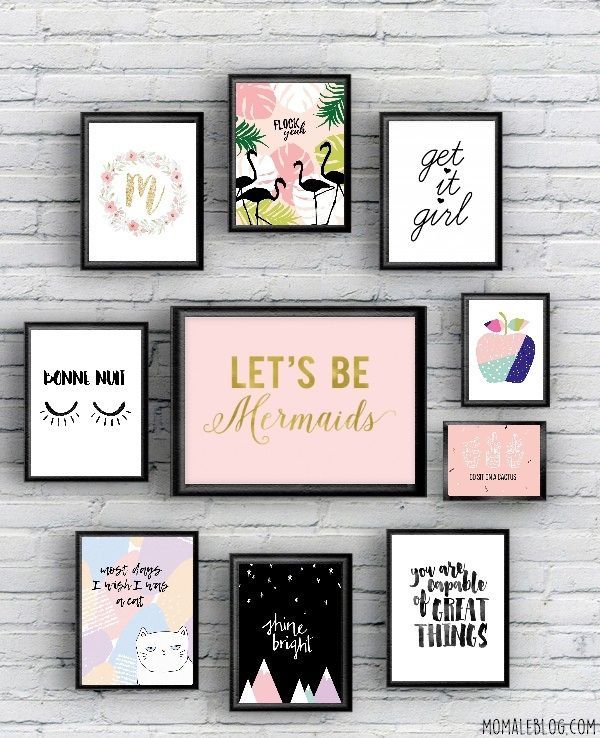
The Girly Chic gallery wall :
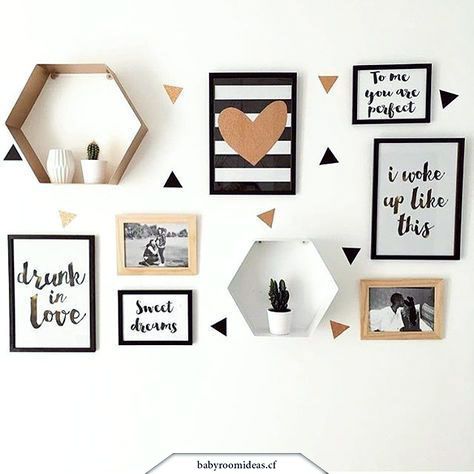
The nordic theme gallery wall :
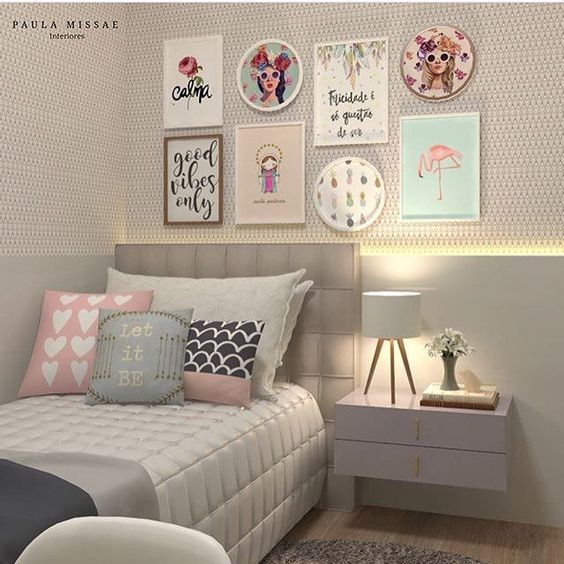
The boho chic gallery wall :
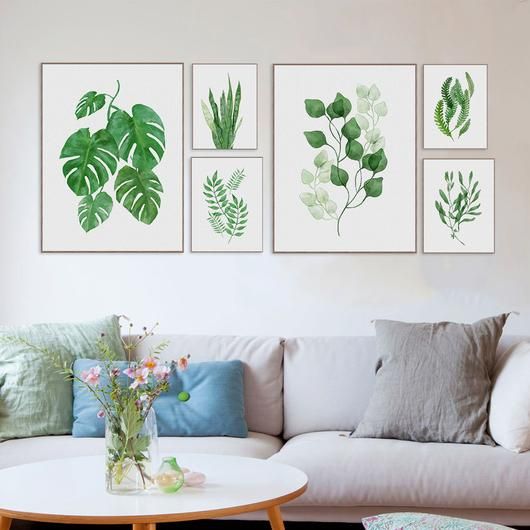
The Plant lovers gallery wall :
The bold statement gallery wall :

I hope you enjoyed this post and also try out these easy peasy DIY gallery wall on a budget. If you have any creative ways of creating these DIY gallery wall, do let me know in comments below 🙂
xoxo
Happy crafting
Angela

