Paper Christmas Tree Garland Tutorial
decorate our home in a specific theme and indulge in crafting together.DIY paper christmas tree garland for adorning your holiday home! These are plain simple and lovely activity for kids as well.
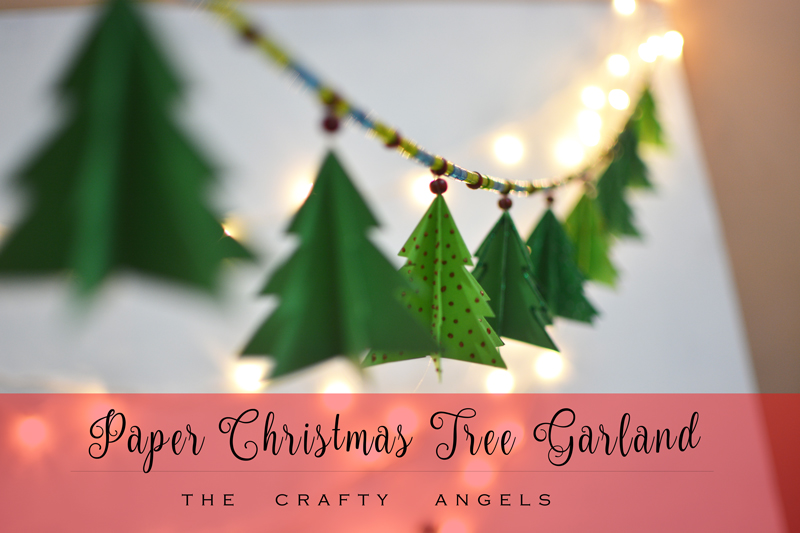
Welcome to Christmas crafting 😊 If there is one thing that gets me all hyper, it’s the holiday season. It is the only time when we actually decorate our home in a specific theme and indulge in crafting together. Every year I sit together with Grace and make something special and the tradition continues 😊 My favourite one with grace is this holiday Christmas tree garland that I’m sharing today and fingerprints holiday cards.
Anyways, today we are going to make these super simple and pretty DIY paper christmas tree garland. The most special part about this tutorial is that I had my daughter grace helping me our with adding the beads and I was so happy that she actually enjoyed the time with me. I think this would make a great kids activity too for this holiday season! Also if you are in the holiday crafting mood, be sure to check out the many other crafts I tried over the last Christmas season 🙂
[irp posts=”4427″ name=”DIY Jar Lid Christmas Ornaments”]
Materials required for making paper christmas tree garland :
- Cardstock in various shades of green
- twine/thread
- beads in colors of your choice
- glitter/3d outliner etc
- glue, pencil, ruler etc
How to make these paper christmas tree garland :
First finish with making the 3d paper christmas trees and then bead them through your twine along with your colorful beads for a garland.
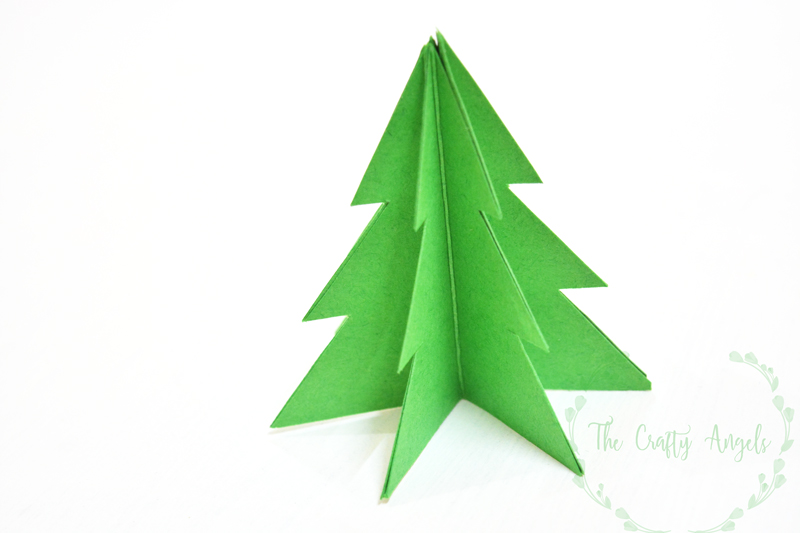
For making the tree, you need a template first based on which you will need to cut out shapes. The template is pretty easy and you can draw them with your freehand.
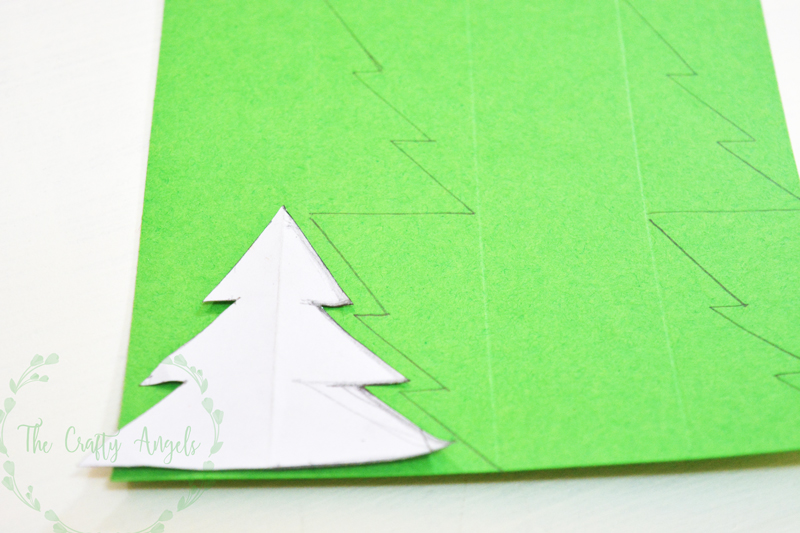
Fold your green sheets and draw half the template since they are symmetric on both sides. You will require 6 such cut out pieces for one tree so you might want to draw the outline over the entire sheet and then sit down to cut them out.
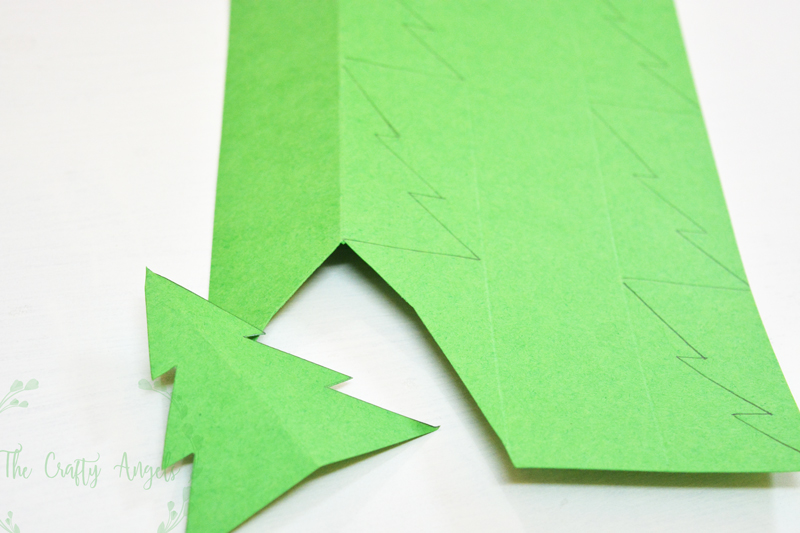
Once you have cut out the template, stick them side to side. As I said I have used 6 numbers per tree but thats totally your choice to have more or lesser papers.
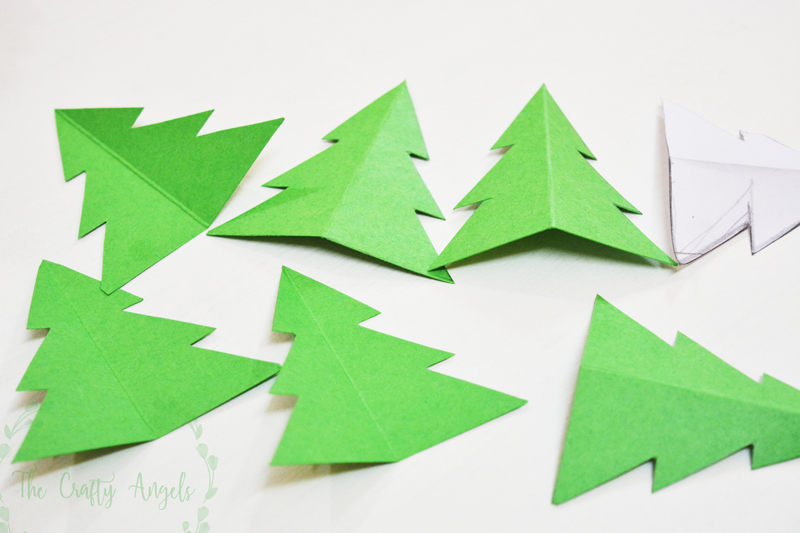
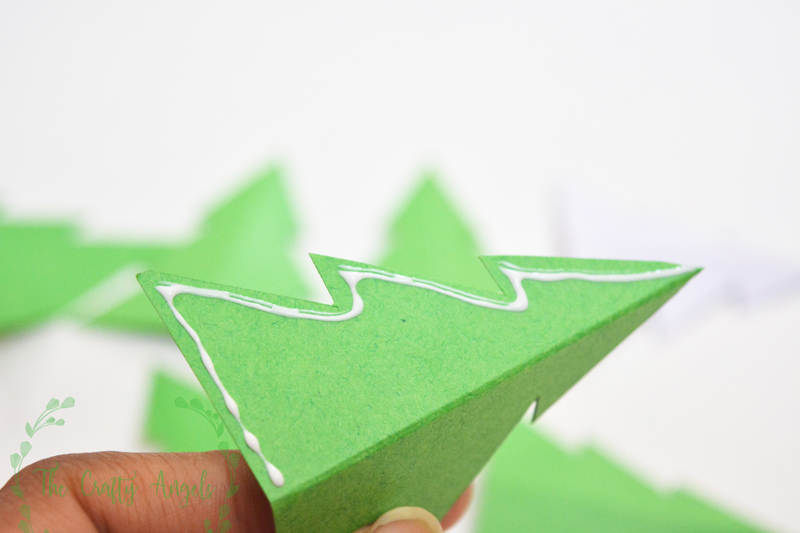
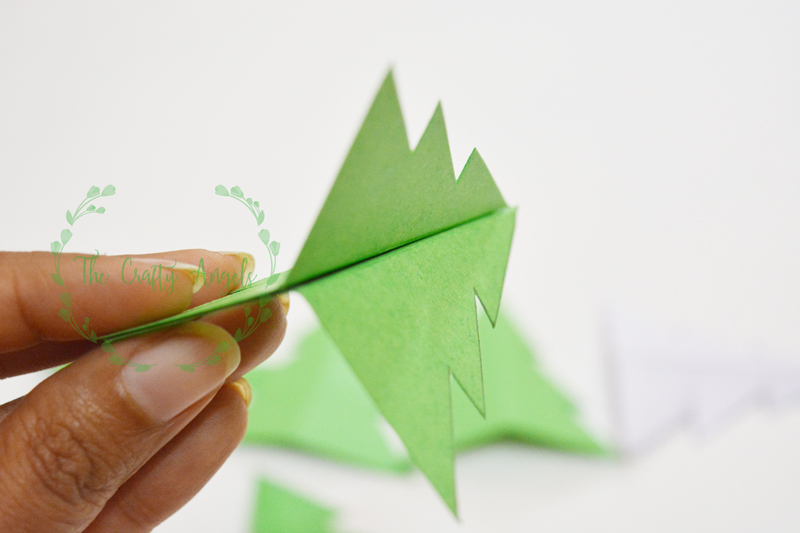
Once you have stuck 6 ones side by side and you have to close the loop, place your twine passing along the center of the tree bottom to top and leave a tail at the top to join with main twine. Now you can stick the final two flaps and close the tree.
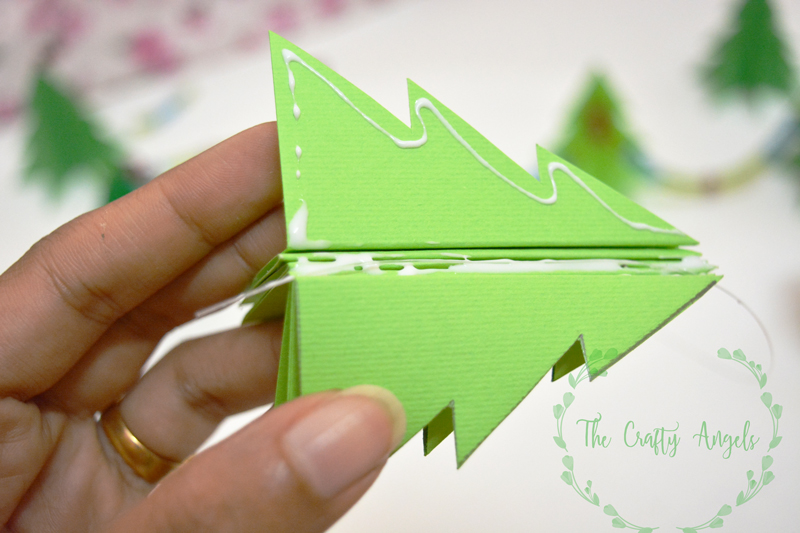
You can add some more tiny details to the tree like I did here. Maybe border or dots or anything of your choice to keep a high interest level. Alternately, if you have green cardstock in christmas theme, it would work great too!
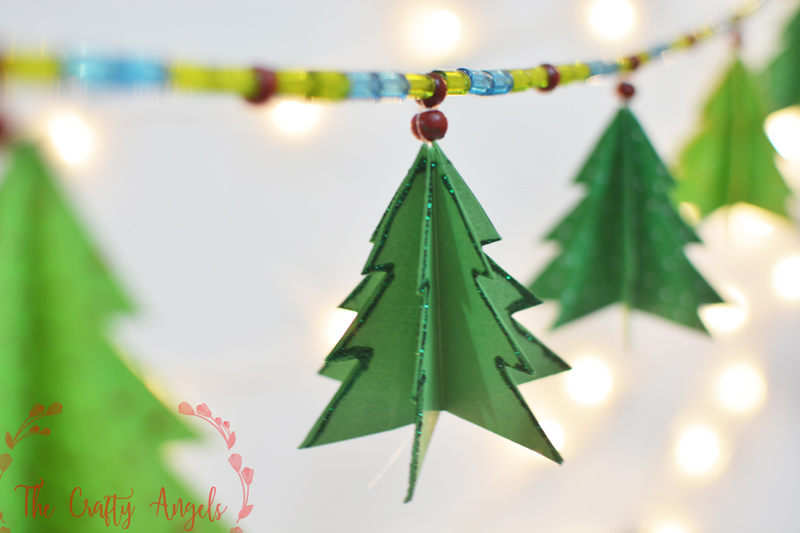
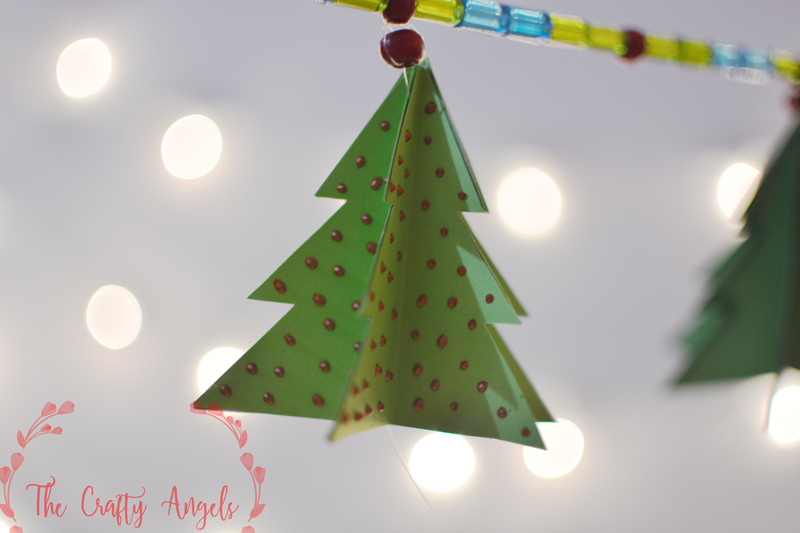
Once you have completed all the details, time to add little beads. Here is how I added the little red beads on top of the christmas tree.
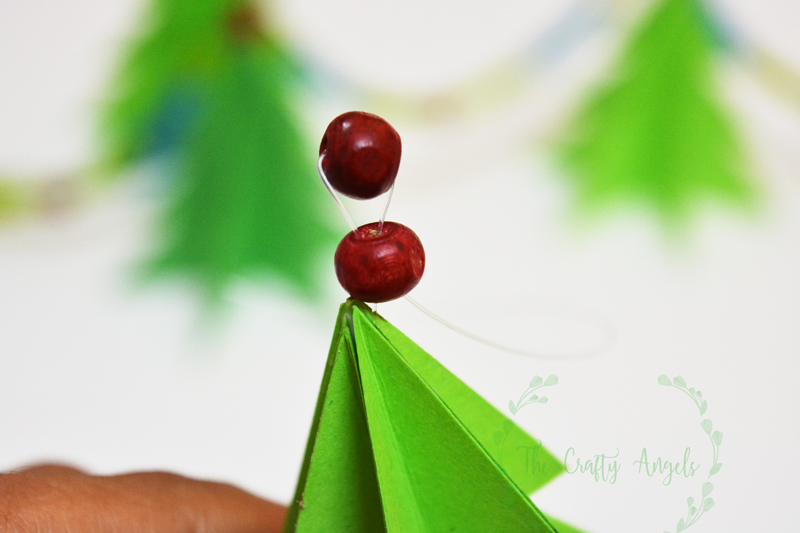
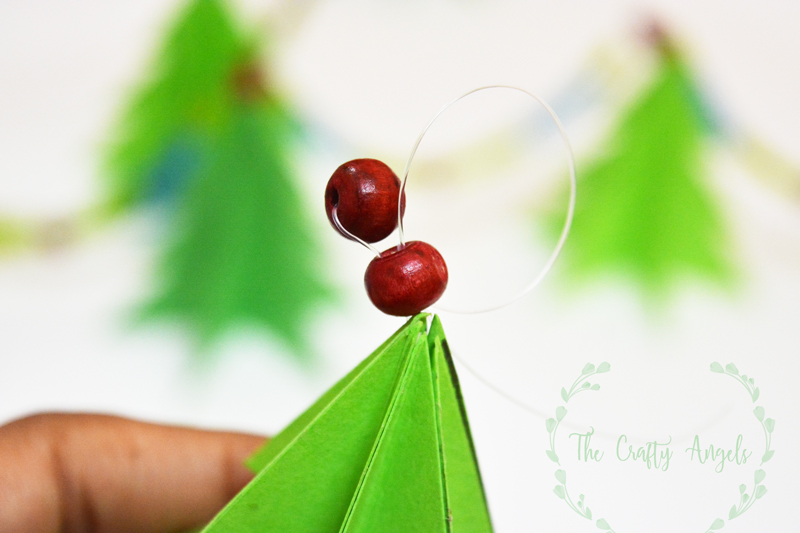
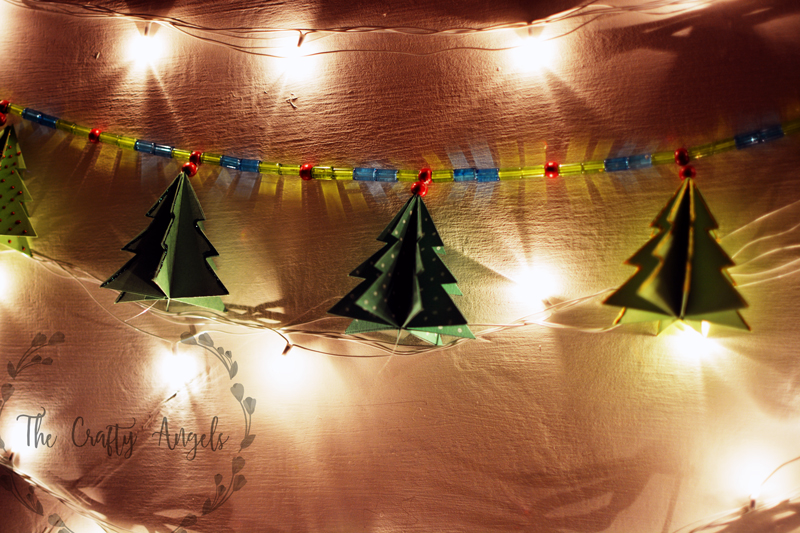
Make sure your top bead’s hole stays horizontal so that while adding them to the garland, the tree hangs straight. For the garland I chose beads in shades of blue, green and red. I added them in some pattern along with our christmas tree and look how pretty they are.
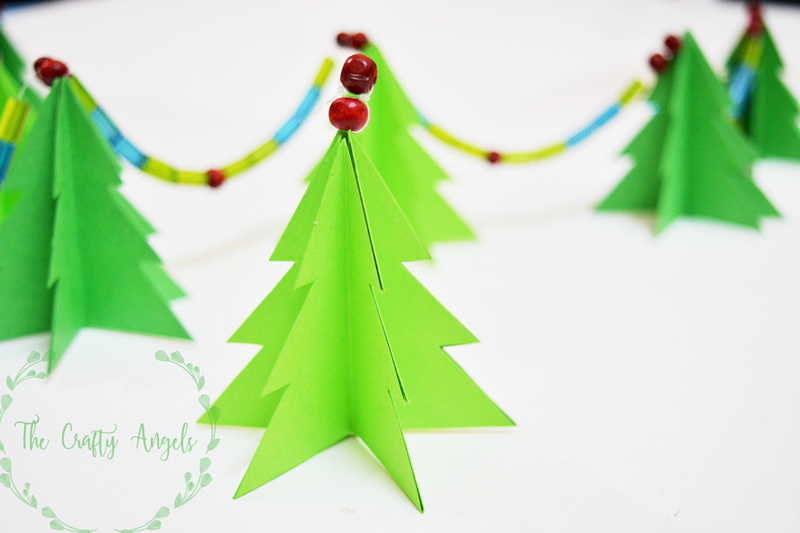
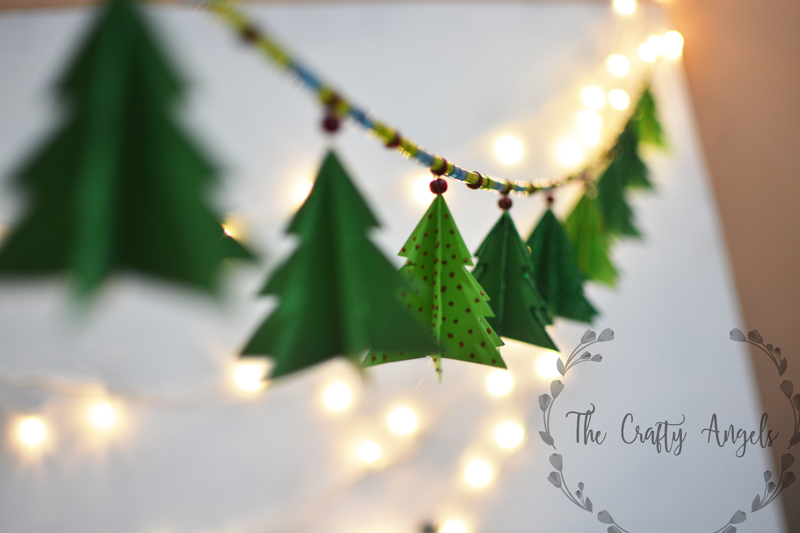
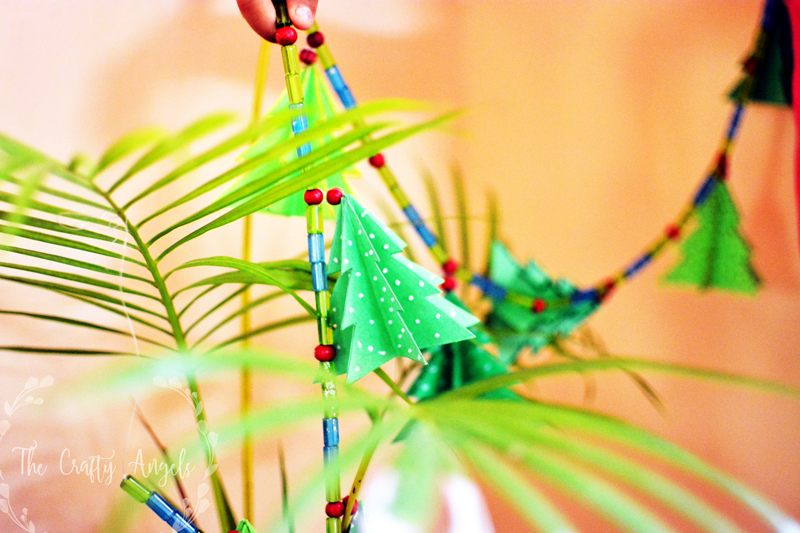
Hope you guys loved this simple christmas craft. Stay tuned for more and more fun christmas crafts and decor ideas 🙂 Until next time bbye!
Also credits to my little one who did most of the beading work 🙂

xoxo Angela


4 Comments