
Washi Tape Handmade Flower Tutorial
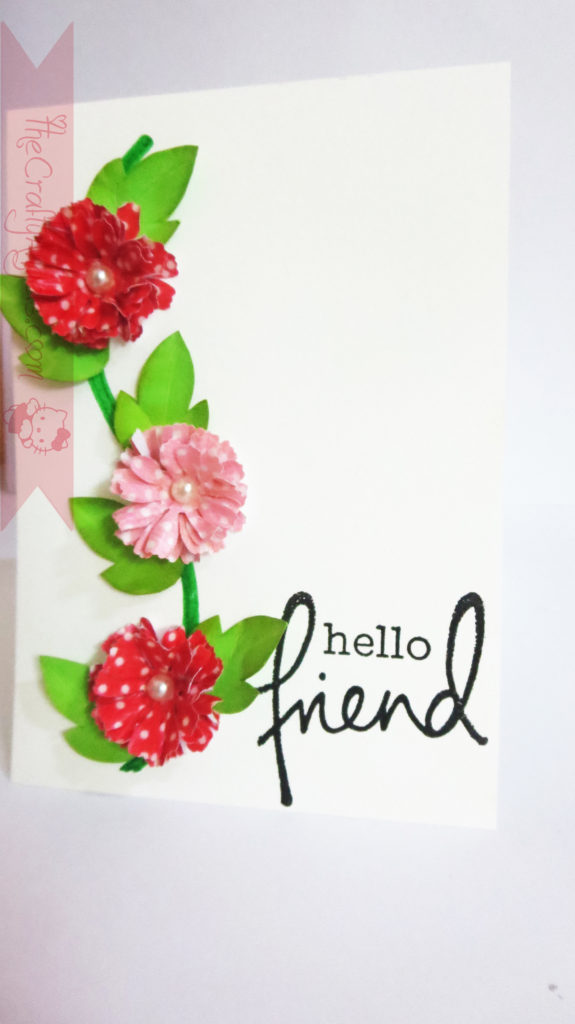
Washi tape handmade flower tutorial : try this easy handmade flower tutorial by use of super cute washi tapes! I made these tiny ones for a friend card.
How have you guys been? I know I have been missing from the scene lately but I promise you that I wont go away altogether 😛 I have some other priorities to be set right before I can plunge into crafting world so until then, do follow me on Instagram and facebook for regular crafty updates 🙂 I made these cute punched washi tape handmade flowers last day and I couldnt stop admiring at how well it actually turned out to be! I definitely had to share the tutorial for this simple but beautiful handmade flower.
Materials required to make Washi tape Handmade flower :
- Washi tape of your choice
- White/colored paper ( normal printing paper~80gsm)
- flower punch/flower cutting template
- glue
- pearl/embellishment
Step by step method for making washi tape Handmade flower :
I’m not going to make this tutorial long and boring with all my chattering! This tutorial is similar and also inspired by a washi tape handmade flower tutorial posted by Rajni Chawla on her blog HERE.
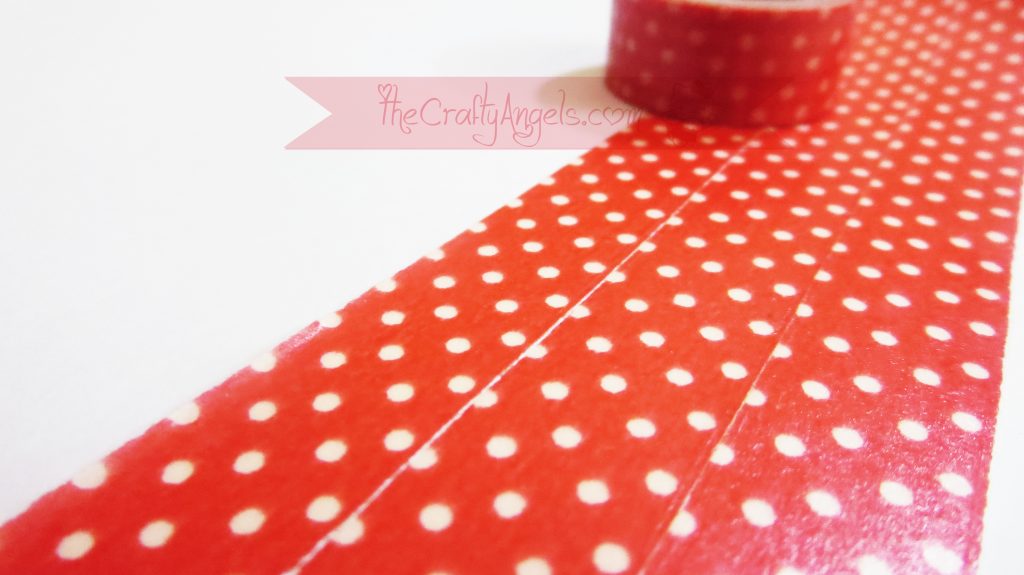
Stick your washi tape on a paper without leaving any gaps in between each lines. You need not apply any glue or adhesive for this step.
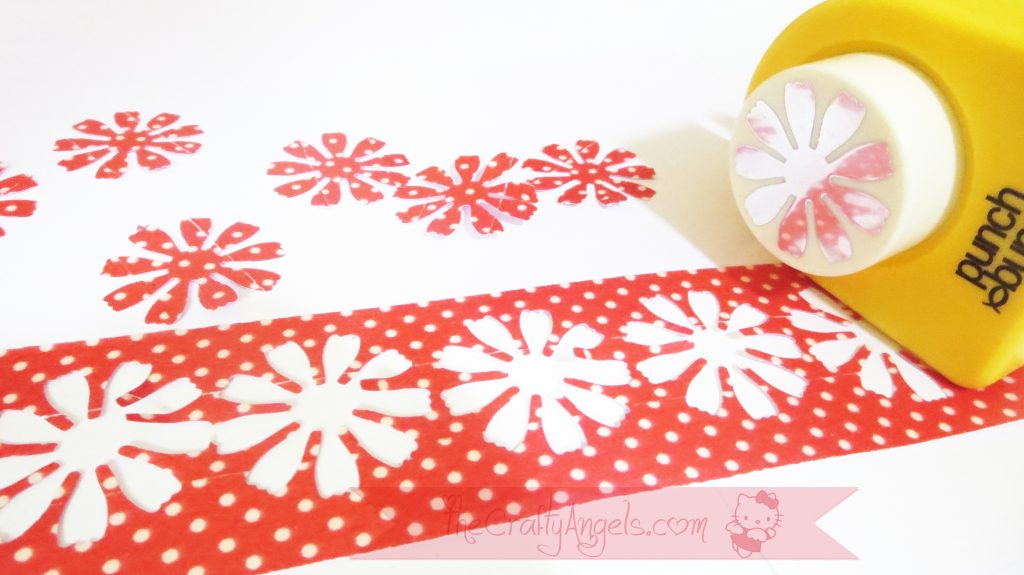
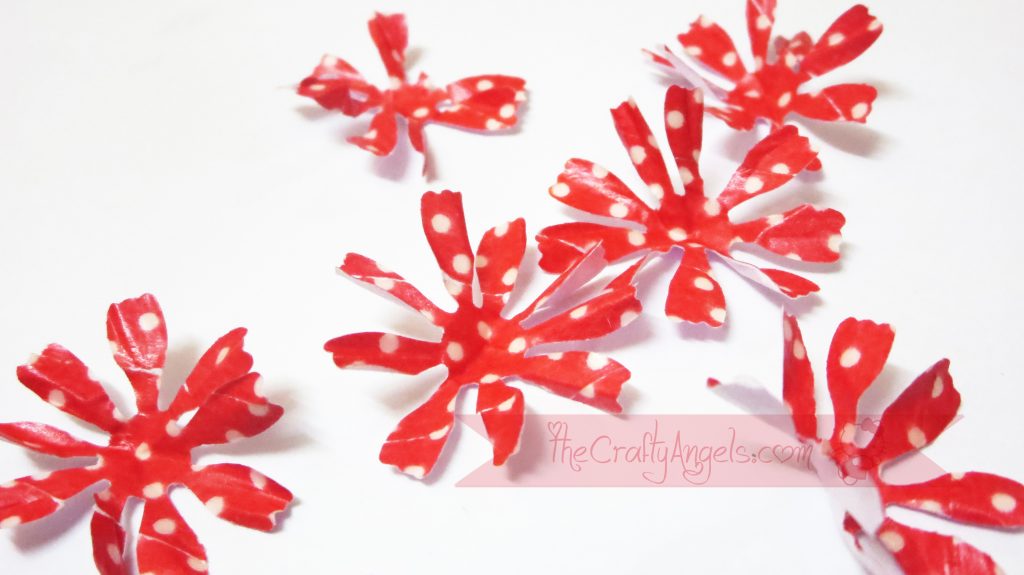
Once you have a pattern paper sort of thing using your washi tape, punch out your flower using a punch. In case you don’t own a punch, you can hand draw a simpler flower or even take a print out of any flower outline and use them as template. I punched out 5 sets for a single flower and the punch used is 1″ flowers from punch bunch ( HERE)
Place your punched flowers on some plastic/non porous surface with washi taped side facing down. Spray little water with your spray bottle mister – just a little to soak the paper.
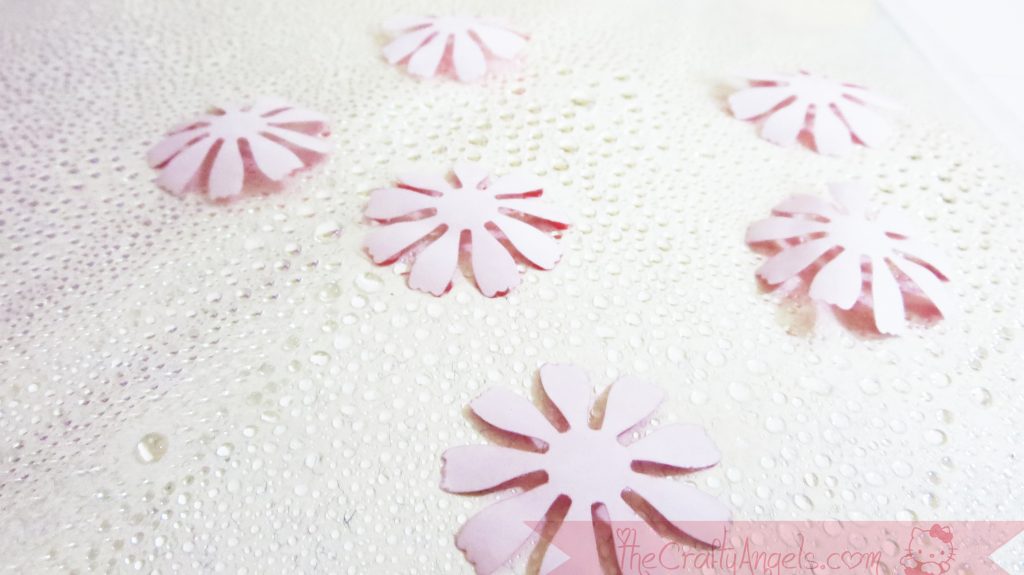
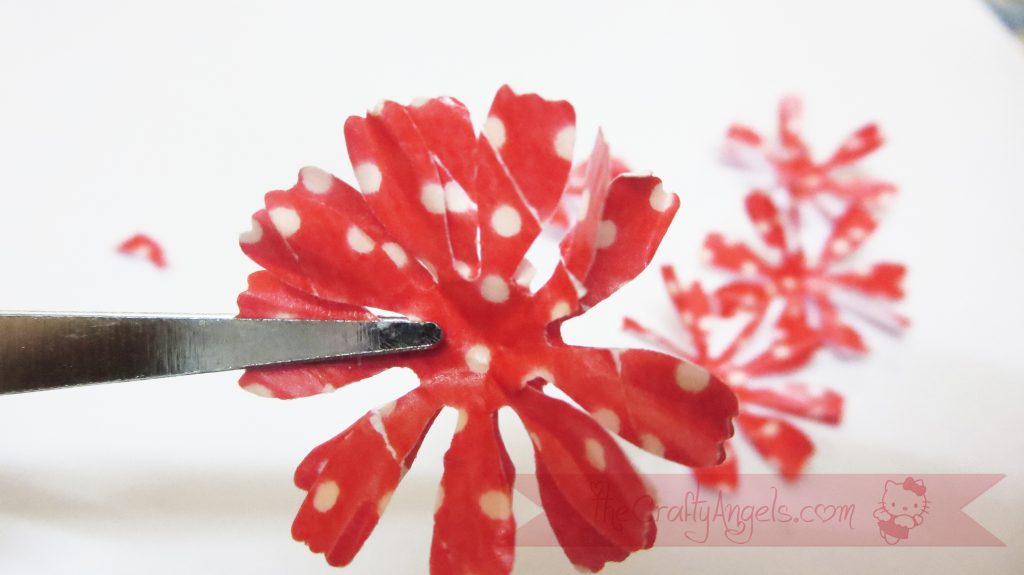
Wait for 30sec for the water to soak in and then fold the petals over and over on itself to create some creases along vertical lines. If the flowers are bigger you can just smush it but my punched out flowers were so small and delicate that even with so much care the petals were falling off! But that doesn’t matter – you can still use the handicapped layers 😛
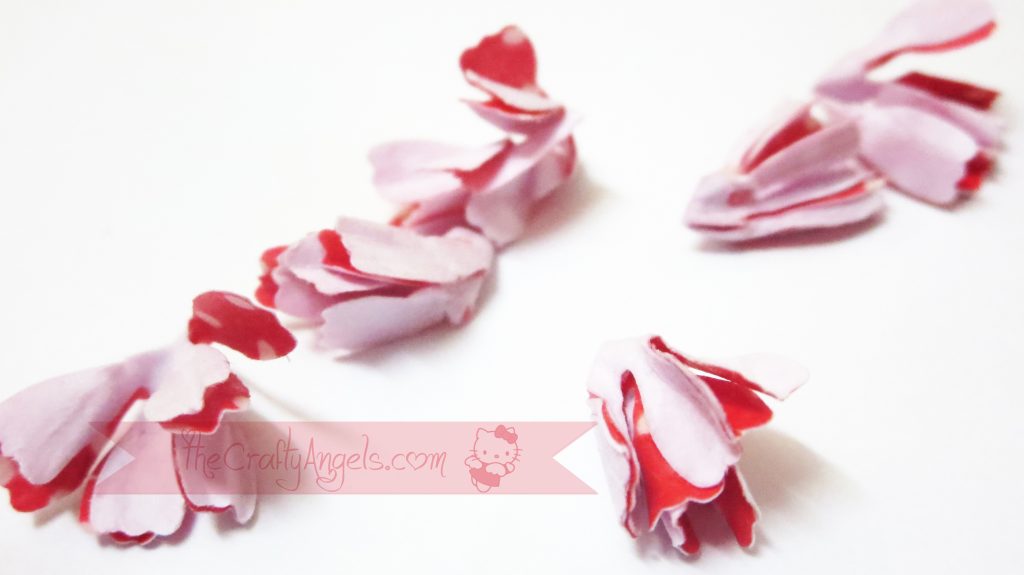
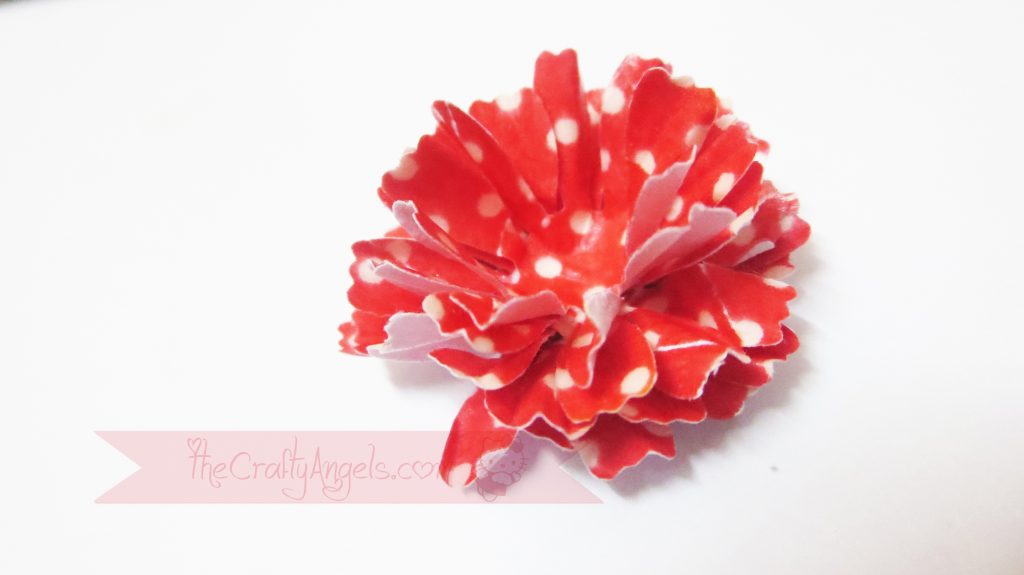
You can either use your heat tool/hair dryer or anything to dry them up faster else you can leave them to dry up on their own. Once dry , carefully open the flower and stick them layer wise one on top of the other. It doesn’t matter if the layers have lost one or more petals because its not going to be noticeable.
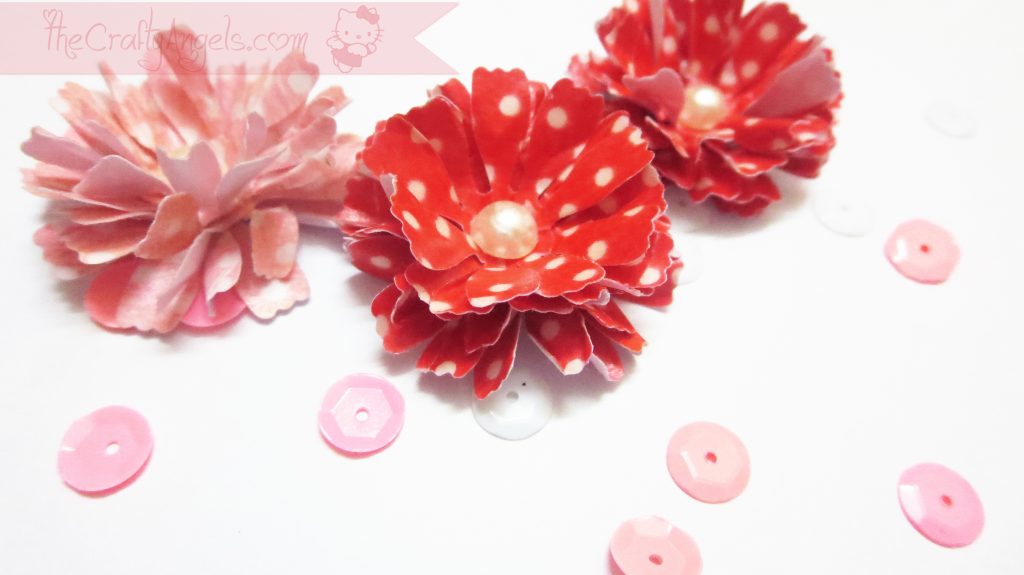
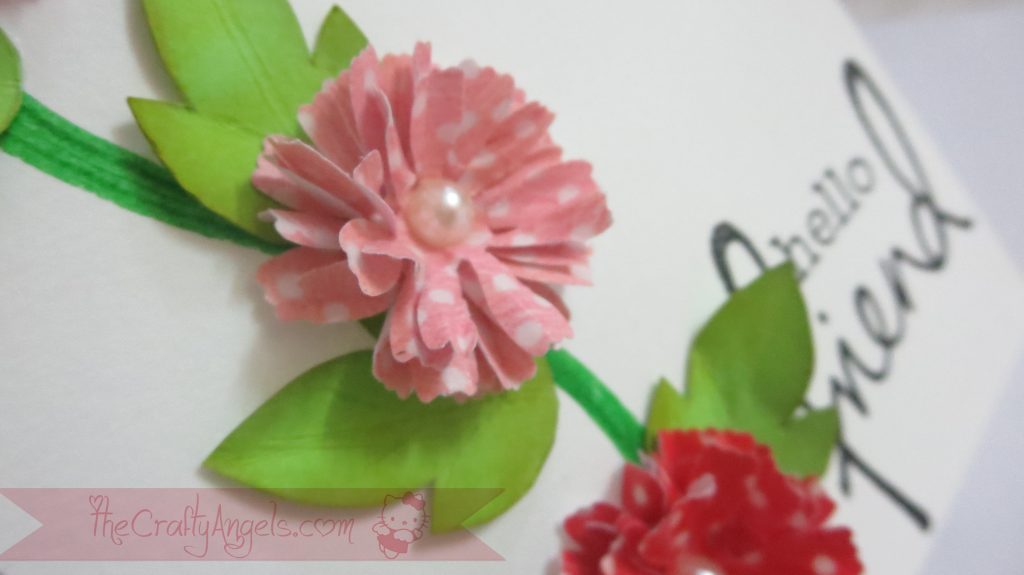
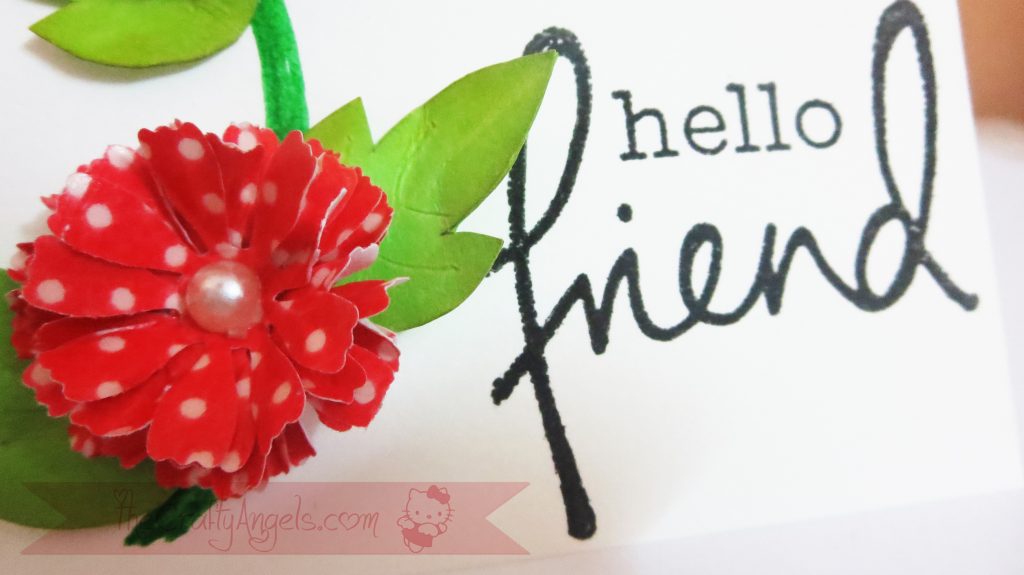
For a final touch add a pearl sticker/sequins anything at the handmade flower center and tadaa! You have a pretty washi tape Handmade flower! I made a couple of these and arranged them on a card.
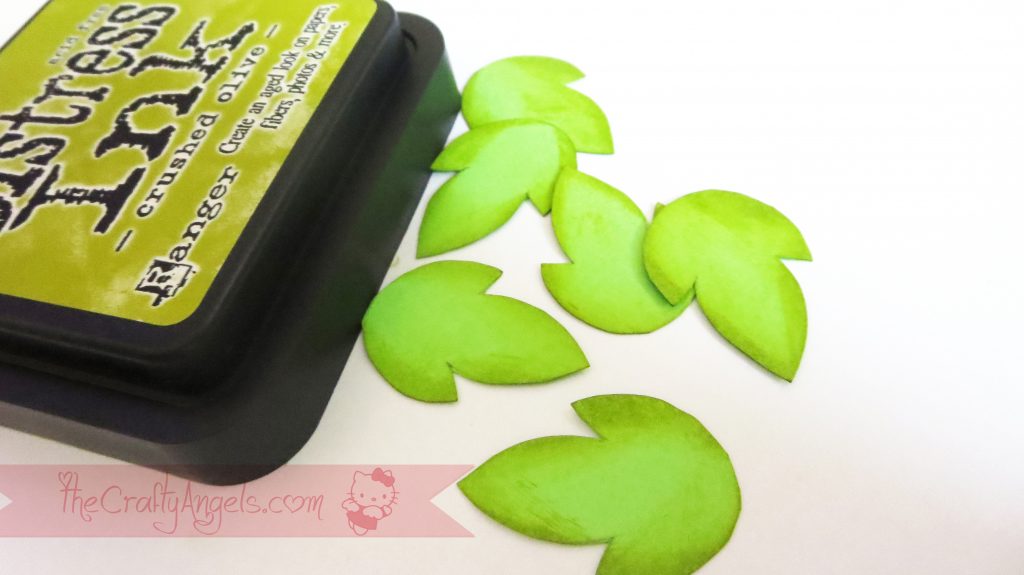
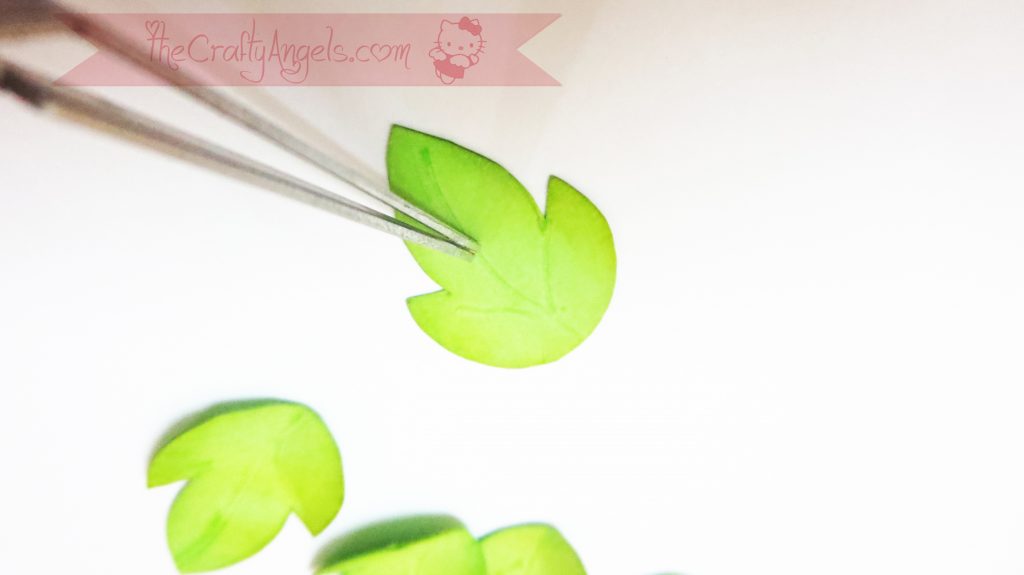
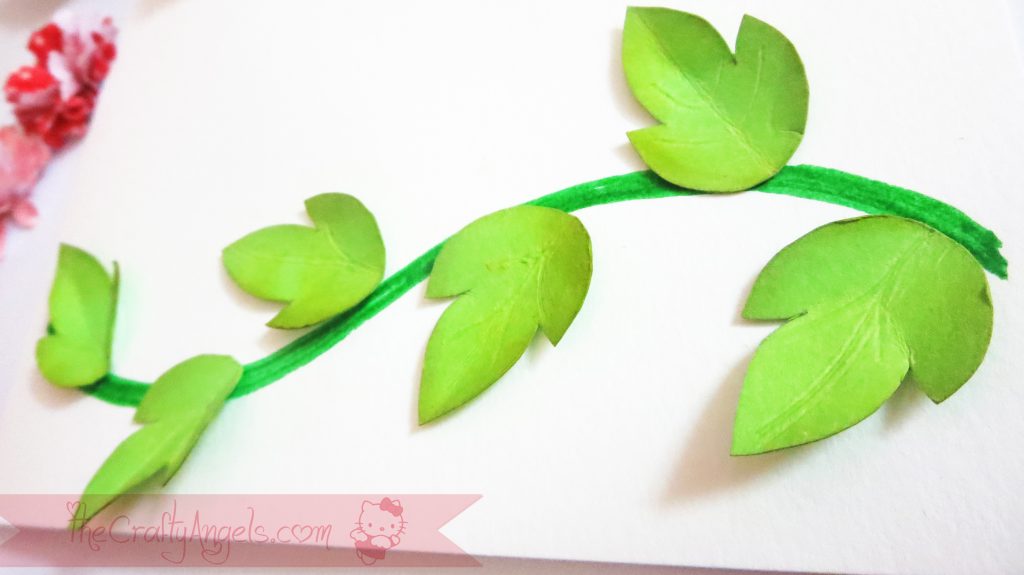
For the leaves, I hand drew a template and cut out green shaded Fabriano papers (HERE) and distressed the edges with distress in shade : (HERE) . I’m not a pro in distressing so I just dabbed it somehow -it doesn’t matter. Spritz your water onto the leaves and then draw your leaf veins with an empty pen or any thing. You can also fold your leaved while it is still wet to alter its shape to a 3d one.
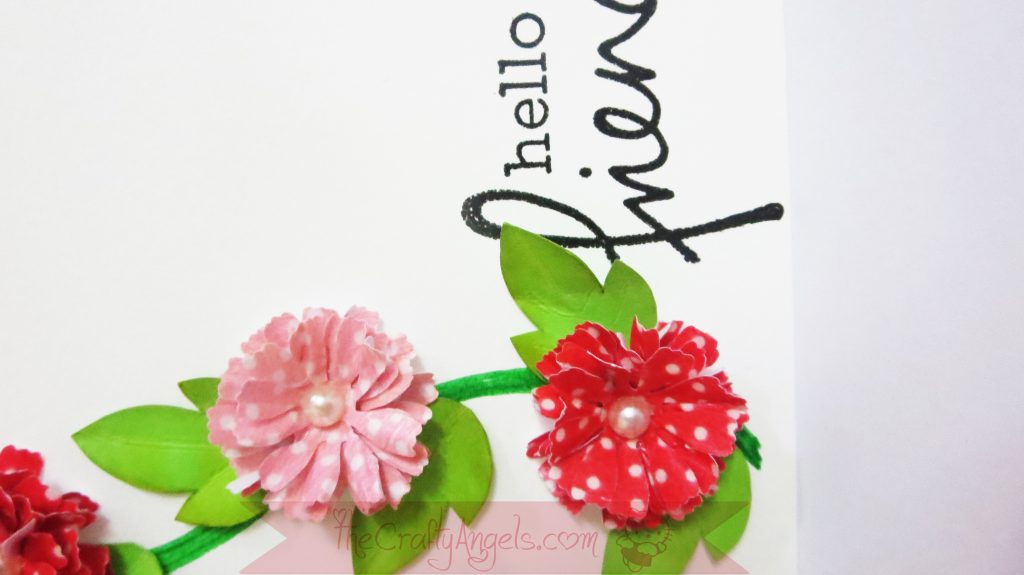
Few close up snaps of the handmade washi tape flowers :
Did you like the washi tape handmade flower tutorial and the card? I’m being so lazy these days when it comes to blogging but I promise to have some activity this and next month. Will come up with some Diwali special crafts as well. Stay tuned and let me know if you would love to see anything special here 🙂
linking to BCG challenge #72 Anything goes
xoxo Angela


Woww such an amazing tutorial.
Thankyou so much Akshma 🙂