
Paper hearts Wall hanging tutorial
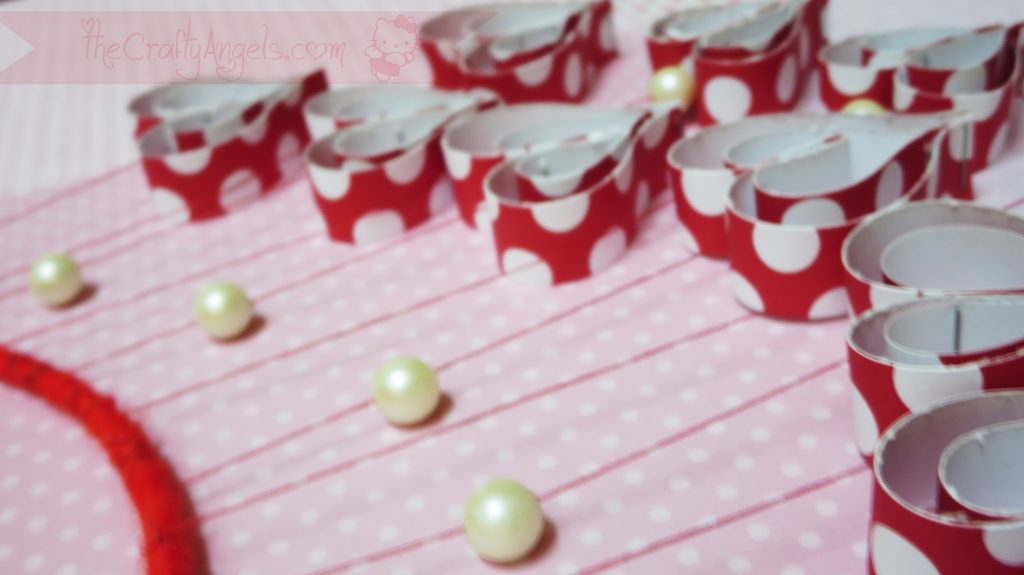
I made these tiny paper hearts with pattern paper strips and look how pretty they are! I turned them into this cute paper hearts wall hanging!
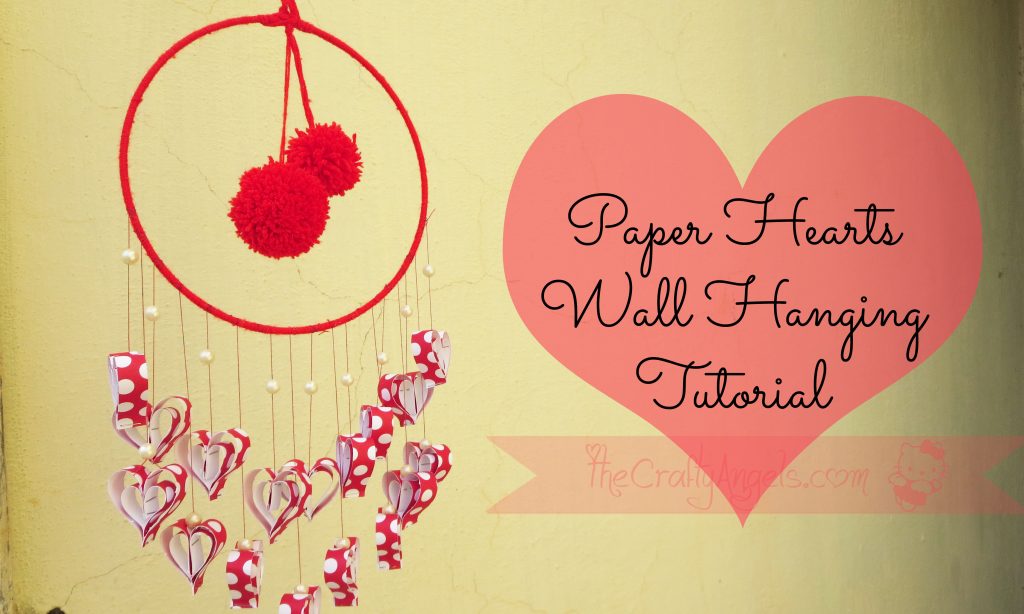
In my last post I had shared with you a tutorial (HERE) for making tiny paper hearts and this is the post where I put them to good use 🙂 I made a paper heart wall hanging which in itself was a little bigger task than anticipated! Here is a tutorial or rather tips for making the paper hearts wall hanging for this valentines day.
Material used in the paper heart wall hanging tutorial :
- Paper hearts ( tutorial HERE)
- strings/twines/yarn
- beads/pearls
- metal ring/embroidery ring
- glue
Stepwise procedure to make Paper Hearts Wall hanging :
Well there is no step-wise tutorial this time because I forgot to click pictures 😛 So I instead compensated by talking more final pictures so that you guys can see in detail each part.

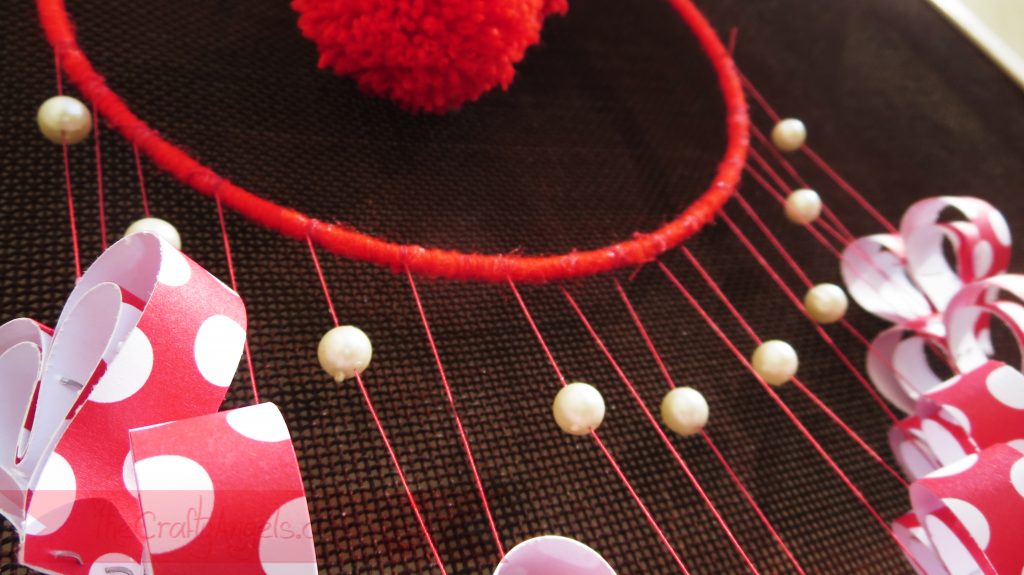
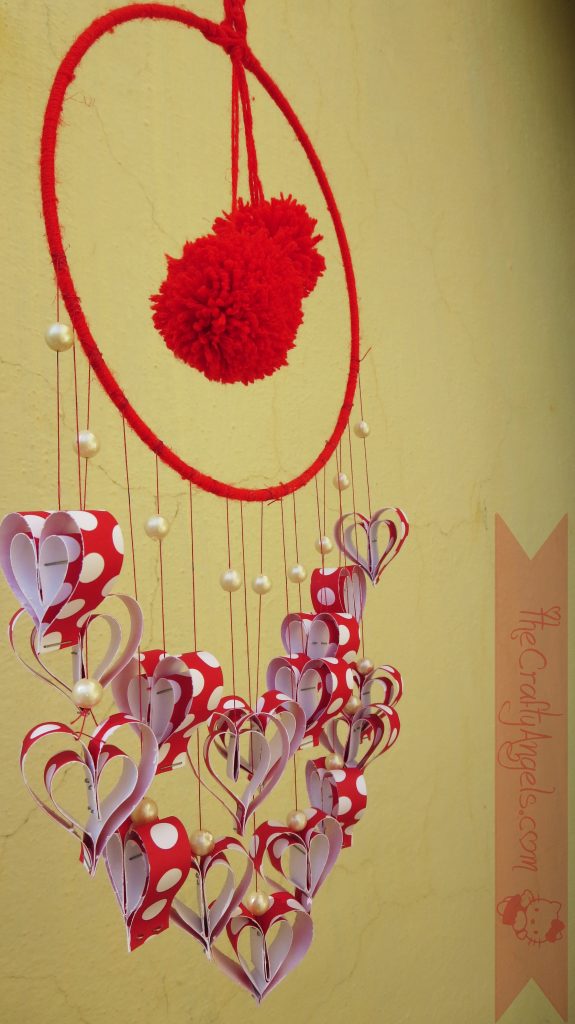
The only thing you need here is a ring. I had bought a set of metal rings from Itsy Bitsy for making dream catcher although I never got around making them! You can instead also cut out heart shape from carton box and cover with pretty pattern paper. Since the ring was stainless steel, I covered it with red yarn to match them with my paper hearts color.
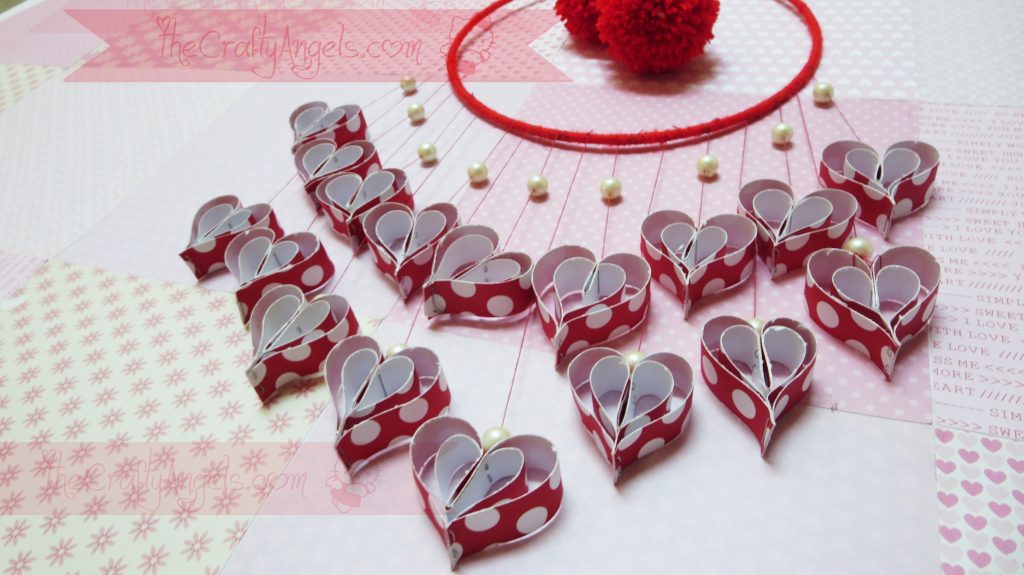
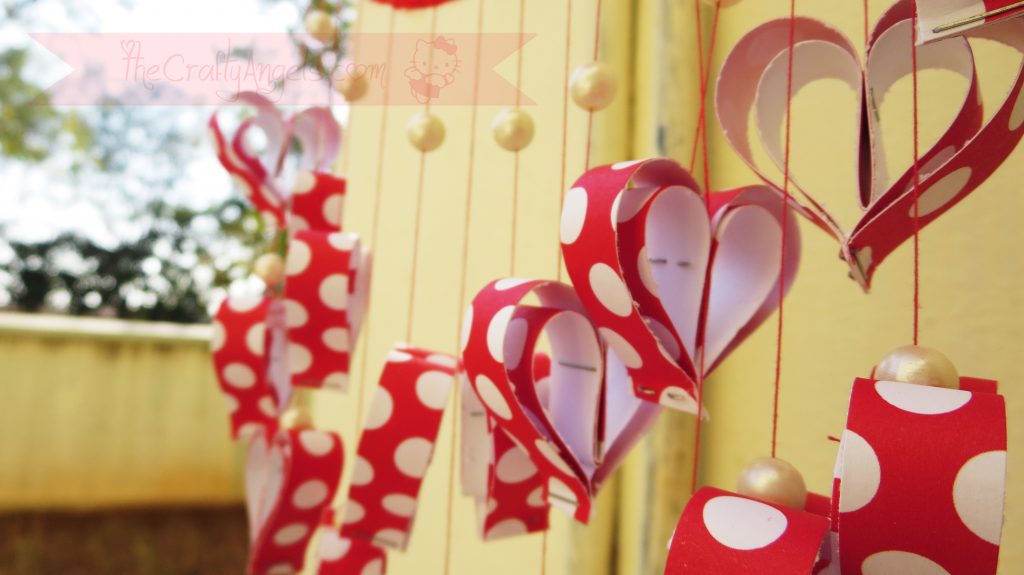
I tied my paper hearts onto a string and made sure the weight was equal and they hanged straight.I then counted the number of hearts I had and divided them to be hanged on right side half and left side half of the ring. I marked a line on the ring for every 1/2 inch distance starting from the point which was to be my bottom point and tied up each of the hearts at these points.
Since the twines were of different length and now tied at different positions on the ring, when held straight, the hearts were hanging haphazardly without any beauty! I hung the ring on a support on wall and tried giving it an ascending order with bottom most heart string being the longest and the length decreasing as you move upwards on each side of the ring circle.
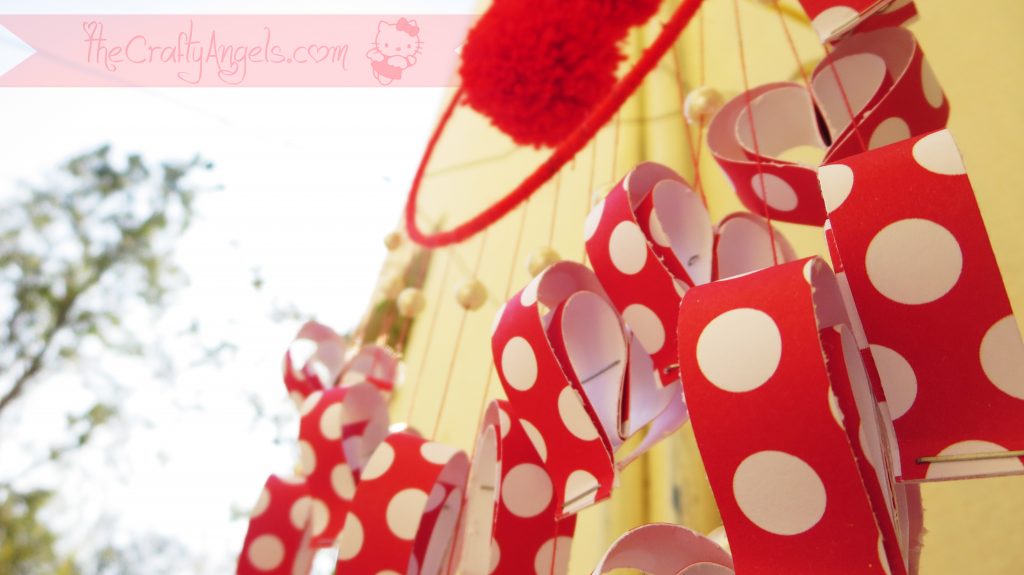
I decided the middle sting length by turning the string through the ring thus reducing the length to the desired one. For the strings on either side of this center one, I again twisted them across the ring a few more times so that they were slightly shorter than the middle one.
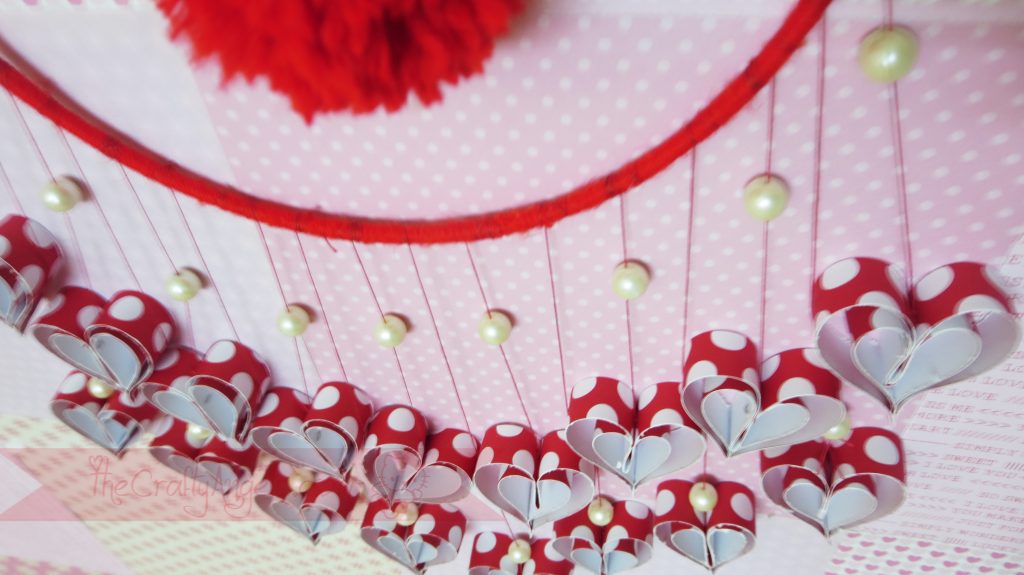
You can repeat this procedure on all the strings and get a uniform ascending order of strings. I found the hearts to be too cluttered so once I finished this procedure, I chose alternate strings and made them into another ascending line a bit shorter than the original line. So finally I have 2 layers of ascending hearts.
I just wish I had clicked picture of the procedure 🙁 Wonder if you guys can make out the procedure! Anyways so once the work was done, I felt a little empty space in the center of the ring which I filled up by hanging two pompoms that I had made long time back!
Anyways did you guys like this paper heart wall hanging tutorial? While I was making this, I had so many other heart ideas as well for valentines but now that it over for this year, I’m wondering if I should just make some in my free time or wait for next valentines day 😛
xoxo Angela

One Comment