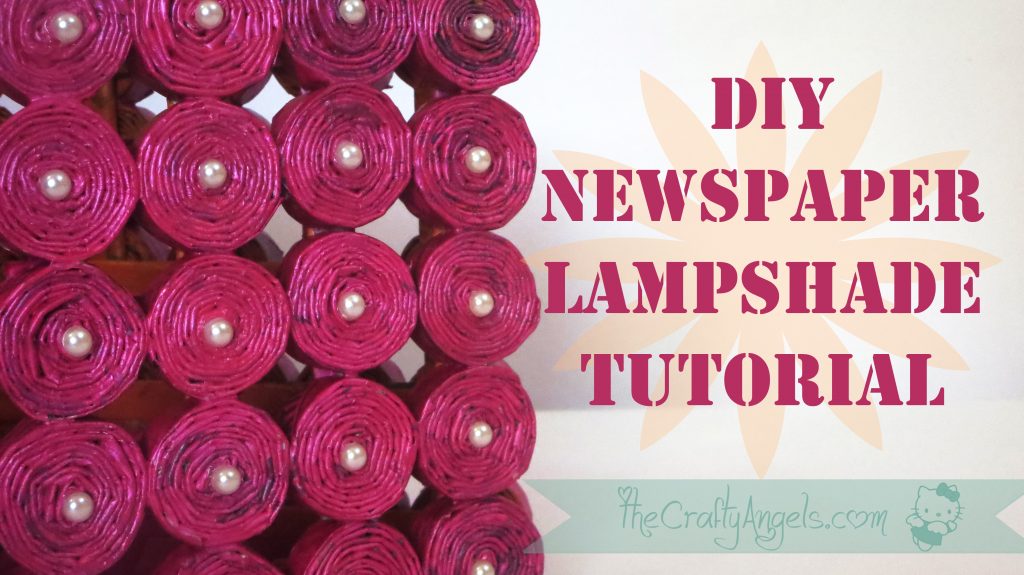
Newspaper lampshade DIY Tutorial
DIY Newspaper lampshade tutorial
I have been trying to finish this newspaper lampshade like since eternity and I just finished it last week! I hated to see my table stacked up with incomplete projects and all those bottles and mugs and jars that screamed “me next! me next!!” from my recycle stash. So I started this ” Mission clean-up” and finished two long pending projects in one day, one of which was this newspaper lampshade. I was really fascinated when I first came across newspaper weaving and tried making a newspaper weaved basket which was an utter disaster! And now months later I figured a new way to use newspaper other then weaving. I would call it newspaper quilling 😛 Read on to know more 😉
Materials required to make Newspaper Lampshade :
- Old newspapers (preferably ones without huge colored advertisements and photographs)
- A template pen/brush/chopstick to roll the newspaper
- Adhesive
- Paints & Blings of your choice
- Ribbon/Twine for hanging
- Flower making wire
Procedure to make Newspaper Lampshade
First of all my word of warning before attempting this newspaper lampshade – it takes such a long time to finish off but its all worth the effort!
Newspaper is the foundation stone for this newspaper lampshade ( Isn’t it obvious duh!) so selecting the right one is important. I would suggest you to take newspapers that have prints and avoid ones having full page or half page advertisements because when you paint them, the color is not shown well due to underlying colorful poster. ( In the above picture you can see few of the rolled coins having a blackish shade in between)
Once you have your newspapers, cut them out into long strips. I opened the newspaper and folded it into 4 along the length and cut them out into long strips .
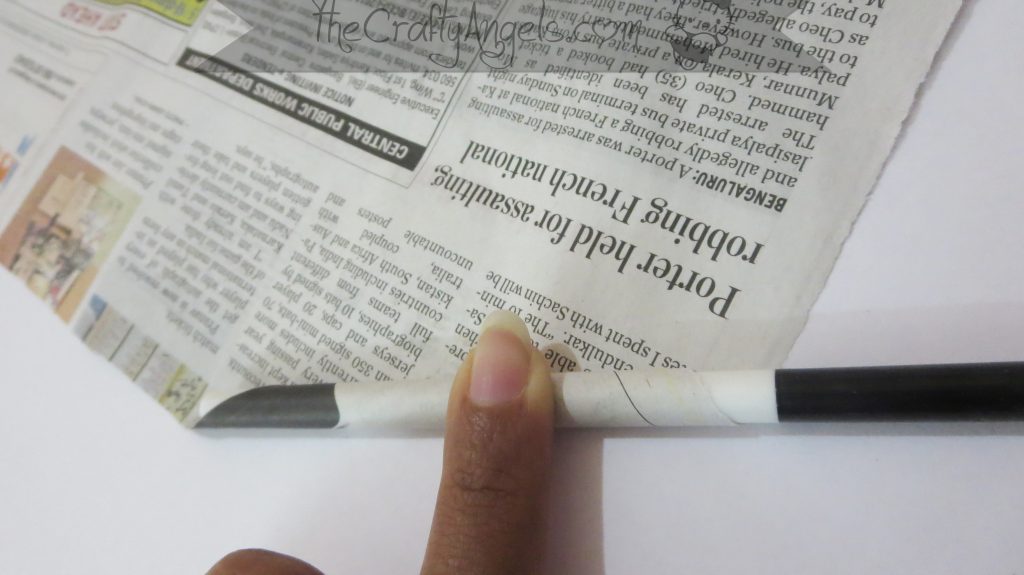
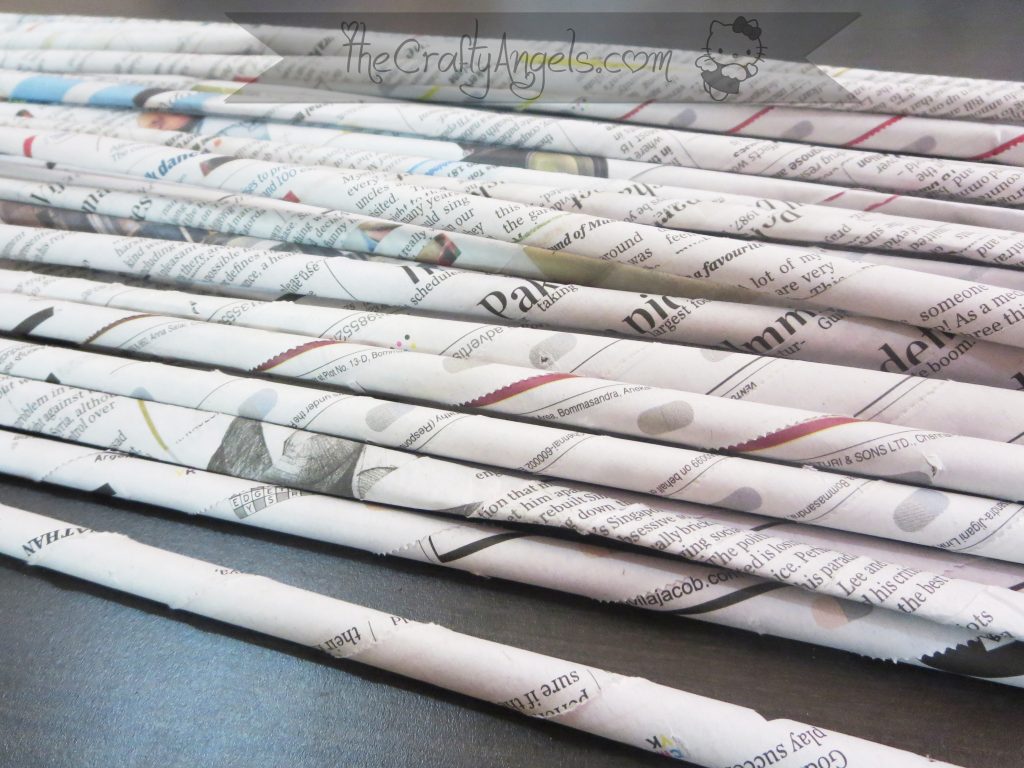
These strips have to be now rolled into pipes like these. I chose this color-bar smokey eye brush as my template size for rolling the newspaper. You could choose any similar pen/pencil/painting brush/chopstick which had approx little less than 1cm in diameter. In my first attempt of newspaper lampshade, I did not use a template and made very thin and sturdy newspaper rolled pipes which were very difficult to roll into coins! So I insist the use of a template to create hollow newspaper pipes.
To make the pipes, the easy trick is to place your template about 30 deg aligned away from the strip at a corner like in picture and start rolling. Depending on the variation in this angle at which you start rolling, your newspaper pipe length might vary but just make sure there is no significant length difference so that when you roll them into coins, you get nearly same sized ones. Its okay if sometimes you get rolled pipes which are tight at one end and loose at other because at the end of the day we are rolling it into a coin and I have another trick to cover that up 🙂 Oh don’t forget to glue the ends so that the pipes do not unroll.
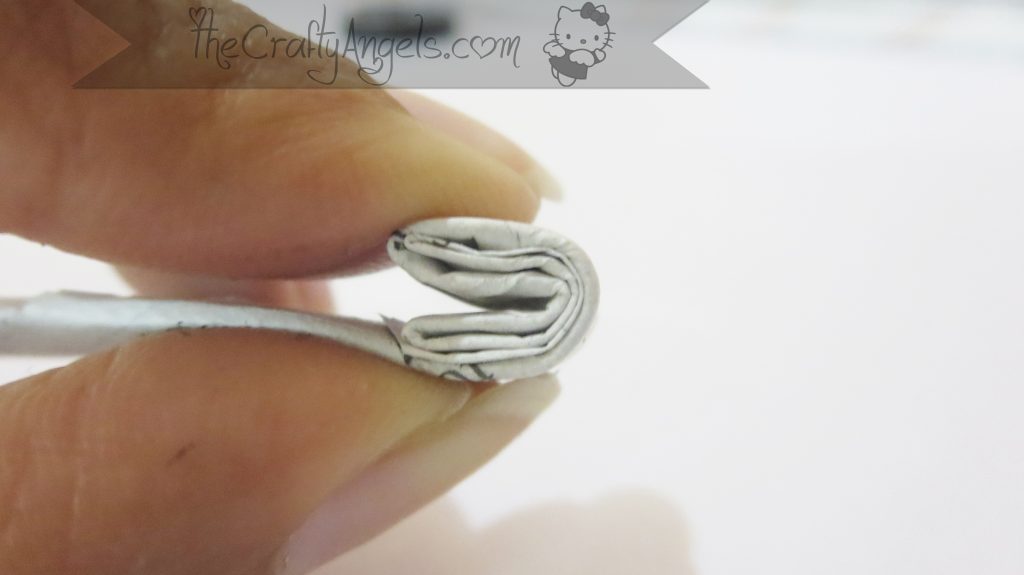
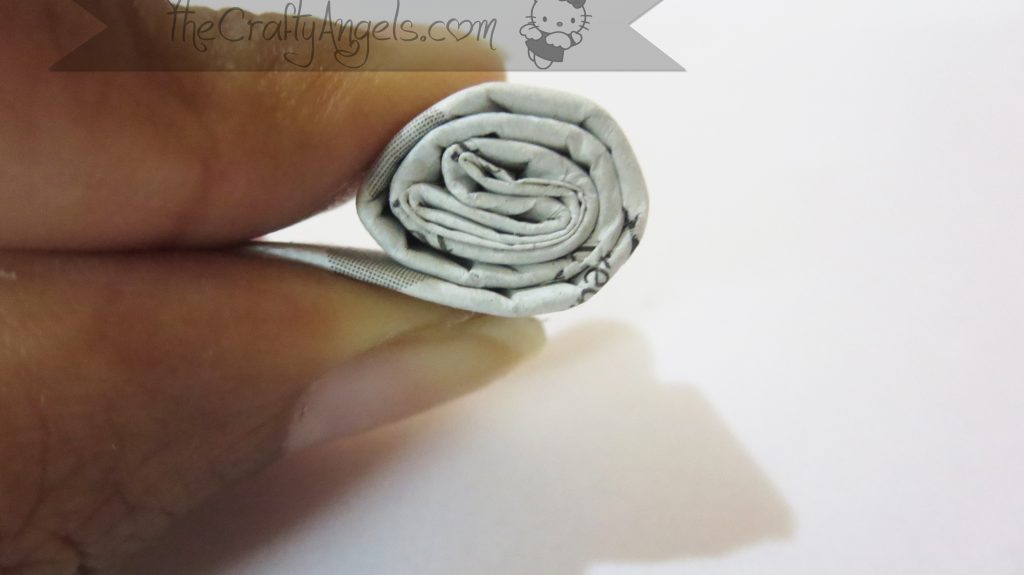
Now take your pipe and flatten it using your finger or just roll your template brush all along the pipe. Start rolling the pipes like quilling strips into a tight coil and secure the end with glue. If your pipes are of uneven diameter, I would suggest you to start rolling from the end which is bigger towards the thinner end.
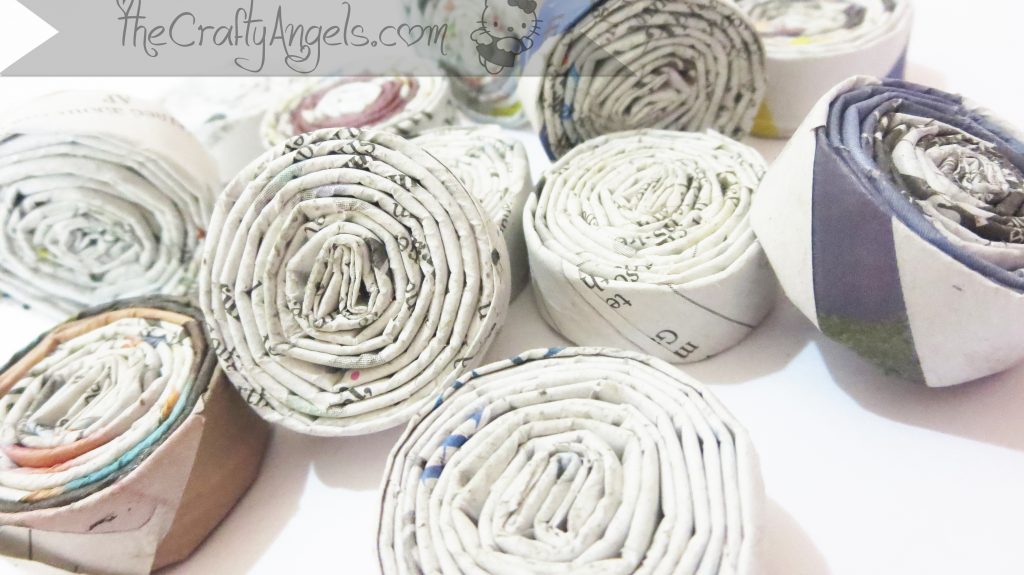
That way, your coins will have a slight bulge appearance and is easy to paint. You can see in below picture coins a) same diameter pipe b) pipe rolled starting with wider side c) pipe rolled starting with thinner side. You can decide which one looks best and select the method.
About painting your newspaper lampshade, you can do them at any stages.
- paint the newspaper rolls like THIS
- paint the newspaper rolled coins
- paint the newspaper lampshade at the end
I decided to make a cube shape newspaper lampshade so I could calculate the number of rolls required.
- Number of panels/sides = 4
- 4 columns x 5 rows = 20 coins / panel
- total coins = 20×4=60
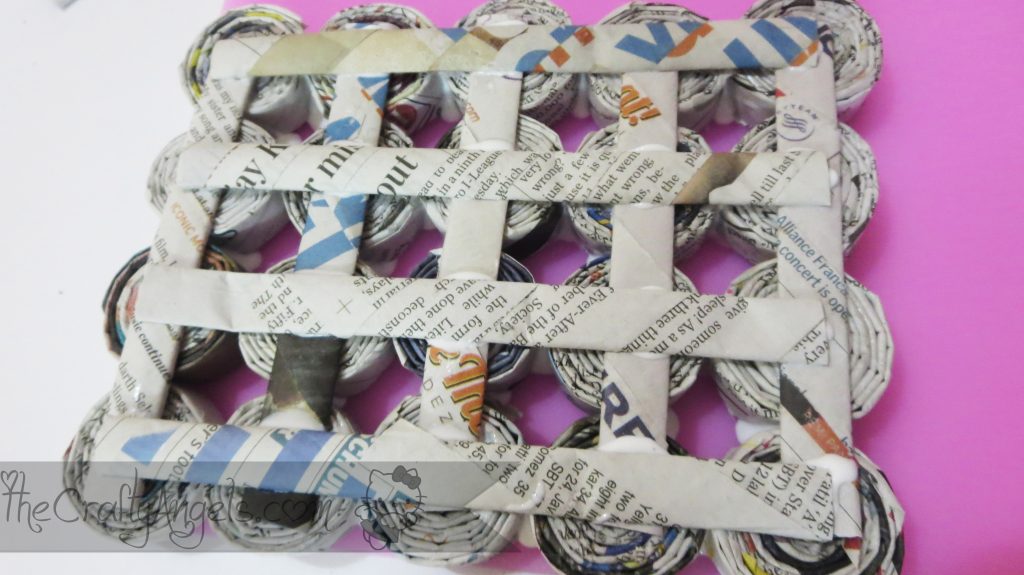
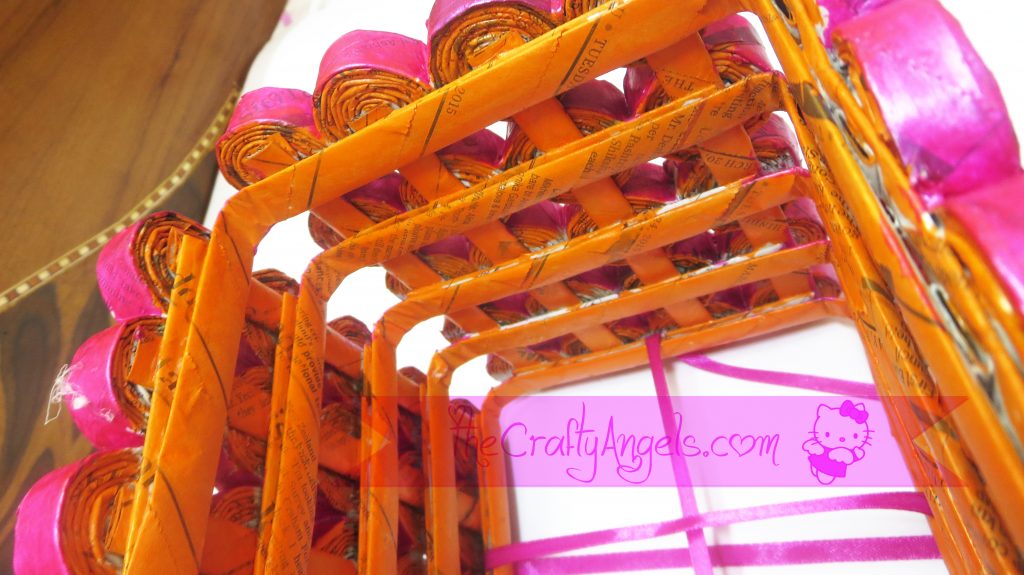
So I made 60 coins over a period of many days because my lo found it amusing to beat me up with the newspaper stick and also to drop them behind the bed! In my first attempt in newspaper weaving, I used an acetate sheet sheet joined at the ends to make a cylinder as a base. Of course it was a disaster since there were many gaps and it looked so irregular especially with the different sized coins. I improvised and decided to create a grid with newspaper pipes to hold the coins in such a way that they aren’t visible from the front.
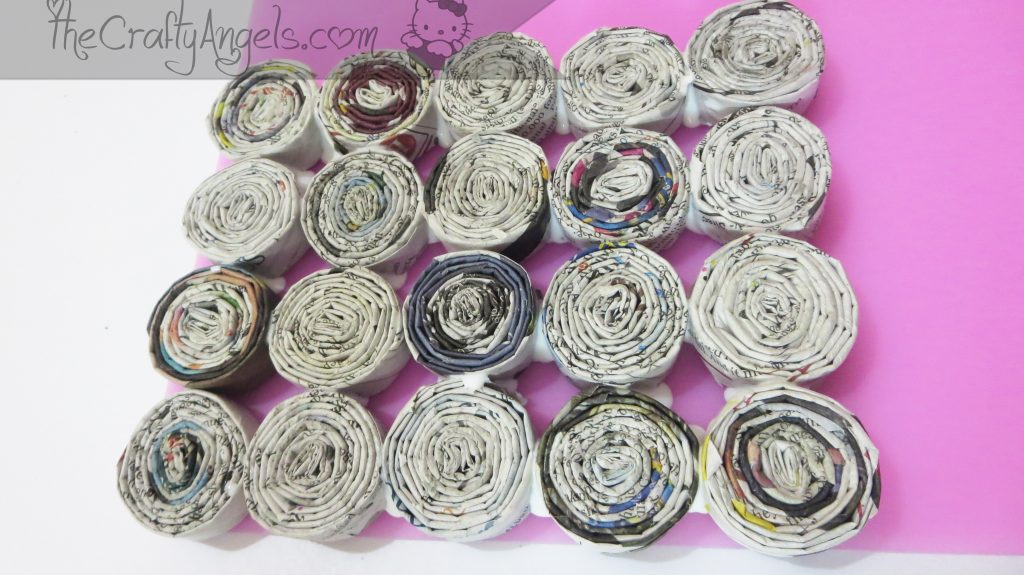
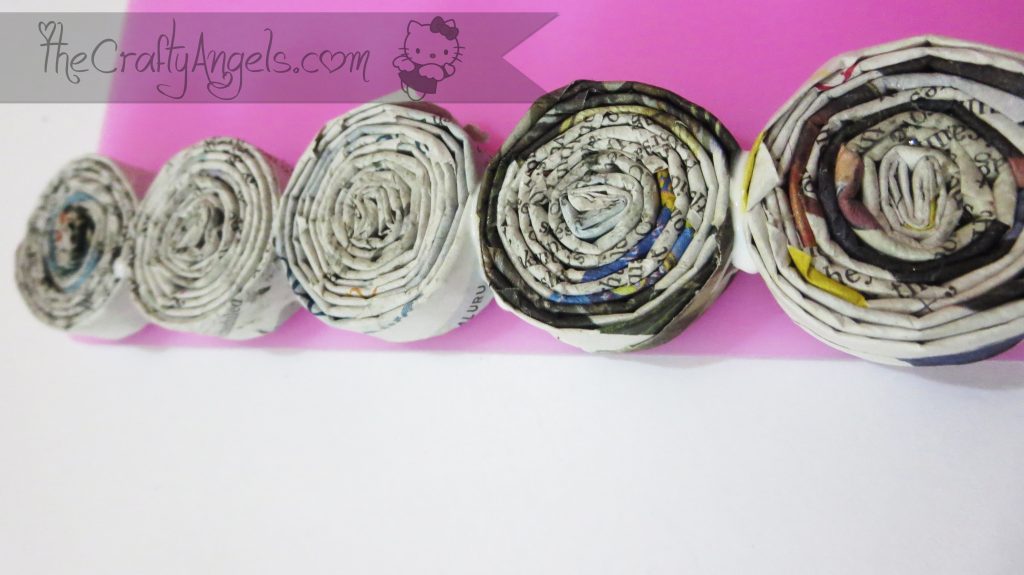
I placed all the 20 coins for one panel in 5 columns x 4 rows after applying glue on all sides of contact and glued flattened newspaper pipes lengthwise and also breadth wise above it.
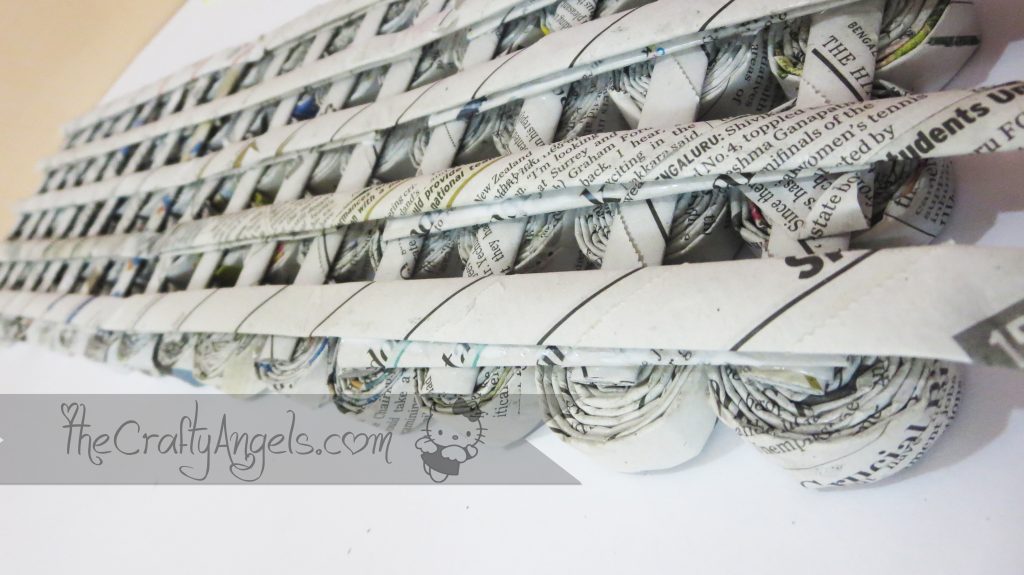
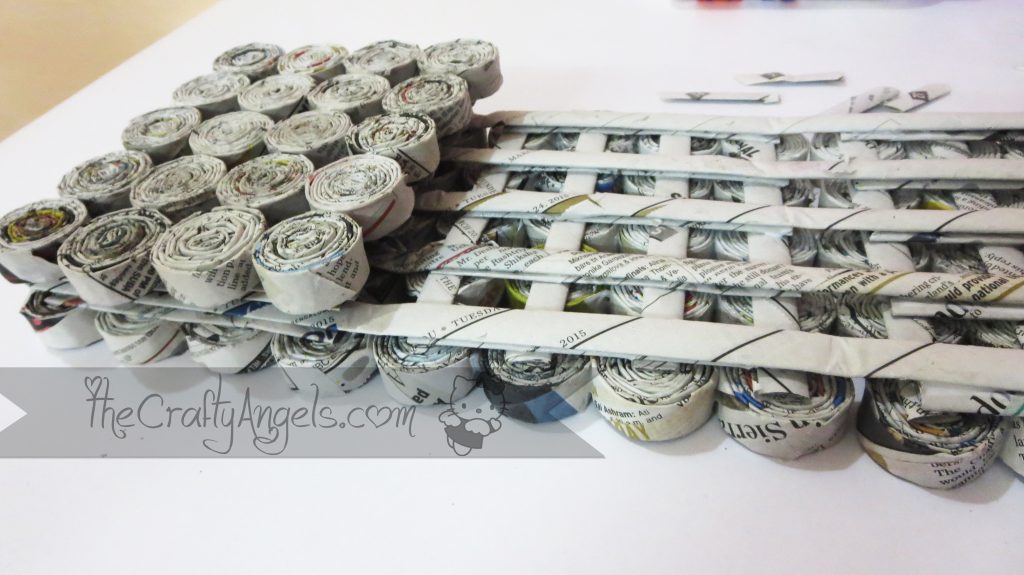
I did these seperately for each of my four panels and my four side walls were done! I placed the panels side to side and glued longer flattened newspaper rolls all across (above the already pasted ones) such that I got a foldable long panel.
I folded the entire stucture where each panels were to be split and made it stand like a cube. For the open edge, I applied glue to the newspaper pipe of one panel ( tha’ts a part of the backbone grid) and secured it with the grid pipe of the other adjacent panel to complete the cube

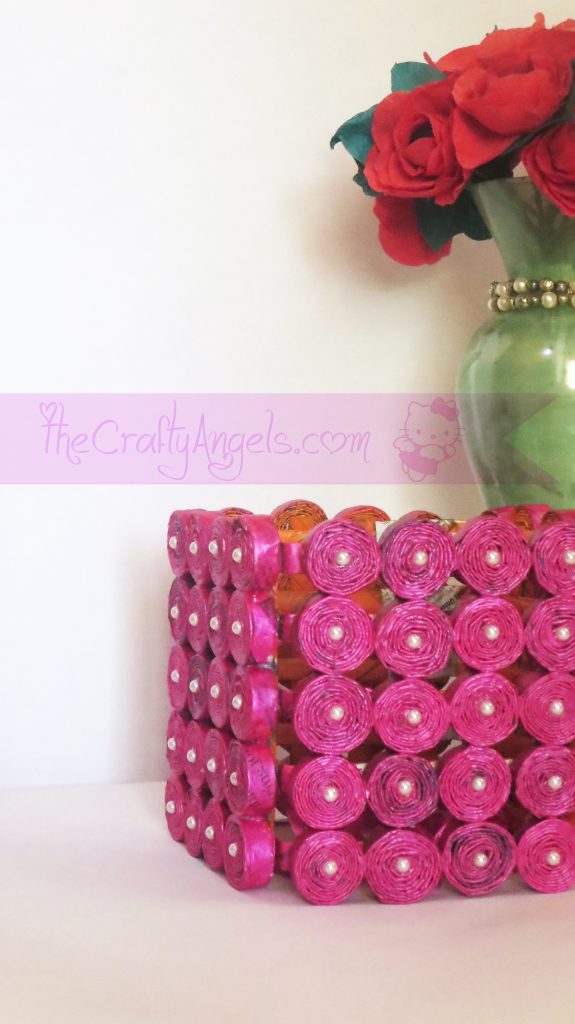
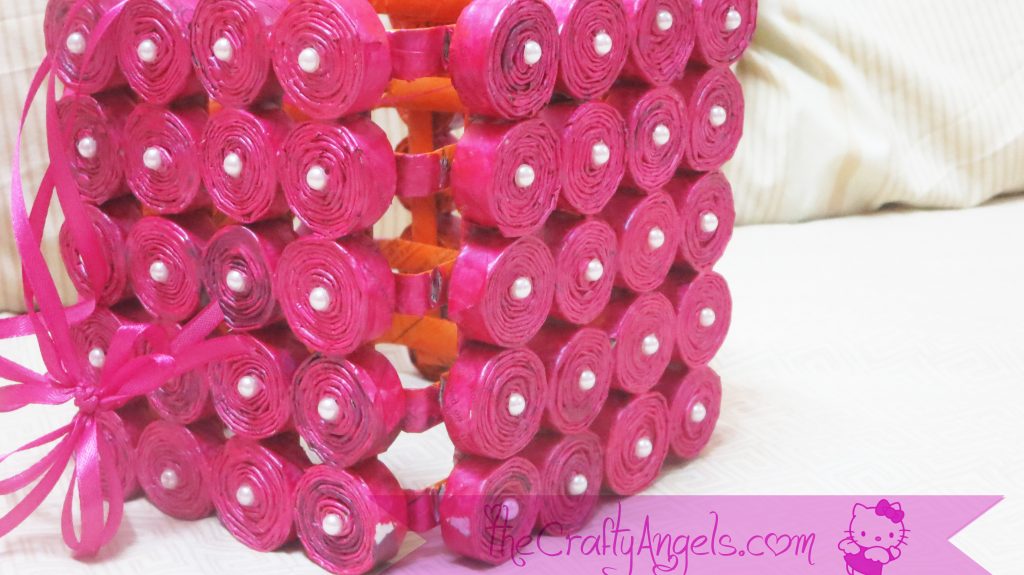
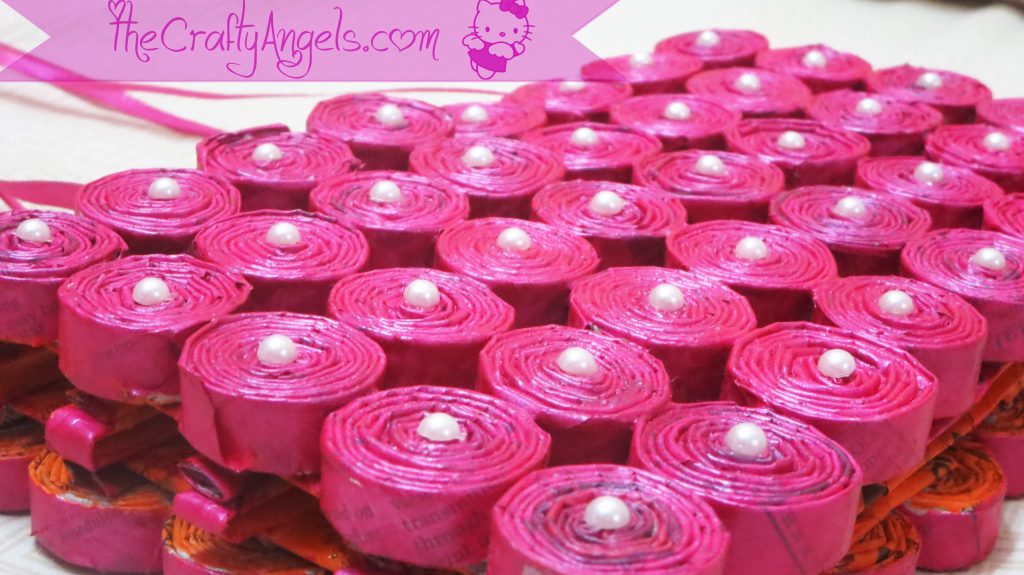
Next I painted the entine newspaper lampshade with pearl based pink shade from fevicryl and the insides ( newspaper grid backbone area) with orange.
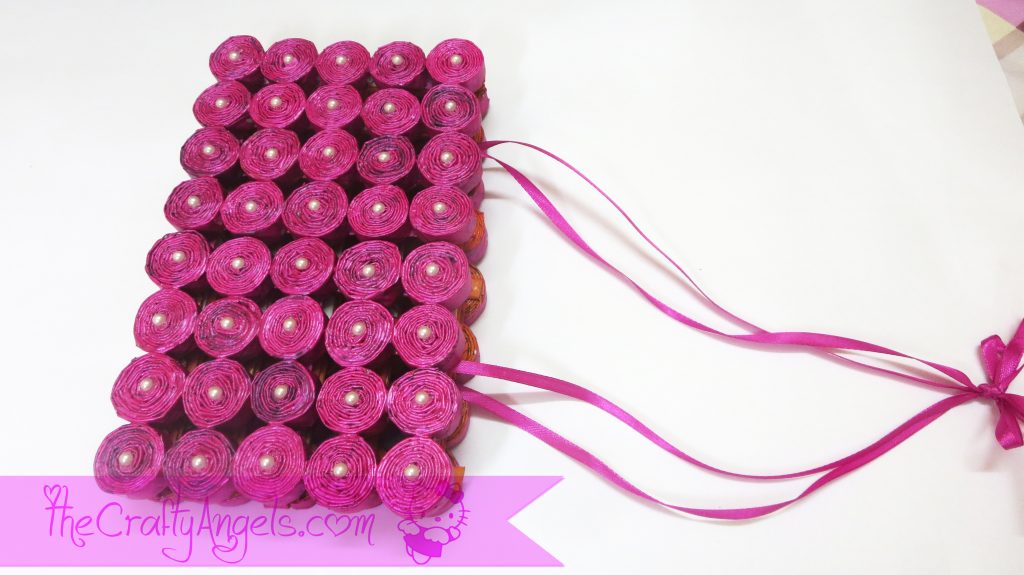 I found the pink too much overpowering so I went ahead and put on white half pearls at the center of each of my coins and I think it looks better this way 🙂
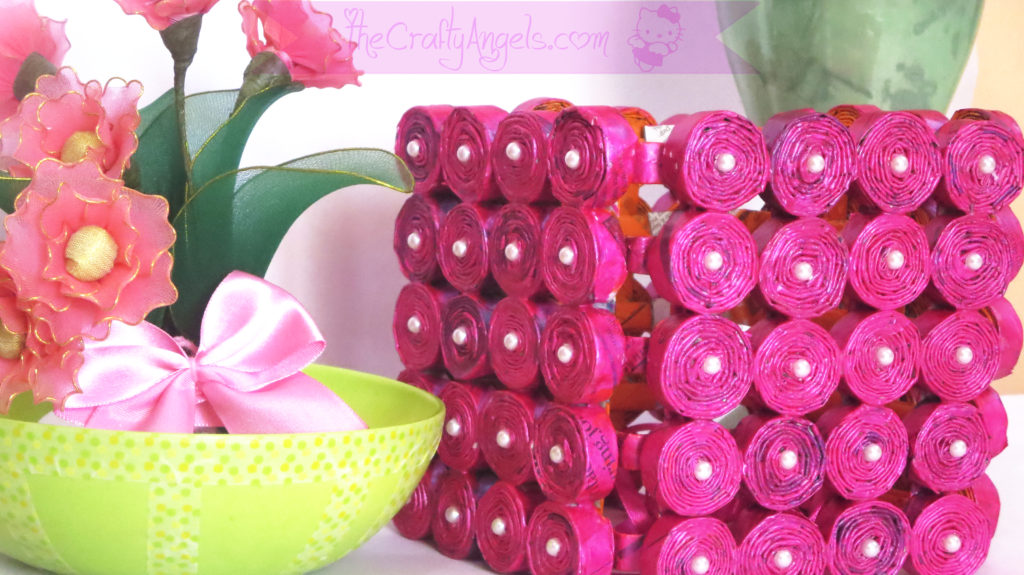
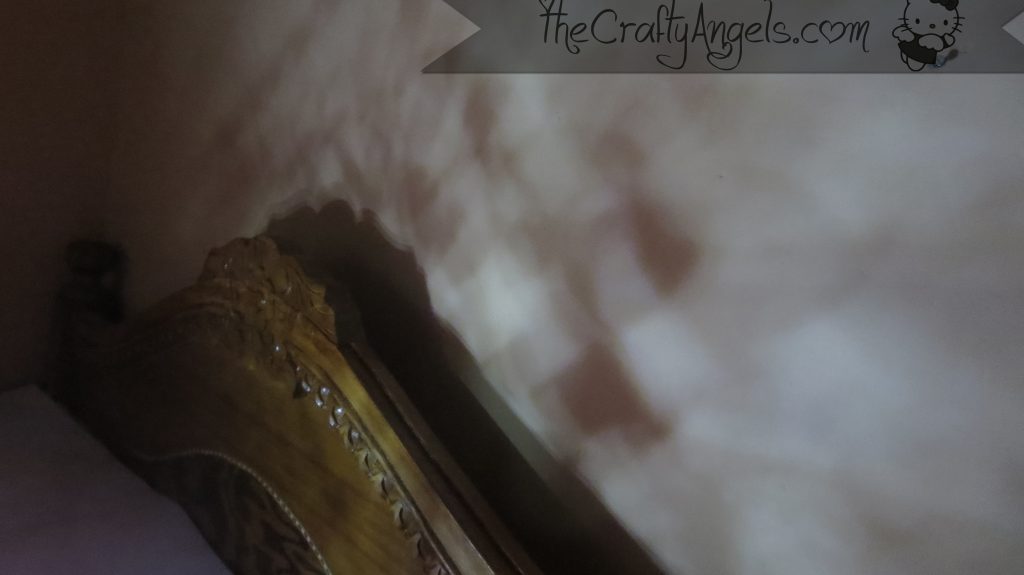
Im sharing a few closeup pictures as well of the newspaper lampshade. I’m yet to improve on my photography skills especially ones that are huge like these and need to be captured in its place of use. I promise I’m striving to be better at each with each of my attempts 🙂
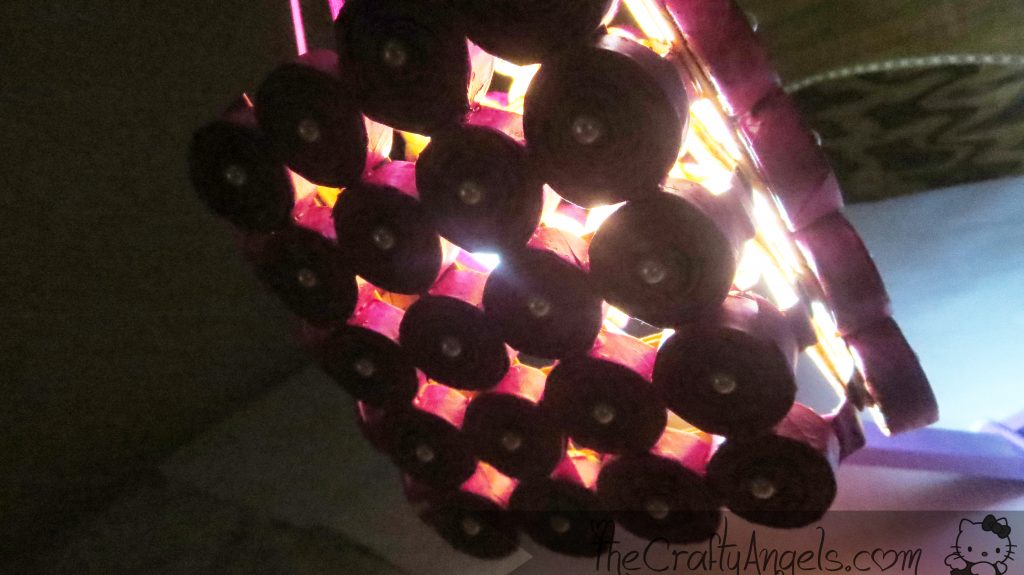
Thats the light playing patterns on my bedroom wall through my newspaper lampshade. Don’t you like to just keep looking at the light when you aren’t feeling sleepy ?
I decided to hang this newspaper lampshade in my guest bedroom and so I tied up four matching coloured satin ribbon along the four side panels. I think a longer version of this would make a great flower vase if not painted pink 😛 Do let me know if you have tried any similar newspaper lampshades or any sort of newspaper recycle crafts.
And for a reminder, we have only 2 more days left to enter our Giveaway being sponsored by Rainbow Craftykari. You can enter HERE and stand a chance to win Rs.350 worth gift voucher and also keep updated about our next Giveaway in the series 🙂
Linking to Hobymela Challenge : Contemporary mosaics
xoxo Angela