
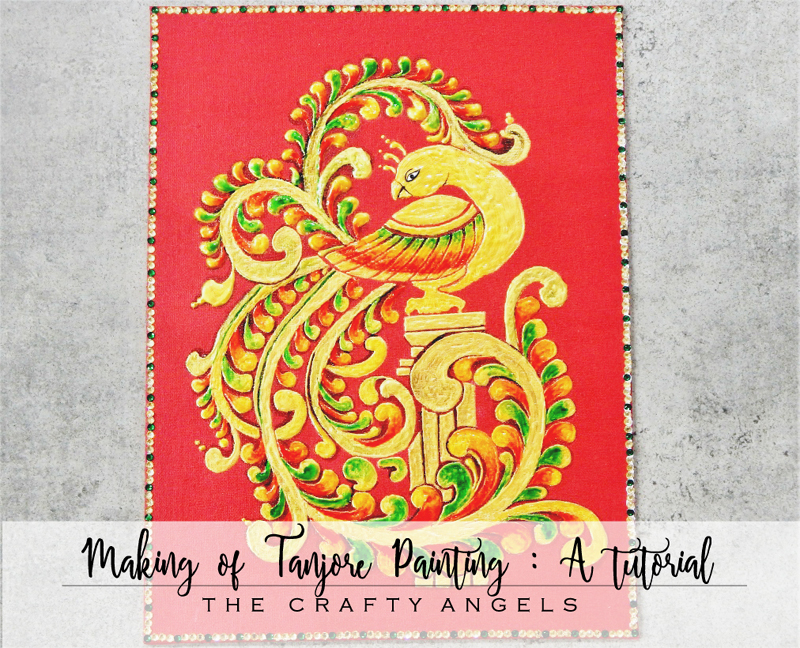
Making of Tanjore Painting : A simple tutorial
Making of Traditional south Indian Tanjore painting – a Modern tutorial. Read tutorial to make Tanjore painting with 3D outliner, glass paints and easy supplies.
Sorry for my abrupt absence from the blogging world. In fact from crafting too. Now I understand the meaning of the question ” How do you manage time for all these despite office” raised by many, whenever I meet them. I realise that the transient period to settle down to a new routine might not be as quick as I thought it would be. But we all have our own priorities right? For now, I have decided to spend more time with my daughter for her school works and after school learnings (expect more kids crafts) while not totally abandoning my blog. Coming to today’s tutorial its a much searched for work- our own Indian Tanjore Painting, sponsored by Hobby Ideas.
[irp posts=”1560″ name=”A Complete Warli painting Tutorial Guide”]
Each art form in India has its beauty. More often than not they are colourful and are very close to nature. Tanjore art form, originated from Tanjore ( Tanjavur town) of South India, primarily depicts Hindu deities and Lord Krishna is the favourite subject. Tanjore paintings are made on wood and cloth canvas, in addition to being done on canvas, they also done on walls, wooden panel, glass, paper, mica and exotic media such as ivory.
Tanjore paintings are rich, bright and many a times inlaid with precious stones and gold foil. Instead of real gold I used 3D acrylic colours to make this painting. My kid’s propensity of using a lot of glass colours for the execution his art and craft idea made me use his glass painting kit too in this project.
Materials required to make Tanjore painting :
This painting has been done on a canvas. Other than a canvas we would need gold coloured 3D outliners, crimson red acrylic colour, Fevicryl glass colour kit, white pencil ( white carbon paper), design sheet of Tanjore design, decorative stones, Fabric glue, water container and sponge.
Making of Tanjore painting : Tutorial
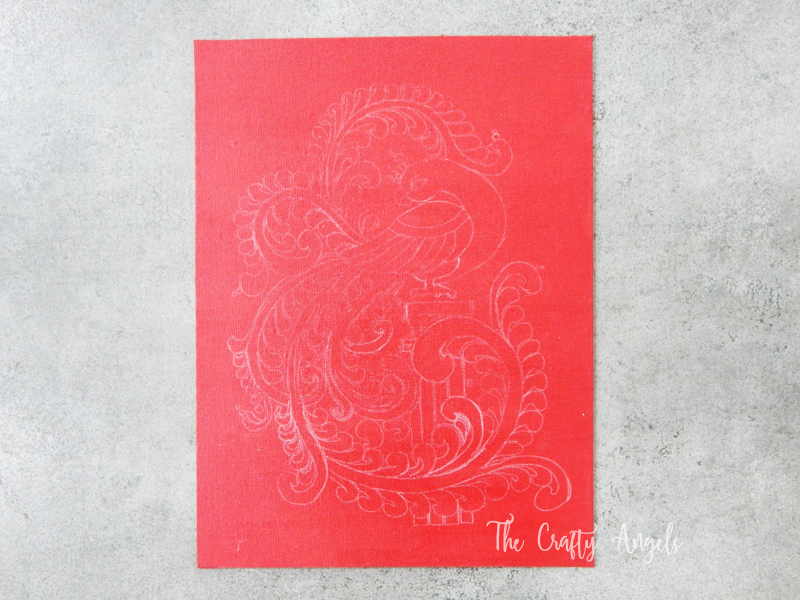
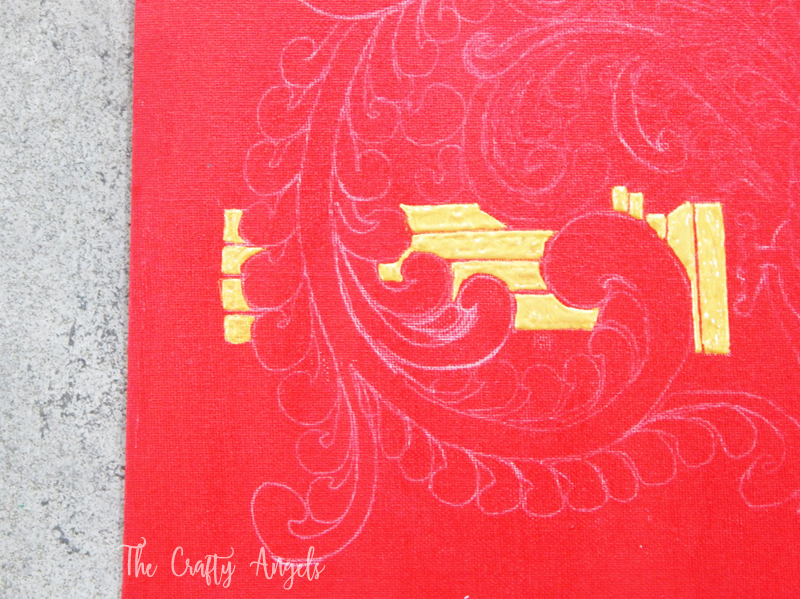
We start by sponge dabbing the canvas with crimson acrylic colour. In the original form of Tanjore painting, started during the 1670s, but evolved all through the British India, the preferred shade of background was red or sometimes even blue or green. The composition used to be static and two-dimensional with the figures (of Hindu Gods and Goddesses) placed within arches, curtains and decorative borders etc (resembling mantapa or prabhavali). Sponge dabbing is an easy technique to ensure that the stroke marks are minimal. So soak the sponge in slightly diluted colour and apply on the canvas evenly and leave it to dry.For the design, you can choose any Hindu deity of your choice along with curtain/border motif but the pattern used here is of a peacock which is a little different from the conventional Tanjore painting subjects. If you are a wee bit apprehensive about drawing the design take a print and trace it on the canvas.
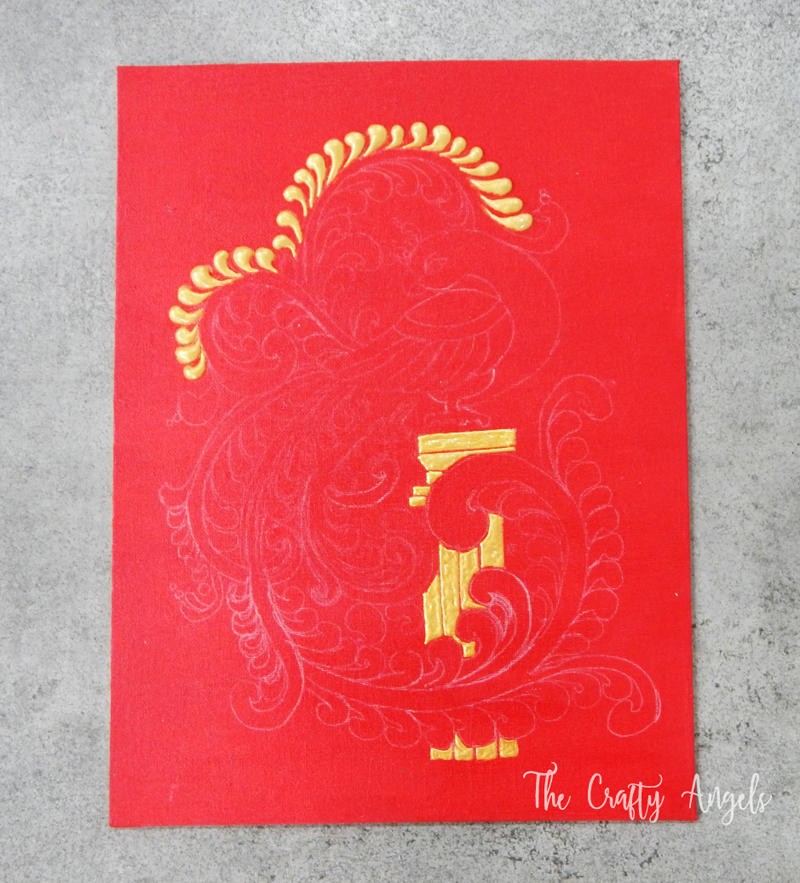
The main attraction of Tanjore paintings were the high reliefs created using gesso along with inlay of gold foils and stones. A paste, made of limestone powder and a binding medium called sukkan or makku, was used for creating the Gesso work. An easier way to make this faux Tanjore painting would be to use 3D outliners instead of gesso so that the intricate details can be filled with ease. Start filling the design with pearl gold colour.Fill the feathers with the colours in a 3 dimensional way.
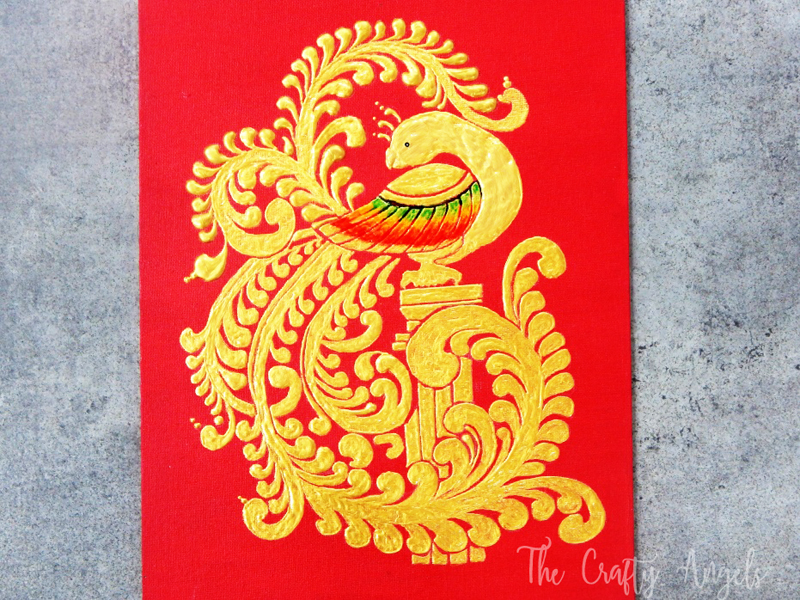
Once the faux gesso work is done, we get to painting them. In the past, artists used natural colours like vegetable and mineral dyes, whereas the present day artists use chemical paints. For outlines dark brown or red was usually used. Red was favoured for the background, though blue and green were also used. Lord Vishnu, was coloured blue, and Lord Nataraja chalk white, and his consort Goddess Sivakami was green. The sky, of course, was blue, but black was also employed on occasions. The portrayal of figures in the paintings was also typical with almost all the figures having rounded faces with almond-shaped eyes and smooth, streamlined bodies. The composition is static and two-dimensional with the figures placed within arches, curtains and decorative borders. The main subject is much larger than the other subjects and occupies the centre of the painting. Seraphs or angels resembling those in European paintings and Islamic miniatures were also shown flanking the main figure. The figures were painted with bright flat colours except for the face where shading was shown. The shading in Thanjavur art was more to create a feeling of depth than to conform to the European conventions of lighting and perspective [source]. So sticking to the tradition, I chose bright colours like red, green and pink for filling in the shades. Use of glass paints help in keeping the gold background pop up in a better way than how it would’ve been had you chosen acrylic paints.
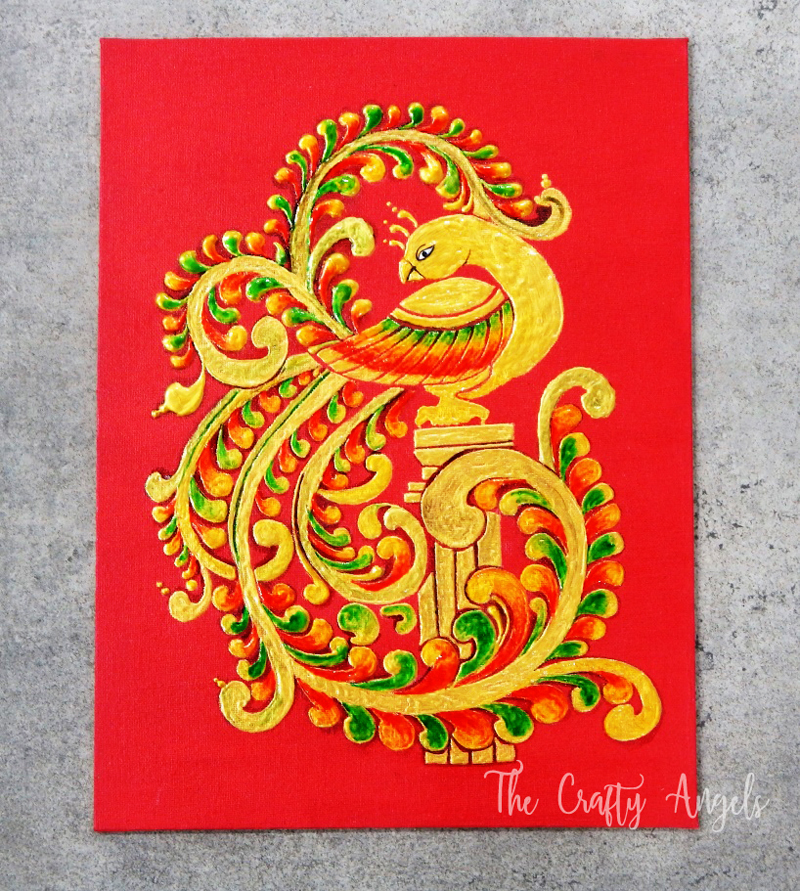
I have used water based glass paints and you can use them directly with a brush to your tanjore painting without diluting so that the colors are strong and stays on the relief before drying.
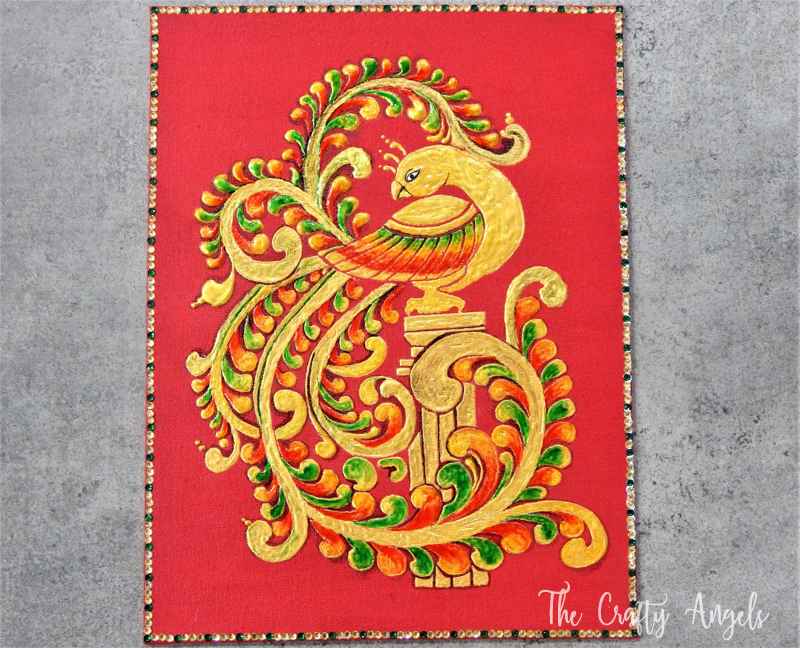
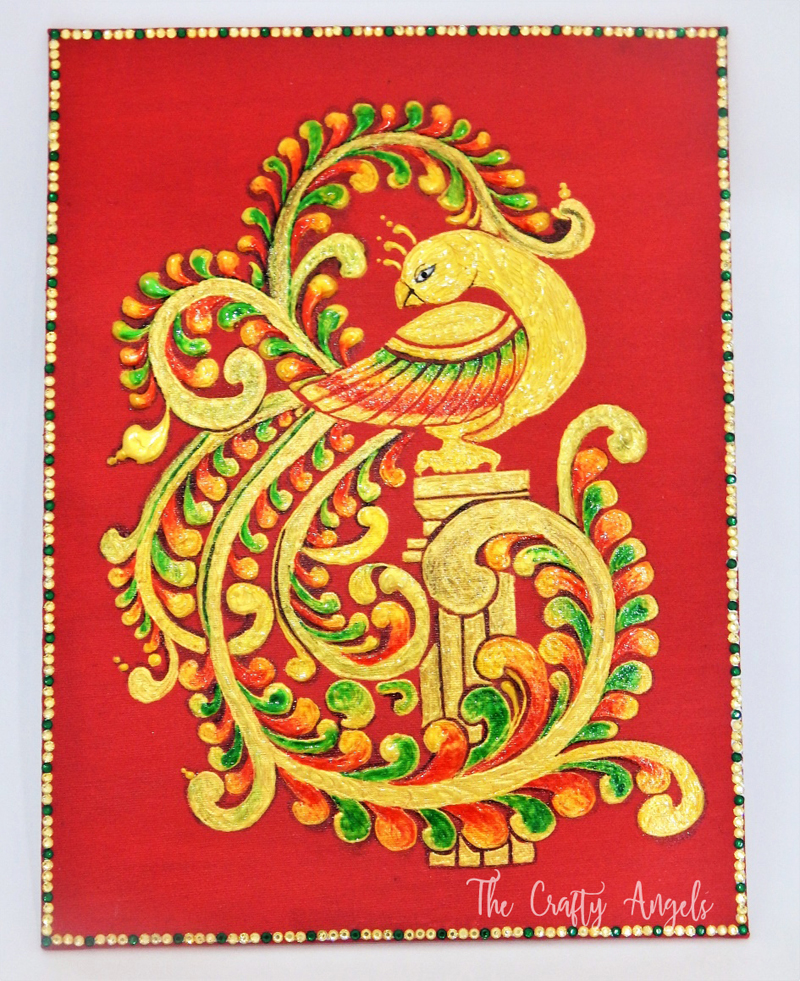
Tanjore painting is famous for the stone works on jewelry etc in the main figures. However, since ours is just a peacock, I decided to still add a little stones at the border. Voila. Here is my painting! Isn’t it really easy to make your own Tanjore painting? Try one and you are sure to adorn your walls with these! You can try making this using glass painting technique as well. Just replace the base from Canvas to Glass and you are good too!
Hope you liked this easier and more modern way of making the traditional Tanjore painting easily. If you are interested in Indian art forms, do not miss out the warli painting tutorial on my blog 🙂
xoxo Angela

Angela, your tutorial is wonderful. I got a new idea on applying glass colours on Canvas!
I will try this for sure..
Keep blogging..
Thank you so much for the tutorial! I’ve been wanting to try it for a long time and now I know exactly what to do. Thanks!!
Hi, Nice Work.
thanks vaidik 🙂
So beautiful Angela! This art is looking complex at first but, your tutorial made it simple. Thanks for sharing your amazing creative ideas.
Nice work,lot to know. Tanjore Paintings evoke a sense of class and timelessness with their alluring illustrations of puranic scenes. This ancient art form traces its origin to Tanjavur, capital of the erstwhile chola empire and is popular among contemporary Indian women for showcasing their artistic inclination and tastesTanjore Paintings.
nice work lot of learnings.Tanjore Art takes its origin form the murals of the vijayanagar period (1500-1600 AD) acquired its robust forms, architectural details and vibrant colors in this period.Tanjore Paintings
I am sure many of the budding artists will be impressed by the effort you have put in to share tips. Thanks for sharing photos step by step and helping budding artists understand the best way to come up with attractive Tanjore paintings. Nice blog and a great effort.