
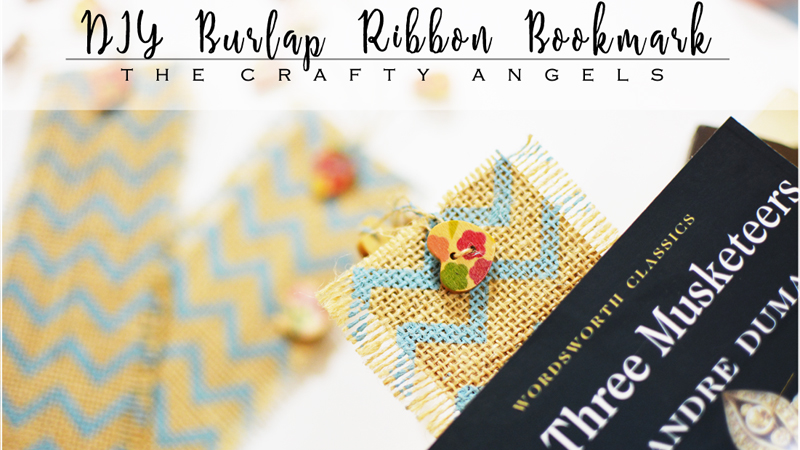
Making Burlap ribbon bookmark in ten minutes
Easy peasy burlap project – tutorial to make burlap ribbon bookmark! They are easy to make and absolutely chic – best gift for your bookworm friend 🙂
I am literaaly struggling to keep up my promise of 4 posts a month and I am sure I cant make the mark this month. Why have I been so busy? Not to mention that next month I will be going home for a week so again my crafty mojo will be lost and God knows when I am going to resume blogging! Blogging is sure a tough job 😛 Coming to today’s tutorial, I made this last month for Itsybitsy but never posted here. I am sure these pretty burlap bookmarks will be a good gift for your bookworm friend and also a reason for you dust up your unread novels and give them a read!
When I posted these on my facebook page, many were asking from where I sourced these burlap ribbons. In fact, this and many more exclusively designed burlap ribbons are available on itsybitsy and if you dont have their store in your city, you can always shop online.
Materials required to make Burlap Ribbon Bookmark :
- Burlap ribbons ( mine is from Itsybitsy)
- decoupage glue
- cardstock
- buttons/trinkets
How to make Burlap ribbon bookmarks :
I love how simple the project is yet it looks so minimalist chic. And personally I like this more because all the photographs are so crisp – I always tend to take blurry photos which I realize are blurry only after I transfer to my PC! The entire credit for these beautiful bookmarks go to the burlap ribbons though.
I started off with brown cardstock to match the shade of the burlap ribbon. I cut them out into a rectangle 2″x 6″. The standard size of bookmarks are 2″x 6″ , 2″x 7″ and 2″x 8″ and I chose the smallest because all the books I own are novels of smaller sizes.
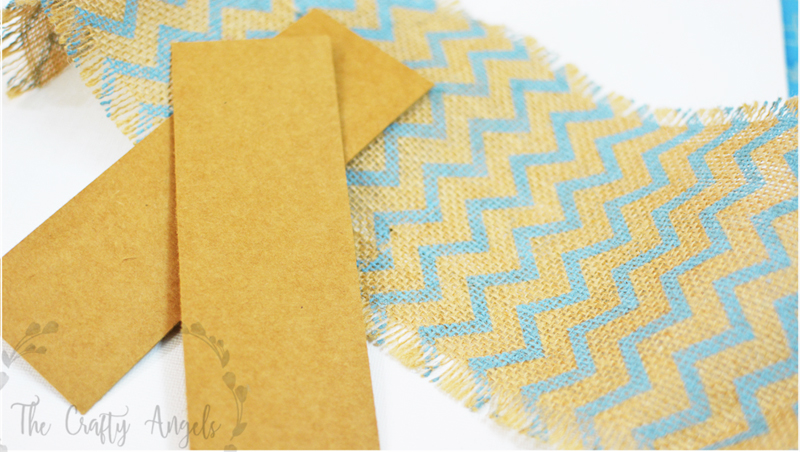
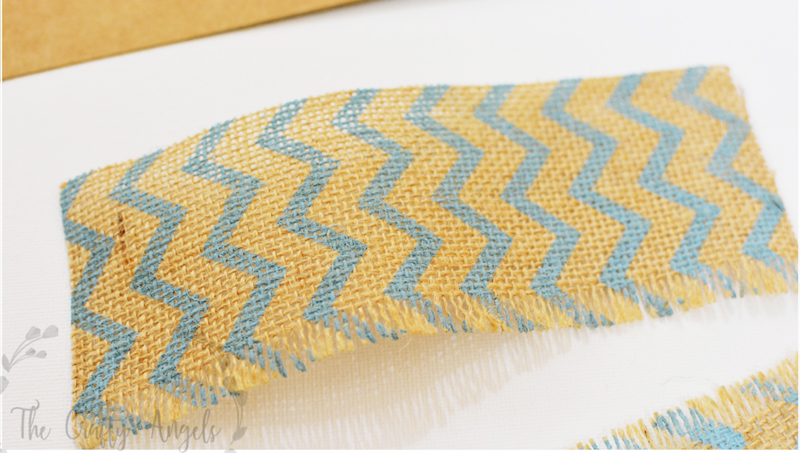
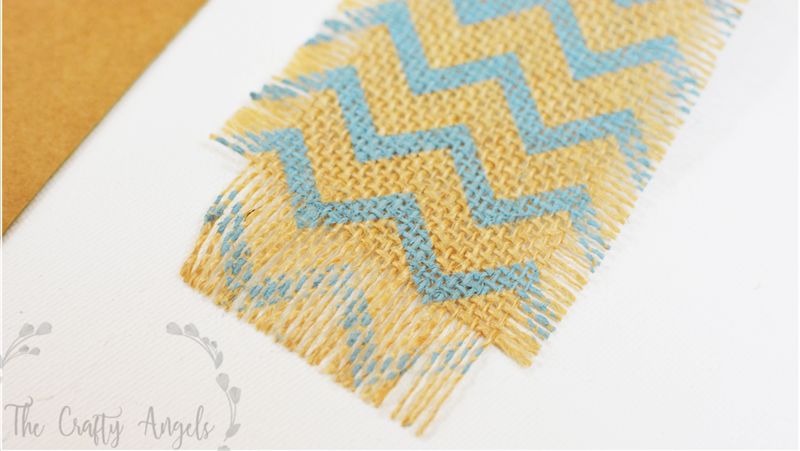
The ribbon which I used is 12cm wide. I cut them across the length to fit the width of my bookmark. I cut the ribbon leaving a small margin at the sides and bottom to remove a few lines of the weaving to expose cute fringes 🙂 I removed the threads one by one from each of the sides to make little fringes. Don’t throw the threads away – they are useful !
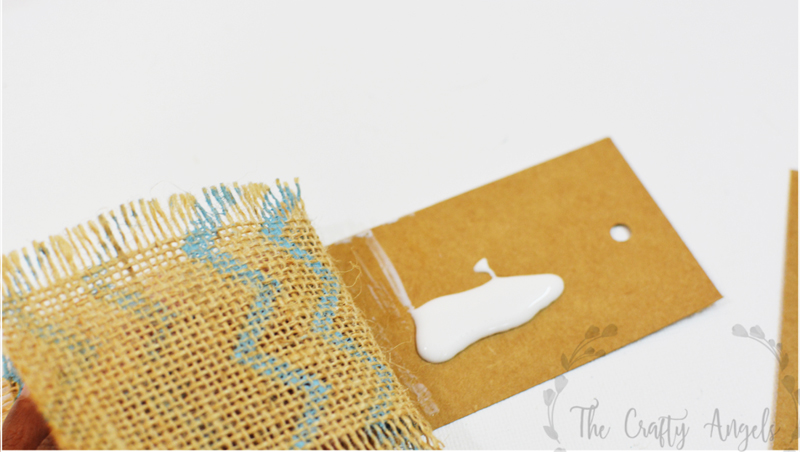
I punched out a hole at the top edge of the cardstock before sticking the burlap ribbon on it. I used decoupage glue liberally over the cardstock working over smaller areas starting from the bottom and moving to the top. The cardstock might curl up. In that case, place a heavy book on it so that it dries straight and flat.
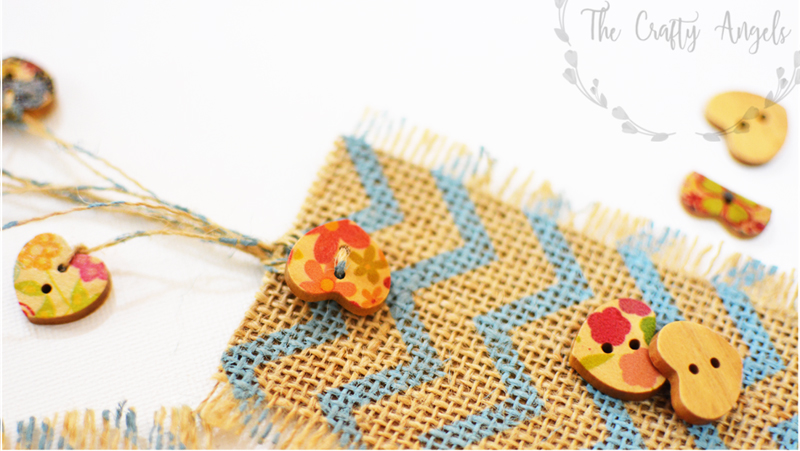
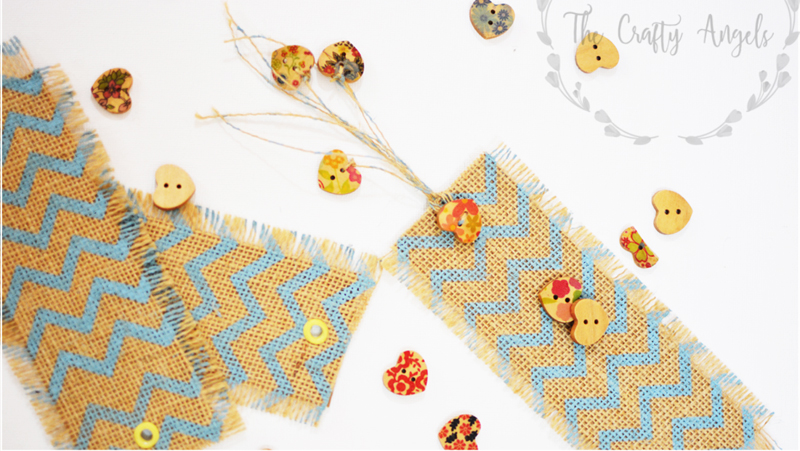
Once its dry, put a thick needle or something similar through the burlap across the hole you punched at the top and seal its edge with an eyelet. I had these heart shaped wooden beads in my stash that I used with the twine holding the bookmark. I used the same threads that I had previously removed from the burlap ribbon to make the fringes and tied few of those heart beads here and there.
Pretty aren’t they?
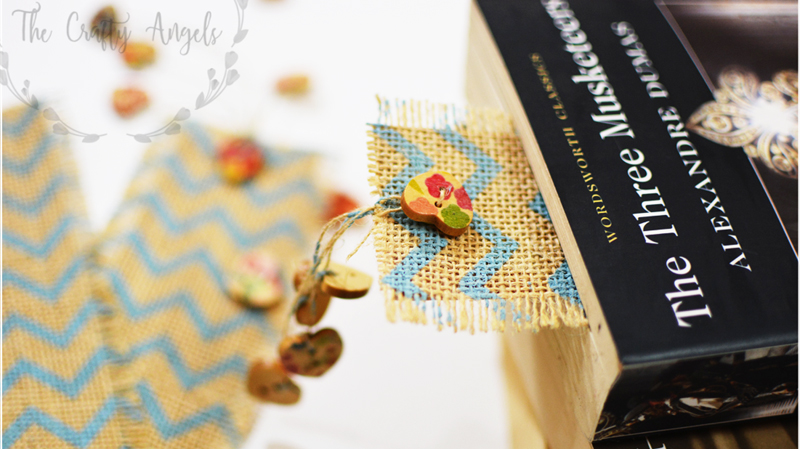
I told you burlap ribbons are a beauty and you can use them anywhere and everywhere. There are loads of other projects you can use them in, like scrapbook covers, mason jar wraps, photo frames, cushion covers and what not! Just grab them right now and think of ways to use them in your everyday projects. Hope you liked this burlap ribbon bookmark tutorial 🙂

These look so cute and they seem easy thing to do!!
Thanks vasudha. They are really easy to make 🙂
Love these! Vintage bookmarks for classic reads. 🙂
I know right?!
Hi Angela 🙂 Thanks for visiting my blog! These book marks are so pretty! You have a lovely website and awesome DIYs, I am your new subscriber too! Will try something and share with you 🙂
Hugs
Priyanka
shiningcolourscrafts.blogspot.in
Thank you so much Priyanka Mathur 🙂 I am glad you liked my DIYs. In love with your style too 🙂