
Kids paper craft : Origami basket #3
Easy to do paper craft for kids-Origami basket. Step by step paper craft instructions (with photos) using paper, scissors & glue in just ten minutes.
Its been quite a while since my last post. Been so busy with shifting back to my home, getting things settled, taking care of my lil one and above all going to office finally!! This time Im here with a simple papercraft – origami basket. Its very simple,effortless and takes jus hardly 10 minutes 🙂
[irp posts=”4449″ name=”Kusudama Paper Flower Christmas Wreath Tutorial”]
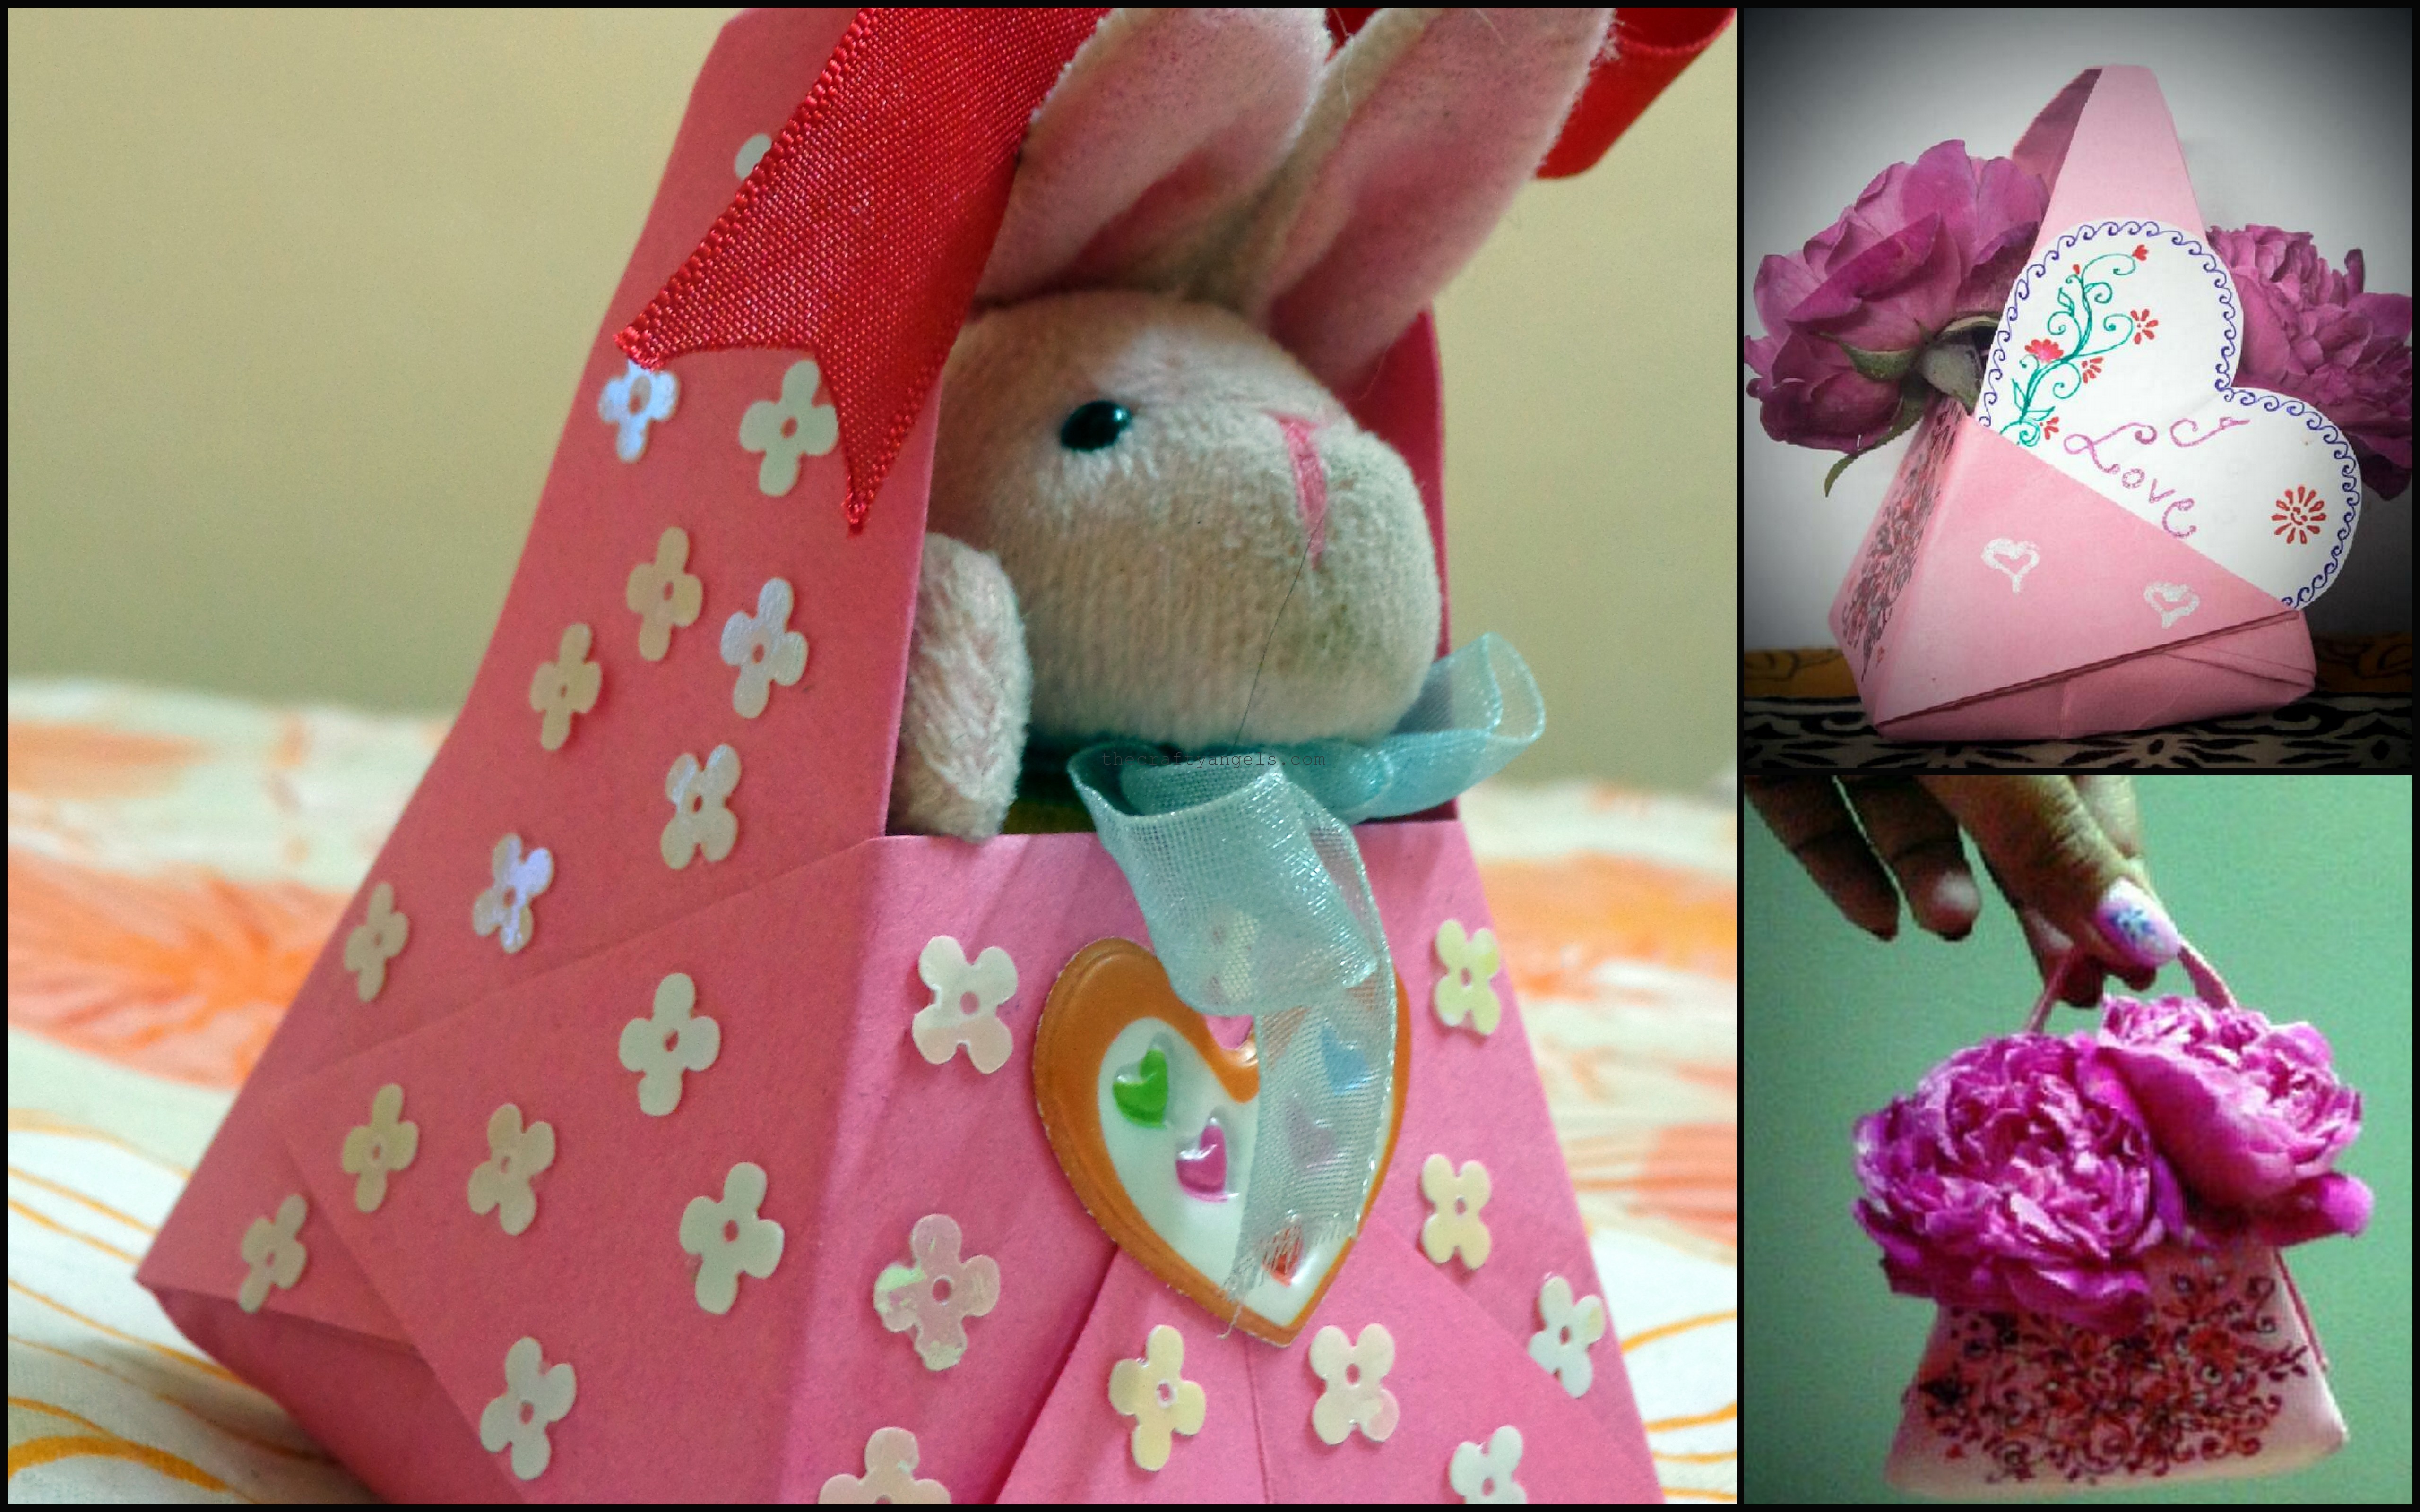
It was my younger sister Priya’s photograph of her basket that urged me to try it out. Check out how she turned it into a lovey dovey flower basket with a cute heart message tucked in. And here is from where I got the instructions for origami basket.
Things you need for making Origami paper craft basket :
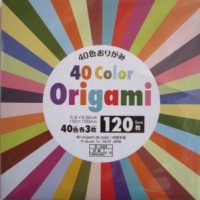
- Paper
- Scissors
- Glue
- Any accessories like glitter/ribbons/stick-ons (optional)


Paper craft instructions for Origami basket :
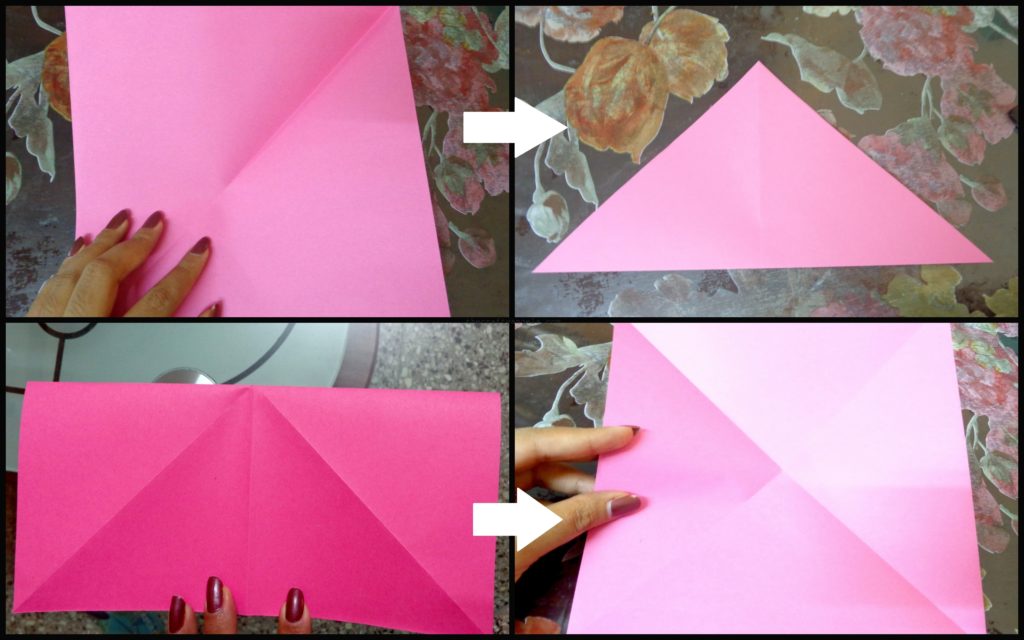
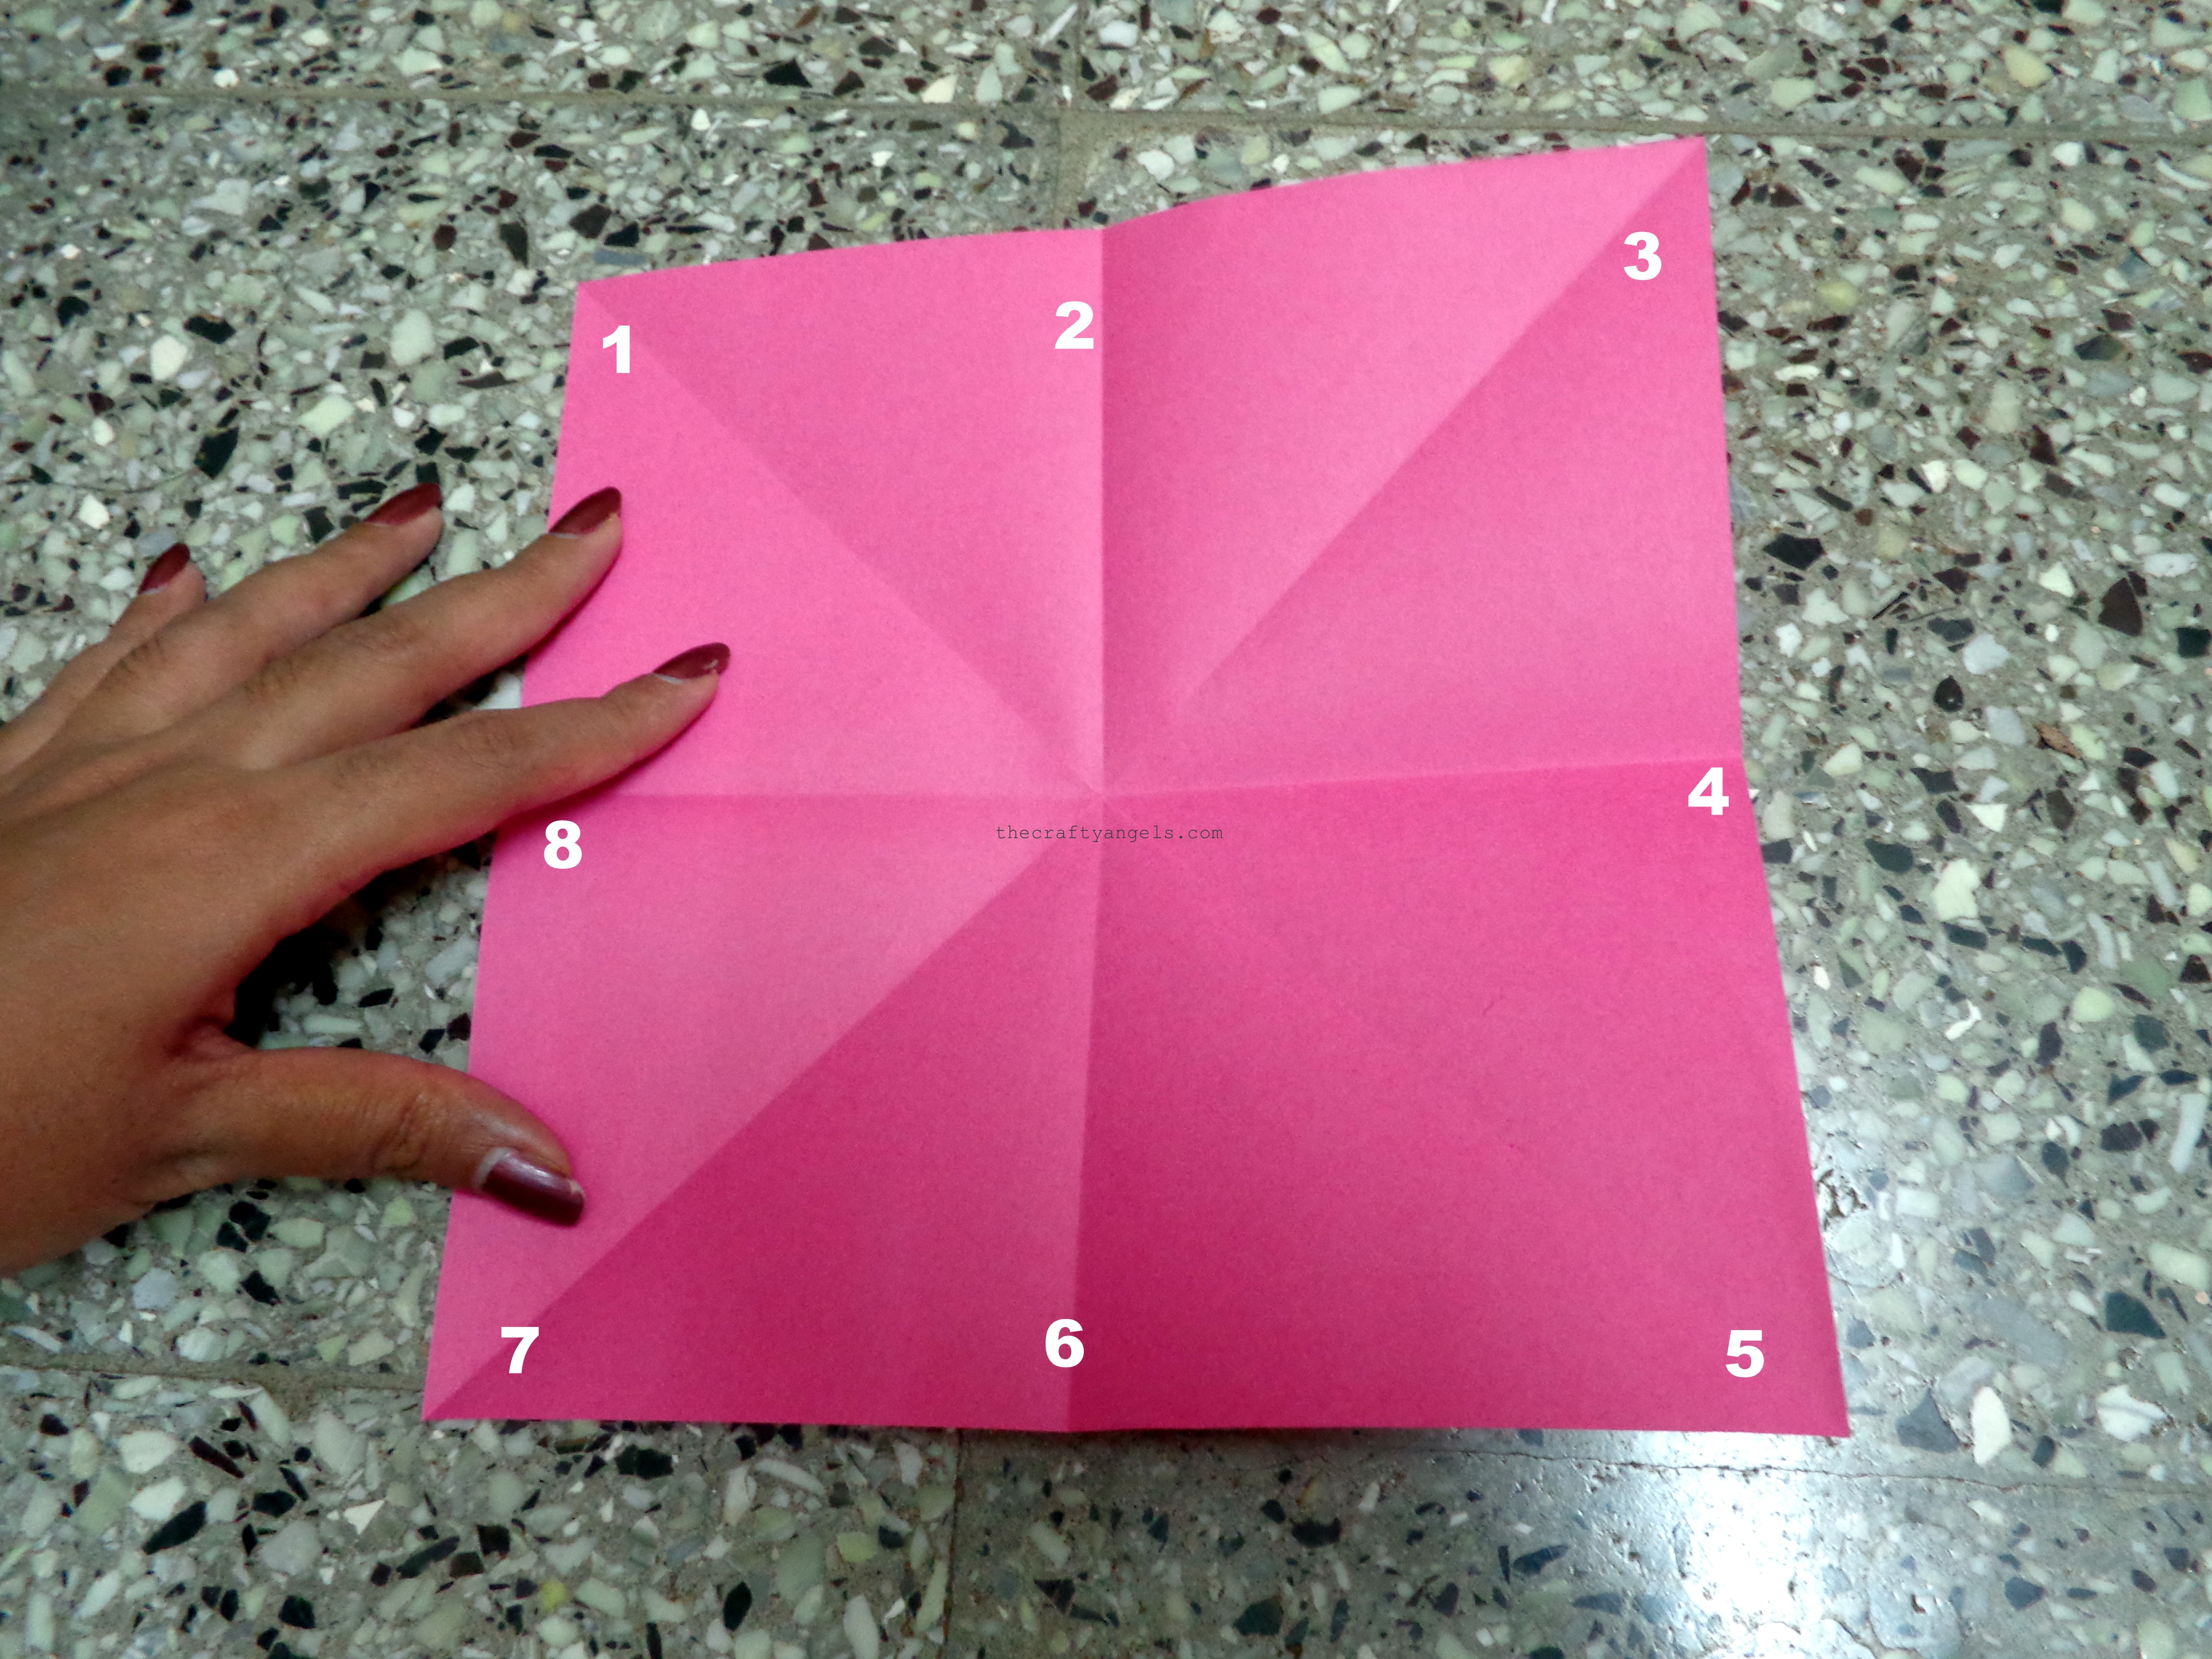
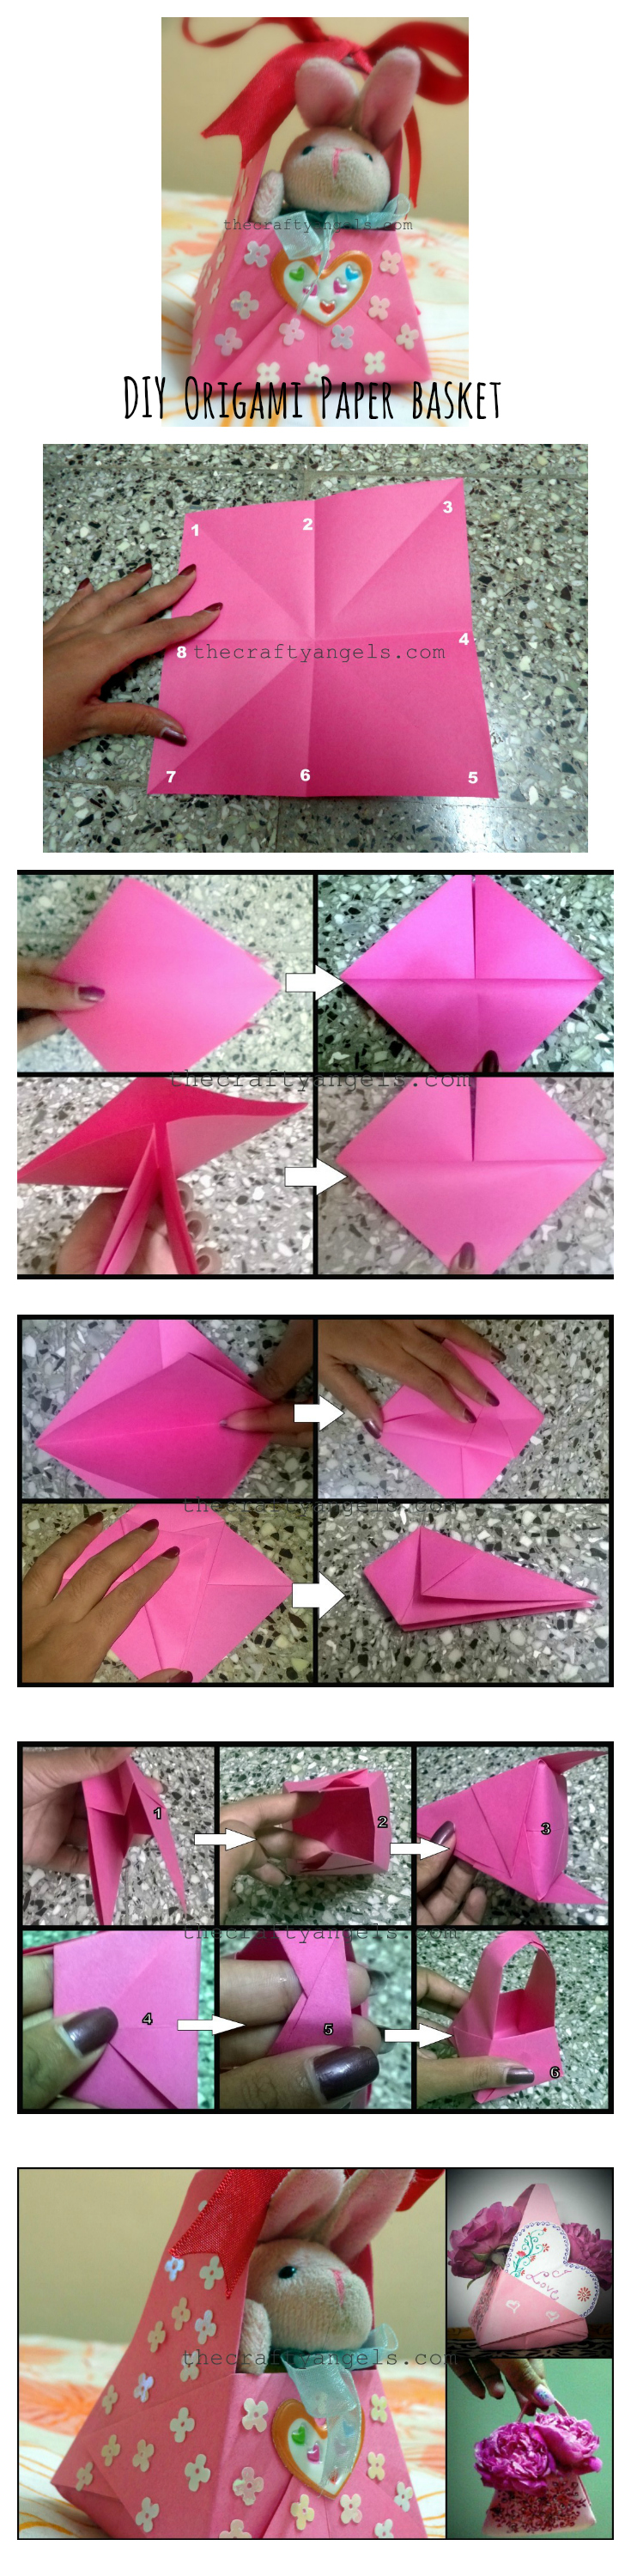
- Select a paper of your choice and make a square piece out of it. Now fold it along the diagonal to make a visible crease.Fold it again, but this time through the center point but parallel to the sides. You should have in your hand a square piece as in the last image.
- For convenience, I have marked the edges of the paper with number 1-8 as below.
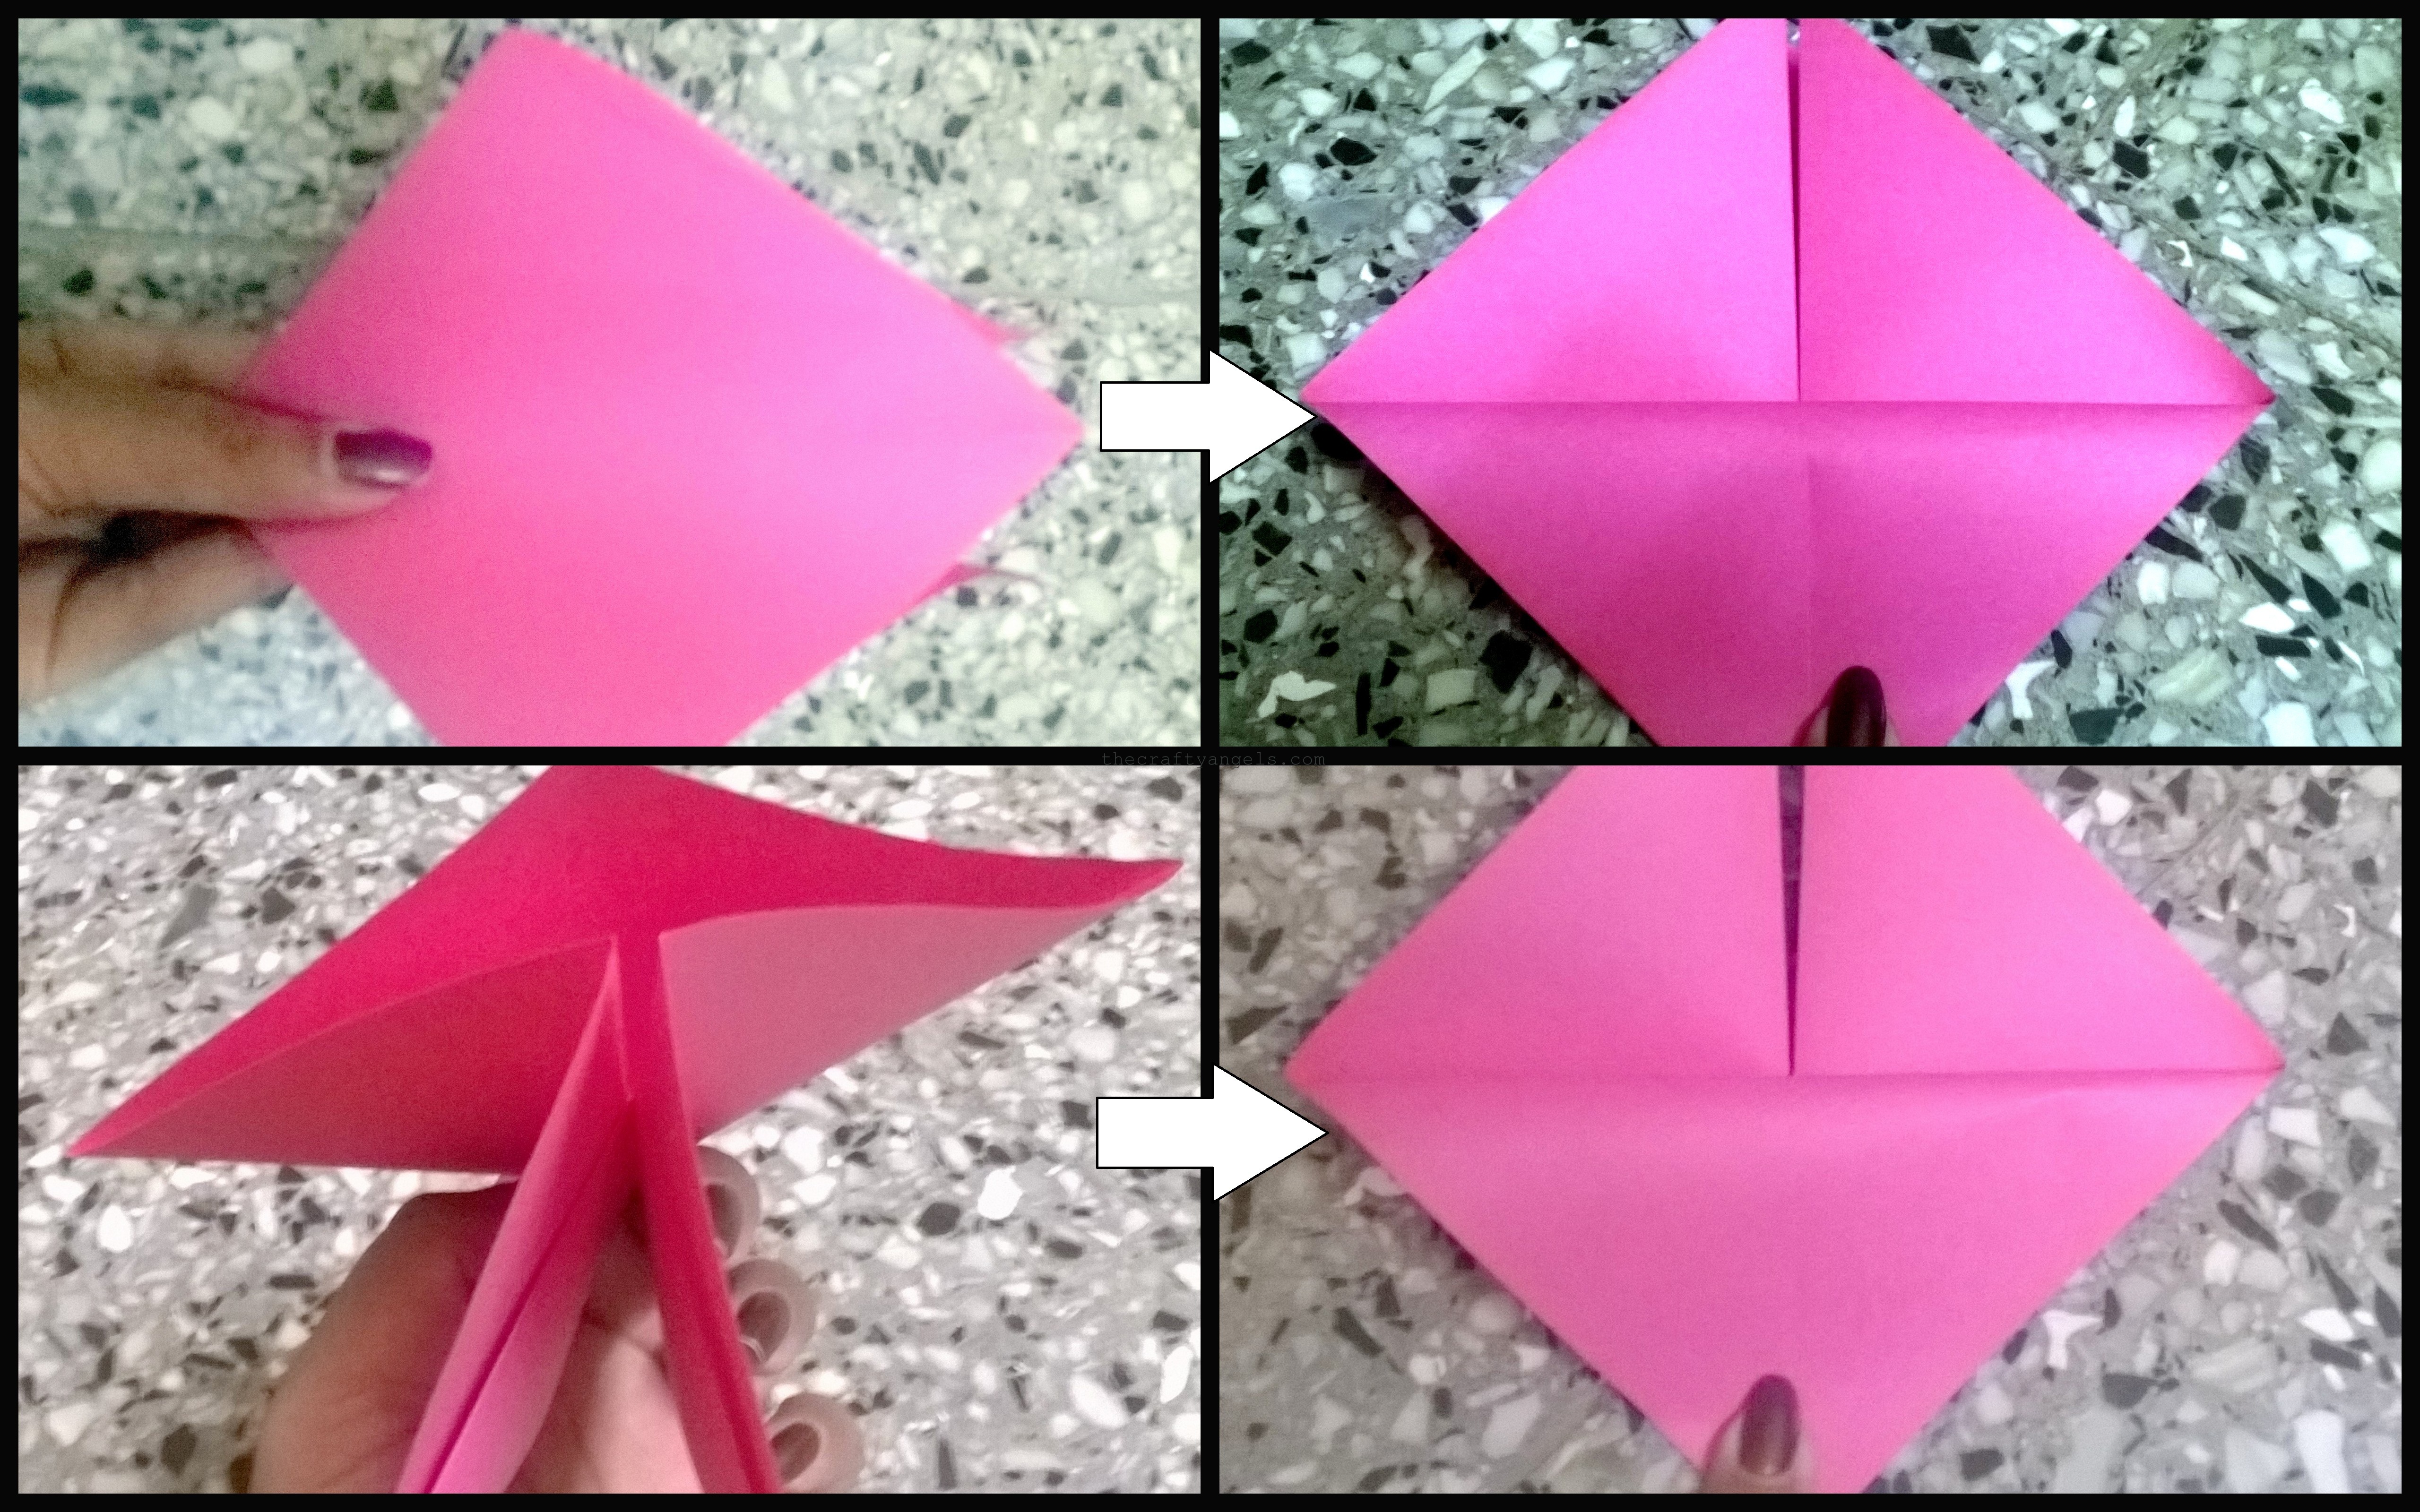
- Bring together points 2,4,6&8 to make a square shape as shown in the first image and press it down. Now, bring one of the open leaf corner to the center and fold as in the second image. Turn over the folded piece to the opposite side and fold the open leaf to the center (on the opposite side of the previously done leaf) and press down.
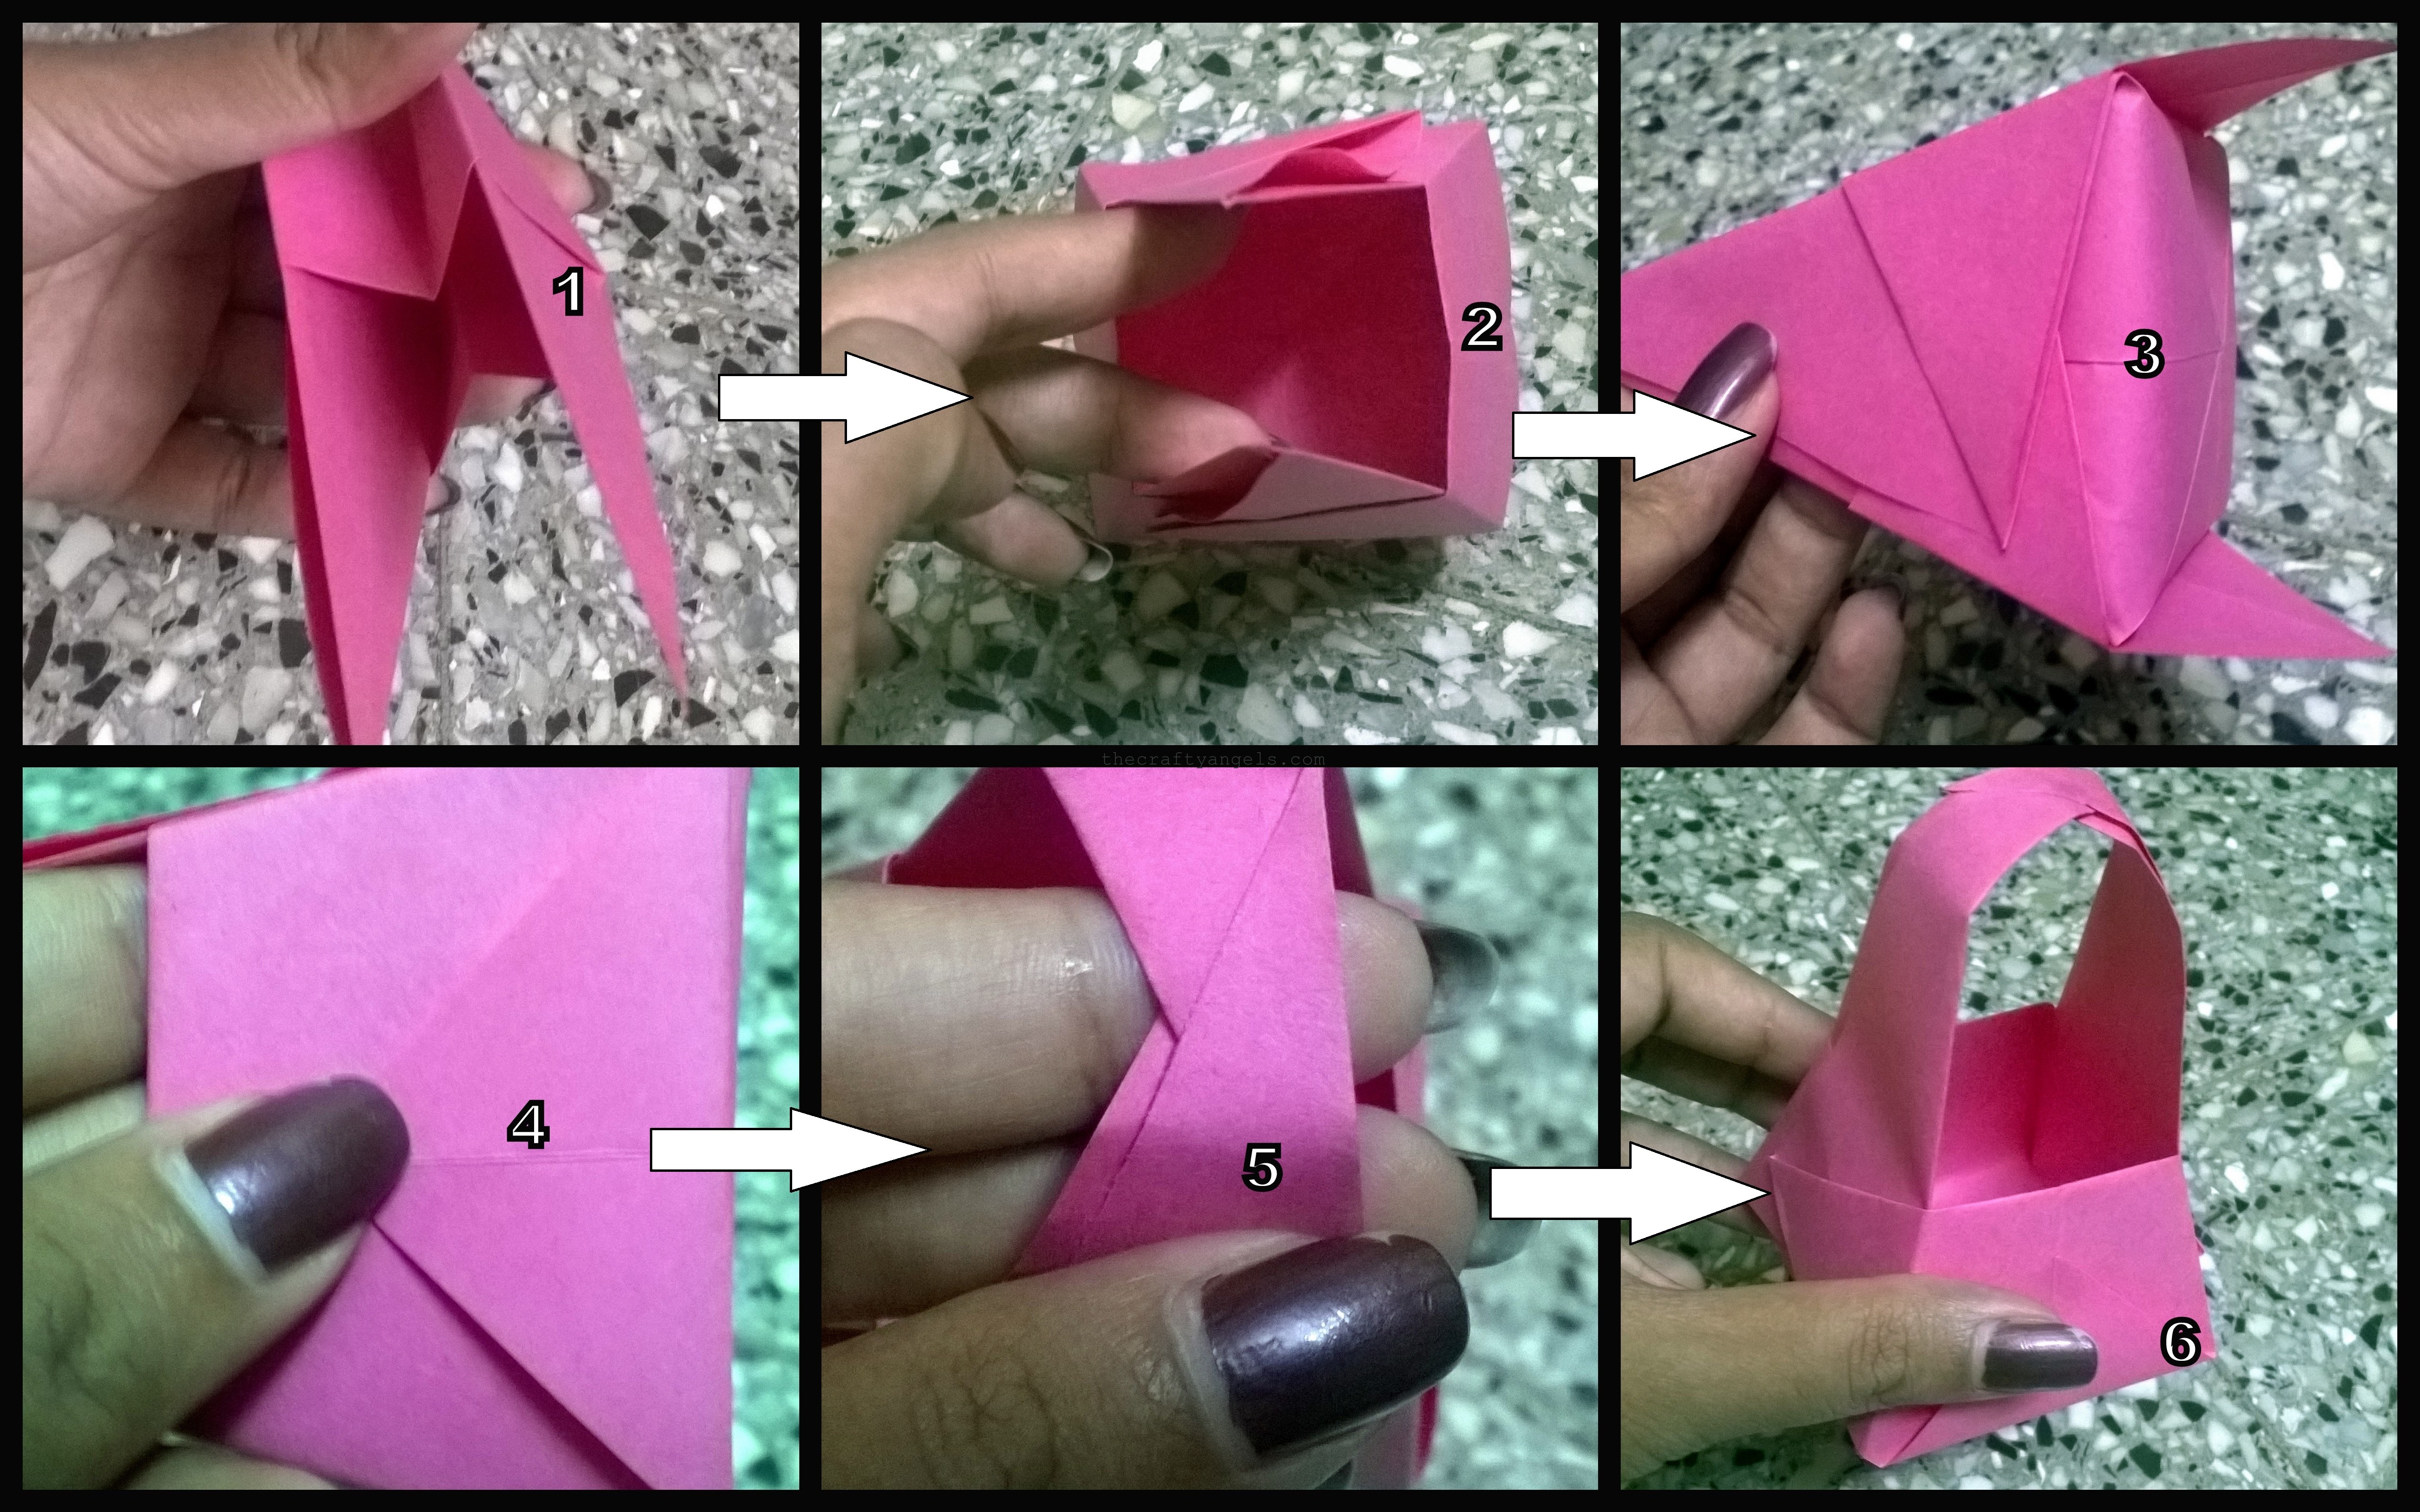
- Now, fold over your paper like flipping pages of a book to bring the unfolded sides to the outside as in first image. Now, fold over the flaps ( both opposite sides ) as in following image ( the angle is your wish just random) to bring out a shape as in the last image.

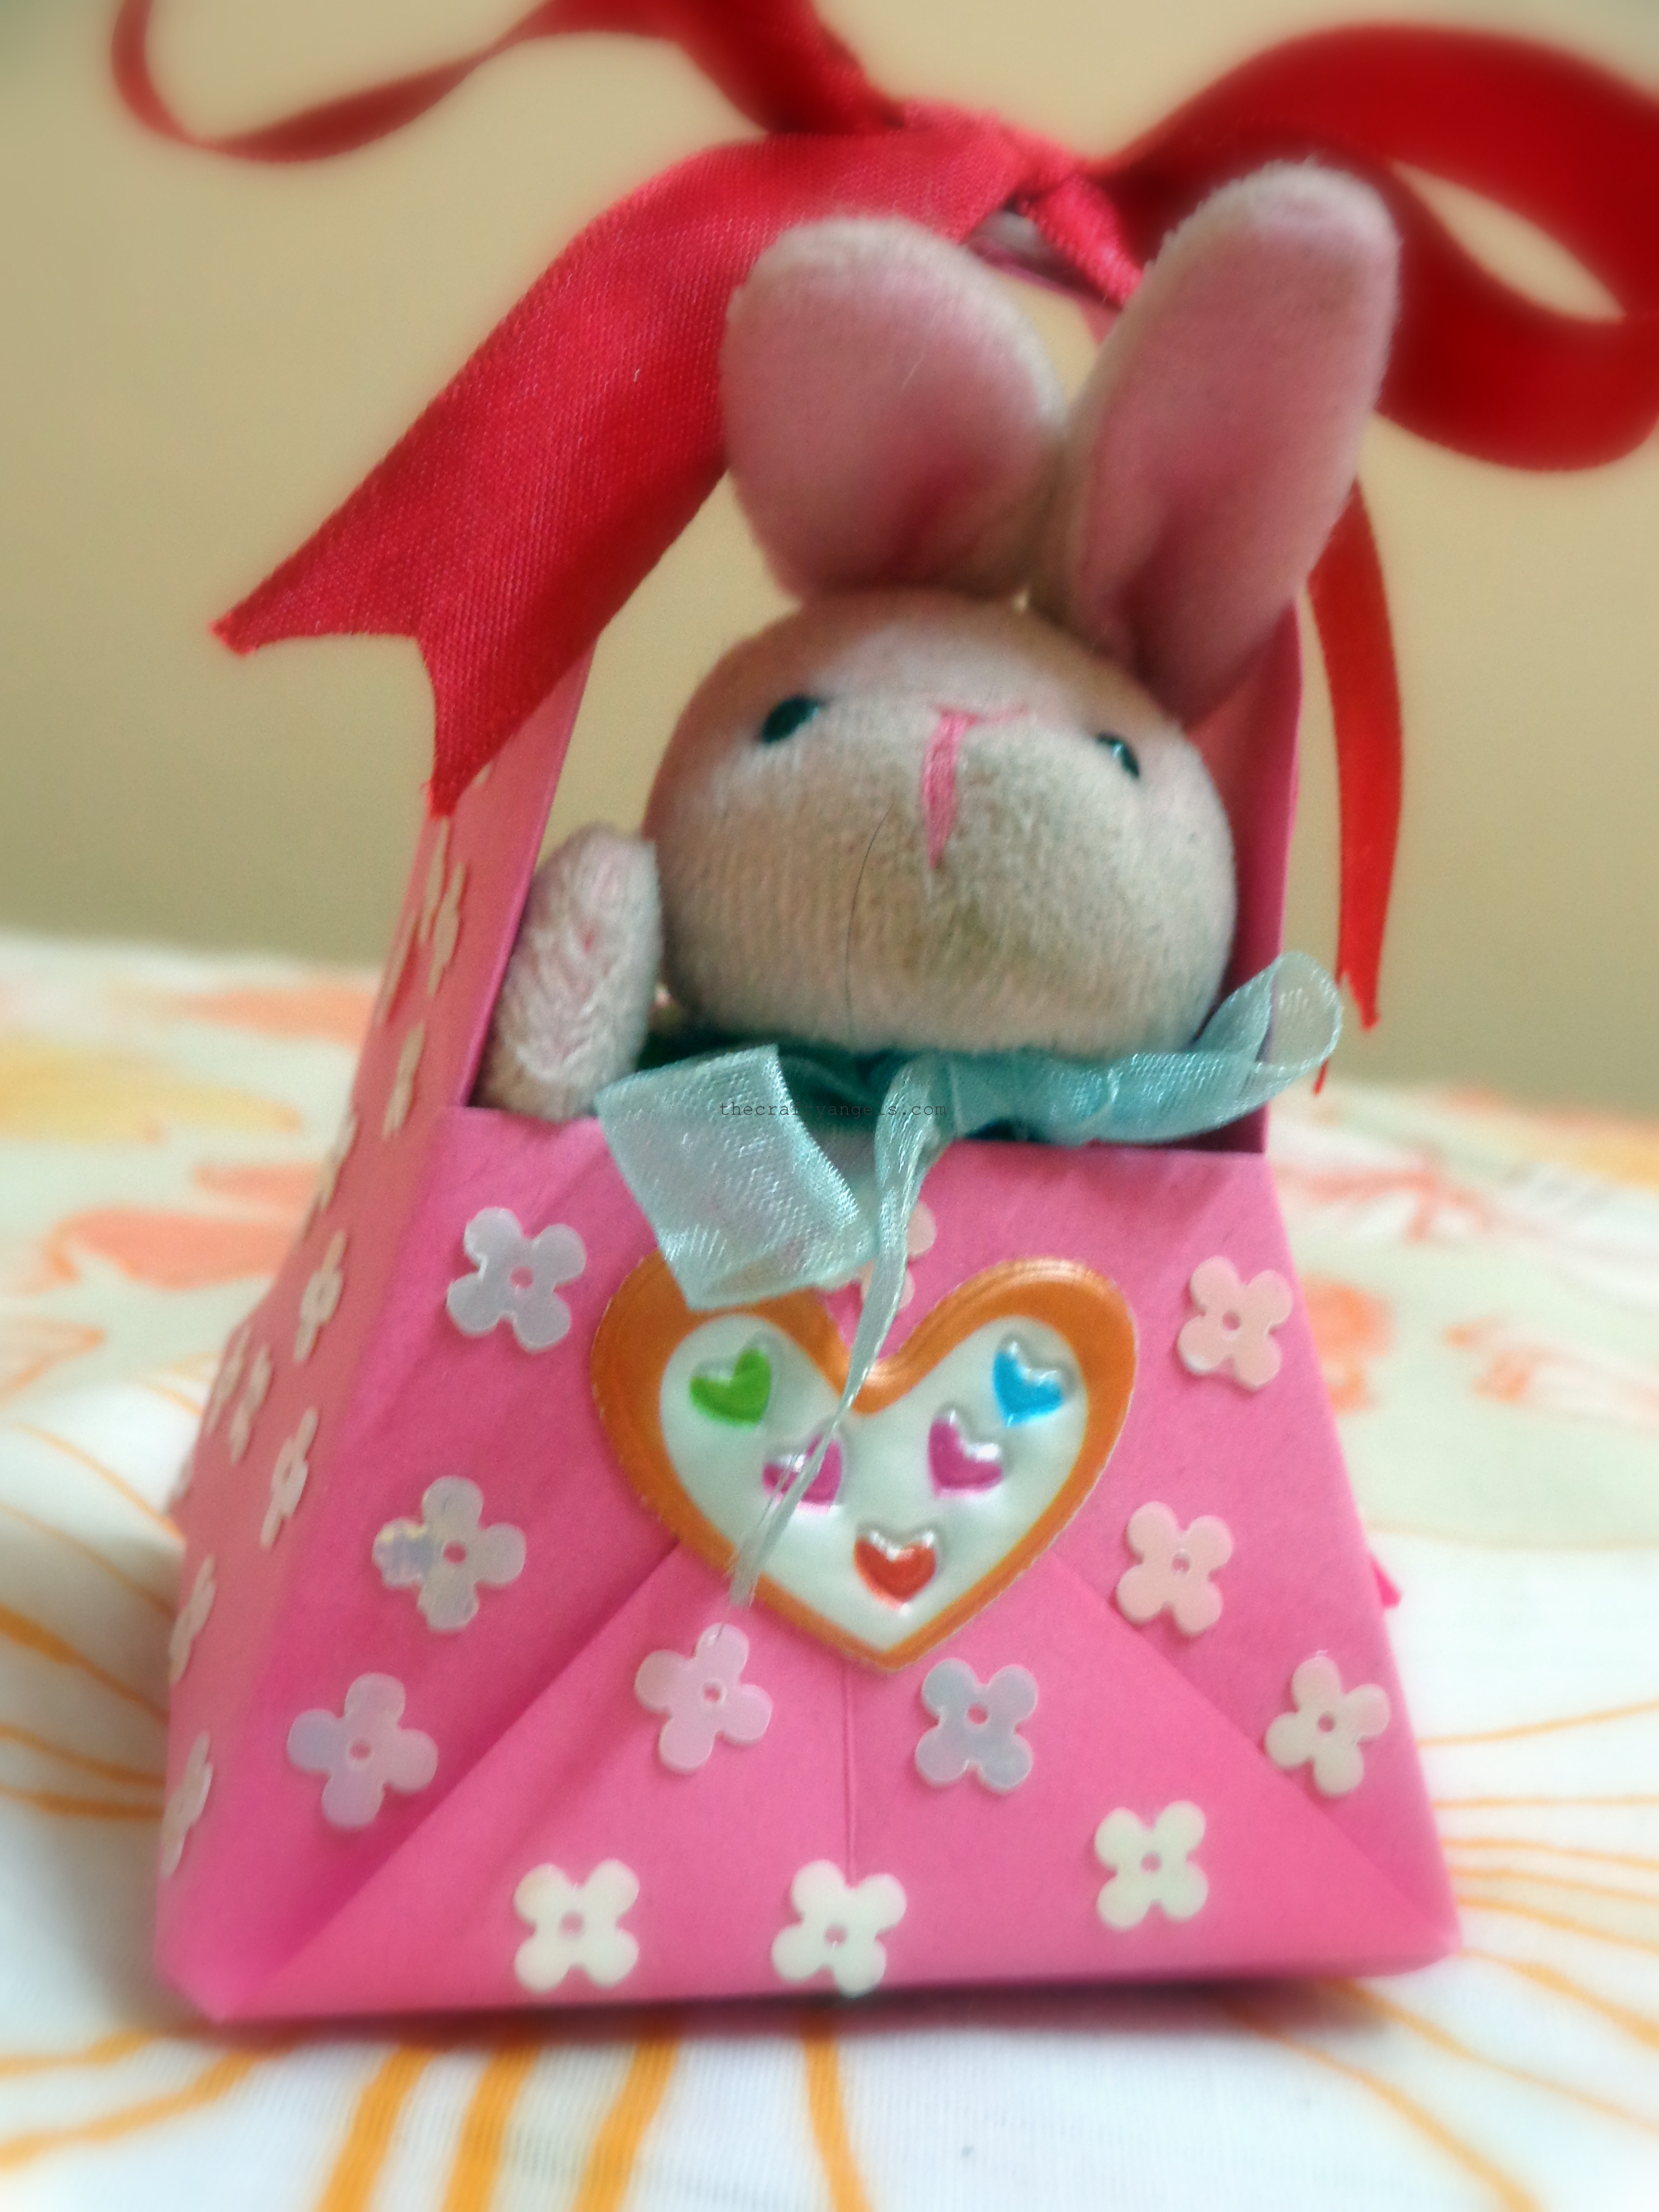
Here is how my basket looked at the end 🙂 Don’t you think its so cute?? A table top center piece for a birthday or a valentine gift, either way its gonna look so cute 🙂
Did you like this tutorial on Origami basket? If you did like it, do hit the like button and also share it with your friends. If you have similar ideas on organdy roses or if you have tried out this tutorial, do e-mail us and share you joy ![]() We shall be more than happy to feature your works in our blog.
We shall be more than happy to feature your works in our blog.
xoxo Angela


This is so adorable!!! I need to find an excuse to make this!
Hey Surya! Why the wait? Grab some paper..maybe even newspaper and try out if its working well. I can already imagine cute lil cupcakes in your kutti lil baskets 😉