
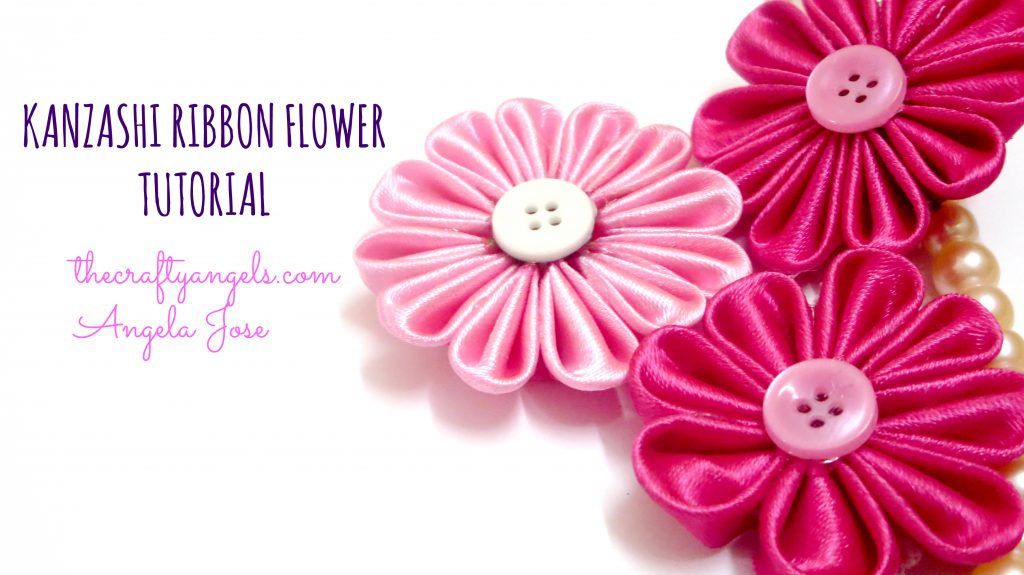
Kanzashi ribbon flower tutorial
Hello folks!!
 If you have seen my last post about kanzashi artist Sakae (HERE), you would know why this post now. I became so obsessed seeing all the varieties of kanzashi ribbon flowers on the Internet and I could already imagine them as headbands n hair clips for my daughter. 😀 so wasting no time I pulled out few ribbons and tried these beautiful looking flowers and I realised that the procedure was simple but there were definitely some tips to be shared to get them right ( I made 4 kanzashi ribbon flowers in one go and only my fourth one came out nearly perfect). This tutorial can be found everywhere on the Internet but please do read the tips and tricks section to avoid following a trial and error method to get the kanzashi ribbon flower right.
Materials required to make kanzashi ribbon flower :
- Satin ribbon minimum (1 inch)
- Hot glue
- Lighter/candle
- Embellishments like buttons/kundan/beads
Step by step tutorial to make kanzashi ribbon flower :
- Take your ribbon and fold its across the width to get a triangle and with that as a template cut it out into square pieces. The number of pieces you need will depend on the width of the ribbon : wider ribbon=lesser squares. For one inch ribbon that I have used, I needed near to 10 squares per flower.
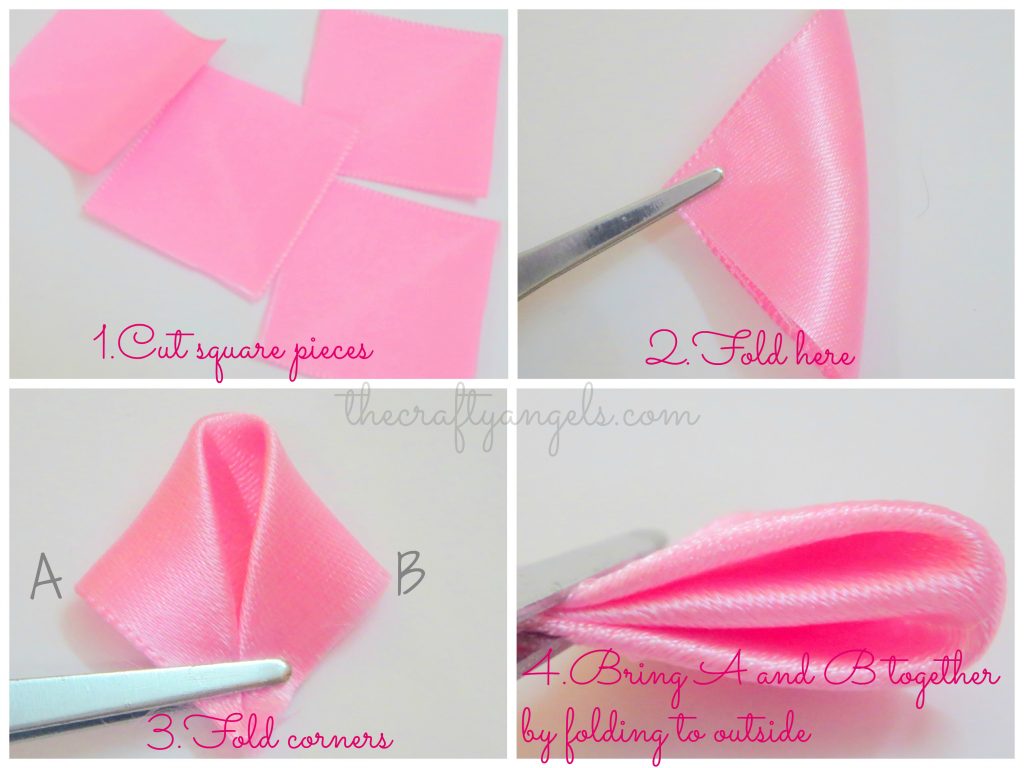
- Fold the square into a triangle first and bring together the corners on the hypotenuse to the third corner like in below photo.
- Now, fold this shape again along the newly formed corner and the gathered corner like in photo.
- Cut out the gathered edges so that when you stick the petals together, it naturally tends to get into a circle. The more you chop out the smaller will be your kanzashi ribbon flower and the lesser petals you will need per flower. Since I was using one inch ribbon, the flower became too small when I cut out a major part hence for the last three flowers I kept it to minimal.

- Be sure to secure the cut edges using a lighte or candle flame.
- Your petal for the kanzashi flower is ready except that the flower will have a valley in the middle when you put your petals together. I mean you can see that the surface of the petal and bottom form a triangle so what we need to do is to cut the bottom parallel to the surface like in below photo. The more you cut the more tighter/thinner your petal will look so cut according to that. In my case, since it was a one inch ribbon, even though I cut out small portion only my petals became too thin n long after I sealed it with a lighter.
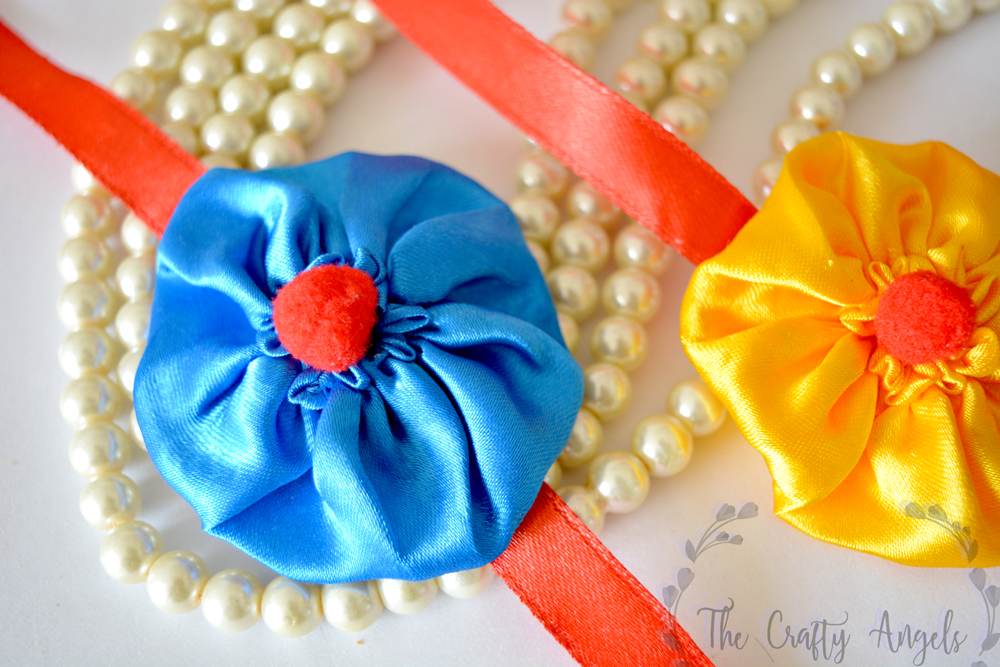
- Now that your petals are ready, all you need to do is to apply hot glue on the sides of each petals and glue them together to form a ring of petals which will resemble a flower in any case.
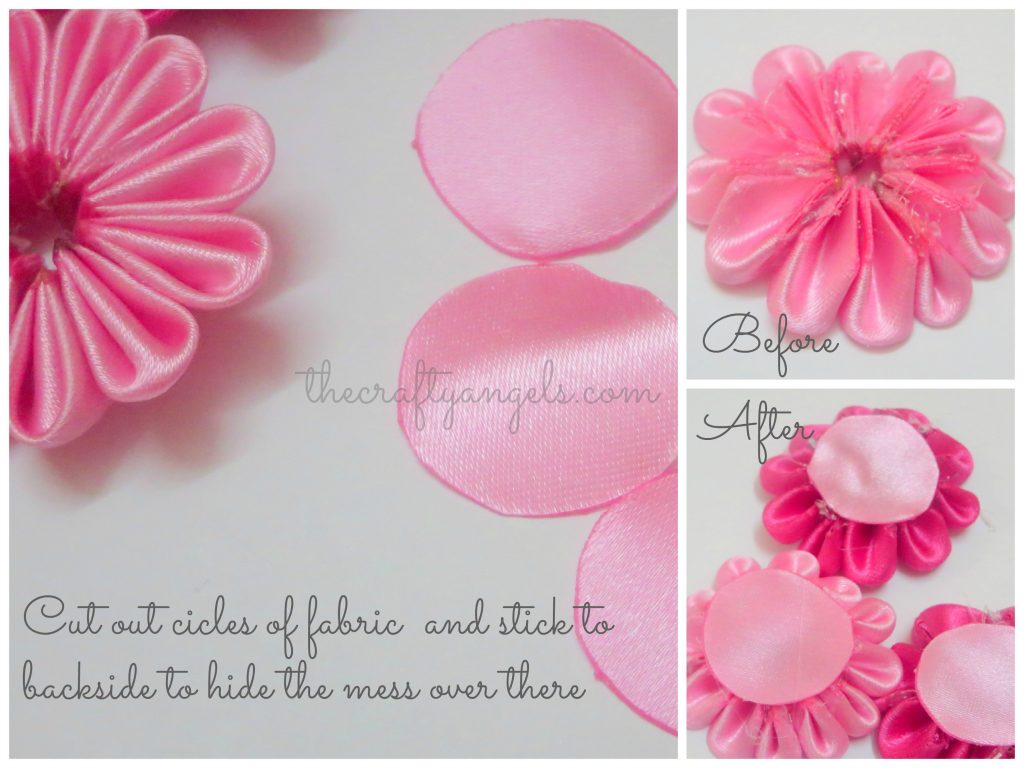
- Put your favourite bead/button/anything at the center and also you could hide the mess at the back by glueing a fine piece of fabric at the back.

Tips and tricks to make Kanzashi ribbon flower :
- Wider the ribbon the better. You can cut out your favourite fabric piece into long strips but wider!
- Once you have finished all folding, you will have 3 folds parallel. Make sure to align them properly/evenly so that your petal looks symmetrical.
- Below is a photo where i have marker where to cut.

- The more you cut from the corner, the lesser petal you will need. Plus your petals will have a curvier and rounder appearance ( rounder? Is that a word?)
- The more you cut at the bottom, the leaner your petal will be – which happened in my case!
- So the best is to cut the least 🙂
Hope this helped 🙂 See you with more crafts next time. Office is going to be busy in next few weeks so possibly i will be going into hiding from TCA for a while 😀 By the way, if anyone in India is interested in submission of craft/handicraft/indian art tutorial submissions, please contact me.
xoxo Angela
Craft Contest
Upload your craft at facebook.com/SmartIndianWomen
Our judge will pick the best craft and winner will get INR 2500 worth vouchers
Hello gunjan! So glad you dropped by 🙂 Smart Indian Women – yes i have been an ardent reader of the interviews there 🙂 Will select one craft and upload the picture by tonight 🙂 If this contest is a regular one, i can enlist it along with other craft challenges in India here – http://thecraftyangels.com/online-craft-challenges/
What a lovely piece of artwork. So beautiful. Just like your website. Keep sharing! 🙂
And do visit our website for some unique Indian handicrafts online.
Hello team Zupiterg, I’m so glad to receive such lovely encouraging comments 🙂 And yes I have already gone through the whole of your website and selected items to add to my wishlist here (http://thecraftyangels.com/craft-wishlist/). I loved the antique metal crafted framed and mosaic pattern glass bowls 🙂 Kudos to all the efforts in handcrafting them 🙂
Hi Angela.
Hopping on over from made-in-craftadise.blogspot.in ? Lovely pics and tutorial. Really enjoyed reading your blog. Glad to have found an awesome fellow crafter ☺
All the best.
Best Regards,
Salma.
Hey Salma, Glad to see you on my blog 🙂 I have been a follower of your blog for a long time although I hardly left any comments. Have always loved your crochet works. Hoping to start some crochet works myself inspired by your blog 🙂 And yeah you have a very beautiful blog 🙂