
Easy Stocking Flower tutorial
Hello all,
Easy Stocking Flower tutorial
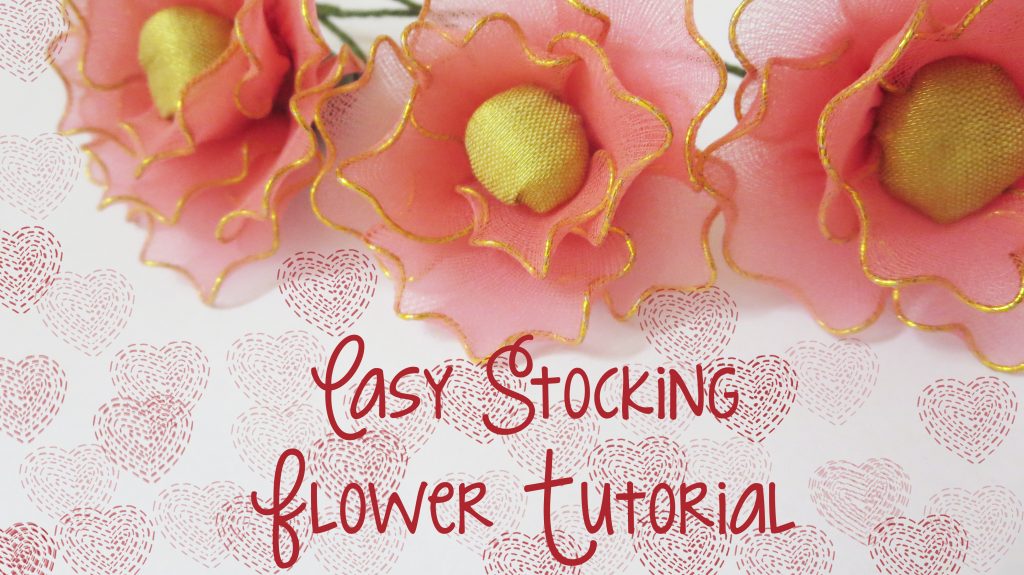
I’m back after my pretty long Easter vacation and yes I’m definitely back to crafting & blogging as well. I have a lot of unfinished project that needs a little boost up and motivation which includes few quilled flowers that need to go on to few cards, a newspaper quilled night lamp shade and painted recycle mugs. Keeping those aside, I’m sharing with you a Easy Stocking Flower tutorial I tried last night. It’s funny how the idea came up – one of my microwave bowls cracked and I wanted to somehow re-purpose it. That’s when I thought I could use it as a flower-pot kind of thing and since I have been having these stockings for over a year without any use, I thought I’d just make some flowers out of them Stocking flower Tada!!!!
Materials used in Stocking flower tutorial :
- Stocking material ( you can buy bits on various colors from craft stores)
- Flower making wires ( any color)
- Floral tape
- Contrast color fabric (to fit in as centerpiece – you can also use any bead/pearl etc )
- Pen refill/ any thin pipe ( circular)
Step by step Stocking flower tutorial :
Okay so before we start the stocking flower tutorial lets talk about the key idea behind this project. This flower is a very easy one and once you know how to handle the stockings and mold the petals into shapes, then you definitely don’t need a tutorial at all to make any kinds of flowers! So stockings is very thin, soft and elastic tight-fitting garment used to cover legs and its these exact properties that make them very useful to mold over thin wires.
So first we need to make frames in the shape of desired petal shape (which we will cover up with the stocking pieces). I decided to start off with curly petals since I wasn’t so sure if I could achieve symmetry and shape with round petals frames.
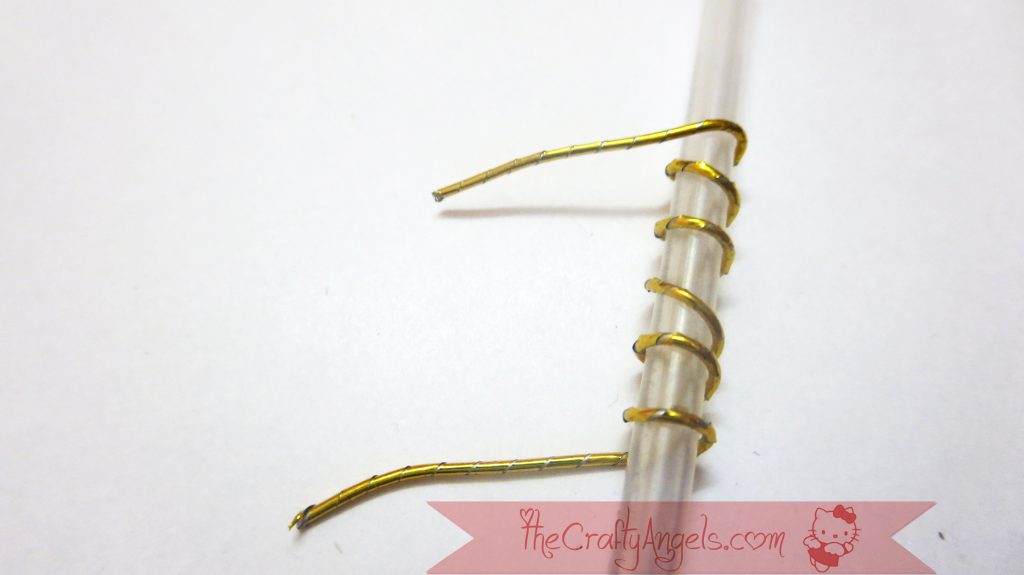
Take your refill and start twisting your flower making wire around it. I left about half an inch of wire before and after the twists so that I could use those straight ends to secure a into a petal shape. Dont they resemble bulb filaments ? (:P)
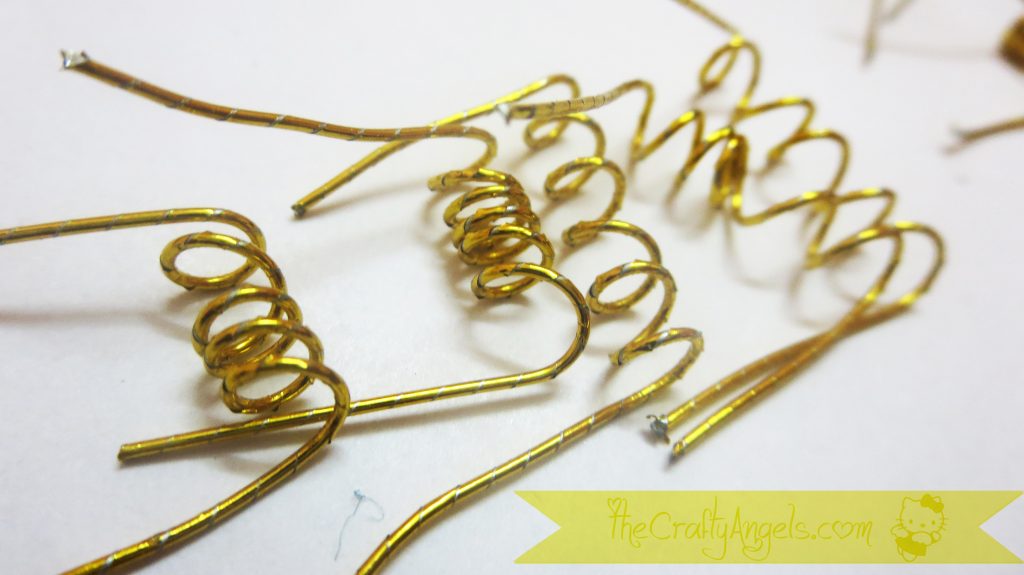
The next step was to elongate the twisted wire to soften up the curves by pulling both ends to opposite directions. This turned out to be a little painful process so I clutched the ends between my nose-plier & cutter and it made the work lot easier!
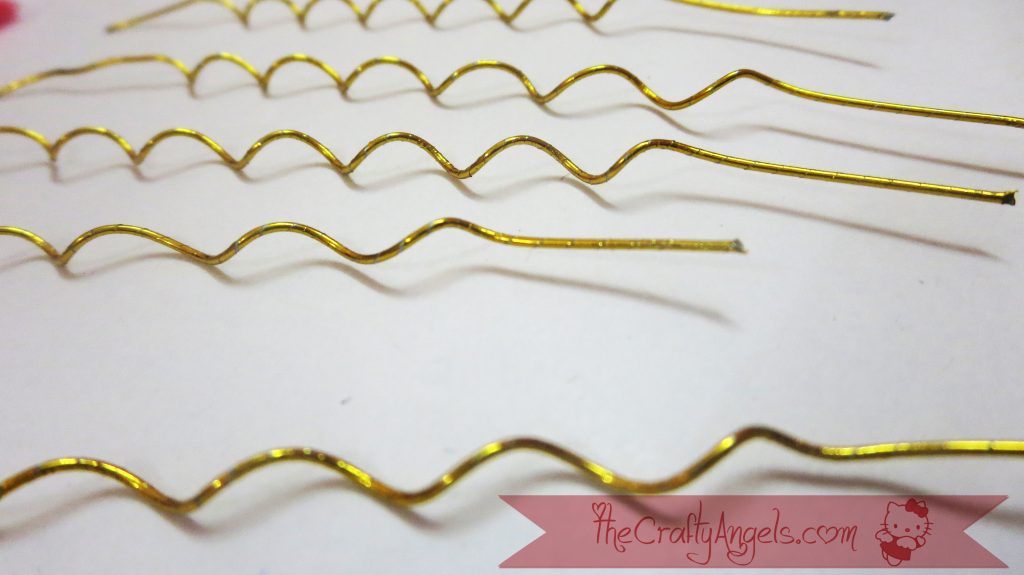
Pull the two straight ends together but make sure you keep making a circular shape to the twisted area else you will end up with a wire bent to half! Once you are satisfied with the shape, twist and secure the ends to get a closed petal frame.
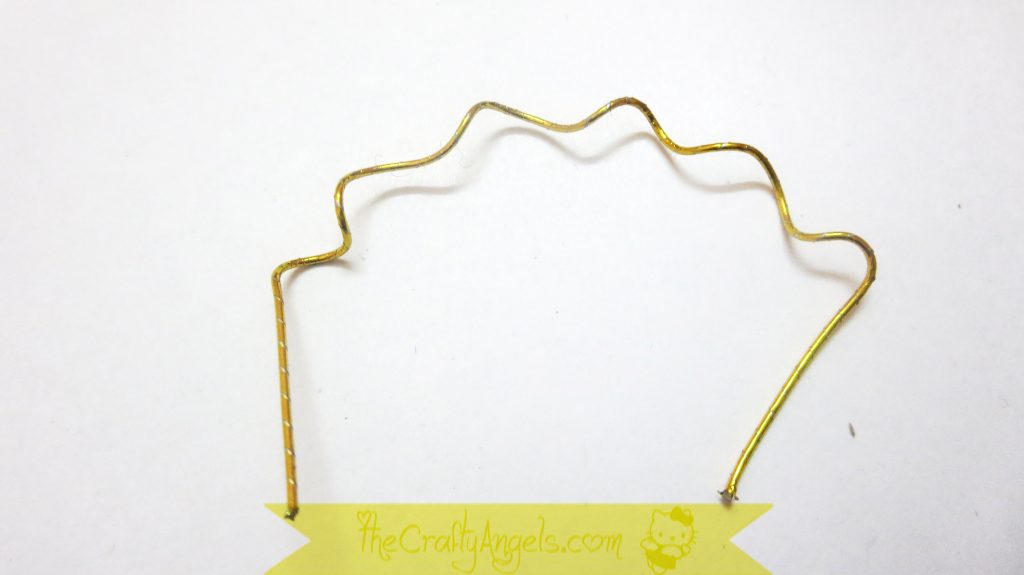
One petal was easy but when I started making another, I could’t achieve the same size! My suggestion would be to count the twists you are making on the refill and follow the counts for same sized petals. I made petals of two different sizes – one with 4 twists and another with 7. The size difference on how much you open the twists can be adjusted when you secure the ends. Plus the flower petals need not be symmetrical at all – the whole point why me lazy bum started off with this petal shape on the first hand!

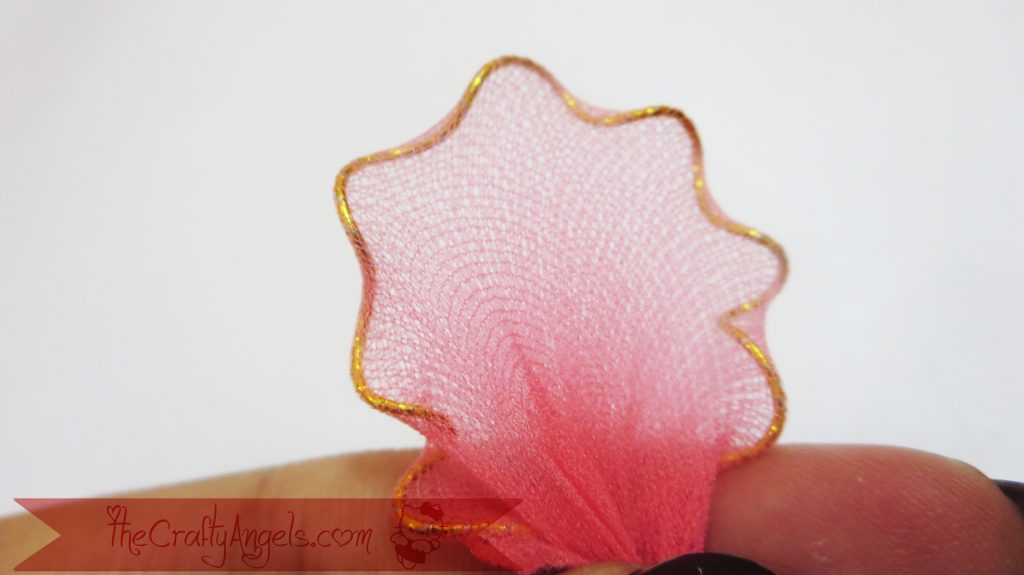
Coming to finishing up on the petals, cut out your stockings into small square piece. The size of the stocking bits depends on the size of your petal and you can estimate it by wrapping it around the petal tightly . Well its sometimes better to cut a little bit extra than to be exact because I had to discard few cutouts since they werent meeting the ends 😛
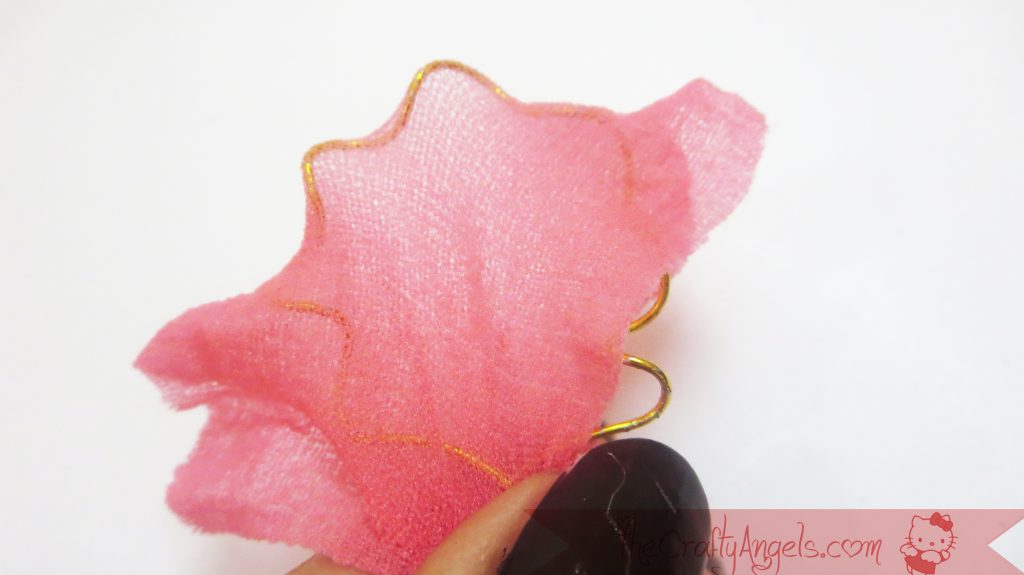
For wrapping, I suggest you go neat and simple by folding the square piece into a triangle with the frame edge holding the triangle ends. Carefully bring the other two open triangle edges to the same point and now pull out any open edges in between. Once you have made sure the petal is completely secure, the perfectionist in me would suggest you to arrange the creases in a more beautiful way 😛 Okay enough rambling! Time to secure the stockings with a thread and get done with petal!
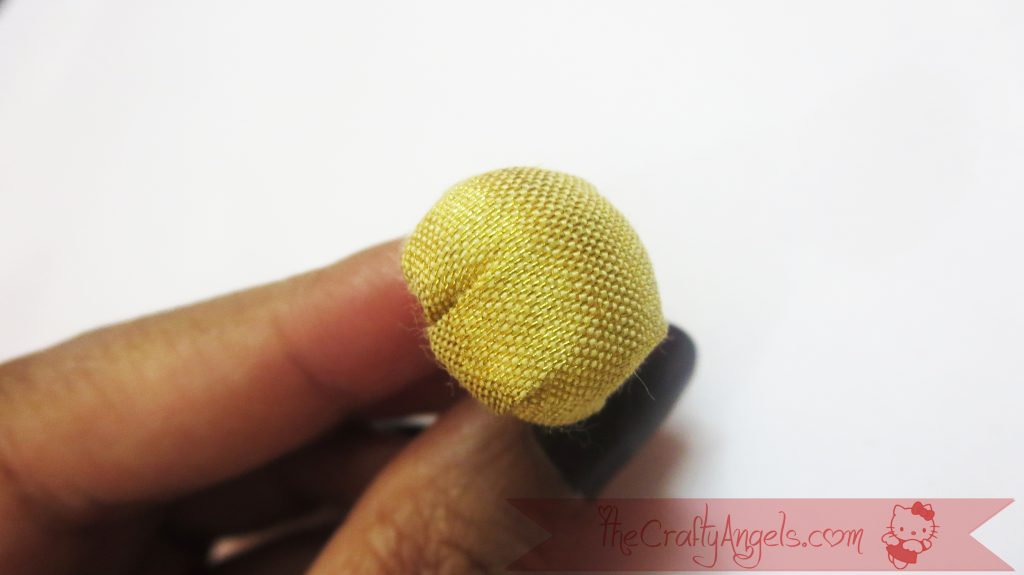
Next up is the center bud that needs to stand out a little bit so a contrast color would be more appealing. Since I have used pink colored stockings, I decided to go with a gold color fabric for the inner bud. Make a square shape, fill it with cotton and you know what to do ! Don’t forget to wrap a longer wire around as a stem else its going to be a little difficult while you fix the petals around them.
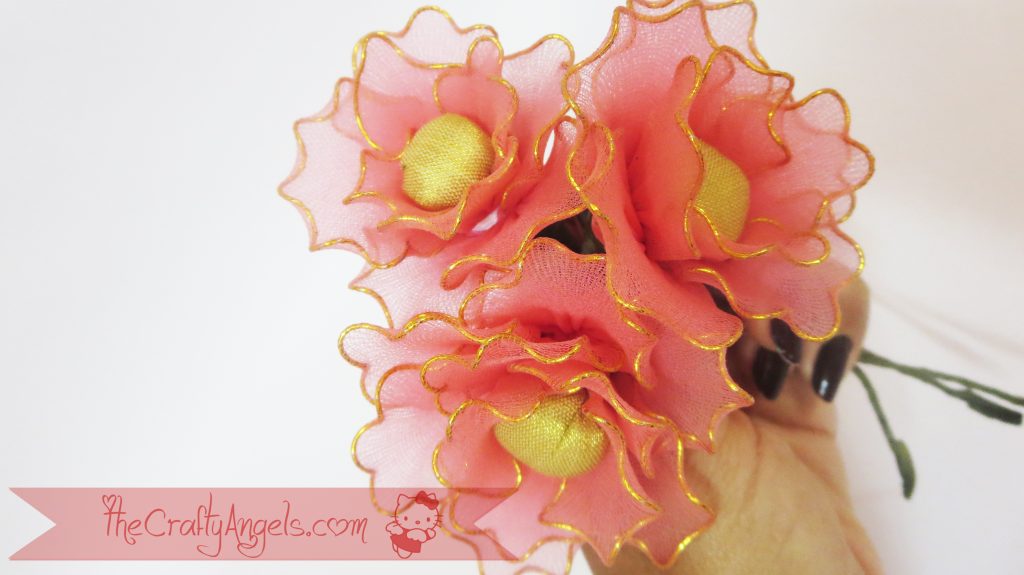
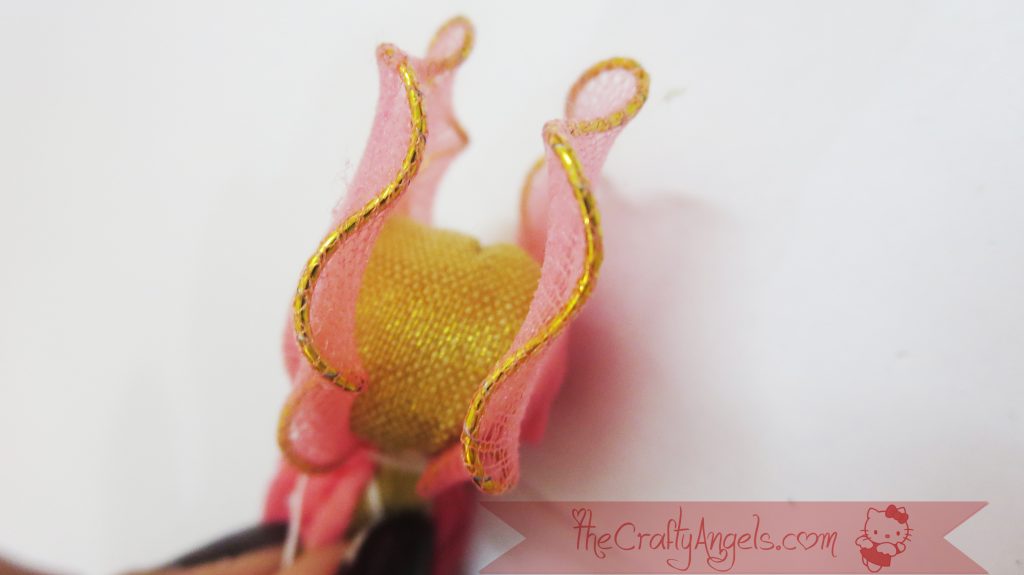
So the next step sounds very easy but is very crucial in getting the flower into a real flower shape! I first carelessly arranged and secured the petals around the bud with one round of smaller petals followed by another one of larger petals. Shaping the petals were a little tricky but I loved the fact that they were more flexible than a paper flower.
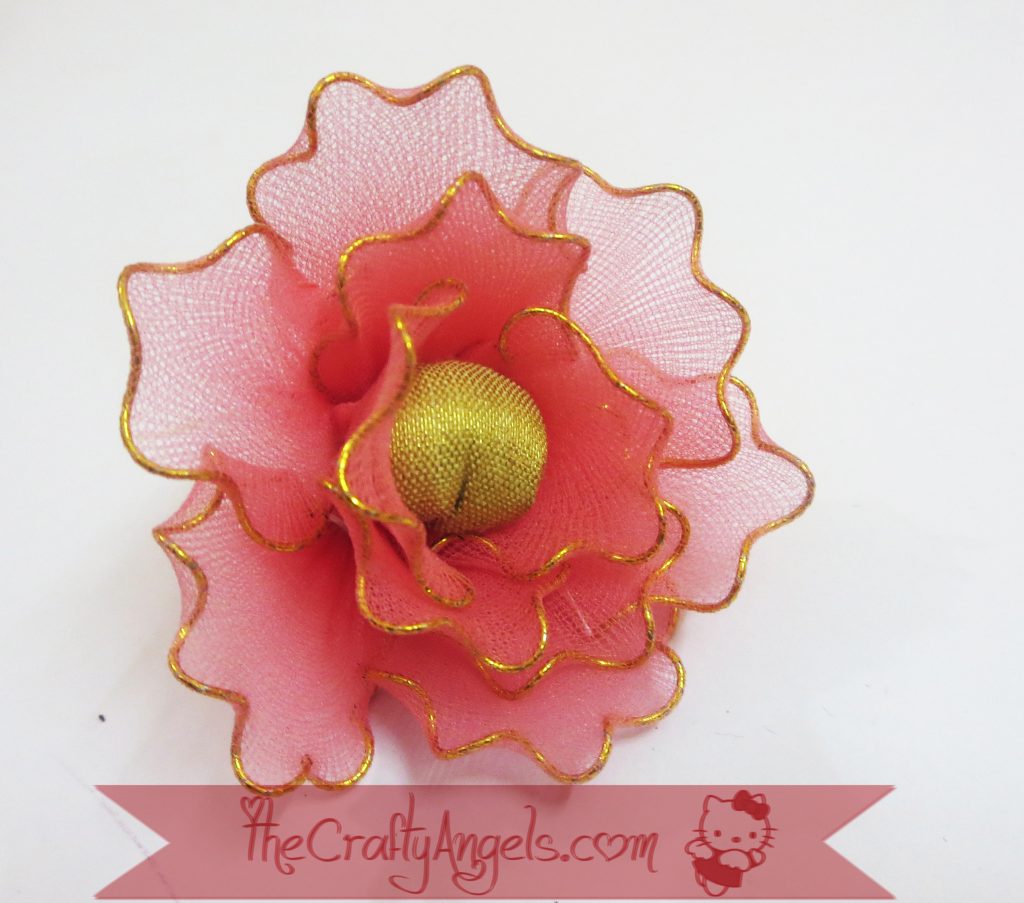
I pressed my index finger on the center of the frame, pushing it outward while simultaneously pushing the side edges inwards ( ie opposite direction) using my middle and thumb finger. Once this was done, I bent the inner circle of smaller petals little towards the bud and opened up the outer larger petals to open up the flower. I know the three finger application method sounded crazy but hope you can follow the pictures. And again I have made this video as well covering the full flower making session so do check it out if you still have doubts on petal shaping procedure 🙂

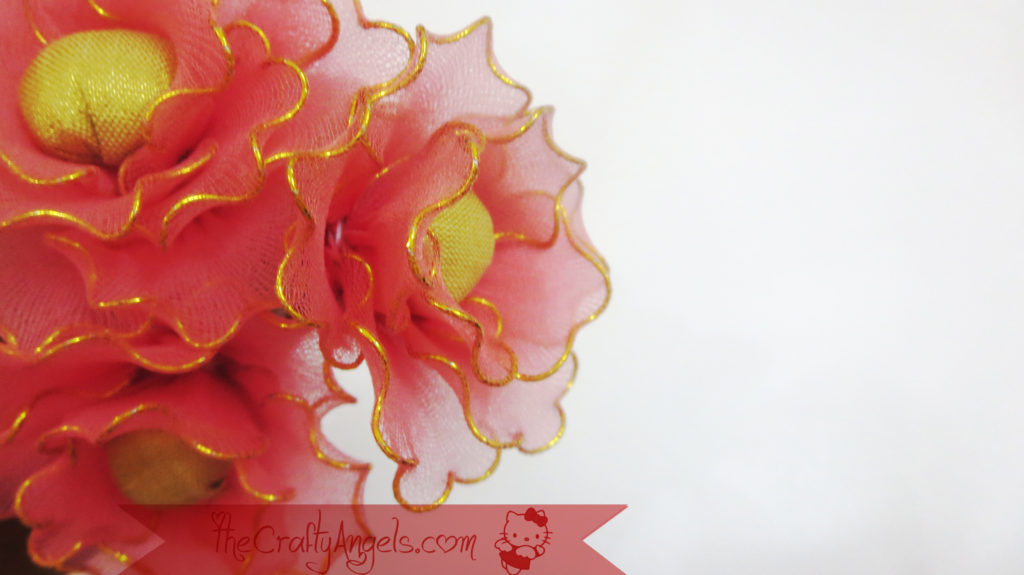
Once the flower had a flower shape ( duh?!) I cleaned off the bottom mess by wrapping green floral tape around. I wish I had used a pink thread to secure the petals instead of white because here and there it was popping out despite my operation floral tape!.
Tips and tricks : stocking flower tutorial
- First and foremost, for the frame, count the twists so that you can follow the same for all petals and make them uniformly sized
- When you got a bunch of flowers to make, its gonna hurt when you have to open the twists with hand so I would advice finding anything to hold and pull out. I used my jewelry making pliers and cutters but if you have a tight holding clothing clip I guess that should work too 🙂
- Two sized petals ( for two layers) gives a more realistic and filled flower look although making huge number of petals can be monotonous and tiresome!
- For shaping the petal, I would suggest you follow the simultaneous three finger application method. Okay if you are lazy to scroll up and read the method again place index finger on petal from inner side and place middle finger & thumb on the petal side edges from outside. simultaneously exert pressure so that you the the curved petal shape. If you dint still understand, watch the video !

Hope the tutorial was easy and useful for you 🙂 I’ve been compelling myself to take a break from quilling and now my hand s are itching to do lot of re-purpose crafts. SO stay tuned for more updates. Do not forget to subscribe through the bottom form and never miss out on any craft ideas 🙂
P.S. Will update the video soon 🙂

Can you please tell me what type of thread you use to tie the petals together and tie the petals to the stem? I’ve been using embroidery thread pulled in half and I’m tired of pulling it apart.
Hi jenni, I use normal spool of thread that we use for stitching. Embroidery threads are hard to pull apart & separate. Perhaps you could use the normal stitching thread – if it is too thin you can wrap around multiple times.