
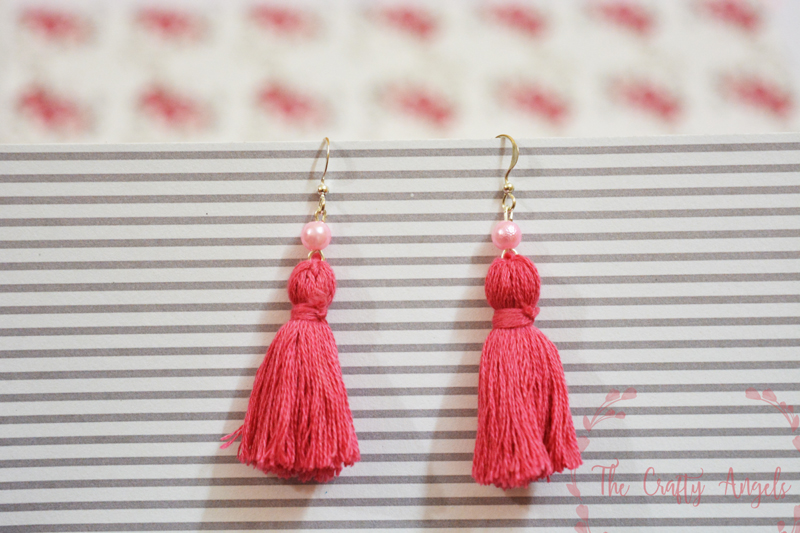
DIY Tassel Earrings Tutorial
Tassels are such versatile accessories – they fit in just everywhere! Try these tassel earrings using embroidery threads and add that spring boho vibe!
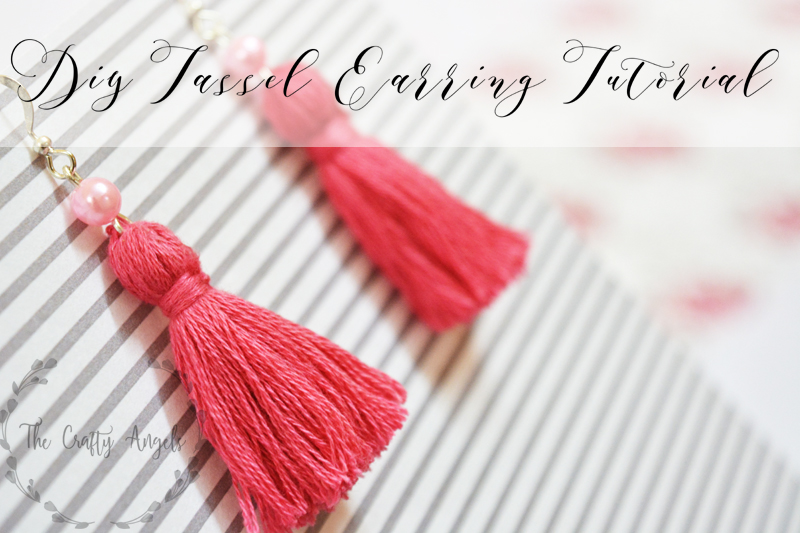
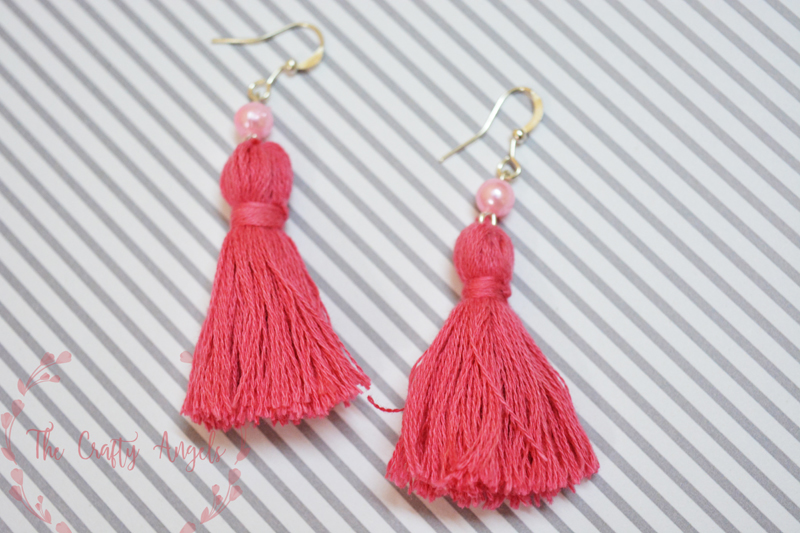
Make your own tassel earrings!
Do you hoard craft supplies because you thought you could make this but never actually get around making it? Yeah happens to me all the time with my brain buzzing with so many ideas when I see supplies but eventually once I buy them, they get pushed to my cupboards 😀 This time they are embroidery supplies that I purchased to of course hand embroider pretty stuffs for my daughter’s dresses. But alas she is so grown up and I never did anything with them! Time to make tassel earrings out of them then! I have seen these tassel earring tutorial everywhere on the blog-land but when I actually tried making them I realized there can be so many variants and so here is mine 🙂
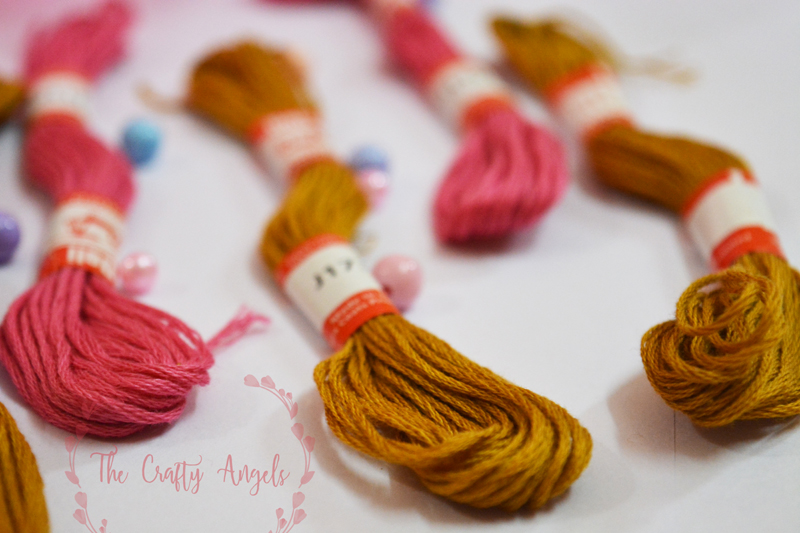
Materials required to DIY tassel earrings :
- hand embroidery thread or any thread
- beads
- fishhook, jump rings,eye-pins
- round and flat nose pliers
- comb
- scissors
Procedure to DIY tassel earrings:
The procedure is no different from every other tutorials but just that these are in my words 😀 and a little more detailed maybe.
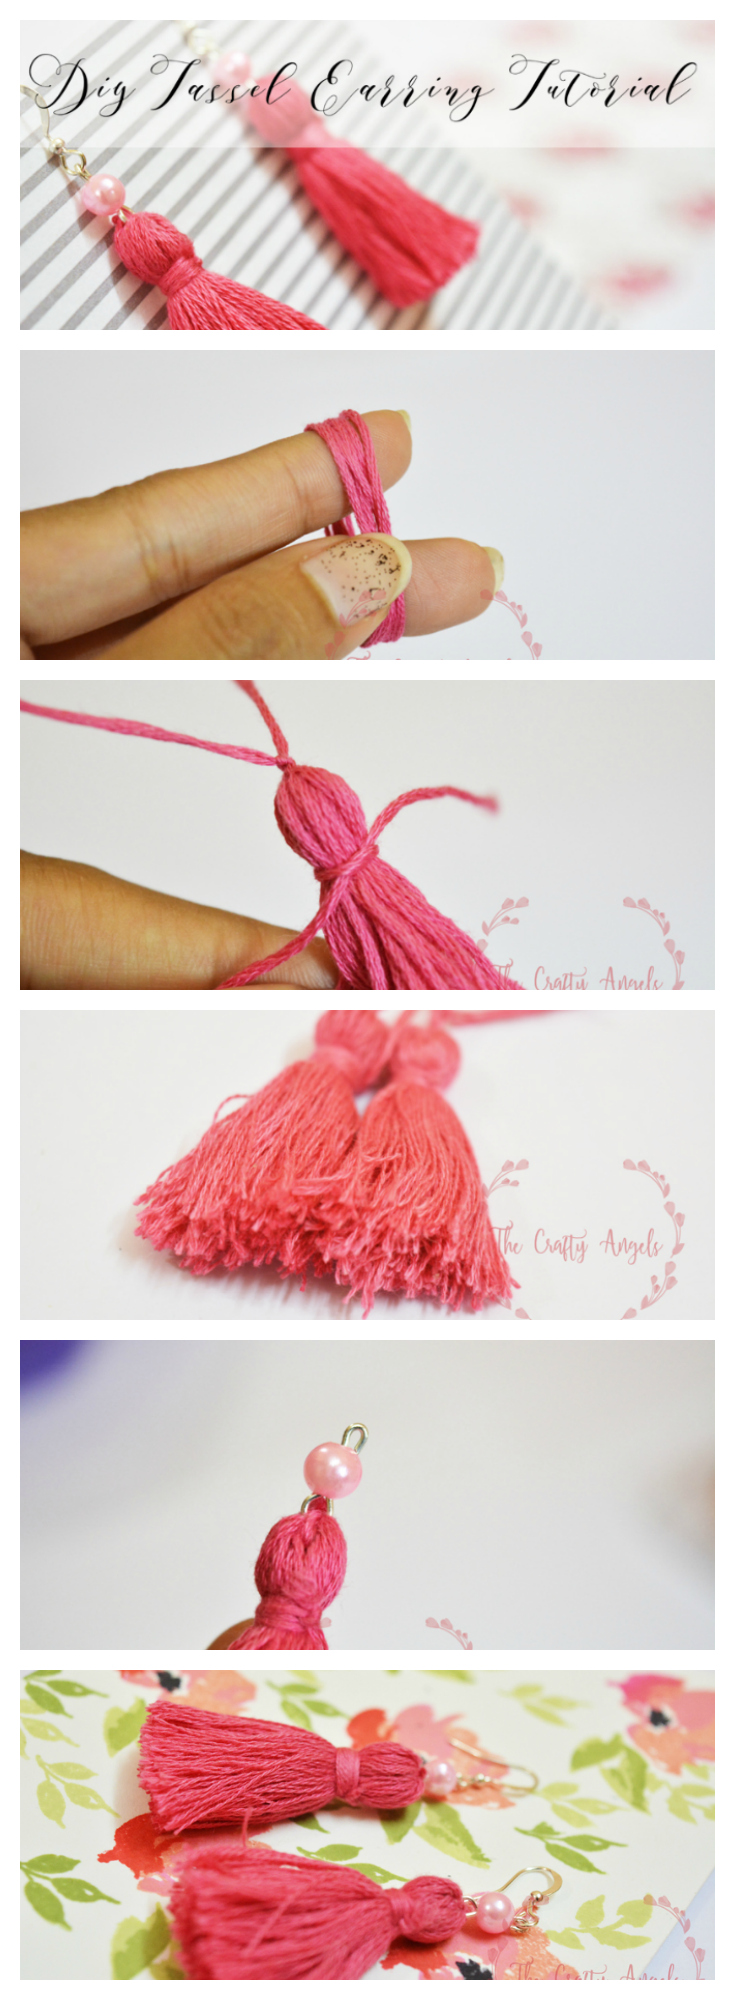
Start of with wrapping your embroidery thread around two of your fingers. The number of fingers to wrap around depends on the length of your earrings and alternately, if you are mass producing, better cut out a small cardboard sheet of required length and wrap around it to maintain uniform length.If your earring has to look real filled up, you need to have more turns of the thread. I used about one and half meter length wound around two fingers.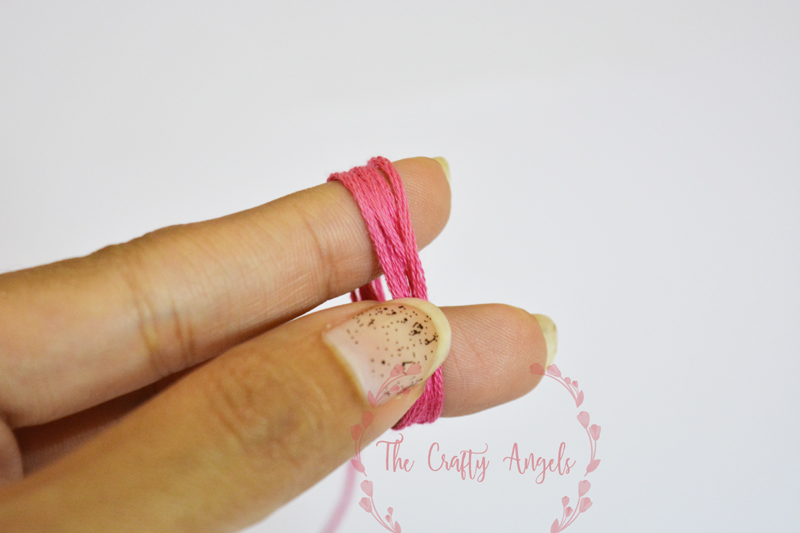
Once the wrapping is done, remove the ring of tread and tie a knot anywhere preferably with the same thread so that the color matches.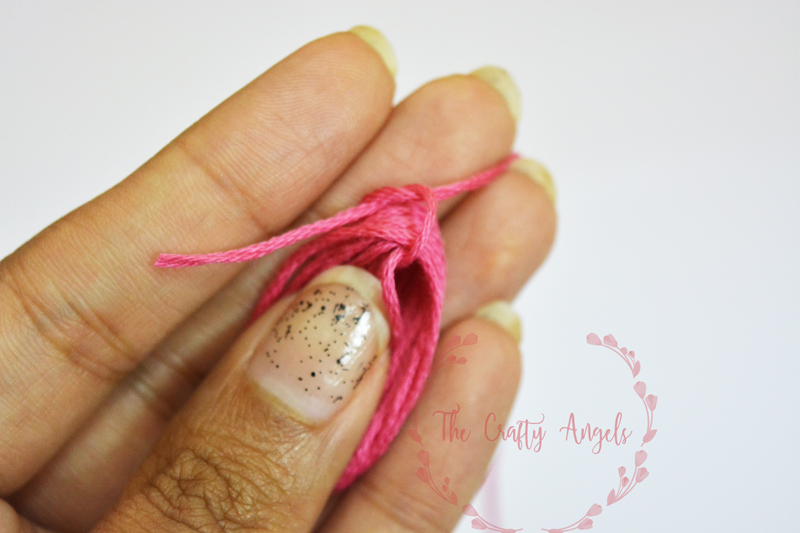
Take another twine – could be the same shade of could be a contrast shade or even better gold colored and tie the whole tassel to create a ball kind of thing at the top. Now the ball shape comes on its own and you needn’t stuff anything inside 😀 The more thread loops you made, the better and fluffy the ball will be.
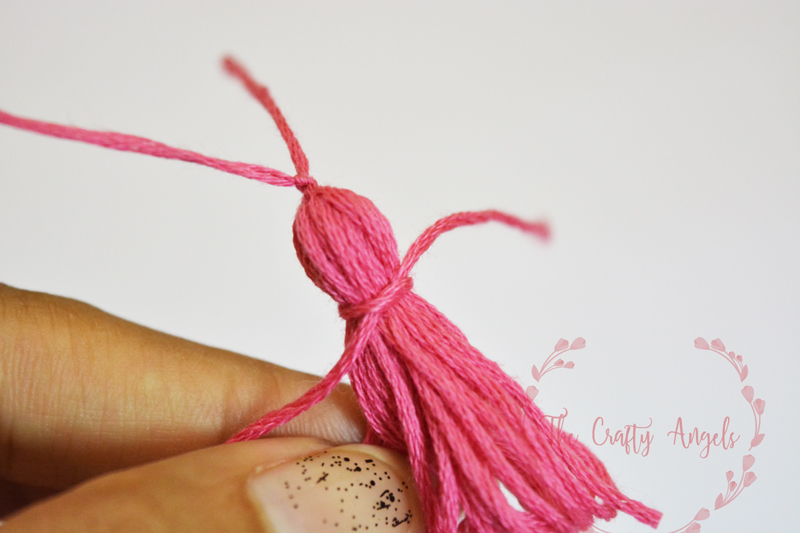
Cut out the threads to open the circle at exactly the opposite side from the knot. The tassel might look uneven but that we will take care later at the final stage.
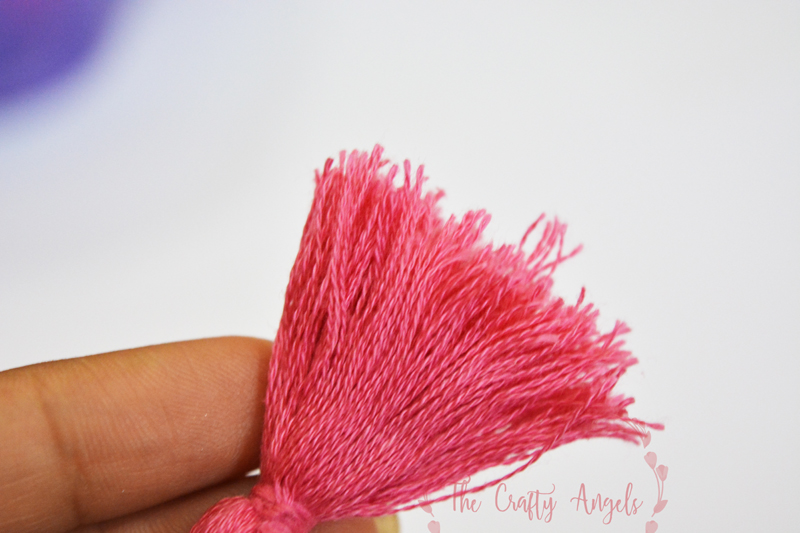
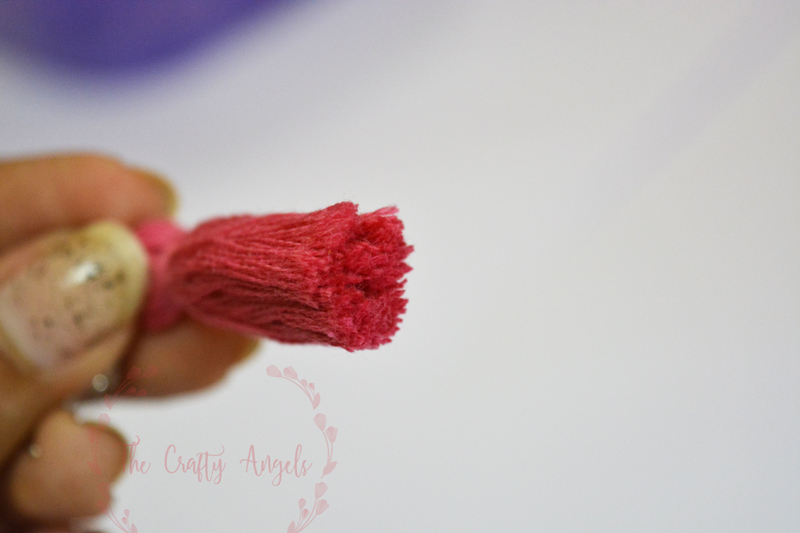
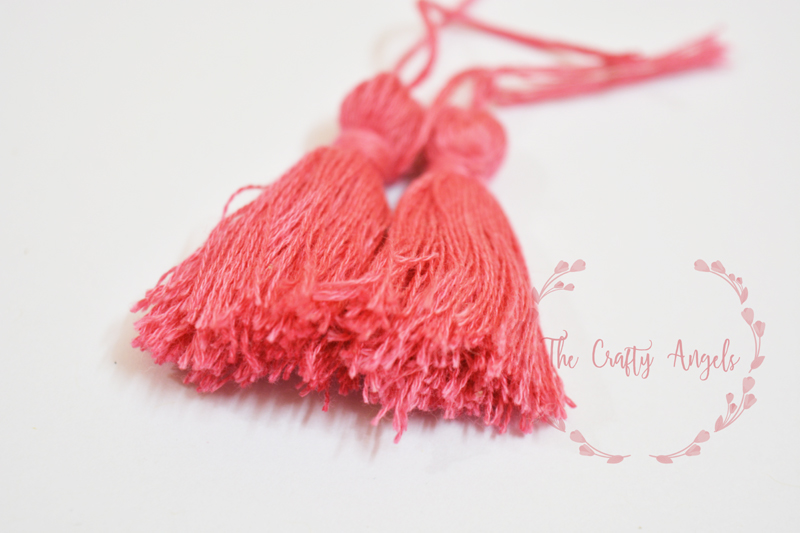
Once the tassel is done, you can double tie all the knots and trim off all the tail bits. The embroidery thread ( at least what we get here in India) is a bunch of 7-8 threads so the tassel will look more pretty if you can comb through the threads and separate them,. I used my hair comb and combed through it in all direction to separate all the threads. 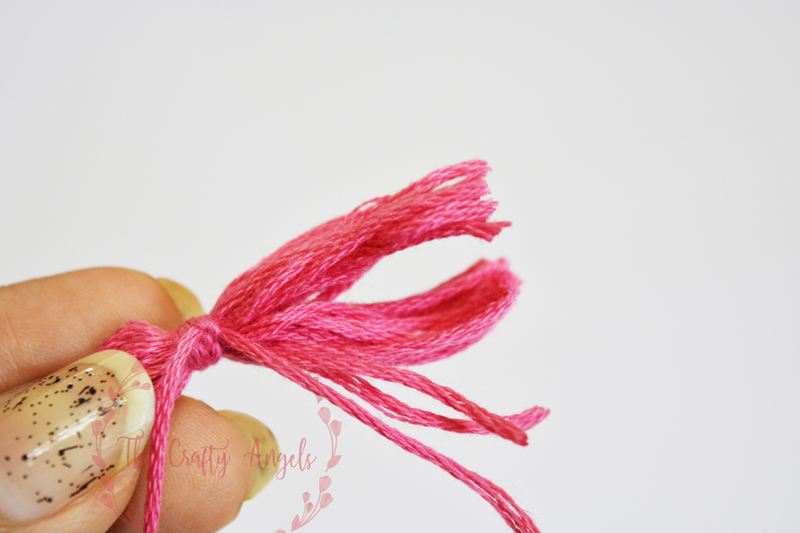 Once they are combed through , you can trim the edges and level them. Make sure that both the earrings are of same length 😀
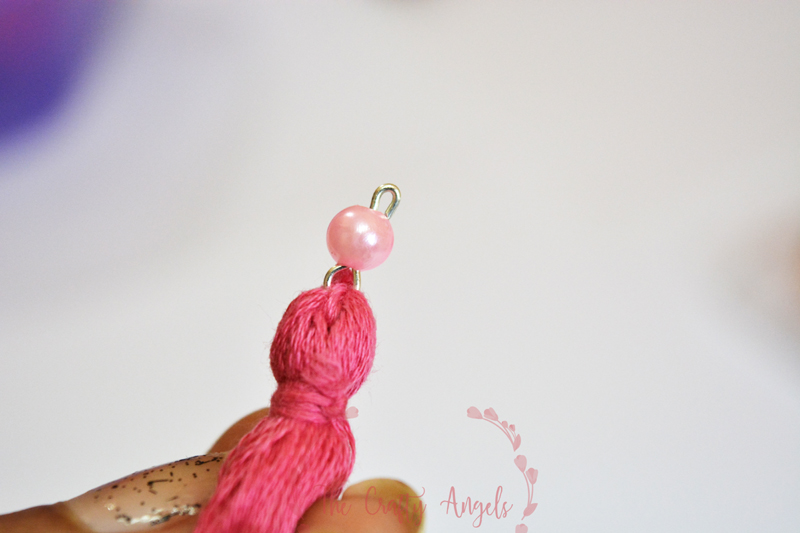
Coming to the earring part, I am not very good with jewelry making so these are my own ways of doing them. I took an eye pin and opened its head using a round nose pliers.
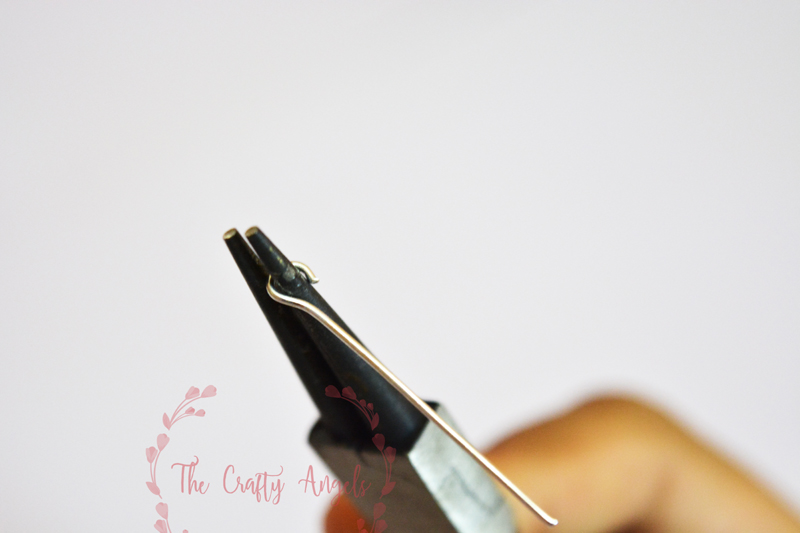
I hooked the knot on my tassel ball onto this opened eyepin head and then closed the head with flat nose pliers. My know was a bit tight so the head wasn’t getting in easily . Plus make sure you insert it right at the top and not from sideways otherwise your earring will be a leaning tower of Pisa!

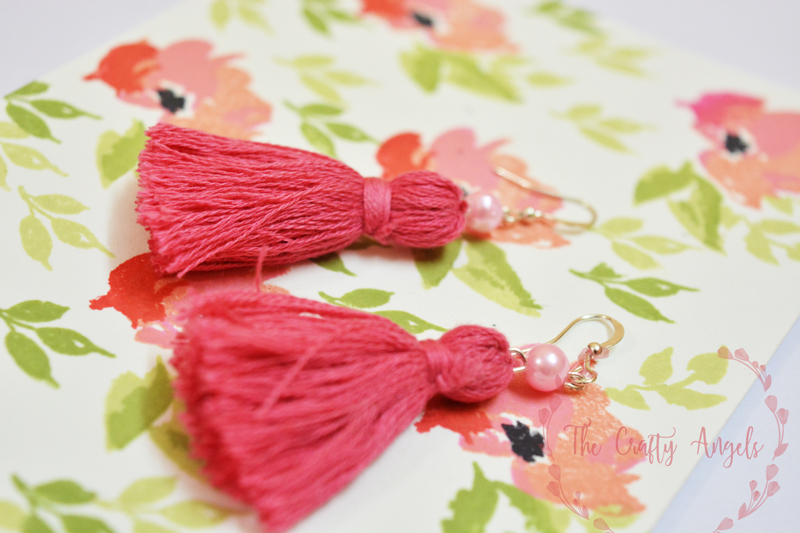
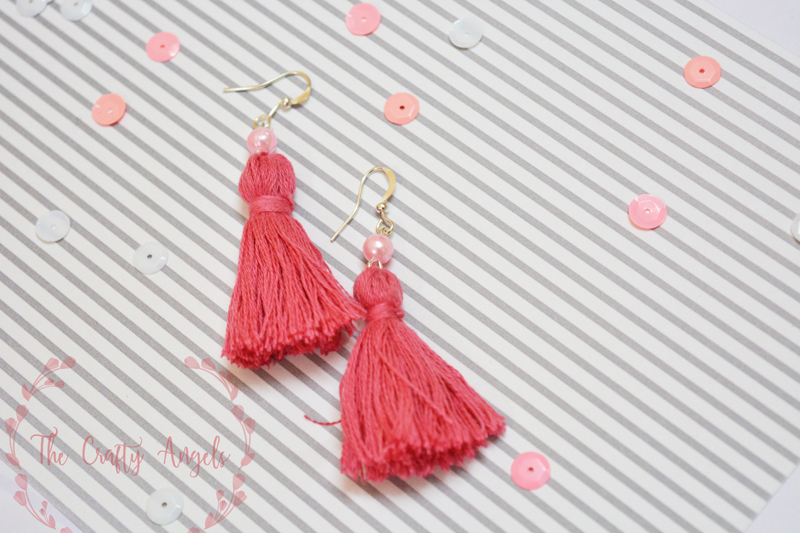
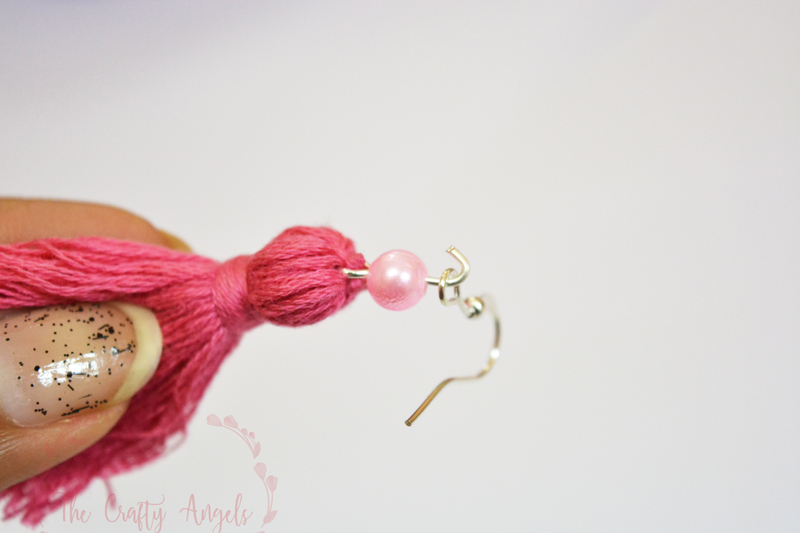
You can decorate this earring with any type of beads or findings you have. This would’ve looked good with a disco ball but I had none so settled with pink bead.
I think we are actually supposed to bend the rest of the eye pin and wrap it around its own base but I cut it out and made a small hook through with I inserted my fishhook. If you want longer tassel earring, add jump rings in between.
Well thats it. Tassel earrings are ready and all you need to do now is to put on your make up and pose for the pics 😀
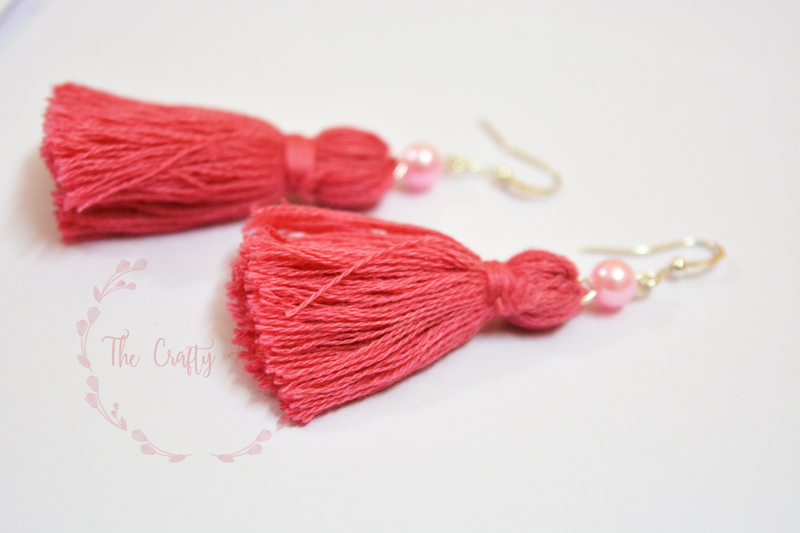
So did you like these tassel earrings? Would you like to see more such simple crafts? Let me know 🙂
xoxo Angela


The variety in your crafts and posts is amazing.. U keep surprising.. and of course the tutorials are very helpful..
Aw thankyou so much Nena. I am glad that my tutorials arent boring!