DIY Square Pillow Box tutorial
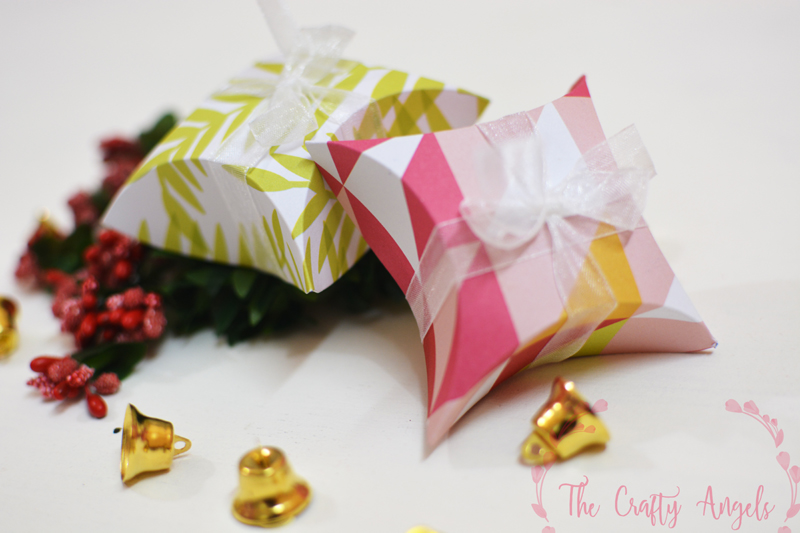
I love how cute these square pillow box is!They are easy to make and perfect for tiny items like earrings and toffees.see for tutorial & printable template.
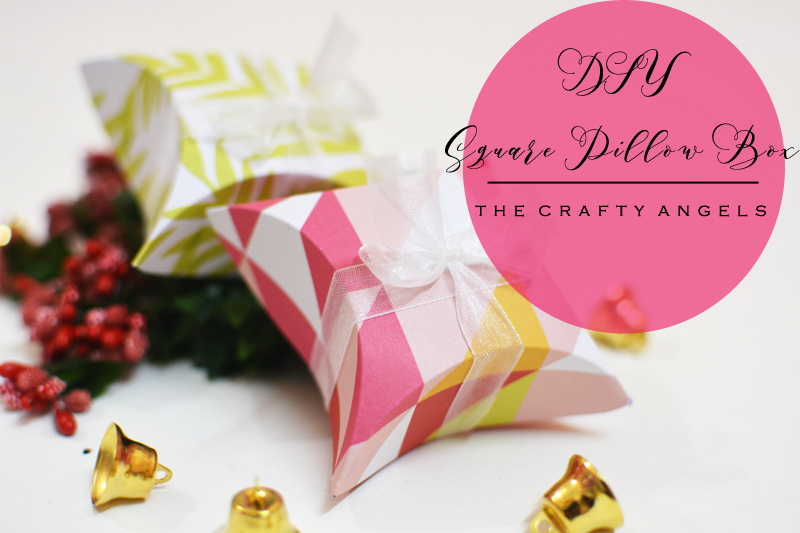
Like adding a personal touch to your gifts? Try these cute DIY square pillow box to send in toffees and small gifts like necklaces or earrings. I had earlier shared another DIY pillow box tutorial on artsycraftymom but that was a rectangular one and this is rather smaller and square shaped. Just a little difference but made with loads of love 🙂
Materials required to make DIY square pillow box :
- pattern paper/ wrapping paper but a little thicker
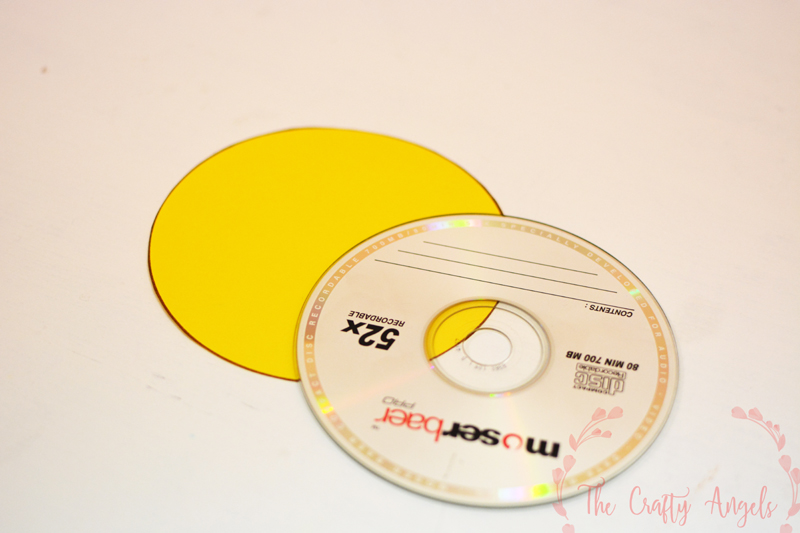
- Circular template (CD/DVD)
- pen/pencil/scissors
How to make square pillow box
The procedure is fairly simple once you get a circular template which suits the size of pillow box you intend to make. If you are having a time crunch or want to mass produce, drawing out the template on each and every one of them will be difficult. I have shared a link for downloading the template that I have used here, at the end of this post which you can print and cutout.
First trace the outline of the circular template on a scratch piece of paper and cut it out.
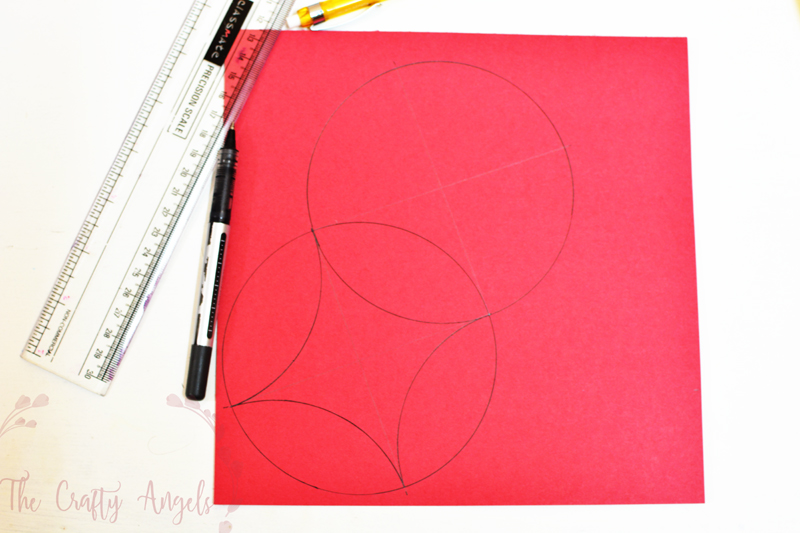
On your fair paper which is going to be the gift box, trace out another circle with the same template. Now, fold the circle that you had previously cut out into a quarter and with the help of this, mark out the quarter points onto the circle on fair sheet.
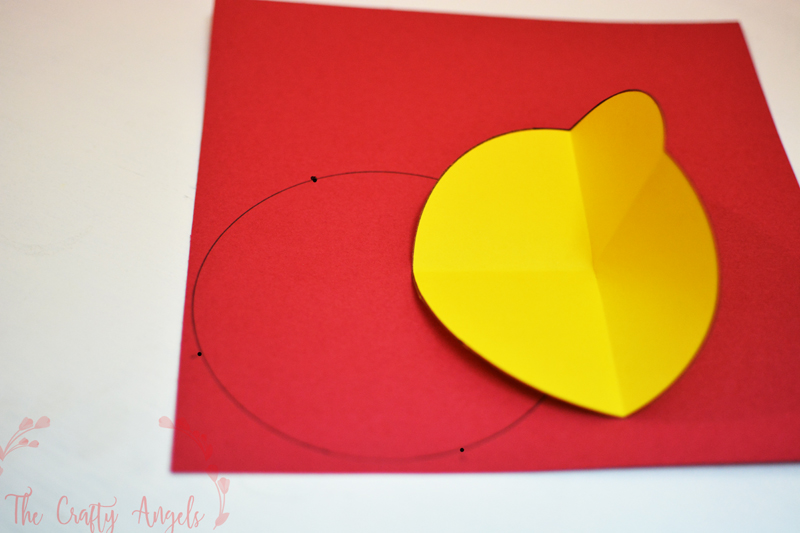
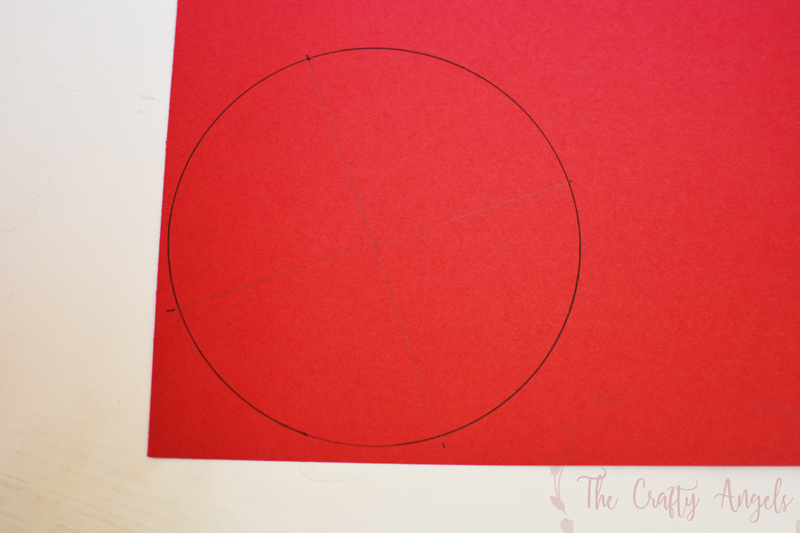
You can now join these points to form two diameters that cut across the circle. Not necessary but I find it easier to align my templates for next step if I have these lines.
Keeping your circular template in place such that its edge passes through two of the points previously marked, draw the outline to create an arc like in below picture.
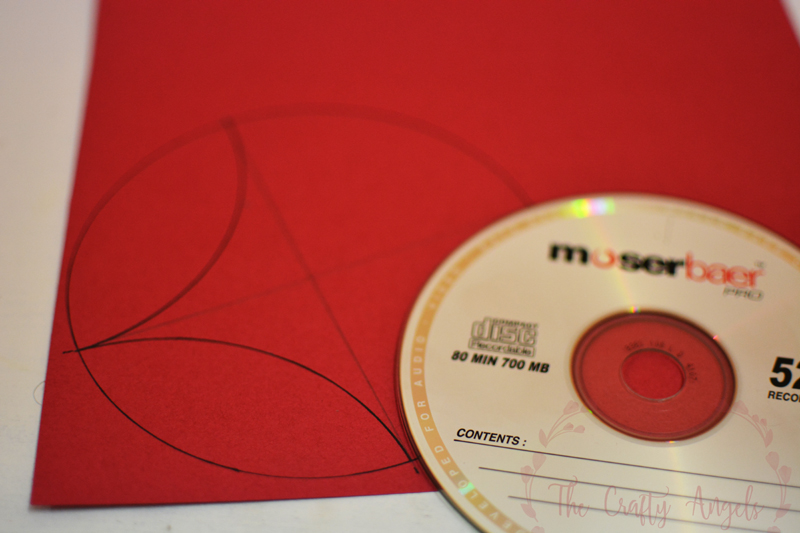
Do this for all the 4 points marked. And for one of the section, draw the complete circle as seen in below picture.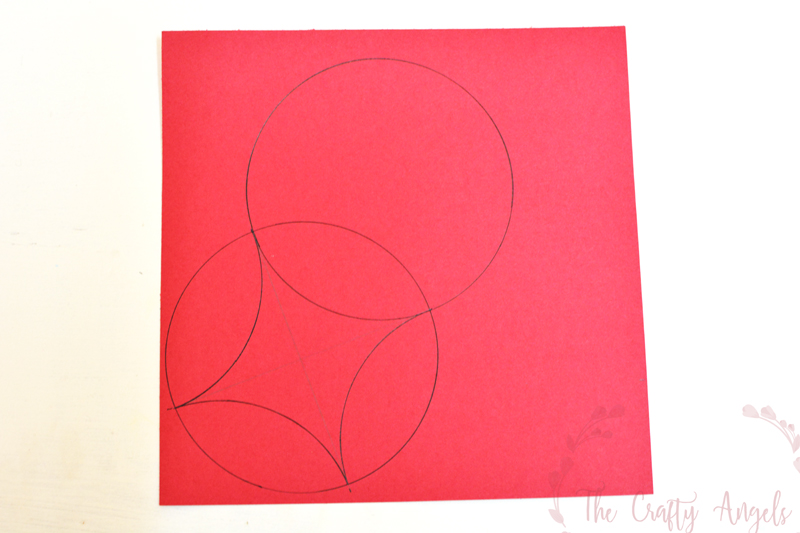
Repeat all the steps that we did before and draw arcs in this circle too. ( take the folded circle and mark the 4 points, for which one set will already have an arc, join rest sets of points to form arcs)
The arcs are where you need to fold so it is recommended that when you are tracing them out, You can add that little extra pressure so that there is alight impression to help fold later.
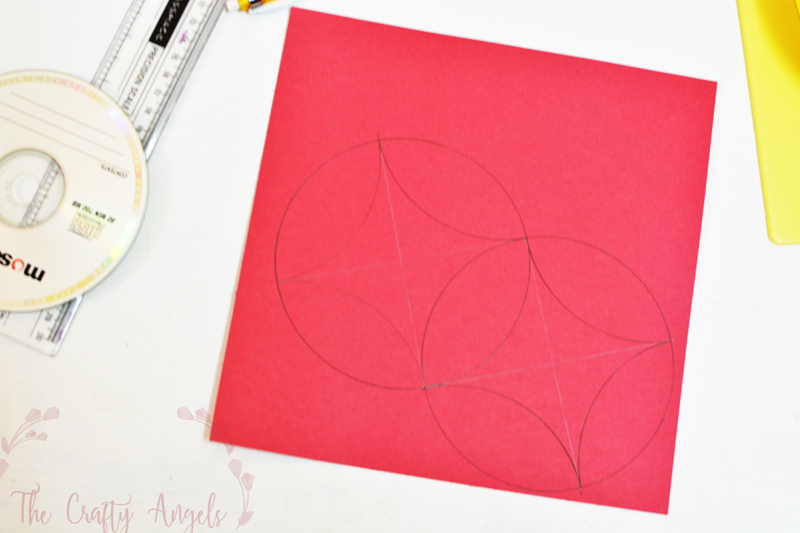
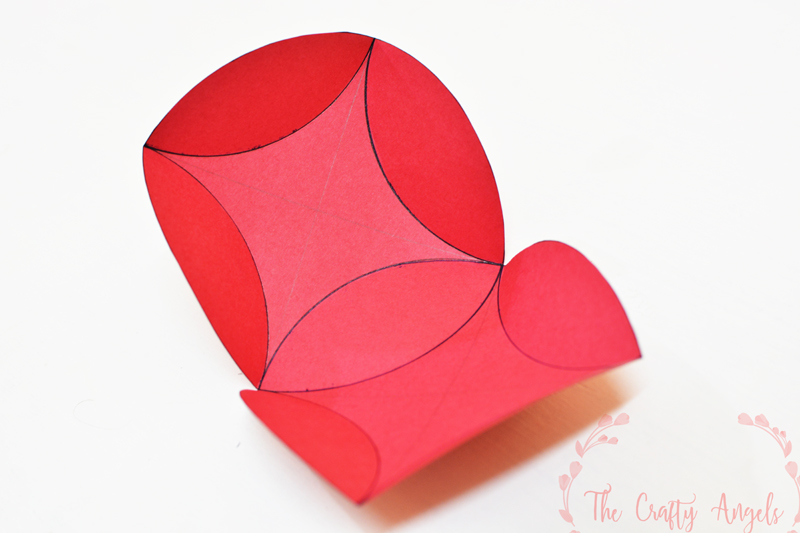
Once the entire figure drawing is done, cut out the paper along the edge of the circle – you will get a conjoined circle like in below picture. I am not sure of you can see the score impression along the arc lines but there is a slight line along which we will fold now.
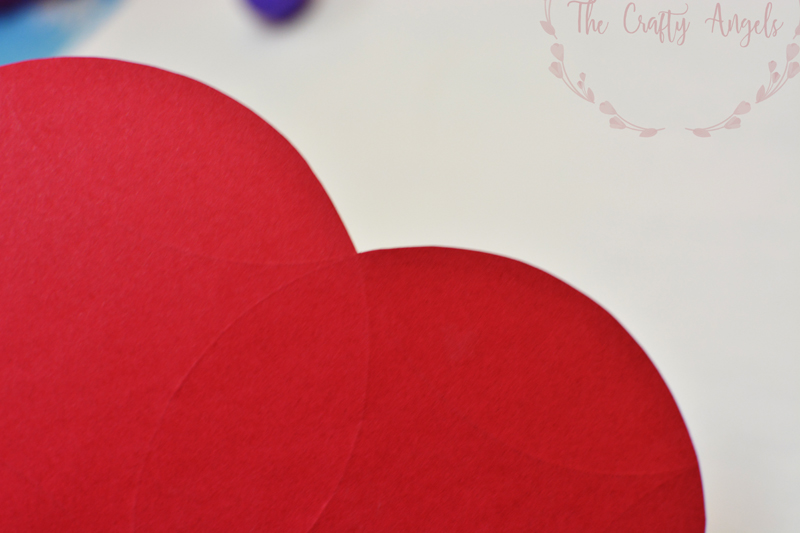
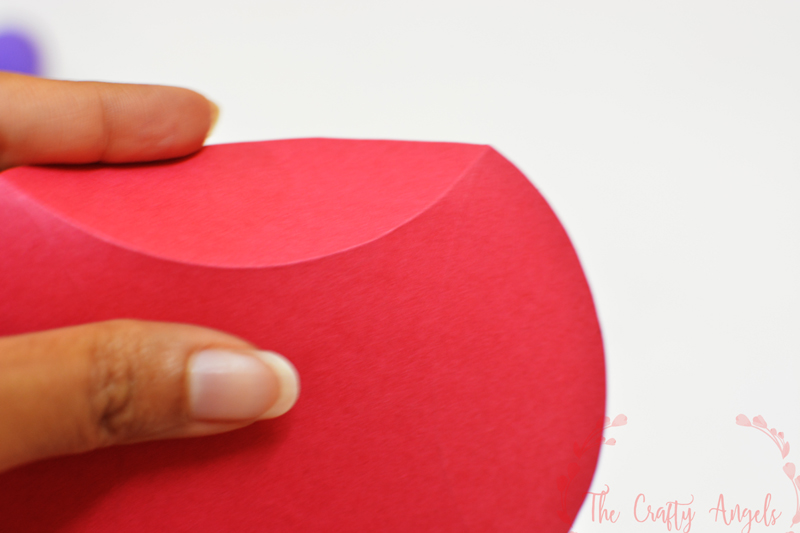
Since its a curve, folding takes a little patience so do it slow.
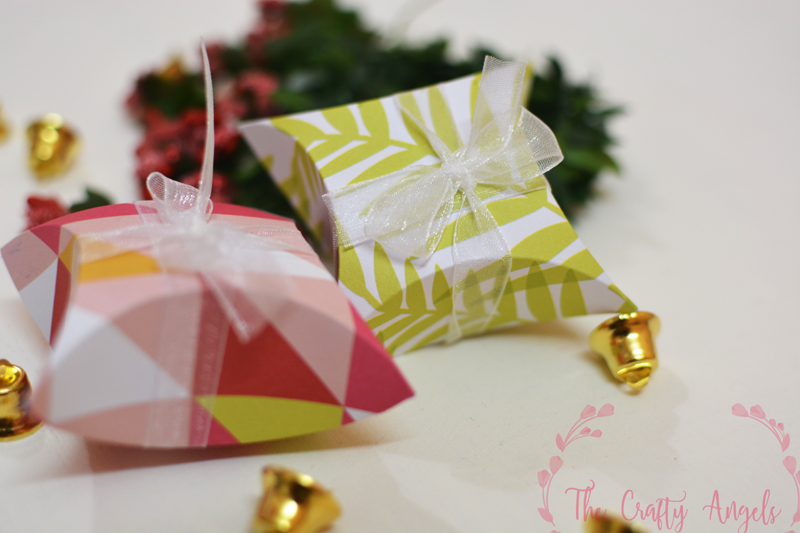
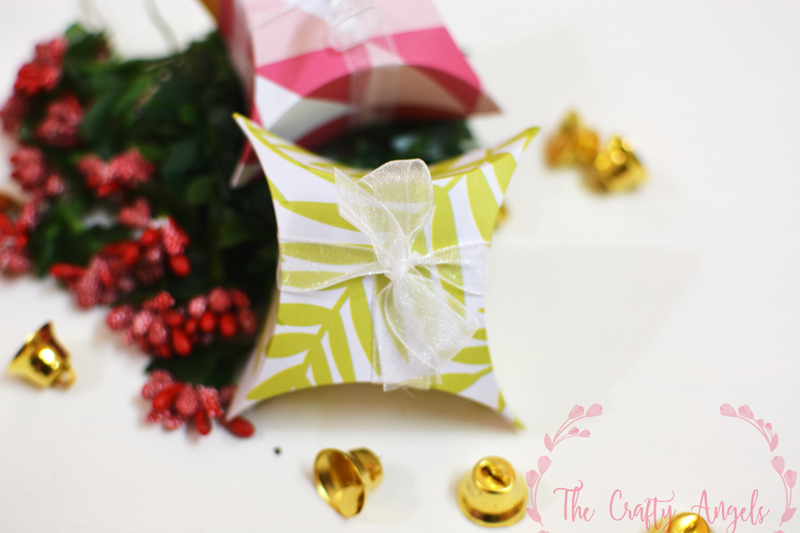
This is how your pillow box will look like once all the foldings are done. You can after packing your gift inside them, seal with glue of just secure it by tying a ribbon around like I did.
Hope you liked this little gifting idea. You can browse through more christmas crafts on my blog here. A few more unfinished projects are due for upload but as usual I seem to be on a time crunch! Will try to post atleast 3 more christmas crafts before the joyous day 🙂 Stay tuned! Merry Christmas!
PRINTABLE TEMPLATE FOR SQUARE PILLOW BOX
xoxo Angela