DIY Antique bottle : Altered bottle tutorial
DIY Antique bottle (Altered bottle tutorial)
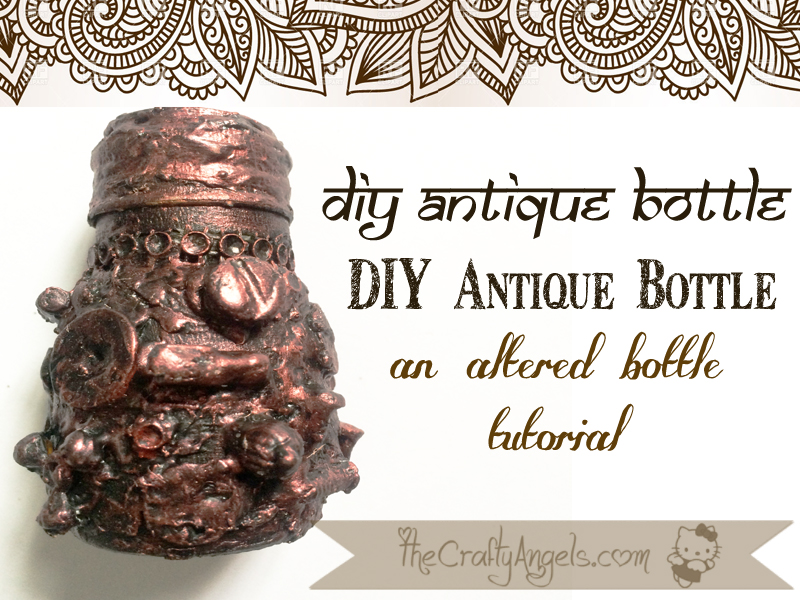
Who doesnt like antique showpiece for their homes? But yet getting authentic antique items for your homes are going to cause a huge hole in your wallet 🙁 Does that mean you cannot have one? You can always DIY as long as you are ready to read through the rest of this tutorial. Presenting to you is DIY Antique bottle tutorial by using mixed media alteration technique.
For a long time I wanted to alter a bottle into an antique bottle but could not find an empty glass bottle and I couldn’t wait to alter one so finally thought to alter a mini bottle. Here I made a mini mix media altered bottle.You can alter a bottle into an antique bottle with the stuff you already have at home. I used materials that are readily available so that anyone can try and make this project. This is a really easy project that requires very less time. You may also change the colour and objects used to embellish it and will get a different result every time.
Materials required to make Antique Bottle ( Altered bottle tutorial)
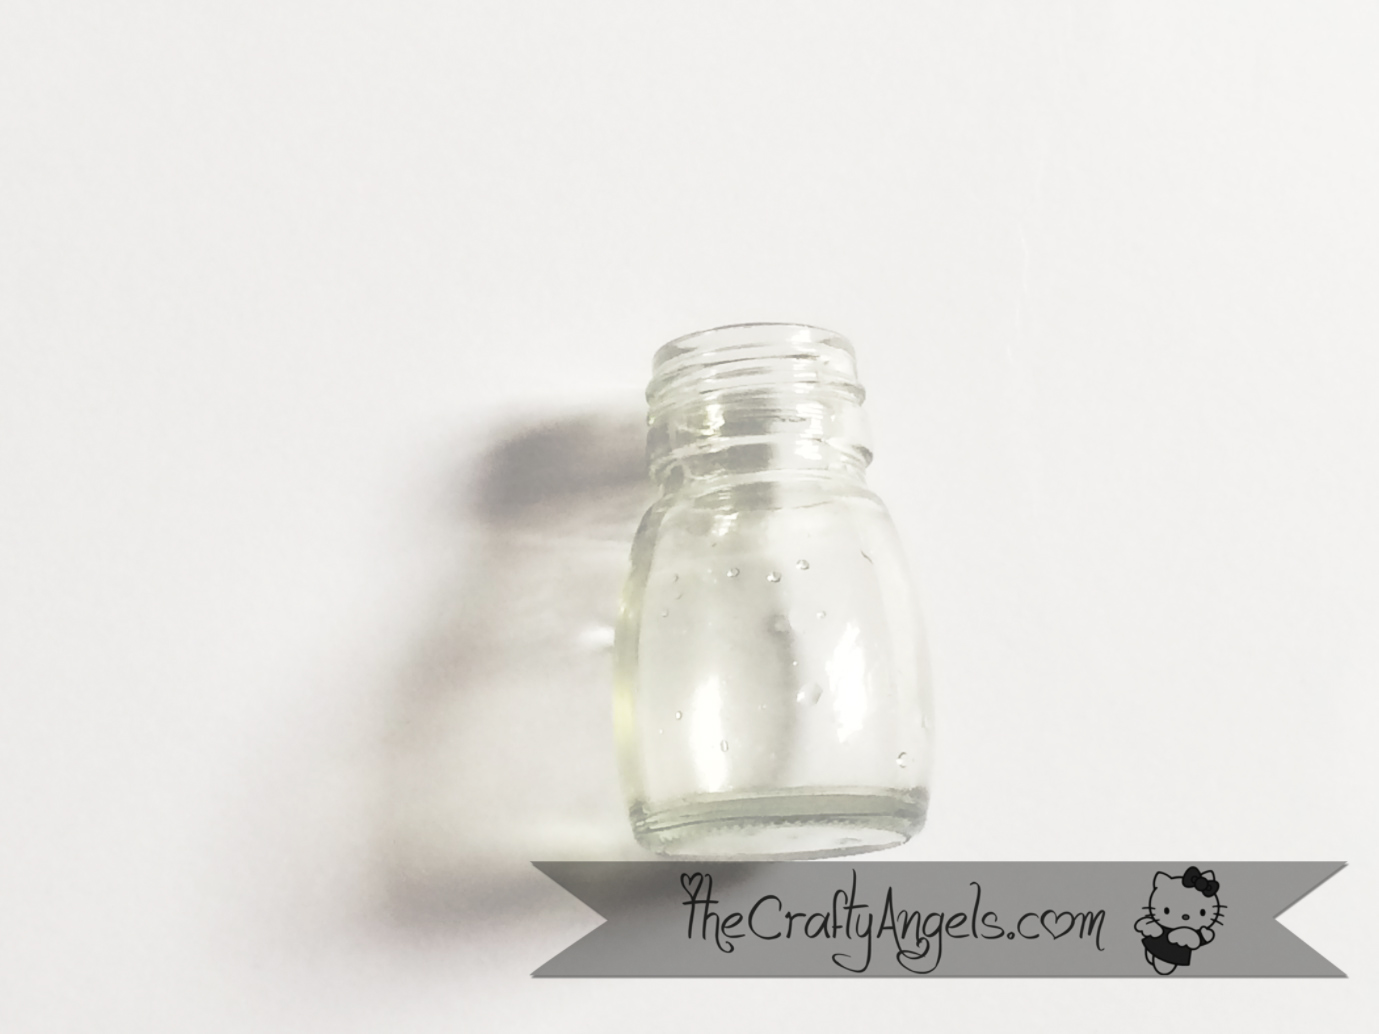
- A glass or plastic bottle you want to alter
(or basically anything that you want to alter you can do this on a flat surface as well ) - Painters tape / masking tape
- Texture paste ( I made my own texture paste by mixing one part talcum powder one part white acrylic paint , ½ part fevicol and few drops of water depending on the consistency that you want your paste to be )
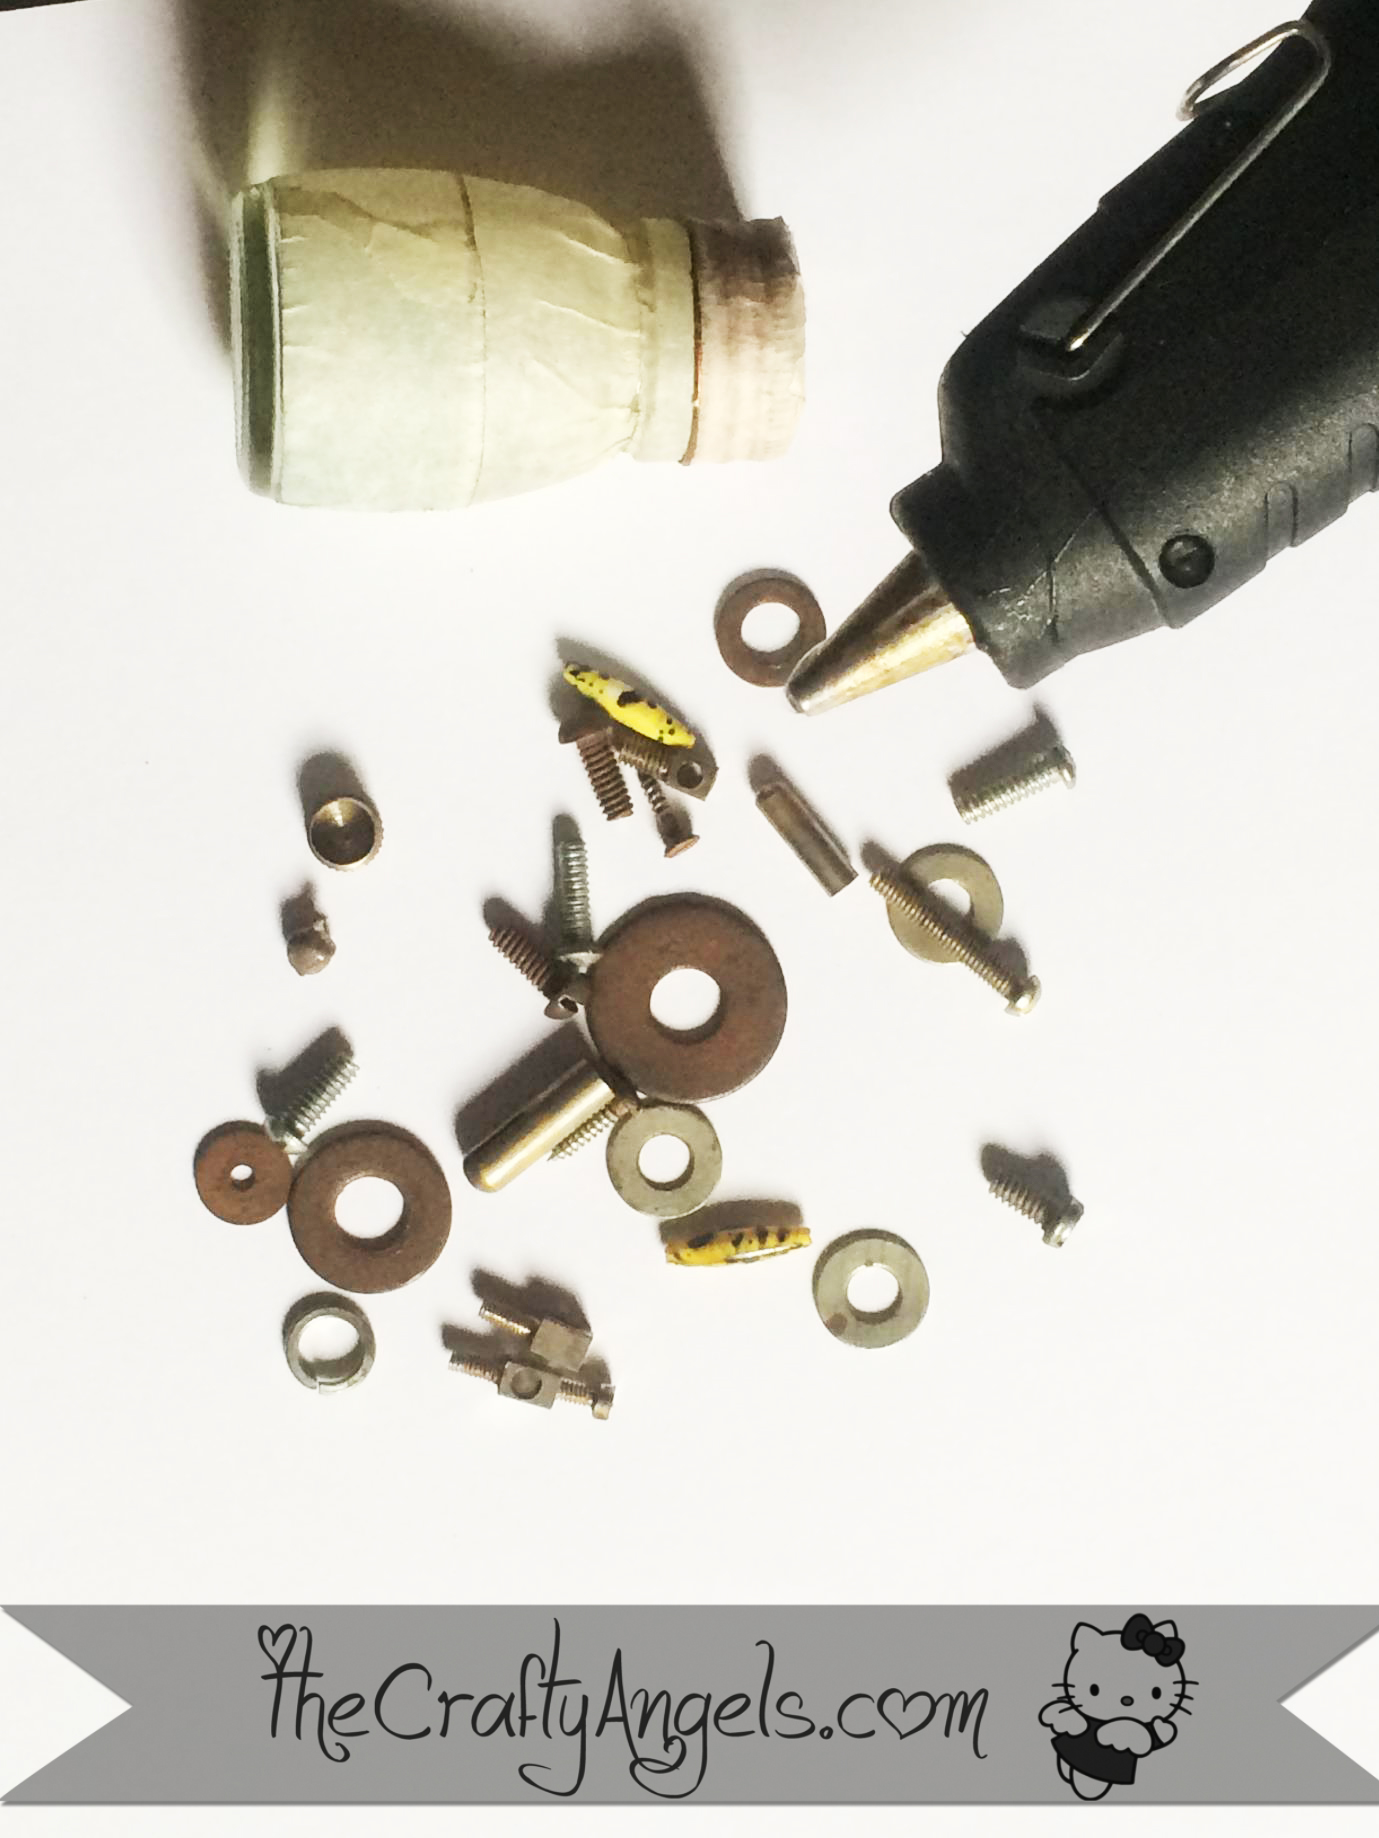
- Junks you want to embellish your project with ( here I used nails screw some beads and other junk items
- Hot glue gun
- And acrylic paint of your choice I used black and pearl metallic rust 354 from hobby ideas
- Paint brush
- And some tissue
Step by step procedure to make Antique Bottle ( Altered bottle tutorial)
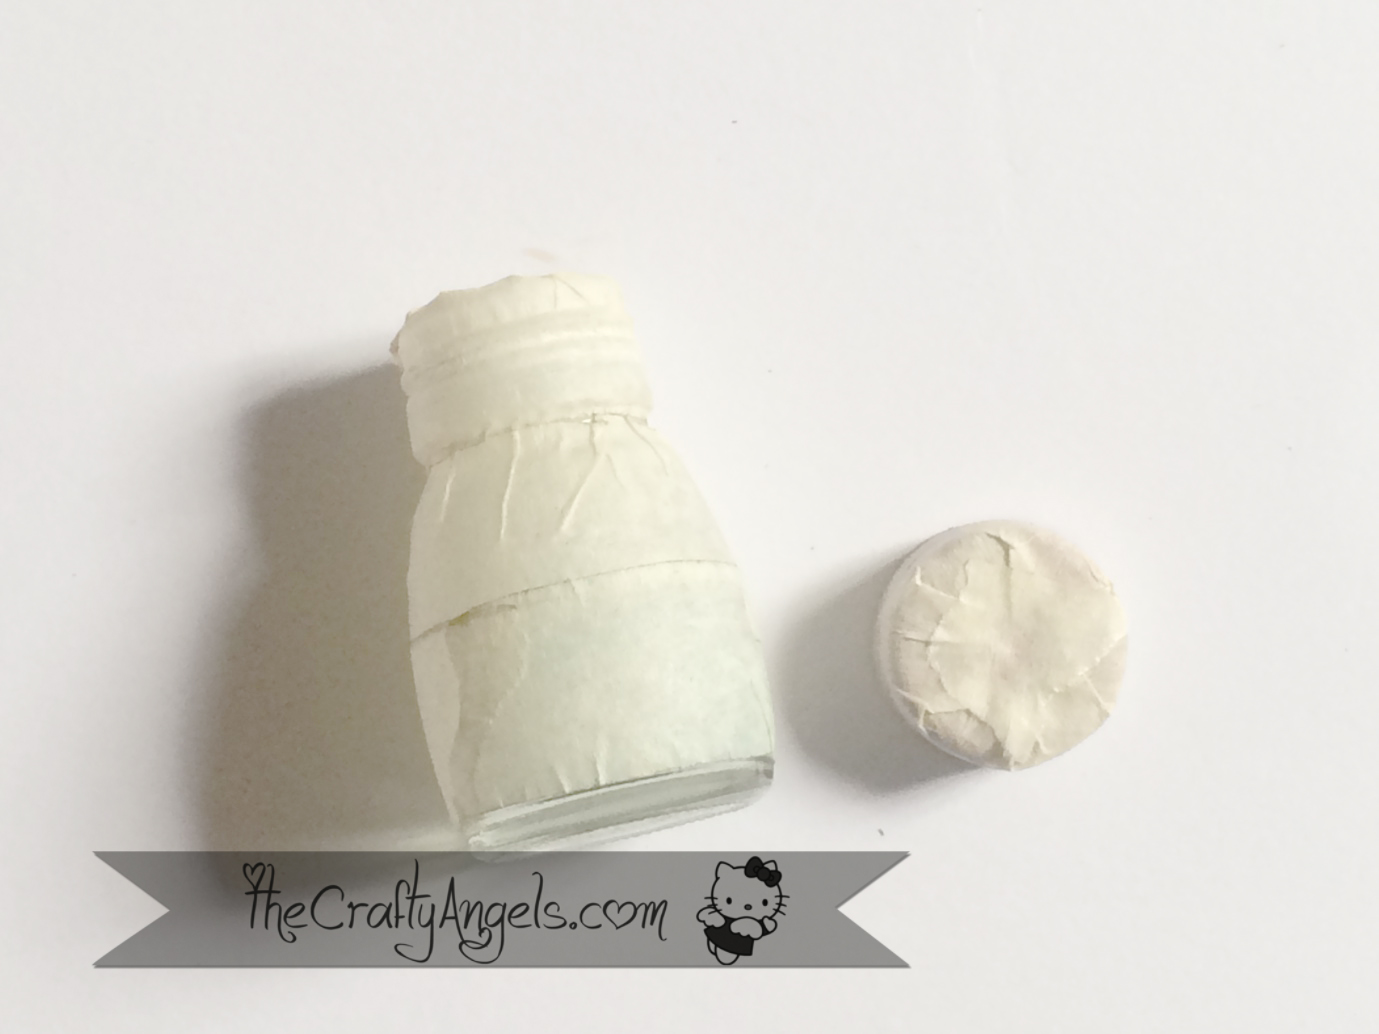
So the first step is to cover the whole bottle with masking tape you don’t need to be neat. Its fine if there are wrinkles. But be sure to cover whole of the bottle with tape. Covering with masking tape helps the embellishments and texture paste to adhere better.
After you have covered the bottle with masking tape you need to randomly pace your embellishments and stick them using hot glue gun. You can use any thing that you find at home you do not need to buy anything. From buttons to shells or even broken jewellery pieces. For this project I found a lot of old rust nails and other hardware stuff at home and used them
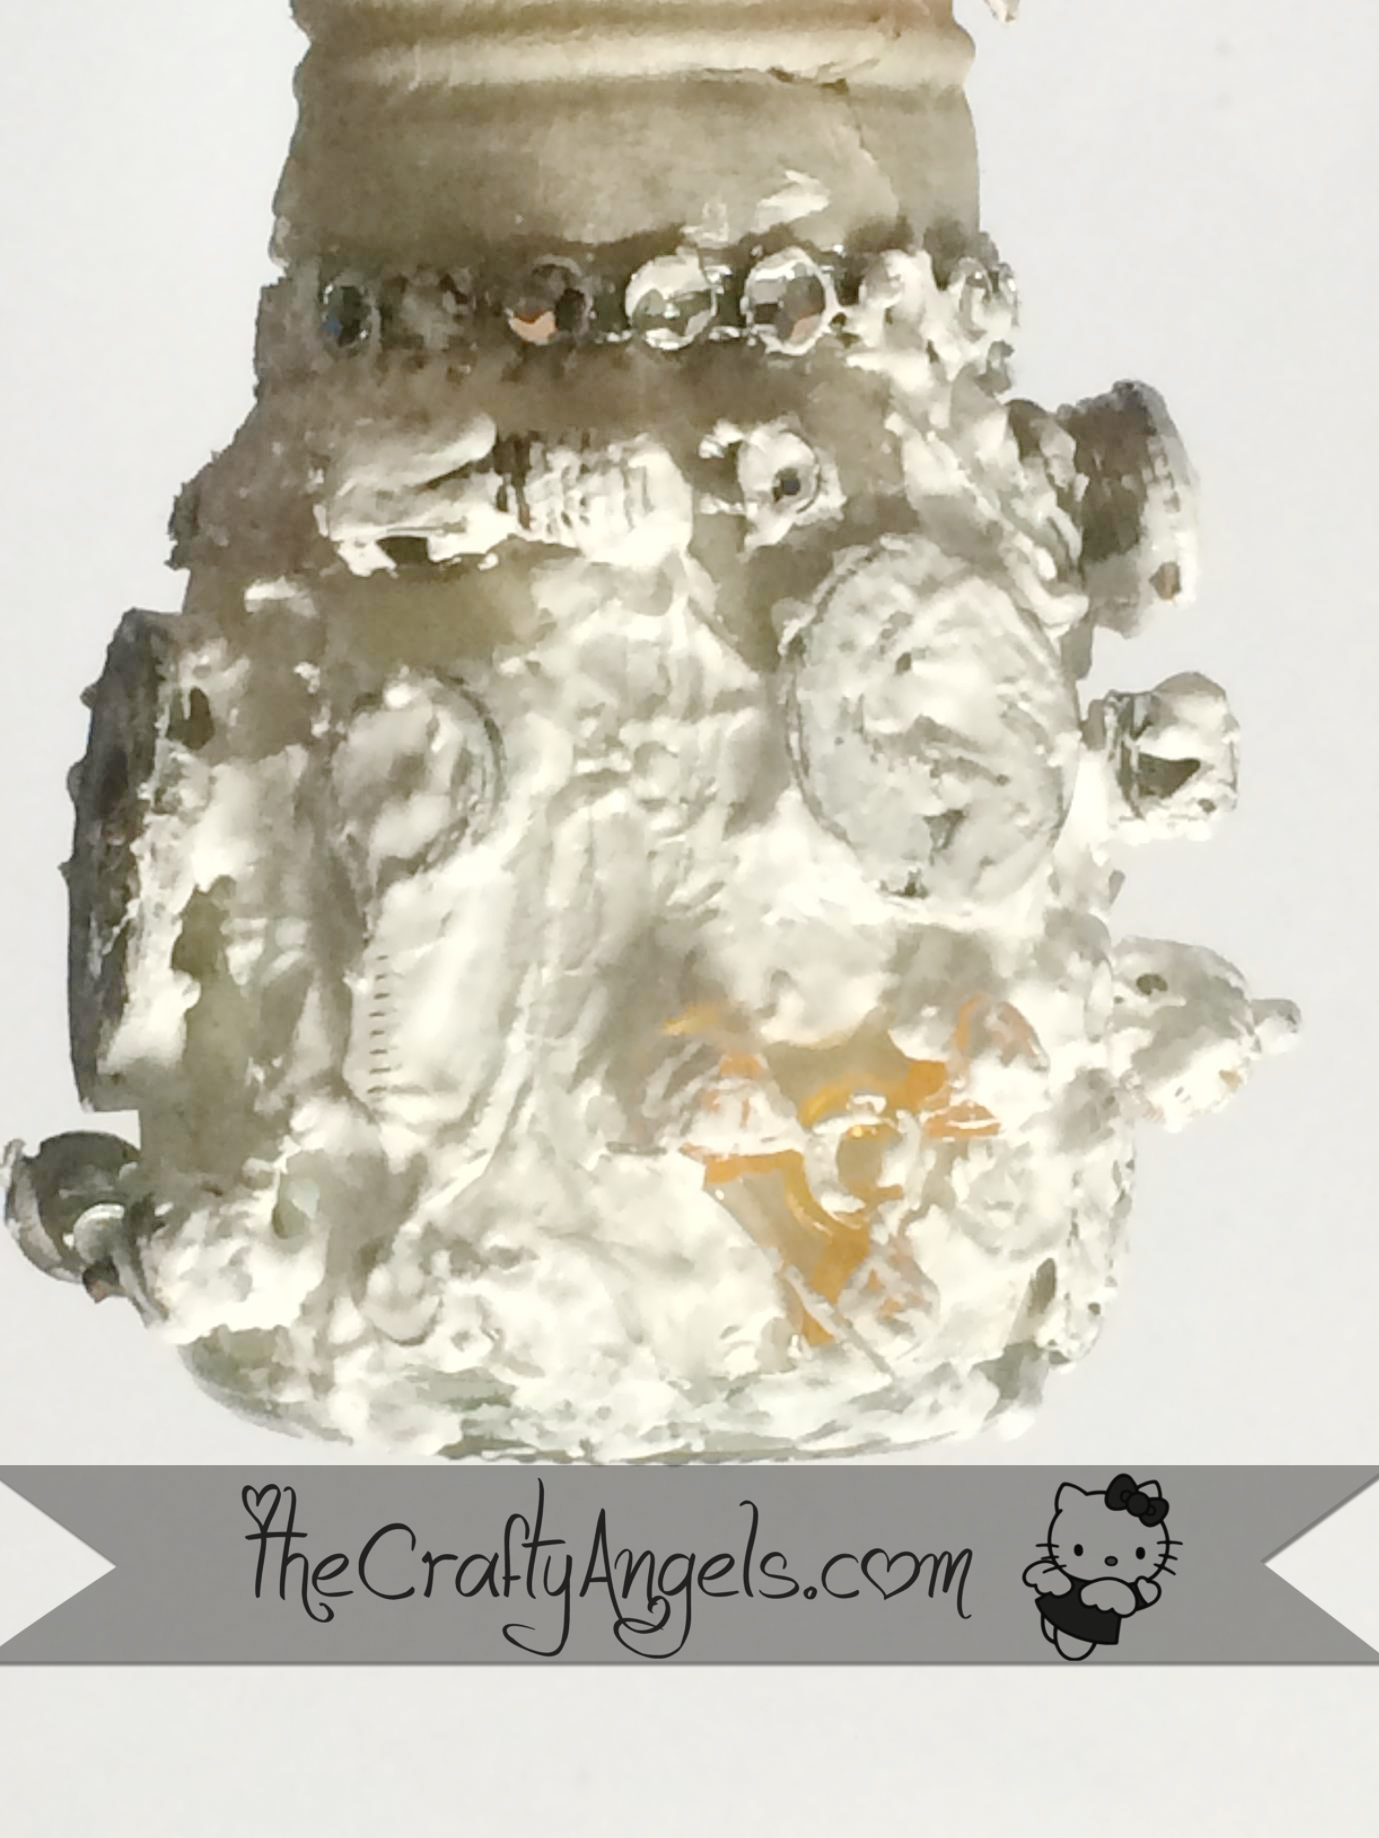
After you have stuck your embellishments or junks you need to cover the empty potion with texture paste. Here is a link to a video on how to make your own modelling/texture paste at home.
Do not put texture paste on top of your junk but around it on the blank spaces, and the best way to do this is to use your fingers. Yes it is a messy work but I guess crafting is a messy work. Initially I used a palette knife to apply the paste but eventually I had to use my finger to remove excess paste from some places. When you are done applying the paste you need to let it dry over night of you can use your heat tool or hair dryer to do so. It will take some time but it is better than waiting for hours
Then paint the whole surface with black acrylic paints make sure to cover every tiny bit and corner or else you will have to apply a second coat. Then you need to let it dry.
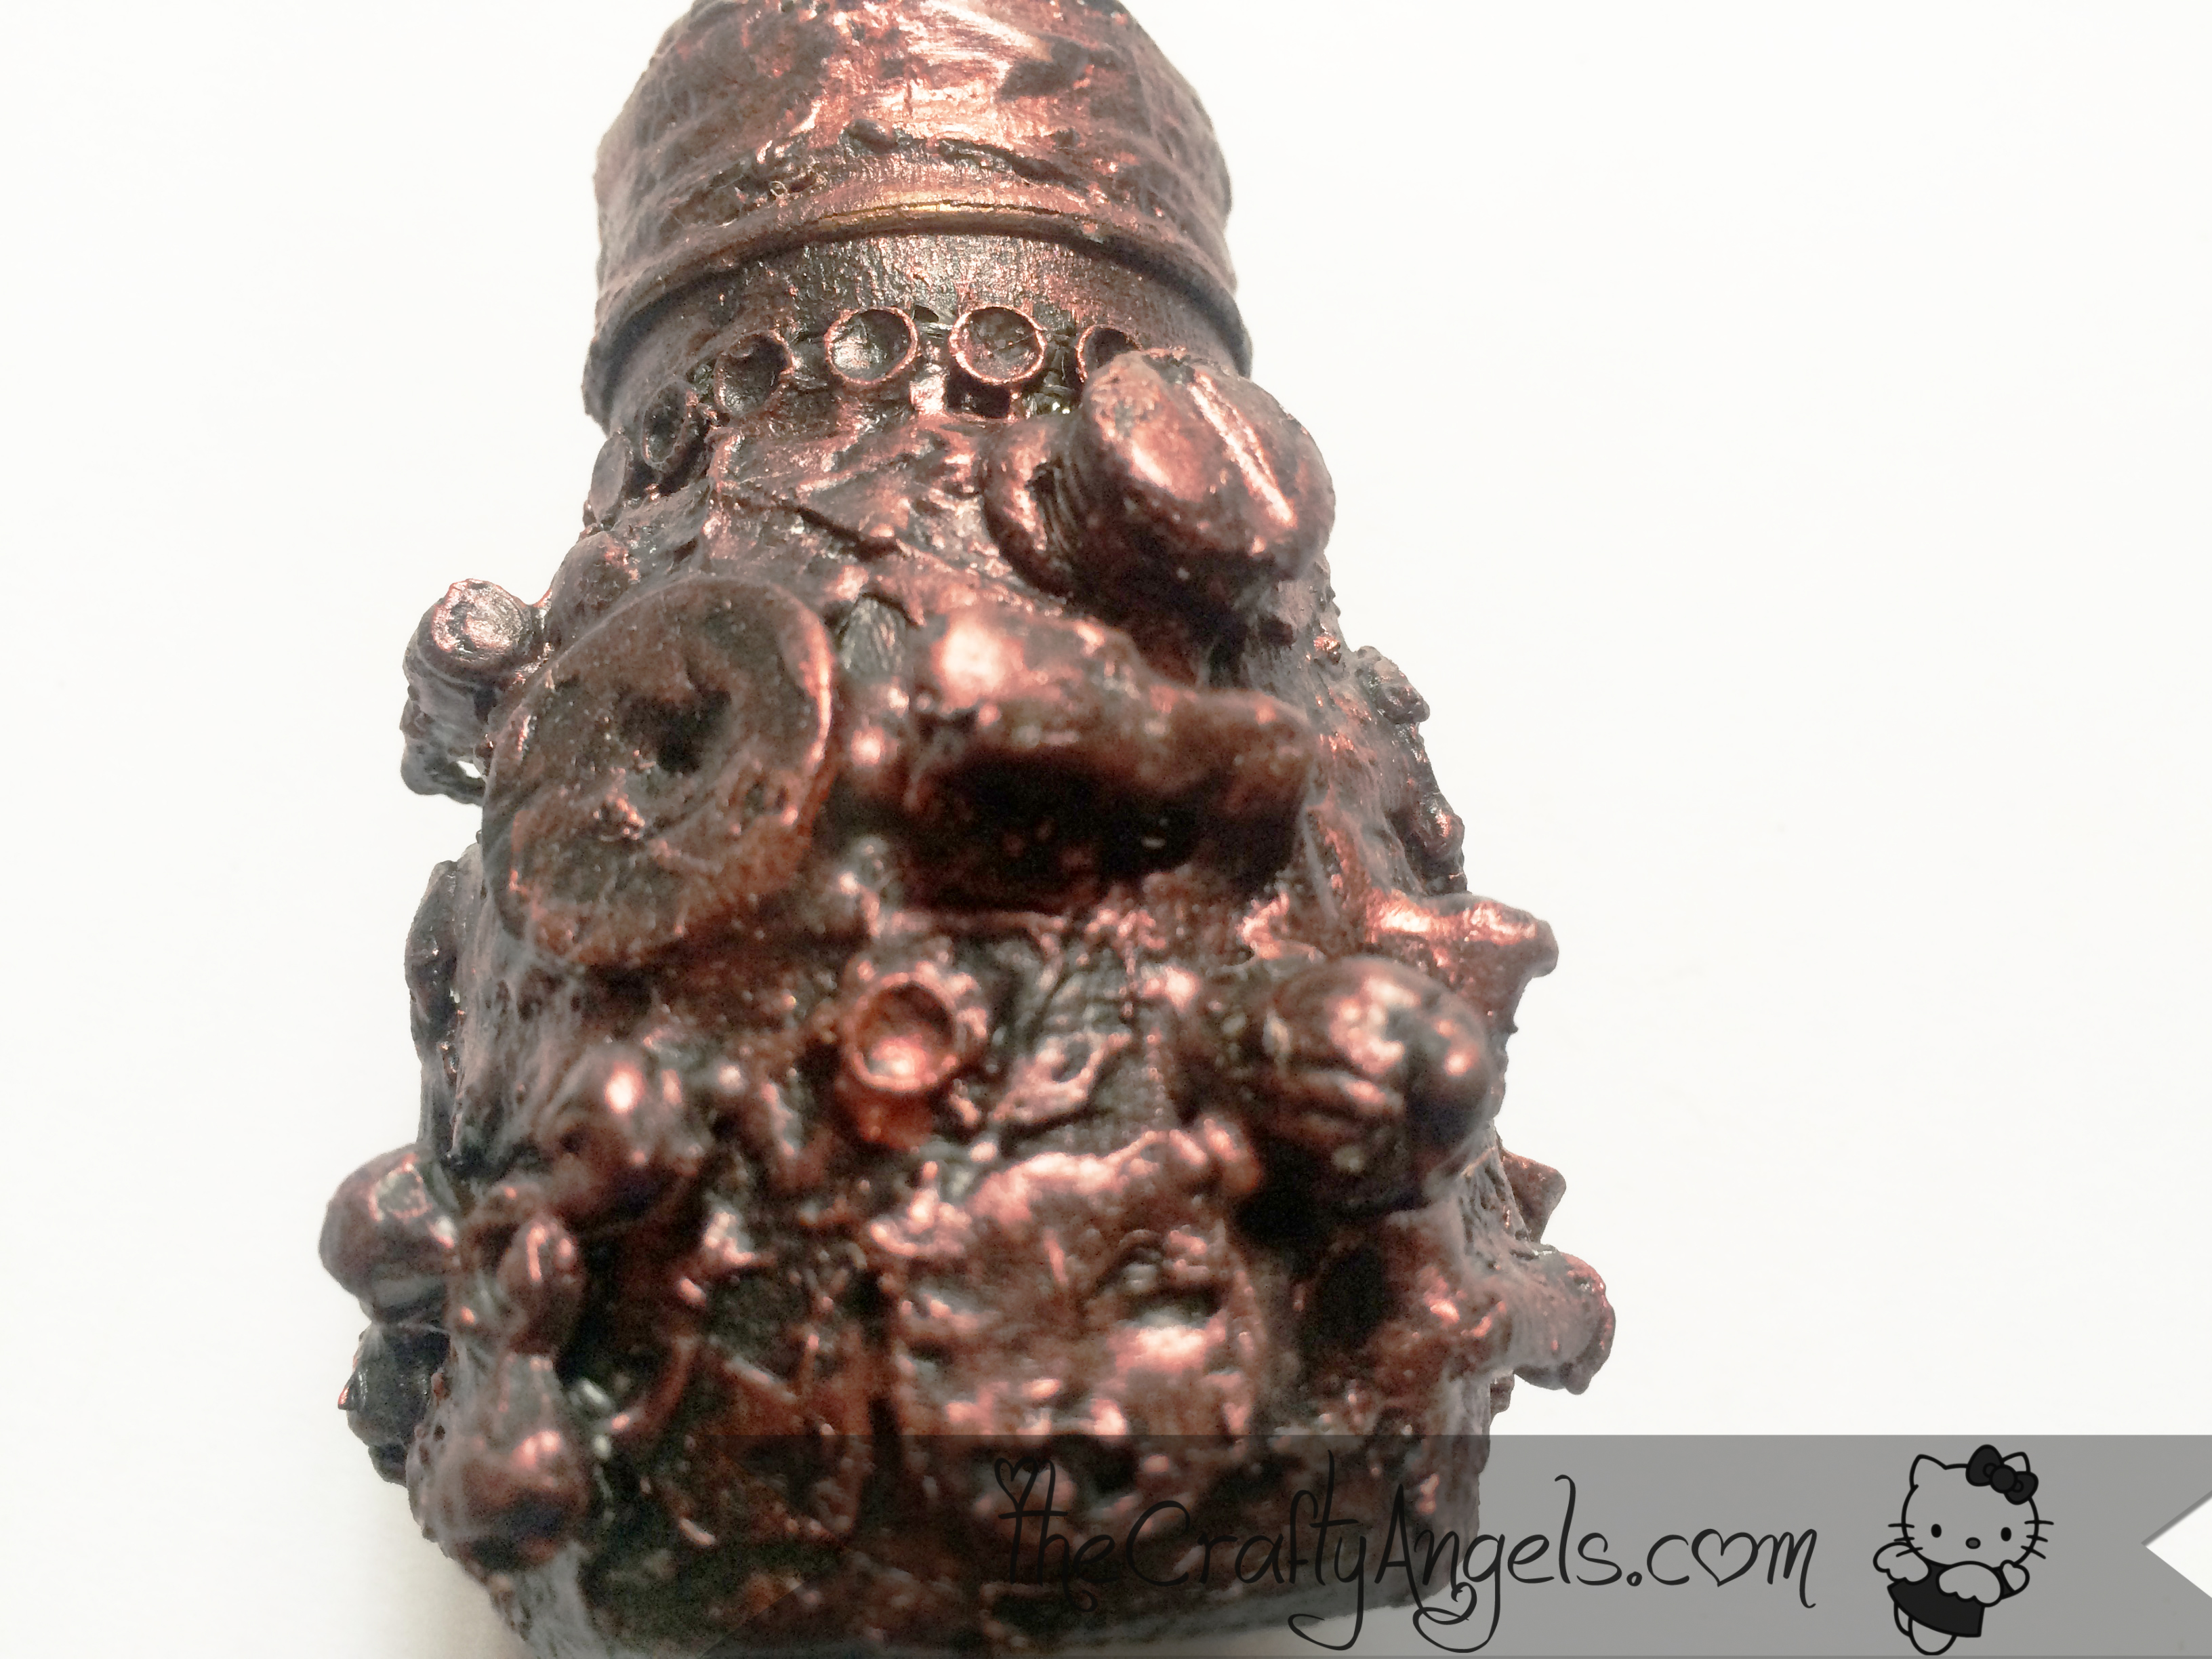
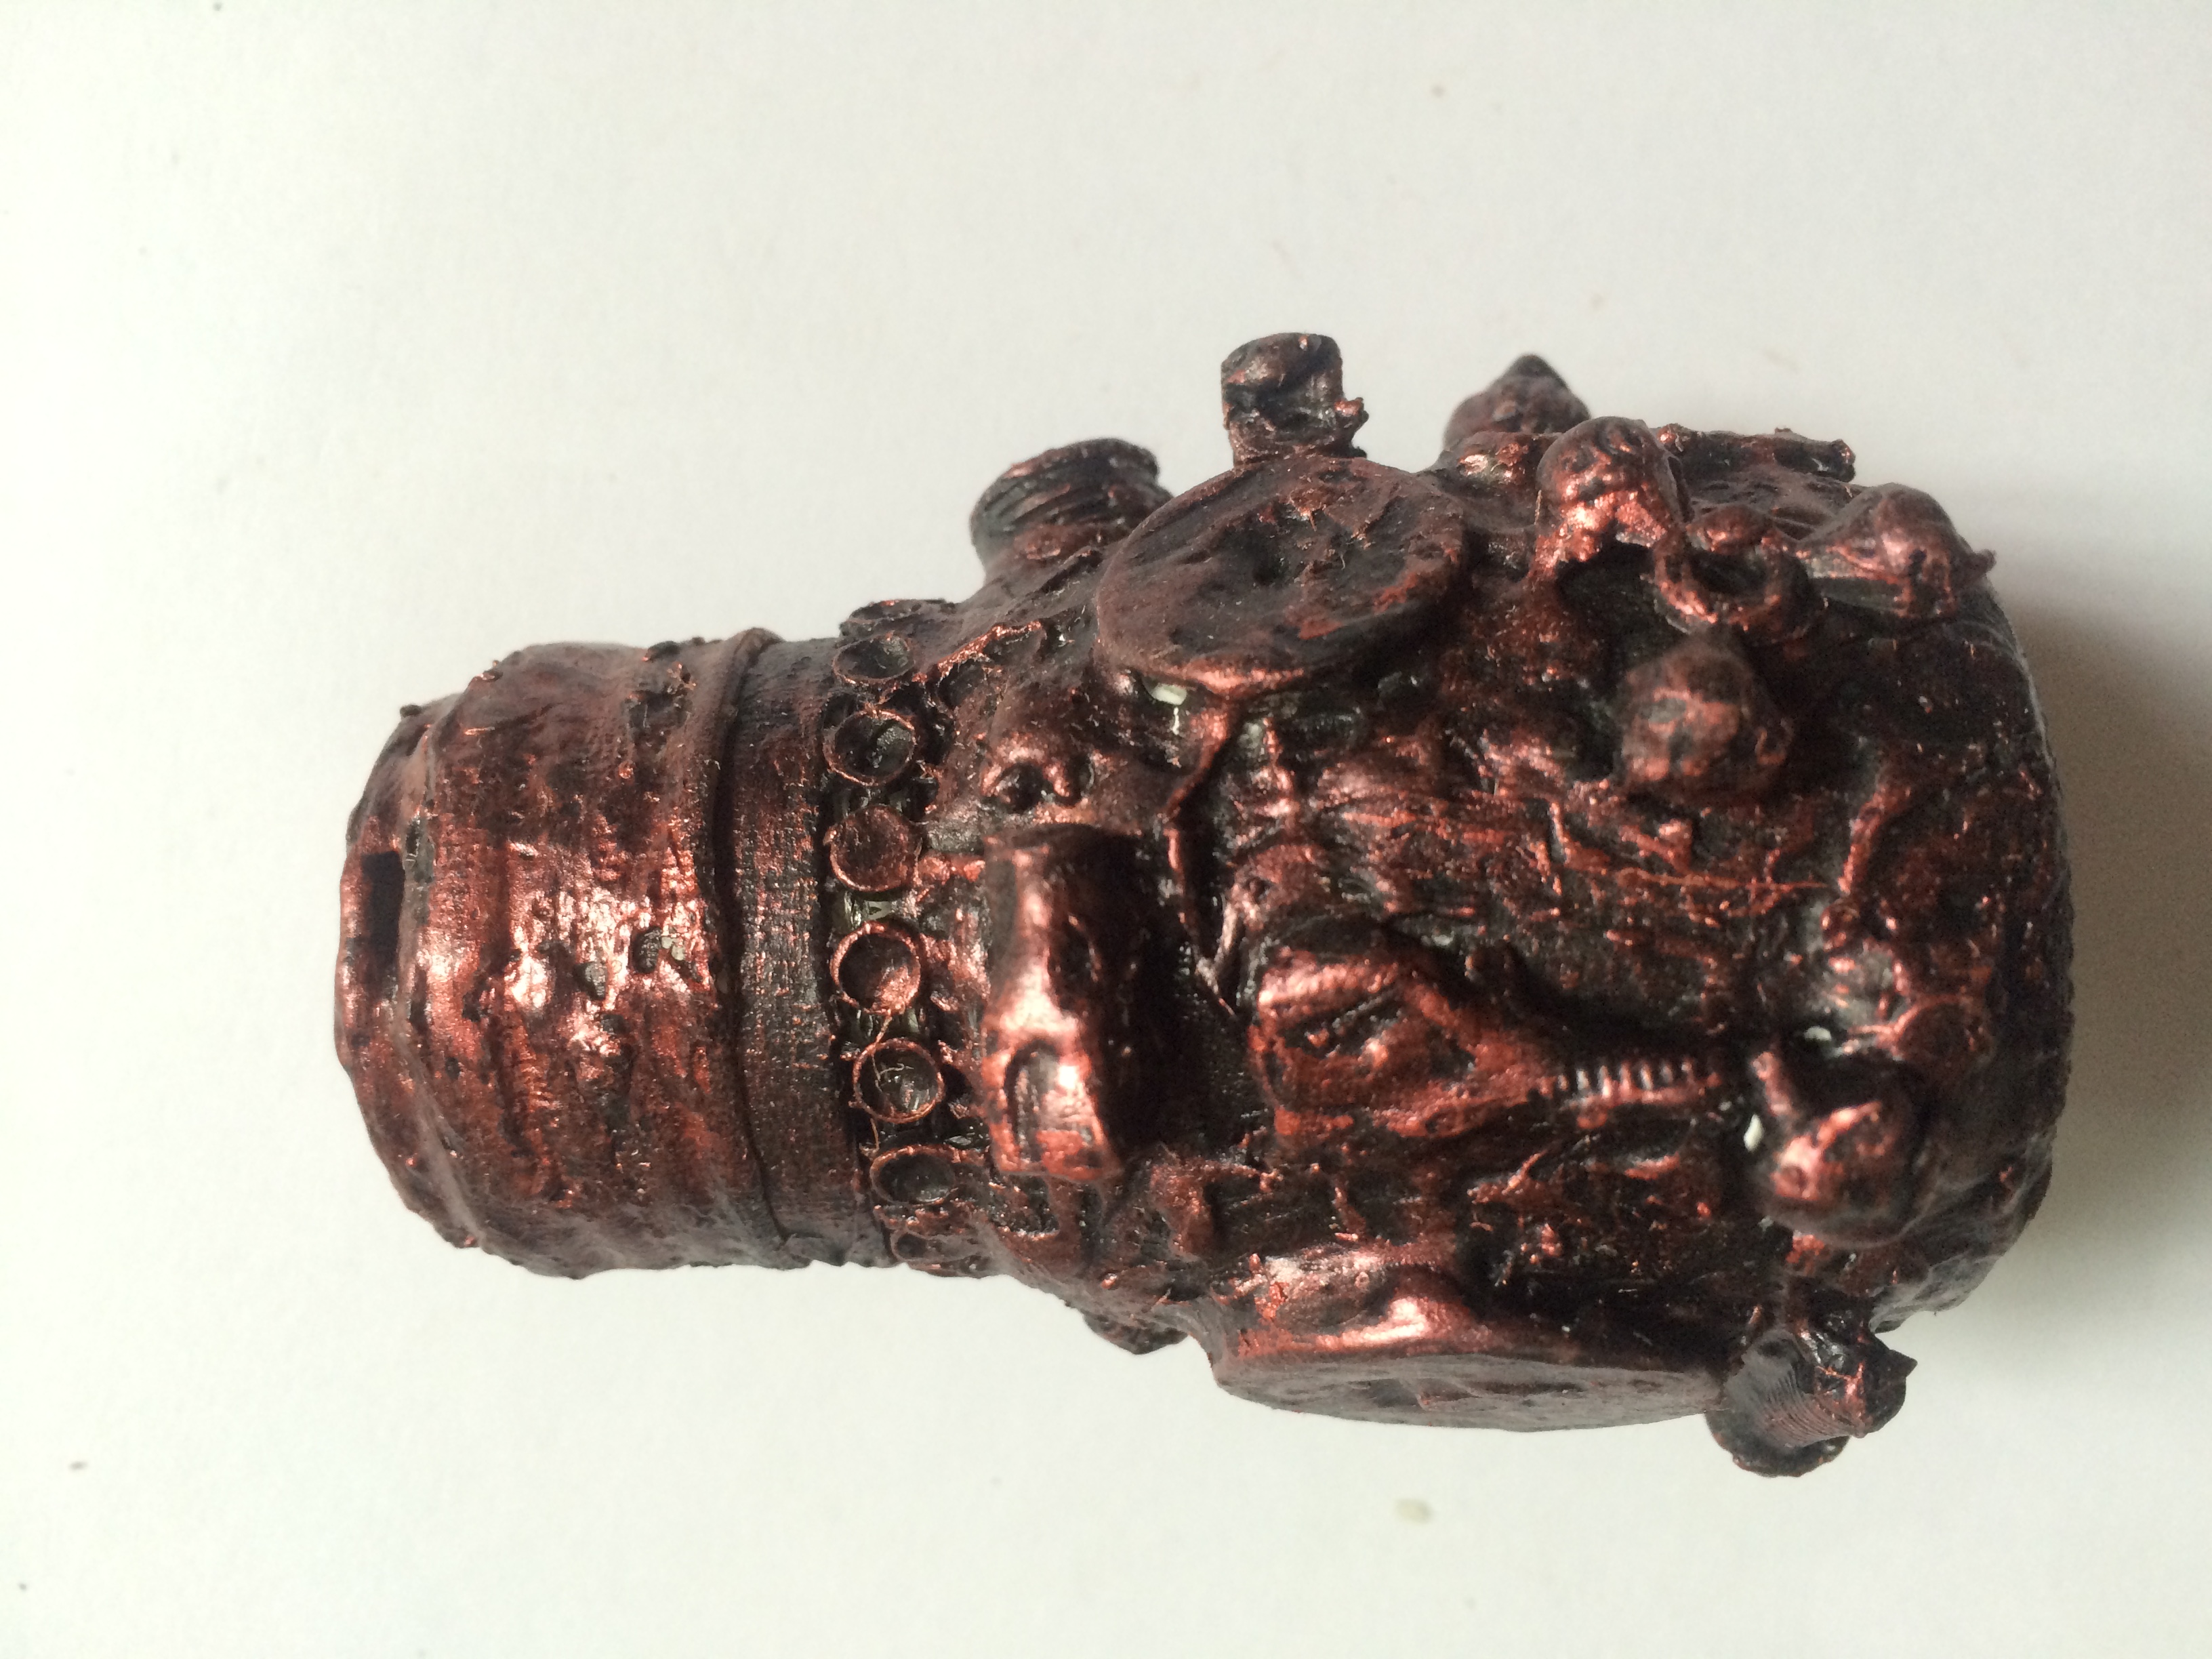
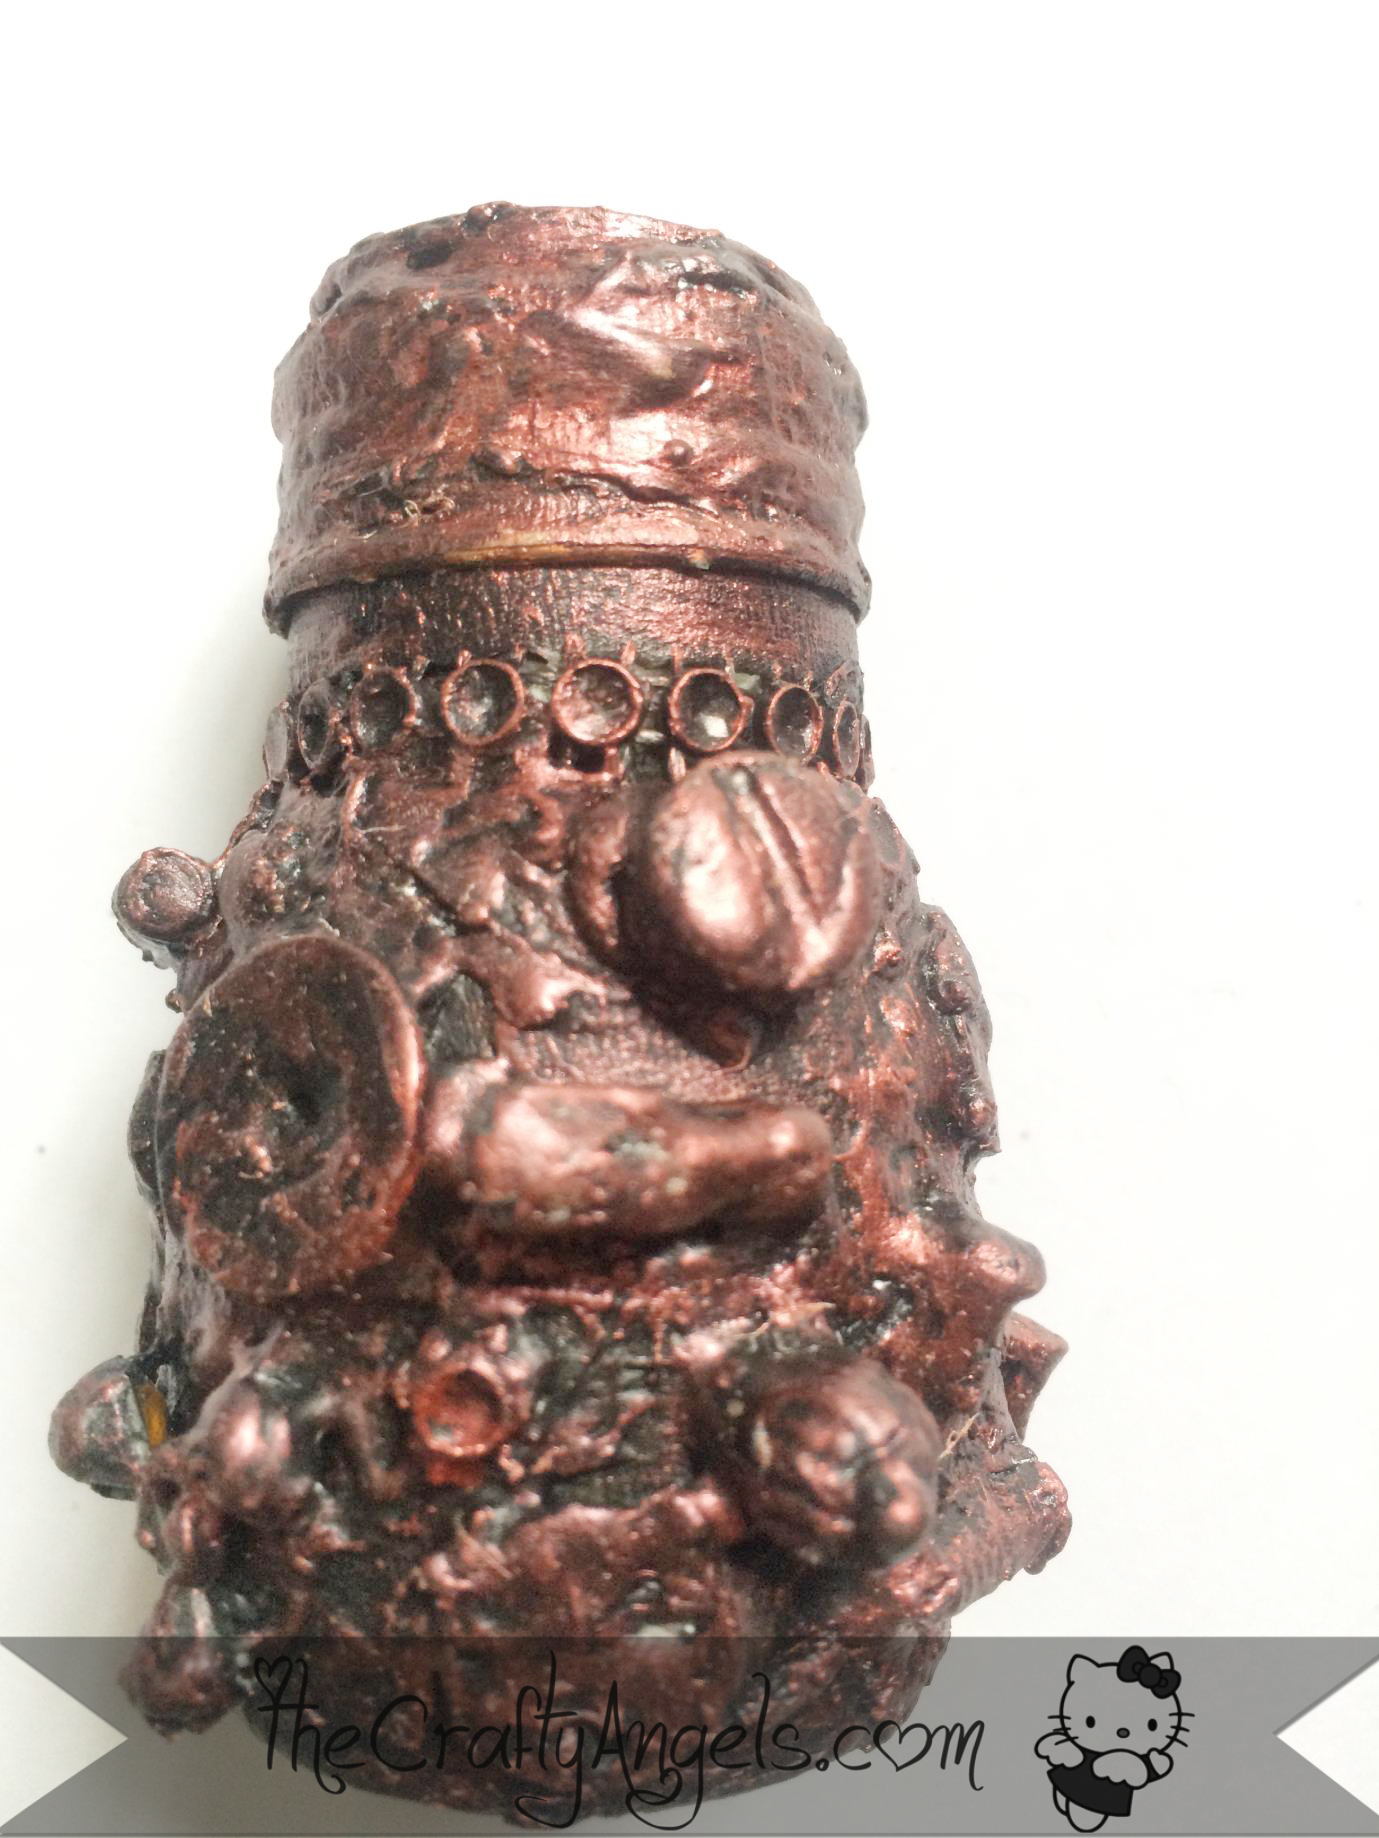
Once it has dried paint it with the rust colour take very small amount of the paint only on the tip of you brush and lightly paint over the surface just to highlight the texture and the embellishments. Use a tissue to wipe off any excess paint
And your antique bottle is ready!Did you enjoy this altered bottle tutorial? Do let us know how it turned out for you:) And keep watching this space for more new DIYs and craft tutorials!
Happy crafting