
Decoupage Tray Tutorial
Know all about my first attempt on decoupage through this decoupage tray tutorial with decoupage napkin and also sources of decoupage supplies in India.
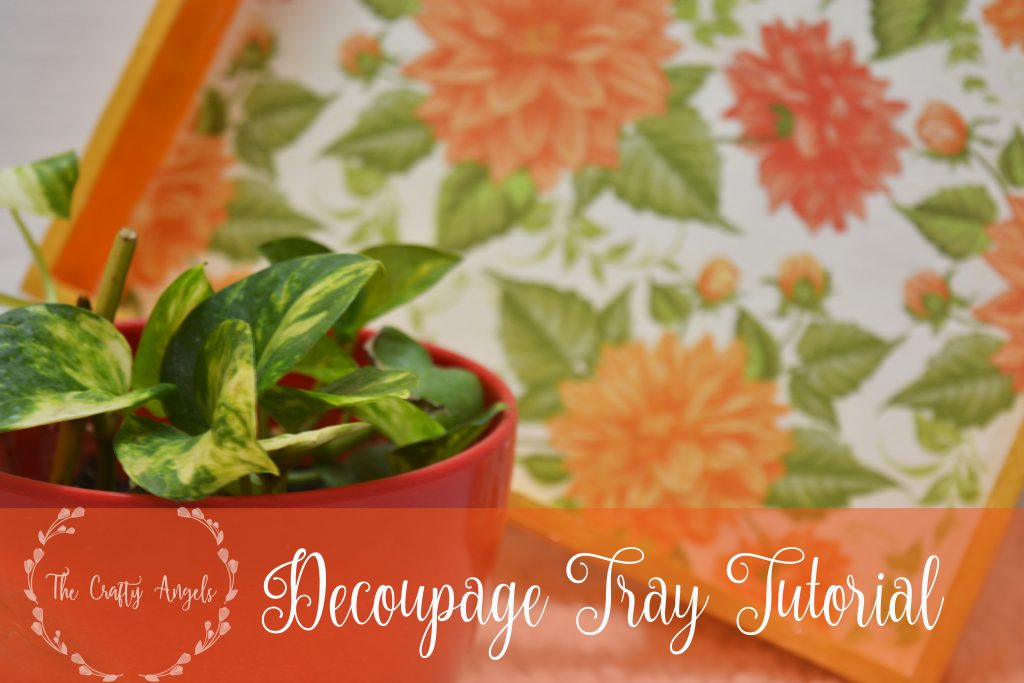
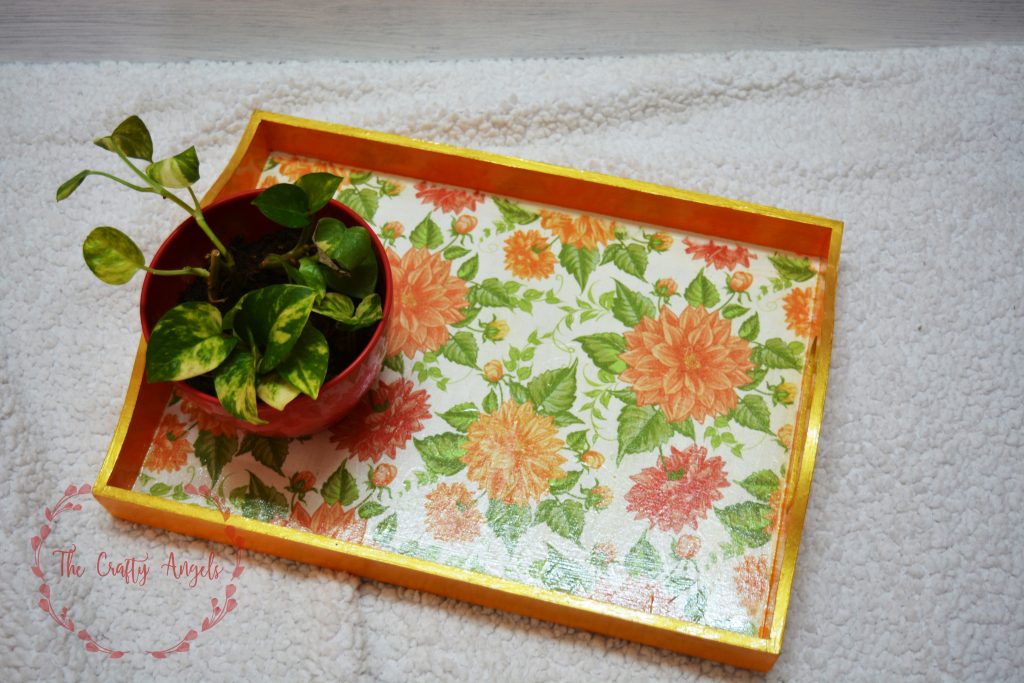
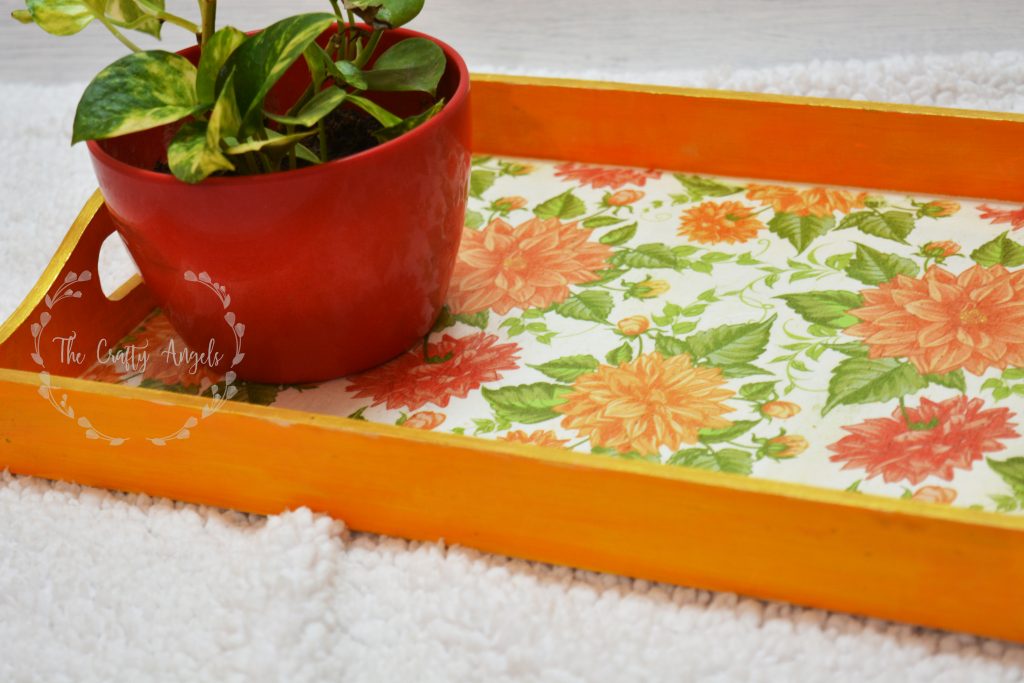
I had recently shared a tutorial hand-painted tray inspired by jaipur blue pottery design and I couldn’t wait to try my first ever decoupage tray! I ordered MDF based wooden tray along with two ply decoupage napkins from craftslane for this attempt.I liked the way the tray turned out colorful and pretty 🙂 Read on for my first attempt experience and tutorial 🙂
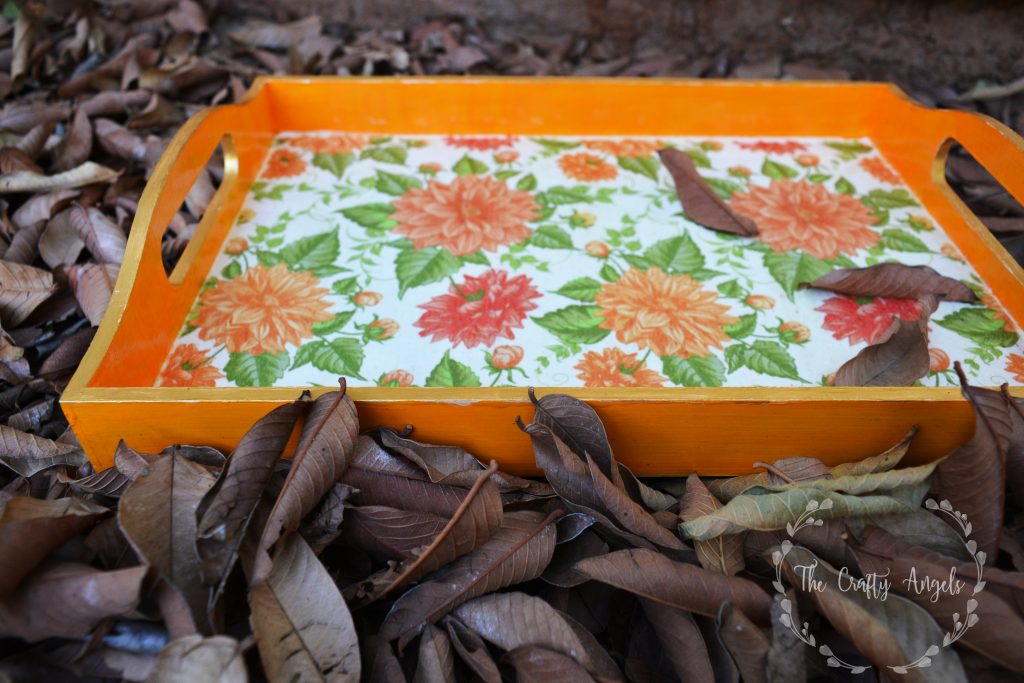
An Orange Toned decoupage tray!
If you are looking through serving trays for home decor, try these different serving tray tutorials on my blog here :
- Decoupage serving tray << you are here
- Handpainted serving tray tutorial
- Newspaper weaved serving tray tutorial
Materials used in Decoupage tray tutorial :
- MDF based serving tray ( from craftslane)
- Decoupage napkin (2ply) ( from craftslane)
- Mod podge (try any store listed here)
- Camlin acrylic paints
- Asian paints apcolite white emulsion
- Varnish
Procedure to make a decoupage serving tray :
First of all a bit about decoupage. Its an ancient art of decorating by gluing cutouts of paper/fabric etc [wiki]. Its all based on your imagination on how to decoupage, what to decoupage and with what to decoupage.
As far as I learnt, in case of decoupage with paper, you can buy either decoupage paper or decoupage napkin. Decoupage paper is of about same gsm as printing paper with designs printed on them whereas decoupage napkins are available as singly ply, 2 ply or 3 ply depending on the number of layers of tissue paper. What I have used here is a single ply decoupage napkin but if you have bought double or triple ply sheets, you have to use only the topmost layer that has the print/image.
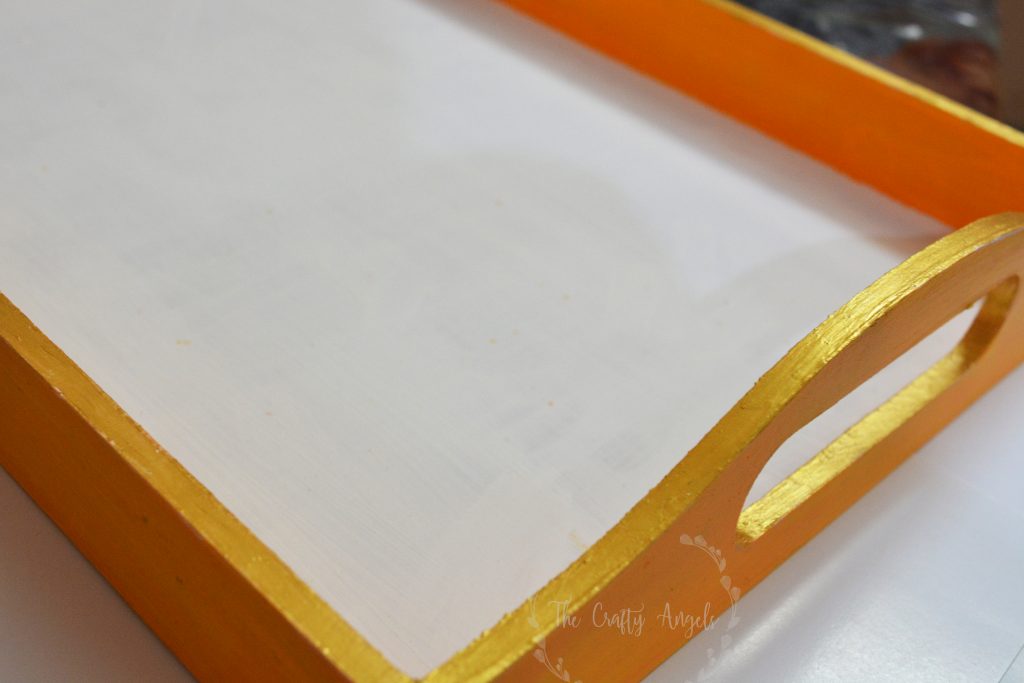
Step one is to prepare your base. Since I was using a decoupage napkin and its very thin, I had to prepare the background so that the colors of my napkin gets reflected well. I primed it with a layer of asian paints apcolite white emulsion and let it try for a while. I then painted the vertical portions of the tray with orangish shade since it kind of matched to the shades in my decoupage napkin. I did not want the paint to be smudged across the edges so I taped some washi tape ( paper tape) at the inner edges to avoid mistake brush strokes at the bottom plate.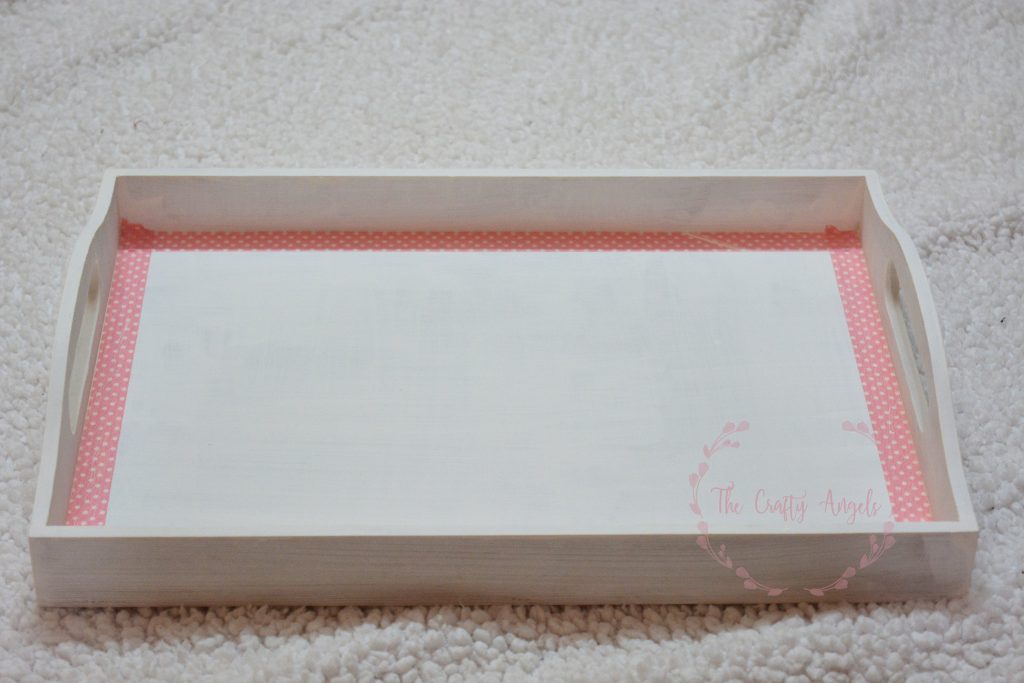
I painted the edges with gold paint for a touch of slight bling 😉 Next was the process of decoupage. I measured the size of the bottom plate of tray with a ruler and cut out the napkin in same size and tested if it fitted inside exactly. In my case it dint match exactly along the length 🙁 so I pinched out the edges so that it dint look like I measured it wrong but as if its a modern style 😛
This is a video tutorial by Yelling yellow that I had actually liked and the tutorial is so clear so I am sharing it here. Just watch this and you can understand better how to go about with the gluing part of the decoupage.
With help of a normal flat brush, I applied a layer mod podge about 1-2 inch wide starting from one edge ( I chose to stick along the width of napkin), placed the decoupage napkin carfelly in place such that the edges and corners matched to the base dimensions. With help of fingers I patted and tried to remove any bubbles and creases. Do not pull to remove crease because its tissue and its damp in the glue so there is high chances of it tearing off!
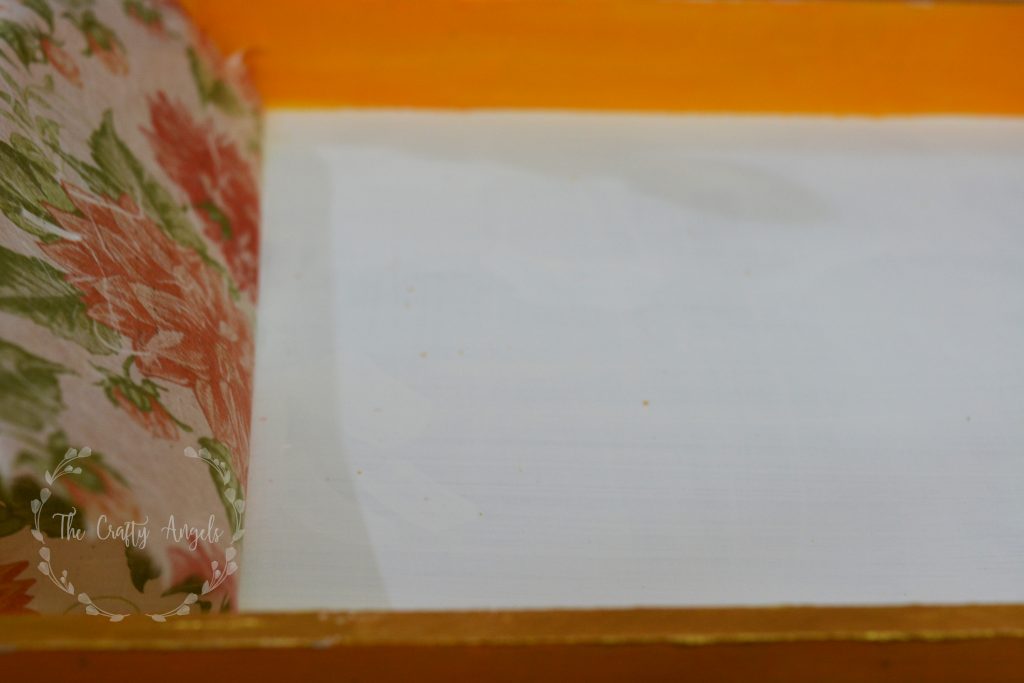
I let it stay for 2 mins before I applied the next installment of mod podge – again 1-2 inches wide starting from the edge where the napkin was holding on to the base. Repeat the same patting down process again, wait and glue again. The video is awesome to see how she does it and to actually believe that the method actually works!
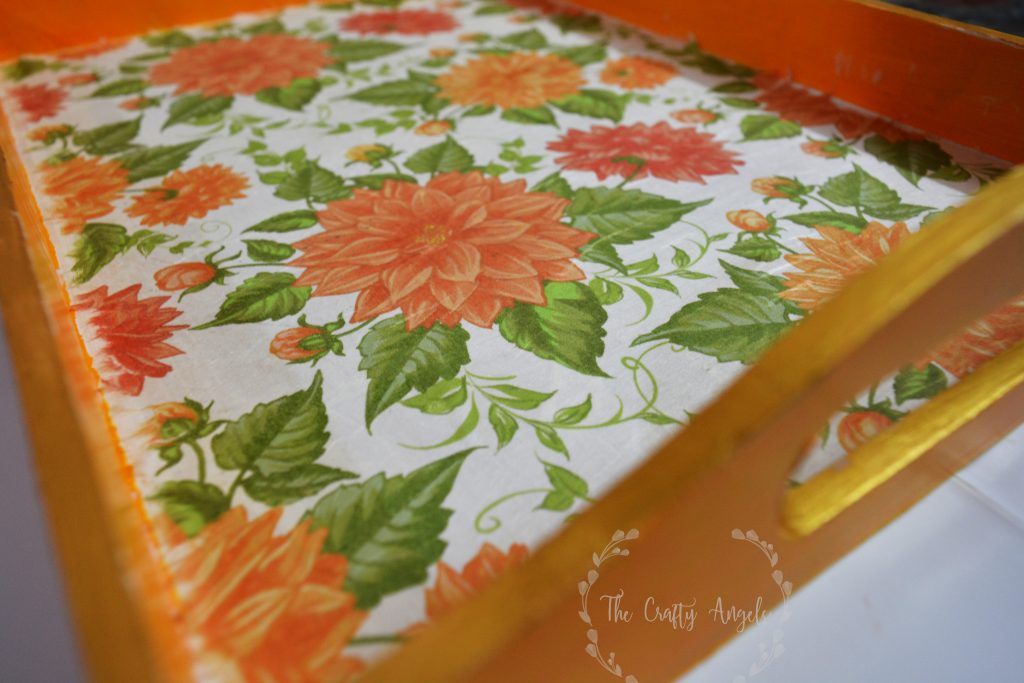
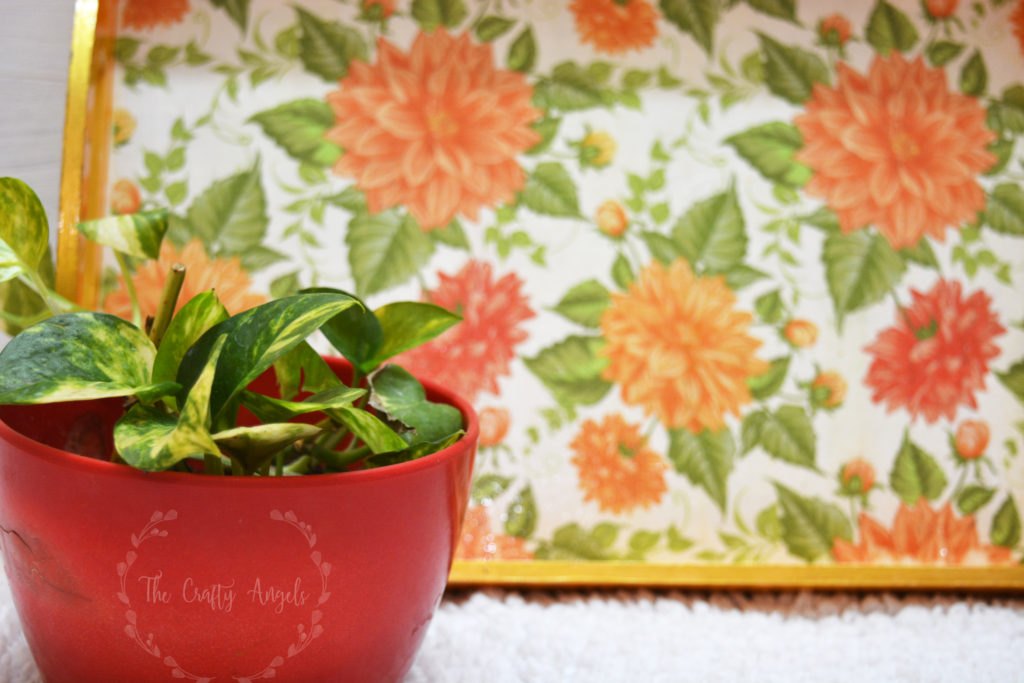
Once I finished everything I let it dry overnight ( just because I wanted to sleep! 2-3 hours would suffice) and applied a coat of mod podge over the entire napkin with the flat brush. Its a good idea to switch off the fans and tilt the tray in an angle such that you can see the glaze from the applied glue to know if all areas are covered.
I again left 8 hrs gap ( office time! mod podge will take hardly 2-3 hrs to completely dry) and applied varnish all over – againyou have to each of the edges one by one and wait for it to dry. Did the inside areas and waited for it to dry, kept it upside down and applied varnish on all outer edges, and finally the thin ( thickness) and handle areas.
Done!
Easy right? each steps needs a bit of waiting but otherwise I was like omg I really have a functional beautiful thing that is handmade! This one is going to my guest bedroom 🙂


One Comment