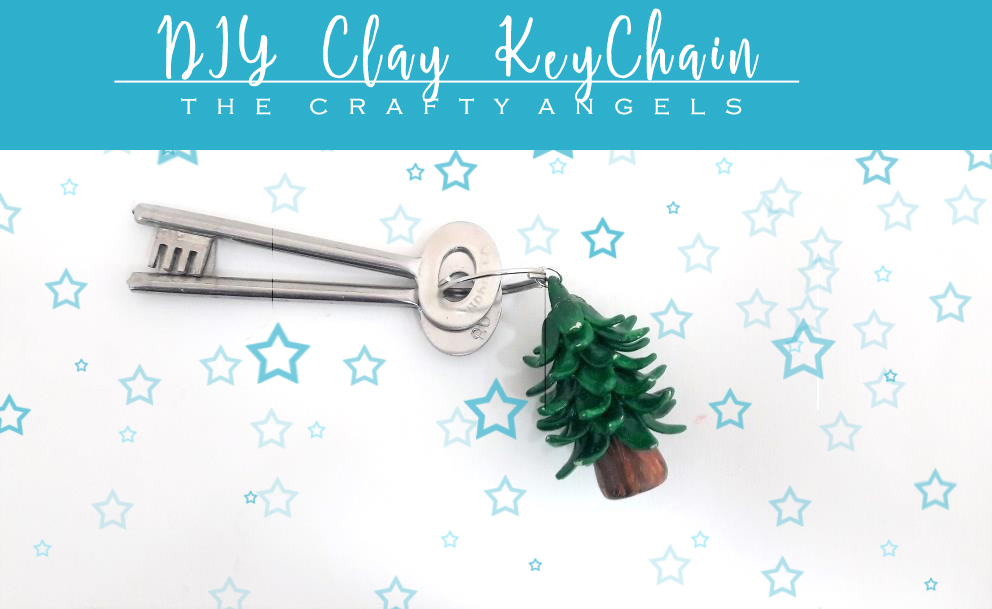
Clay keychain DIY tutorial
A simple clay keychain tutorial and I am sure you would love these little tree trinket keychain with epoxy clay. Start off here and make whole lot of fridge magnets too!
How are you doing? Hope 2017 has bought in truckloads of creative ideas and the determination to do something new each day. I find myself, again, focused on how to make this a year full of useful information and inspiration for everyone who so kindly drops in on my mental meanderings.
Continuing from my New Year resolution to spend more time in my studio, I decided to do a few clay modelling art projects myself; some fridge magnets, some accessories, vases and if time permits, a mural too but first clay keychain .With clay one can produce strong but delicate artifacts. You can make a burger, a flower, a piano, a slipper, you name it! I totally am in love with the epoxy clay I am working with. It is easily malleable and mold-able.
Materials required to make Clay keychain :
- Clay (modelling white clay)
- Talcum powder
- Non sticky workspace
- Colors & brushes
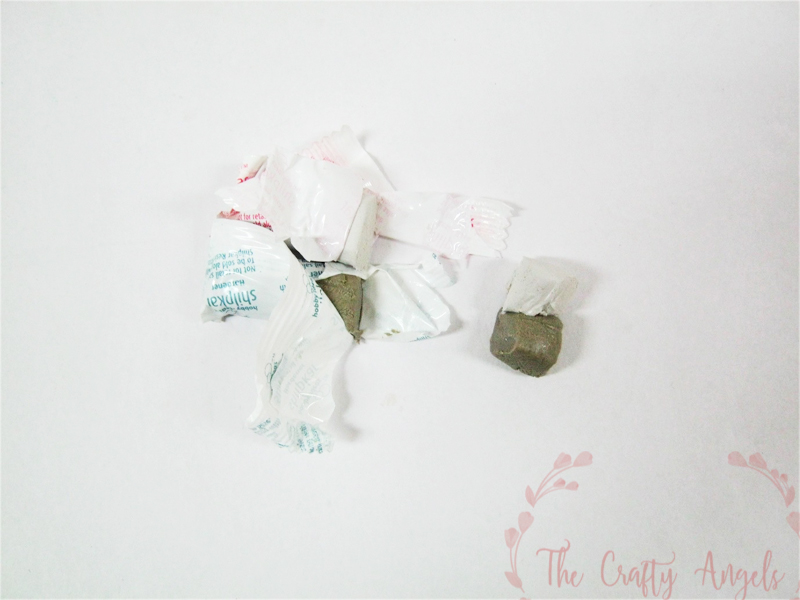
I decided to start the clay art experiments by making a cute key chain. Start by mixing the two part of the clay in equal proportion.
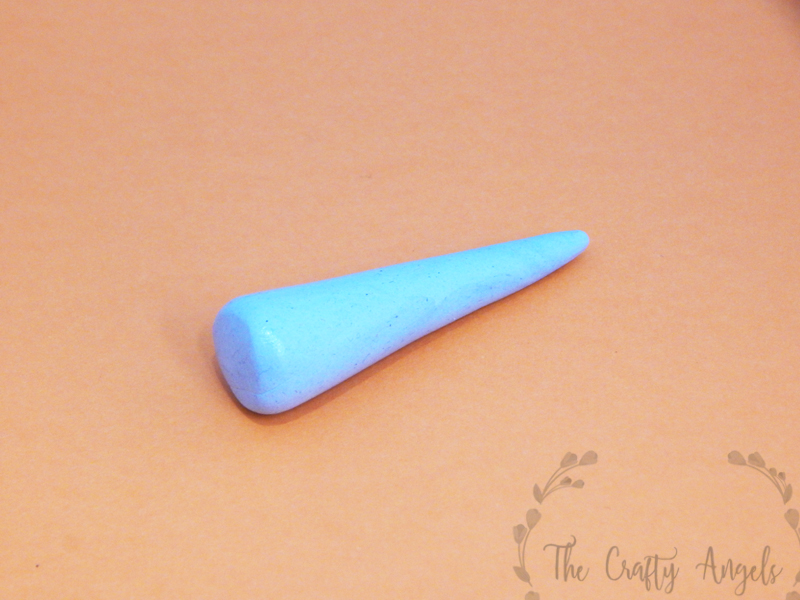
Divide the dough in two equal portions. Make a conical tree trunk from one portion of the clay.
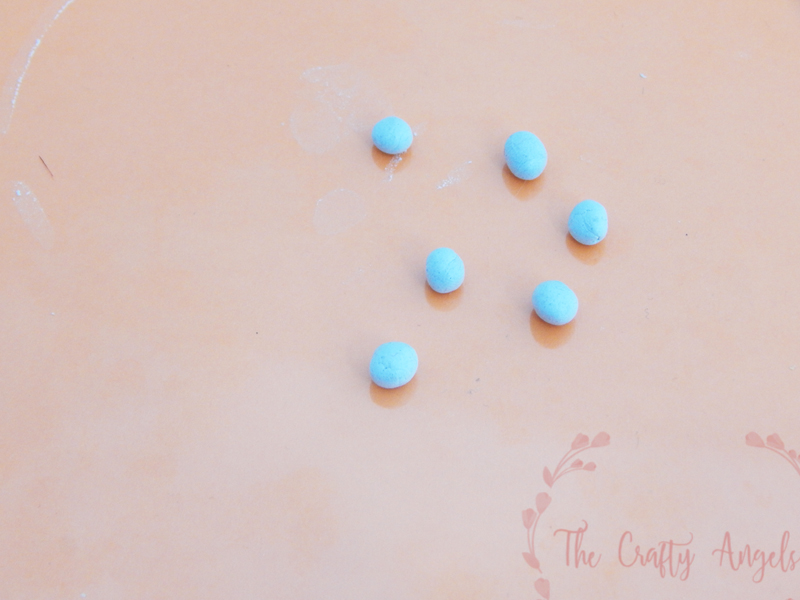
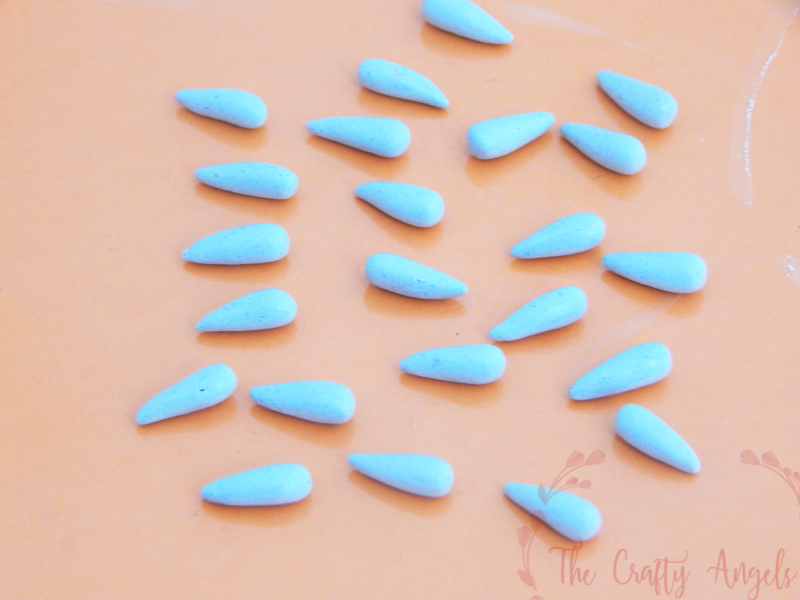
Divide the other portion into small ball and then shape them into leaves.
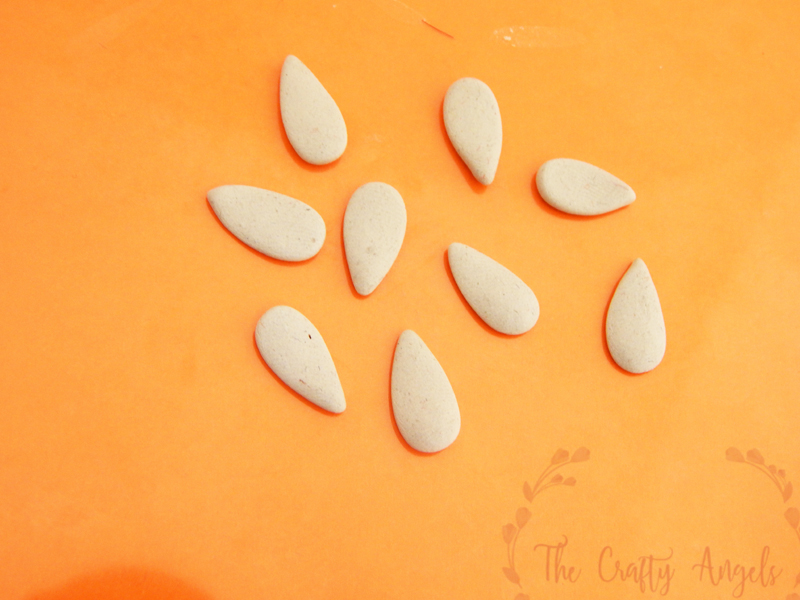
When they are semi dry start fixing the leaves to the trunk. It is advisable to have some base for the trunk as the clay is still wet and malleable. Here I have used a bottle cap for the same. Press the leaves slightly so that they adhere to the trunk nicely.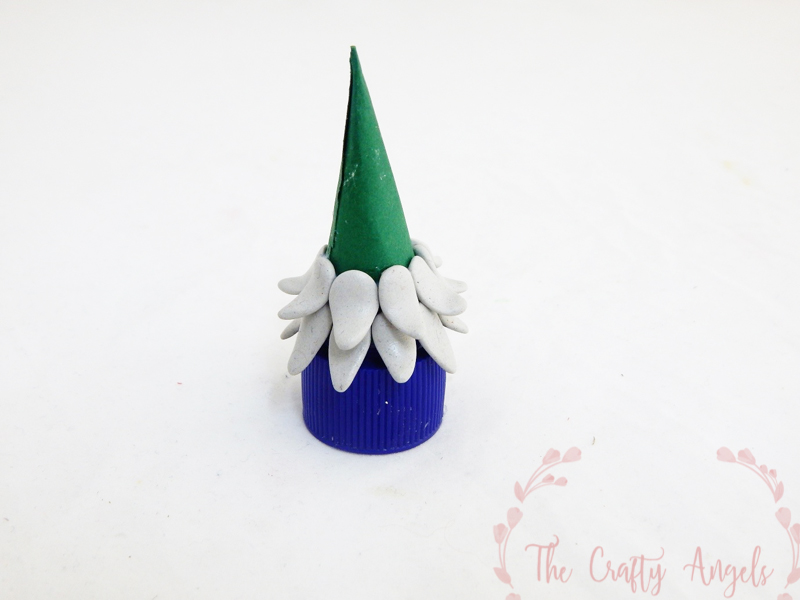
Make a small hole on the top and insert a ring through it.Let it dry completely. Once done, color the leaves as per choice. Conventional green and brown it is for me. Varnish it with a bit of decoupage glue at the end.
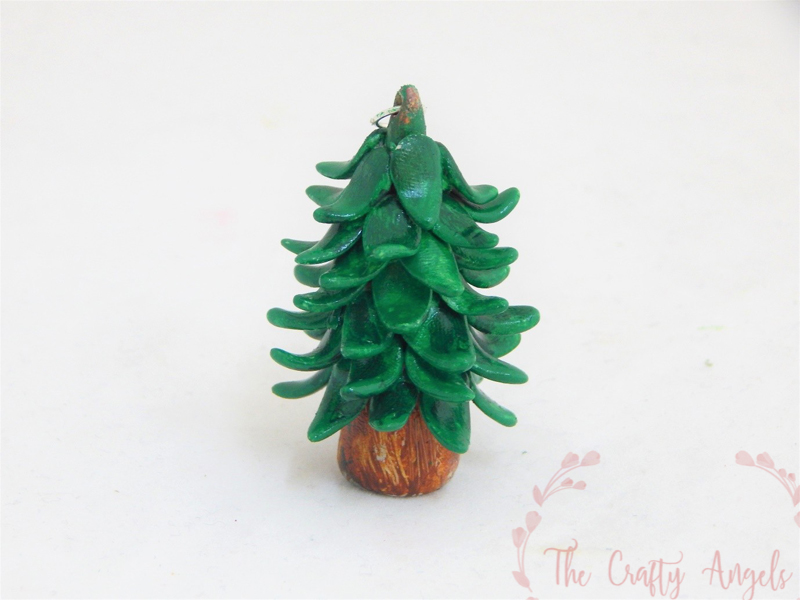
So here is my little clay keychain. Isn’t it cute? I am making a series of customized clay art accessories for all my pals. I am sure they will love ‘em.
Did you find this interesting? You can get Air dry clay online and at a minimal investment of time and money one can make lovely replicas of everyday objects by clay molding. Do share your views regarding this project and if you decide to make one do share pictures too! Ciao till the next one.
xoxo Angela