How to make decoupage napkin on your own
How to make decoupage napkins at home? Read on to know about my experiment to make decoupage napkin in block printed Indian motif using stamps and inks 🙂
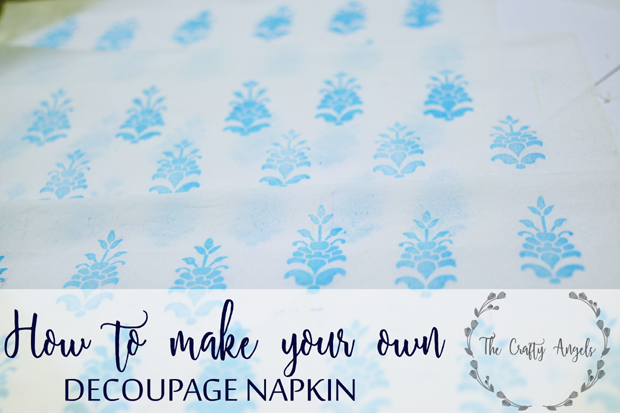
If you have been following my posts, I am sure you guys would be like “she is decoupage high”! With the paper napkin decoupaged serving tray and fabric decoupaged coaster sets, another decoupage tutorial is quite boring I know but please do bear with me this one last time! I have these DIYed wall shelves that look awful because they were our first attempt at wood work and hence required something nice on them to distract attention from their handicaps 😀 I decided to decoupage some patterns but at the same time I wanted it to be plain simple yet catchy. I searched a lot but most of the decoupage napkins available are vintage designs or too much flowery which wasn’t exactly I was looking for.
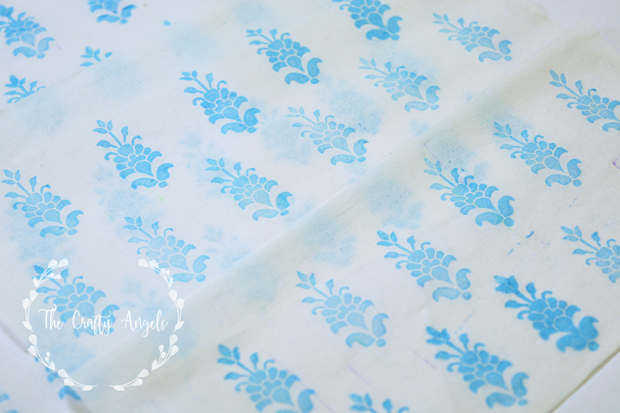
I so finally decided to make decoupage napkin on my own with my own designs but how! This video from YouTube shows how to make if you have a color printer at home but I don’t so I went into though processing mode (oops sorry forgot to link the video! Will do it soon)! I finally used my stamps and inks to stamp patterns on tissue napkins 😀 Read for full tutorial
Material required to make decoupage napkin on your own:
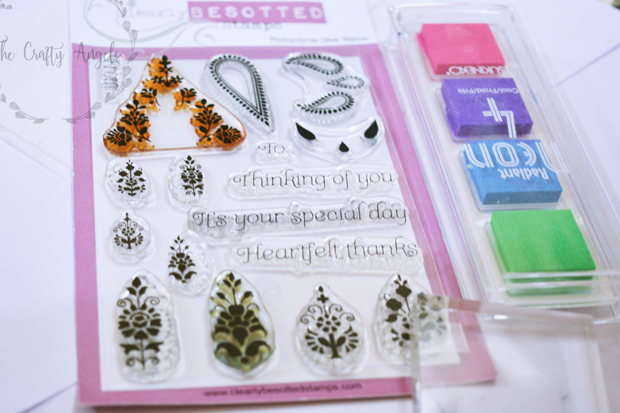
- Stamps (any type of stamps that is available)
- Pigment inkpad
- Tissue napkins
How to make decoupage napkin at home using stamps and inkpads
The first thing you need to do is analyse a ready-made decoupage napkin. They have mostly white background and whenever there is an image, its fully colored so that you can easily tear out the image alone and use for your project. So while you are choosing the image to be stamped, keep in mind that if the image is outlines, you will have to use it on white background only whereas if your image is solid ones, you can tear out the part and use on colored backgrounds as well.
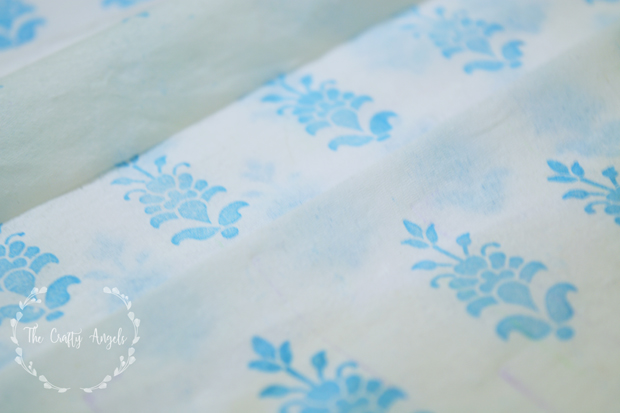
I had already painted the wall shelf ( my base for this decoupage project) with white paint and installed as well but later I wanted to remodel my entire bedroom so removed and kept them in a corner. Seeing them so white and plain ached me heart 😛 That is when the decoupage idea struck me ! Ha so anyways me requirements were :
- simple design not overpowering
- white has to be there but yet colors
- pastel shades (since I am planing a major redo of bedroom with lighter color scheme)
I went through all my stamps and finalized on this Indian block print paisley motif ones that I had bought on Facebook destash group recently. To get started, buy good quality paper napkins maybe 2 ply and which doesn’t have embossed designs or patterns. Open your napkin and place it on a good flat surface preferably mouse pad or so for a little cushion effect while stamping.
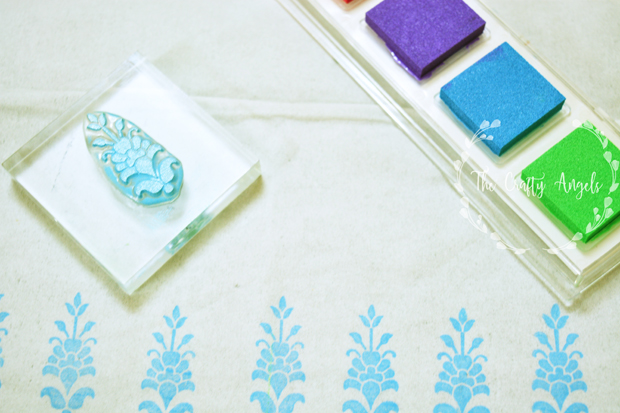
Visualize your design/pattern first and stamp accordingly. I had decided that since my background was too big, one napkin will be too small anyways so while decoupaging, I will tear the smaller patterns and align as required. If your project is small like a coaster, you can use a grid/graph sheet underneath your napkin so that you stamp in even spaces.
You have to use pigment ink and no other ink will work better than this if you are looking for really sharp images. If you use dye inks, which are water based, the moment you stamp it will spread into your tissue napkin without giving crisp images so look out for pigment ink pads. I have used blue shade from tsukineko neon quad set.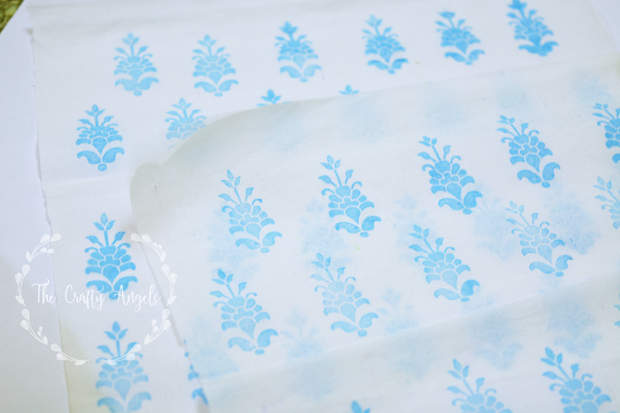
Place your stamp on support block ( if it doesn’t have one) and press it against the ink pad so that the entire outline/image has ink on it. Place it on the napkin at areas marked and press it well so that the full image gets imprinted on the napkin. Well thats it. Pigment inks take a while to dry so give it a couple of minutes to dry before stamping adjacent images. I also separated the two layers and stamped on each of them.
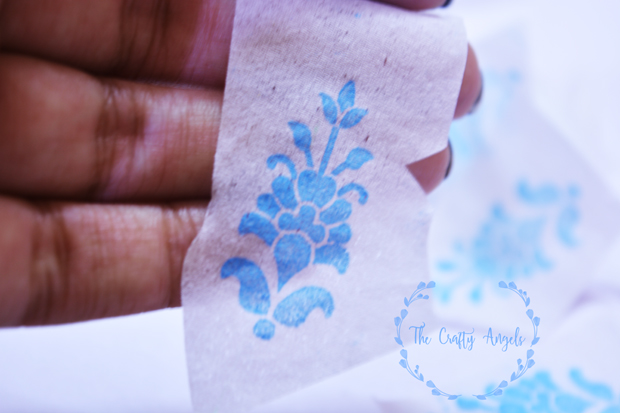
You can see that since my base is too big and my decoupage napkin too small, I tore the stamped images one by one and decoupaged onto the wall shelf.
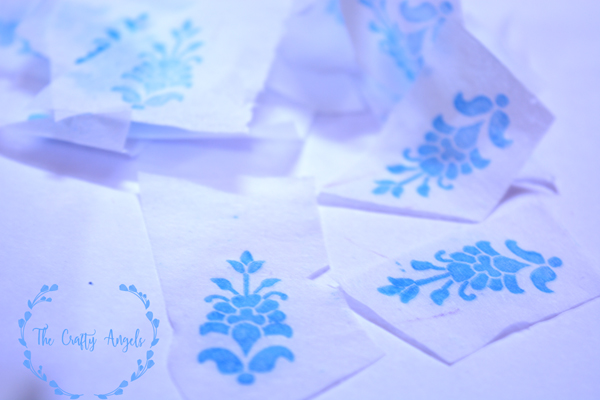
I haven’t completed the decoupage yet – I don’t know when I would even complete because I have two of these shelves to decoupage!! But when I do, I’m sure I would love to share it here on my blog . Hopefully I come up with some “non-decoupagey” post by then! Hope you guys loved to learn how to make decoupage napkin on your own. Do let me know if you have researched like me in this field :P:P
P.S – Sorry for the small photos. While editing I compressed them a little too much!
xoxo
Angela

SO interesting 🙂 I am going to try this soon 🙂
Thanks for sharing the details.
Hi. Where can one get theze stamps from?
These stamps are from clearly besotted. They are probably out of production now but you can try if they are avaible on destash group.