Handmade Mother’s Day Card with Quilled Flowers
Mother’s Day is a time to celebrate the incredible women who raised us, nurtured us, and loved us unconditionally. While store-bought gifts are lovely, there’s something truly special about a handmade Mother’s Day card. It shows you put extra thought and effort into creating a one-of-a-kind masterpiece that reflects your love and appreciation.
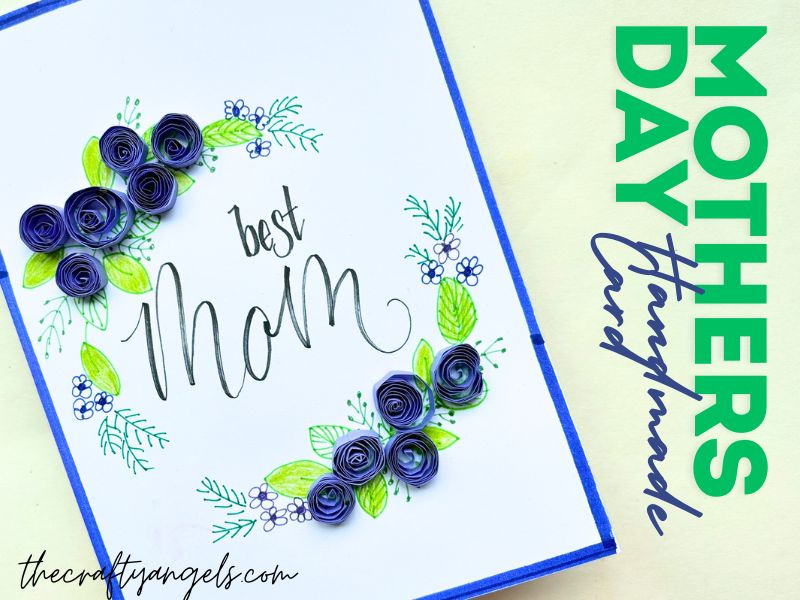
This tutorial guides you through creating a charming handmade Mother’s Day card featuring delicate quilled flowers. Don’t be intimidated by the technique – quilling is surprisingly simple and yields stunning results! Plus, the best part? You can likely create this card with materials readily available at home, making it a budget-friendly and heartfelt gift. See more handmade cards tutorials here .
Materials:

- Cardstock (choose a color that complements your chosen paper strips)
- Colored paper or pre-cut quilling strips (various colors for the flowers and leaves, optional green for pre-made leaves) – Aim for strips around 0.5cm wide.
- Craft glue (a small bottle with a fine tip is ideal for precise application)
- Scissors
- Ruler (optional, for creating even paper strips)
- Paper cutter (optional, for creating even paper strips)
- Sketchpens (optional, for adding details and borders)
The Beauty of Quilling:

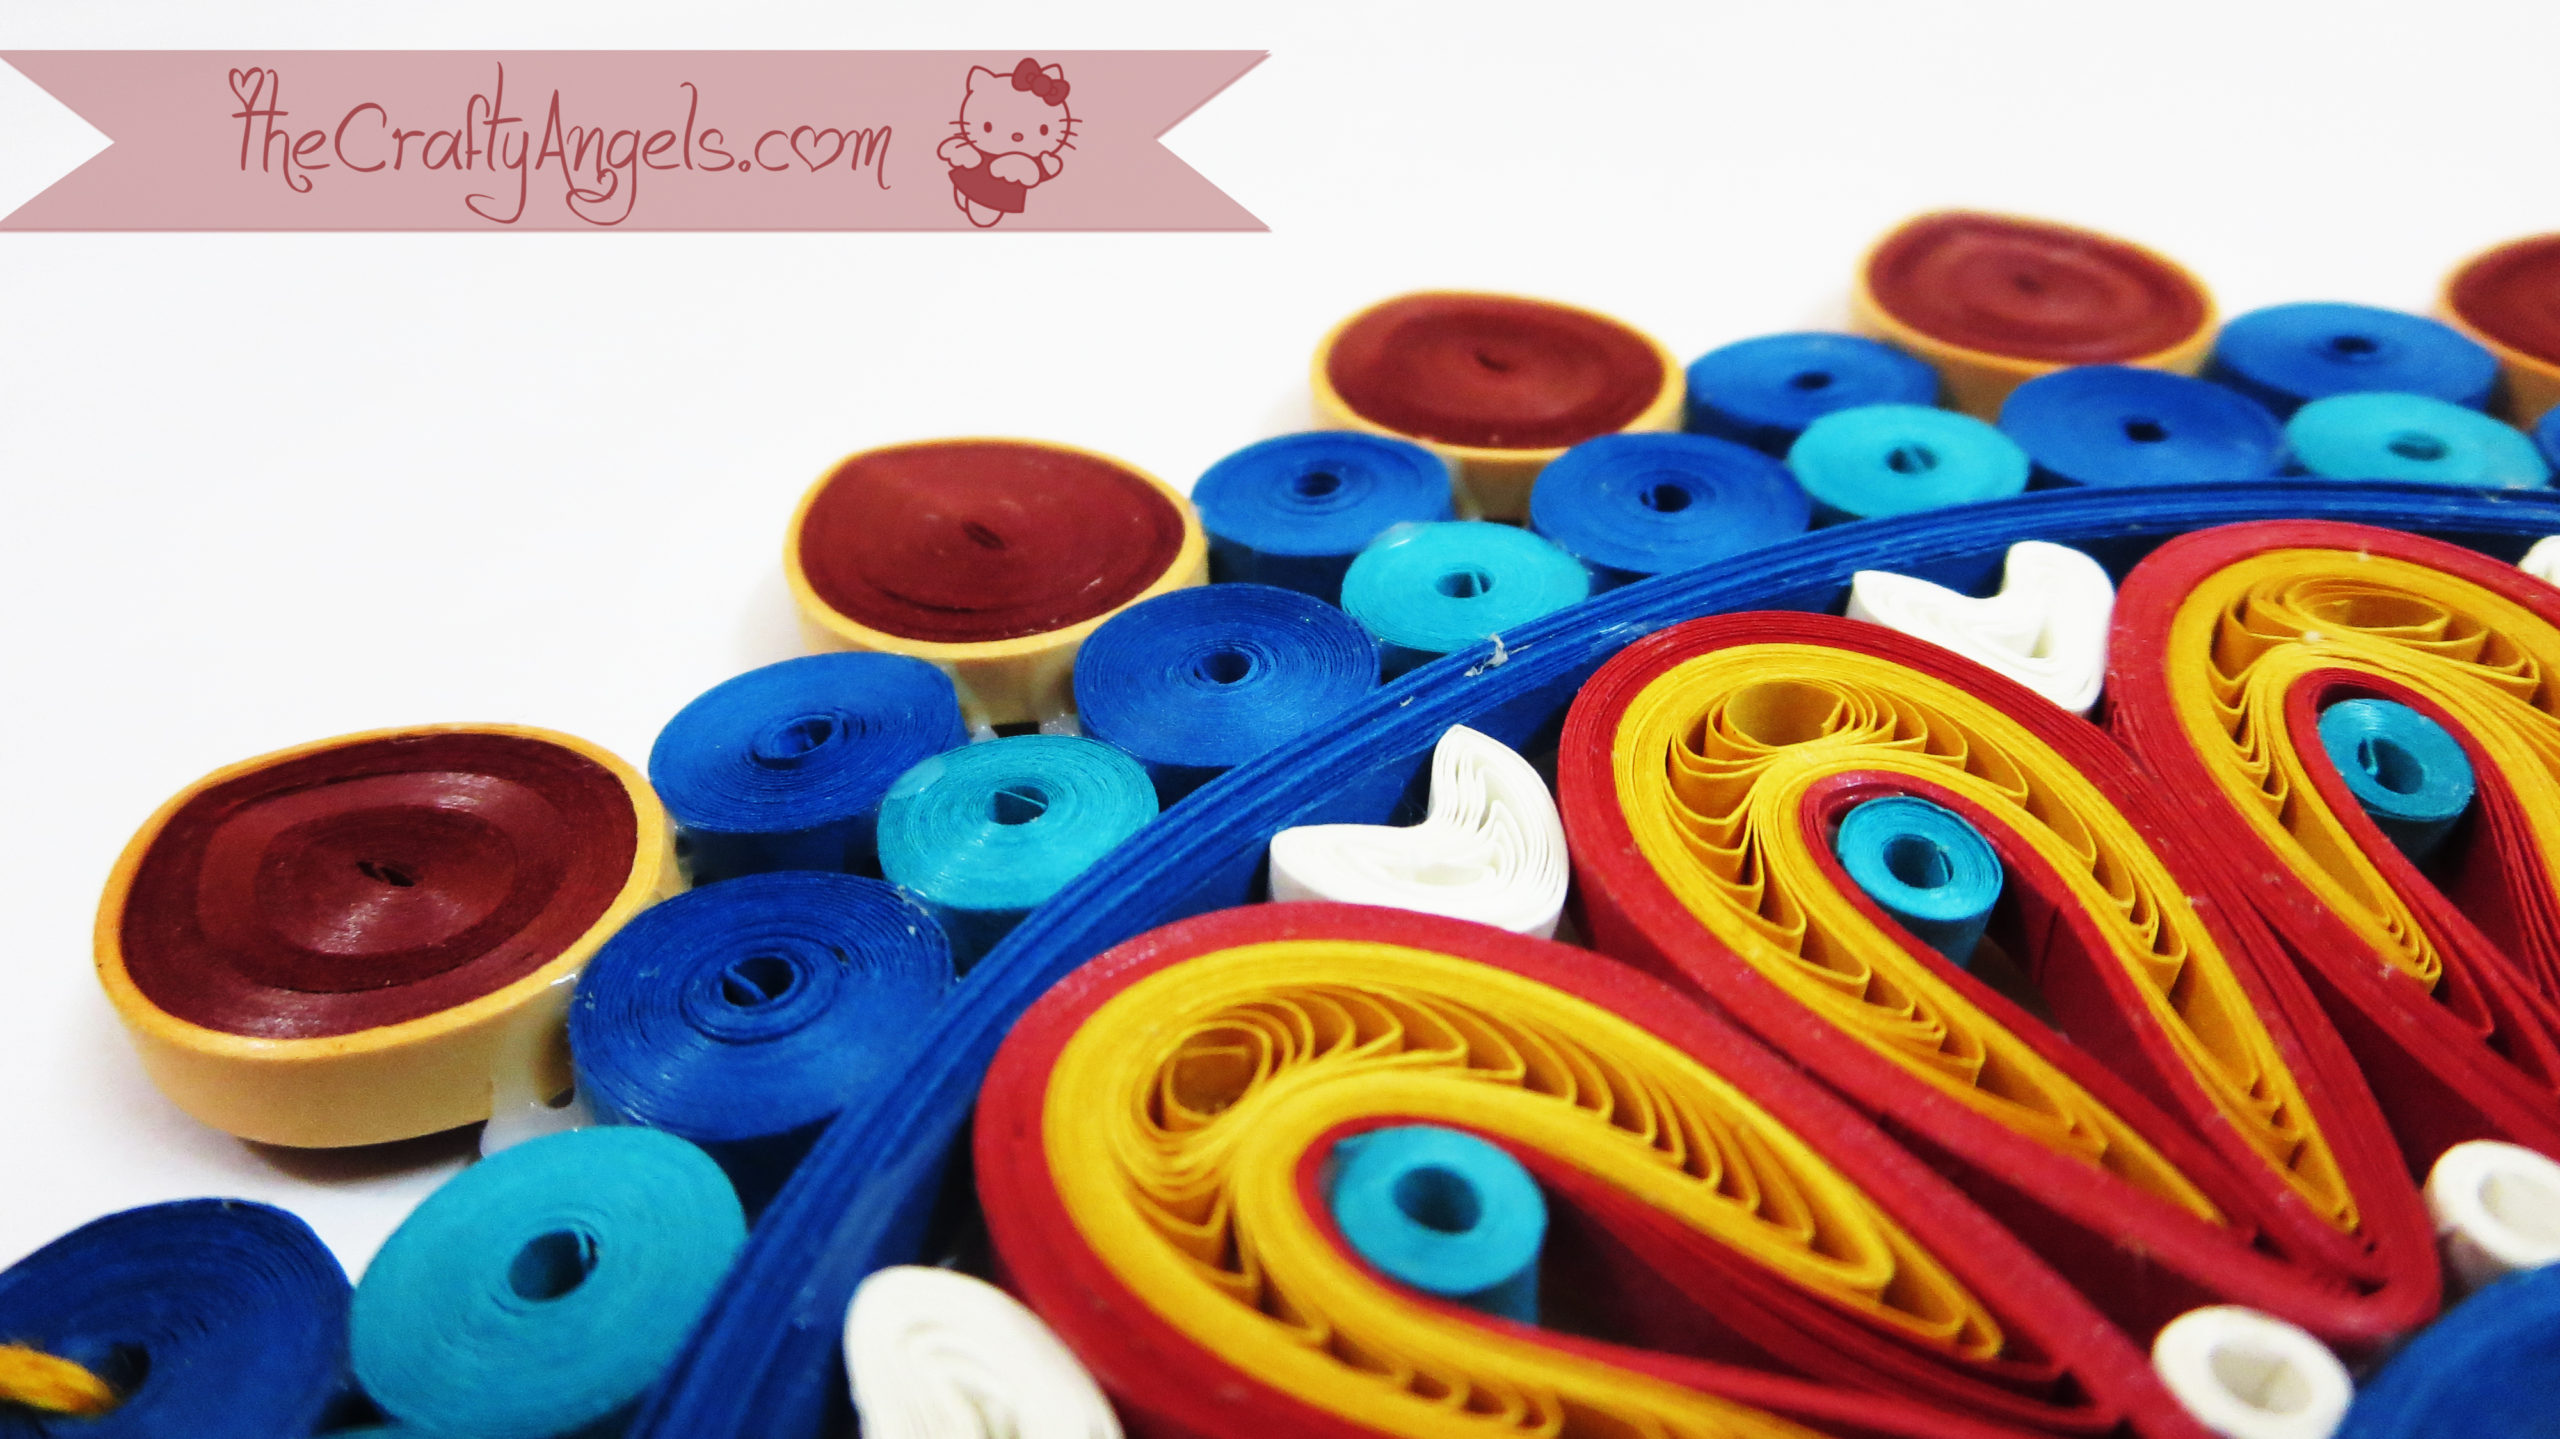
Quilling, the art of rolling thin strips of paper into intricate shapes, adds a beautiful three-dimensional element to your handmade Mother’s Day card. The process is quite therapeutic, allowing you to focus on creating something special for Mom while unwinding.
Step 1: Making Your Quilling Strips
If you don’t have pre-made quilling strips, fear not! Grab your colored paper, scissors, and ruler (or a paper cutter for a more precise cut). Aim for strips around 0.5cm wide. Here’s a tip: for even-sized strips, use a paper cutter and measure the desired width on the ruler as a guide.
Step 2: Crafting the Quilled Coils
Now comes the fun part: creating the quilled flowers! Take a strip of paper and begin rolling it tightly between your thumb and forefinger. As you near the end, secure the loose end with a dab of glue to prevent the coil from unraveling.
Here’s a secret to achieving perfectly shaped coils: once rolled, gently pinch the coil at a few points to create indents. This adds a beautiful, defined shape to your flower petals. Now, loosen the coil slightly to your desired size. Remember, practice makes perfect! Don’t worry if your first few coils aren’t exactly uniform – you’ll get the hang of it quickly.

Step 3: Designing Your Flowers
Depending on the complexity of your flower design, you’ll need to create several coils. This tutorial uses a simple wreath design, so aim for 6-8 coils for your flowers. You can experiment with different colors and coil sizes to create a unique flower arrangement.
Step 4: Preparing the Card Base
Fold your A4 sheet of cardstock in half to create the base for your handmade Mother’s Day card. Now, unleash your creativity! Lightly sketch the outline of your design directly onto the cardstock. This could be a simple wreath, a bouquet of flowers, or even a heart shape adorned with quilled details.
Step 5: Adding Flourishes (Optional)

If you want to add some extra dimension to your card, consider using sketchpens to draw and color leaves or other embellishments that complement your flower design. This step allows you to personalize the card further and incorporate Mom’s favorite colors or imagery.
Step 6: Assembling Your Masterpiece
Now comes the moment of truth! Carefully arrange your quilled flowers on the card according to your sketched design. Once you’re happy with the placement, secure them onto the cardstock using a small amount of craft glue. Remember, a little goes a long way – you don’t want the glue to show through the delicate paper coils.
Step 7: The Finishing Touches

For a polished look, consider adding a border around the edge of your card using a matching colored sketchpen or marker. This will help frame your quilled flowers and create a cohesive design.
Step 8: A Heartfelt Message

The final touch? Don’t forget to personalize your handmade Mother’s Day card with a heartfelt message! Write a special note on the inside, expressing your love and appreciation for Mom. You can mention a cherished memory, share what you admire most about her, or simply tell her how much she means to you.

This handmade Mother’s Day card is more than just a piece of paper – it’s a labor of love, a testament to the time and effort you put into creating something special for Mom. It’s a reminder that the most precious gifts often come from the heart.

Remember, the most important aspect of a handmade Mother’s Day card is the love and thoughtfulness behind it. Don’t be afraid to experiment, have fun with the process, and let your creativity flow! With a little effort, you can create a beautiful and personal card that Mom will cherish for years to come.

