Hand Painted Wood Slice Name Board
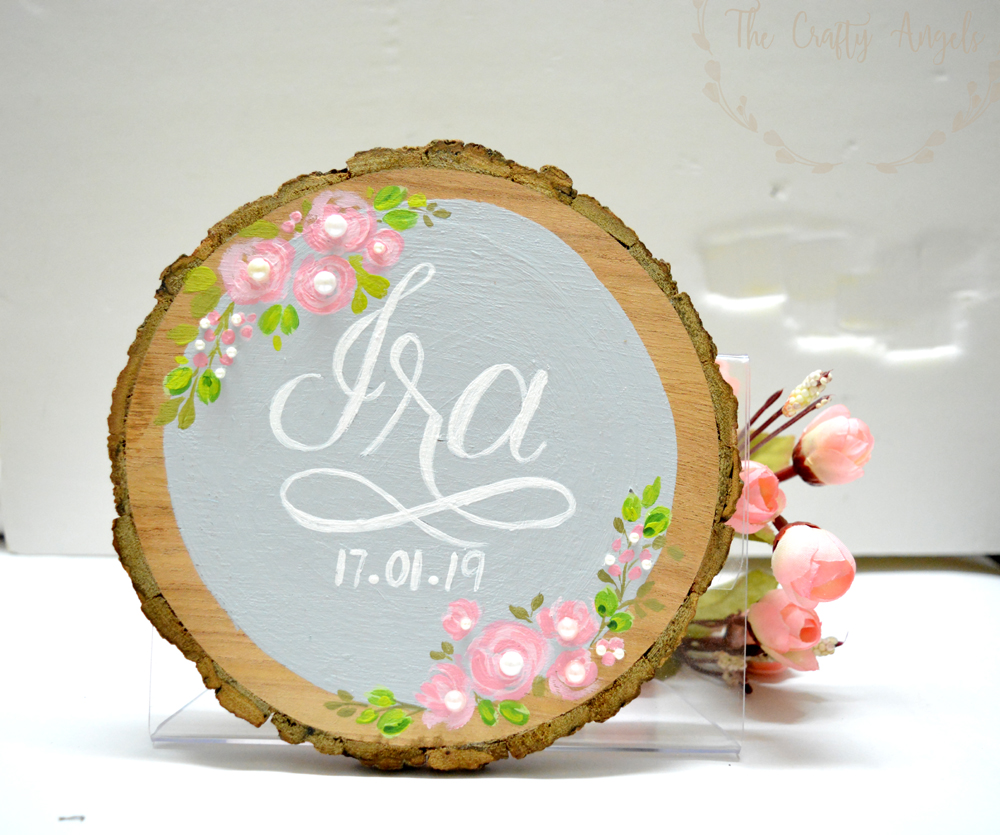
Learn how to paint fun and easy acrylic paintings on round wood slice .Super easy tutorial for hand painted wood slice baby name boards for your cute ones.
Last week has been pretty much hectic with loads and loads of rakhi tutorial. I was myself feeling very bored making so many types of rakhis and also typing out the blog post seemed never ending! Today I am sharing this very pretty project on hand painted wood slice name board that I made for my friends, and so this one is really close to my heart 🙂
I previously did make two of these and gifted them to my friends kids, but I never got the chance to click photos for putting a tutorial together. So when another Instagram friend asked me if I could make one for her daughter, even though I delayed it because of our relocation to Gurgaon n stuff, I finally took the chance to take step-wise pictures for this tutorial 🙂
Materials required to make wood slice name boards :
- Woodslice (6-7inches diameter) – I bought mine from A1 crafts and they are pretty good.
- Gesso ( transparent or white ) – I’ve used Camlin white gesso
- Chalkpaints (for background color) – Using Itsybitsy chalkpaints
- Acrylic paints ( for lettering) – Fevicryl hobbyideas
- Varnish (for defining the bark edge) – optional
Tutorial on making Floral wood slice name board :
Step one is to choose your wood slice for the project depending upon your requirement. If you are looking for name board for your home entry, a rectangular wood slice will be better. In my case, these were birthday reminders with baby names, so a circular one was more suitable. The wood slices I used were purchased from A1 craft (through their Facebook store) and they are around 6-7 inches in diameter.
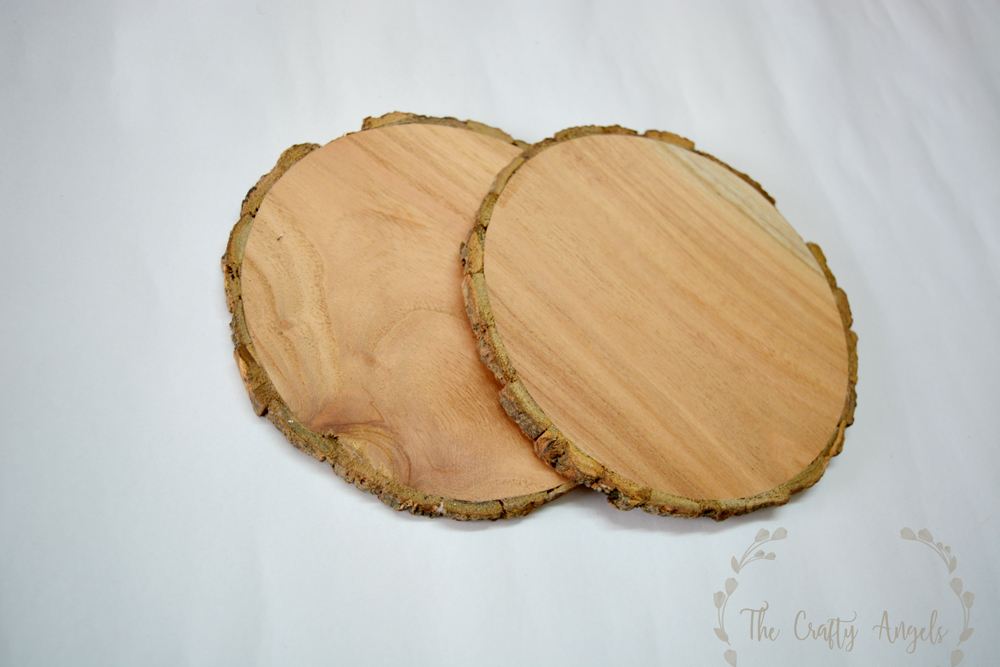
The next step is prepping the surface with gesso because the wood otherwise soaks up all your paint and never gives out the vibrancy of your paints.
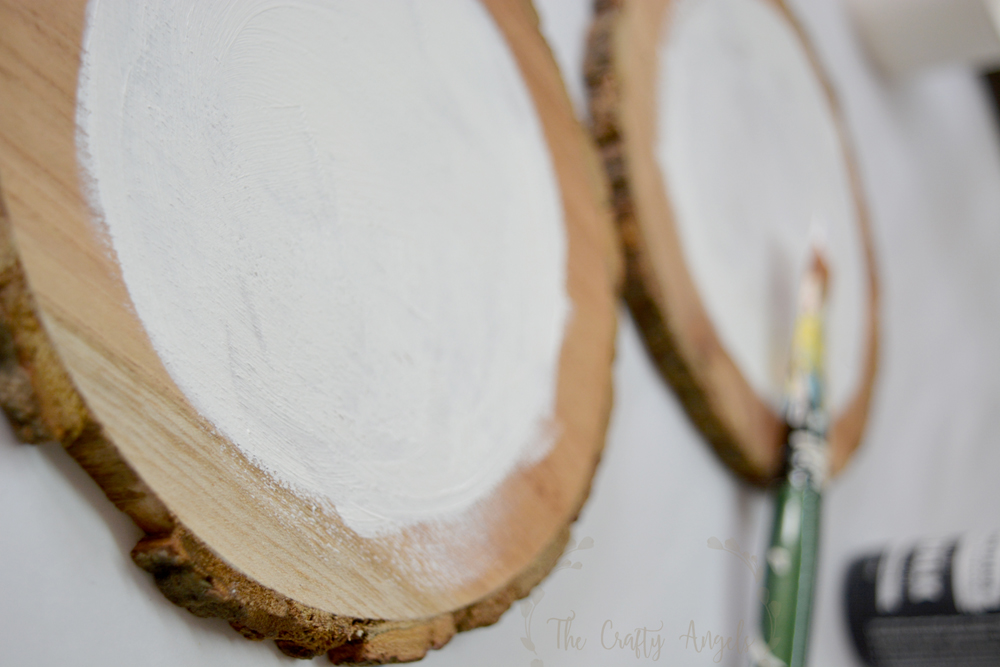
I left out a small margin of bare space around the outer edge of the slice, and painted the rest areas with white gesso. Once this base was completely dry, I put two coats of chalk paints over the gesso to finalize the background. Since I did not have the exact same color of grey I was looking for, I mixed black, white and a bit of purple to create the shade.
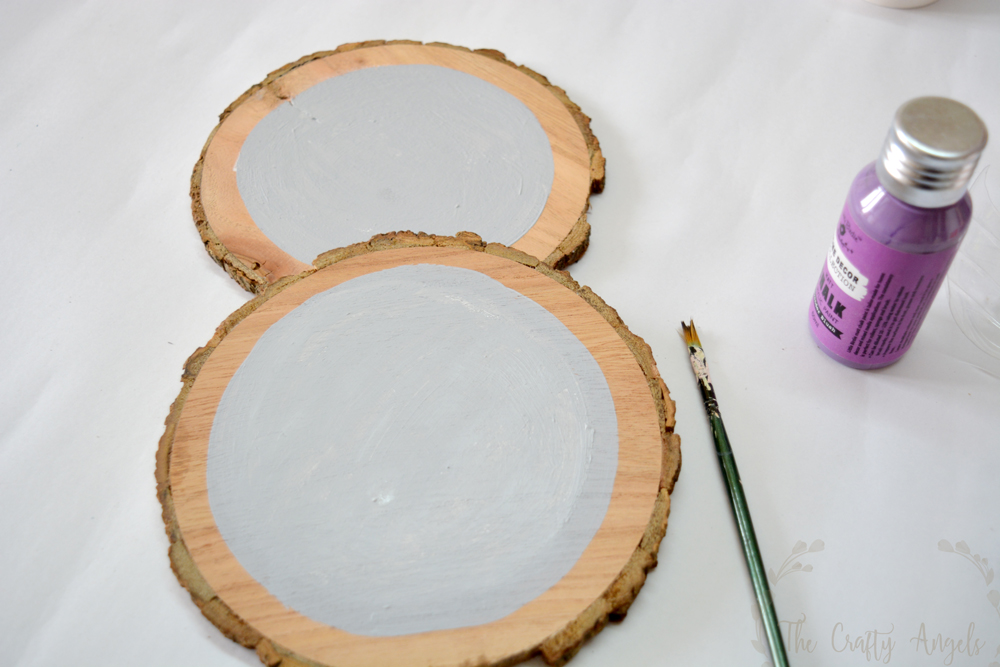
The next step is to decide your layout of elements in the wood slice. I have pinned a lot of hand painted wood slice art inspirations on my Pinterest if you prefer making a design different from this one. My friend gave me an inspiration photo so I had to go with that design, of rose branches on two opposing corners of the circle, with name calligraphed across the middle.
For painting the roses, I used simple circular strokes, but not of the same color shade, I put a drop of red and a drop of white paint side by side and varied the ratio of both colors, every time I put a stroke. That way it seemed like there was more depth to the flowers.
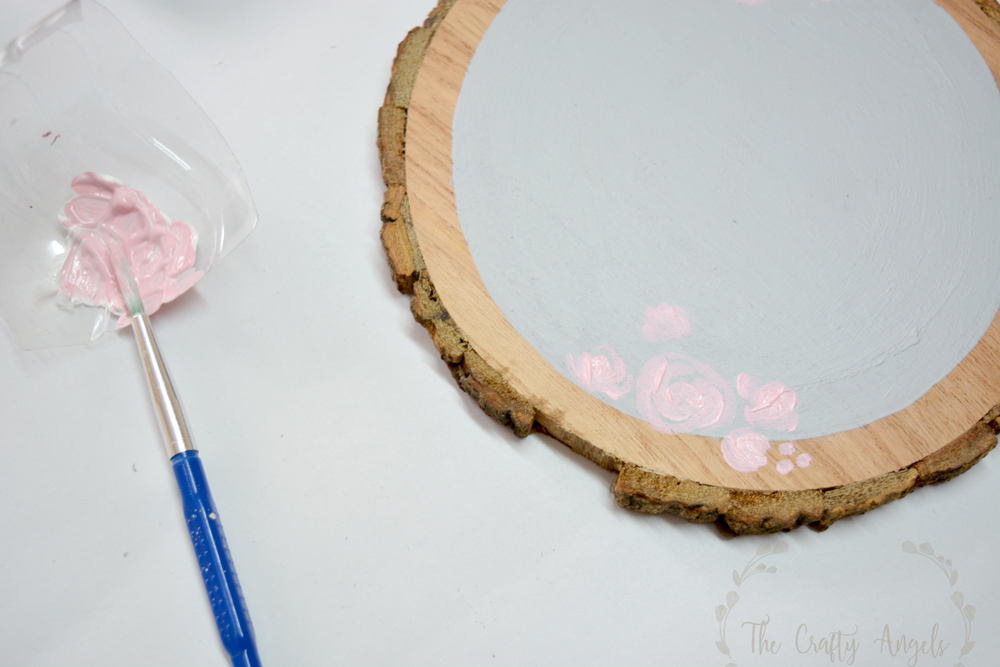
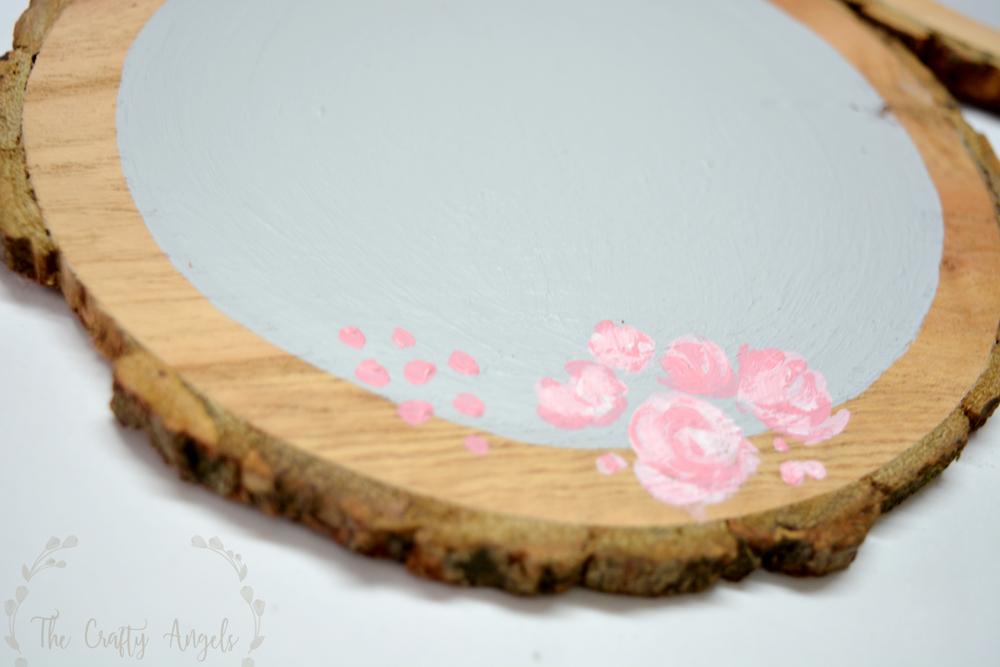
I also added leaves, twigs, rose buds etc in the same fashion of varied color mix ratio. Since my base was chalk-paint, pencil marks on it would erase off easily . So I took my time to calligraph the content with pencil and finalist the draft before going on with paint on it. If you are not good with writing in pretty handwriting, take a print of the content and trace it onto the wood slice. All my tips & tricks for getting started with calligraphy/lettering is already on my blog so check it out if interested.
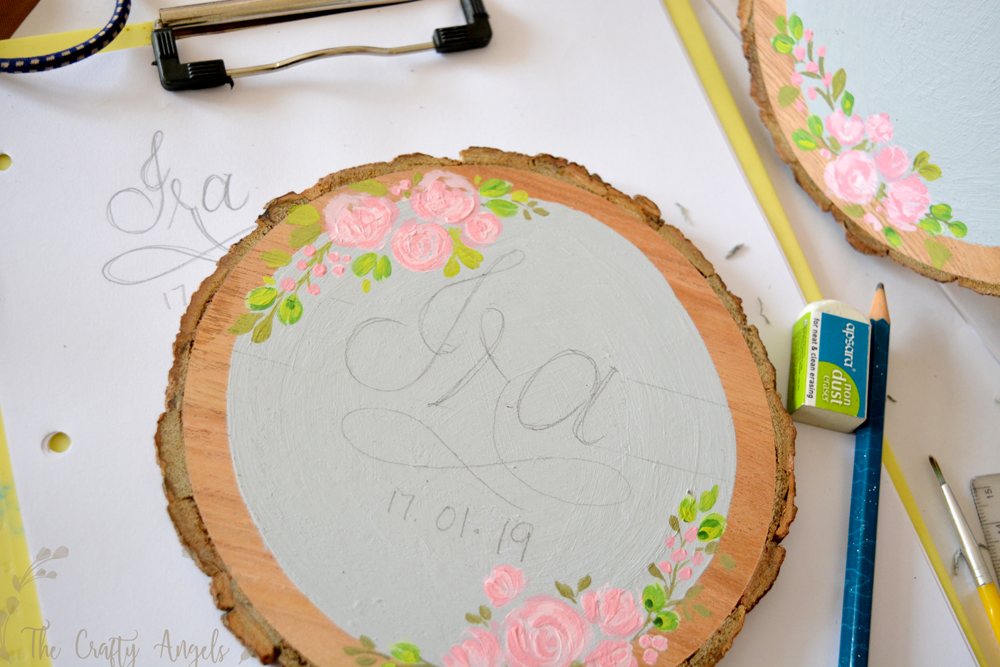
I used the smallest round brush and white acrylic paint for doing the calligraphy part. Even if you aren’t good at lettering or calligraphy, make sure you have a pencil sketch over which you can patiently and slowly make the final work. Start with thinner strokes so that any mistakes can be covered up by filling in. If you start with heavy hand and thicker strokes, you will end up with fat & closely spaced alphabets at the end!
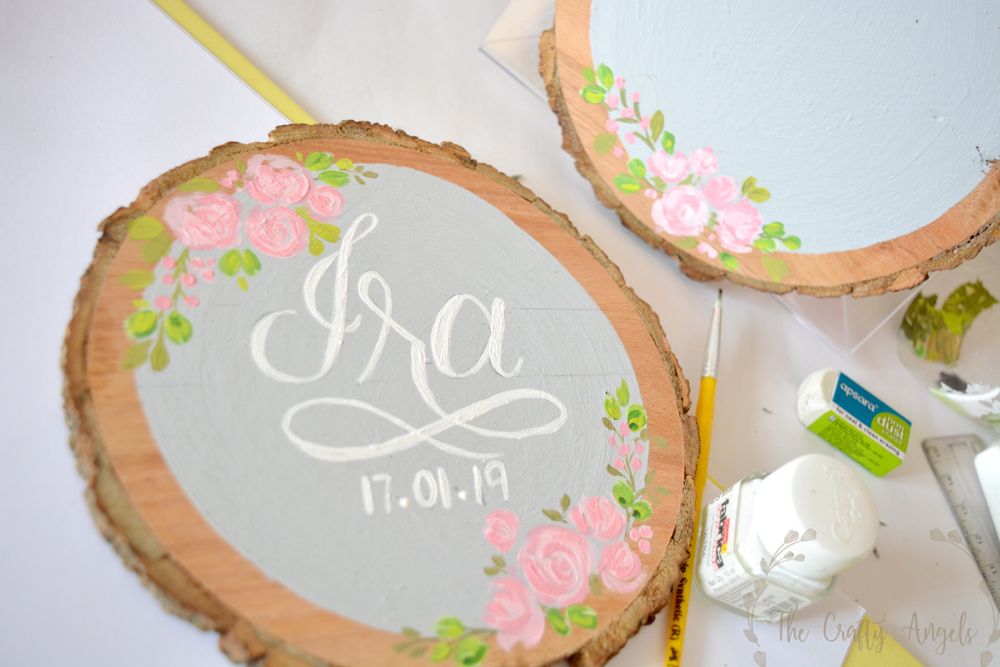
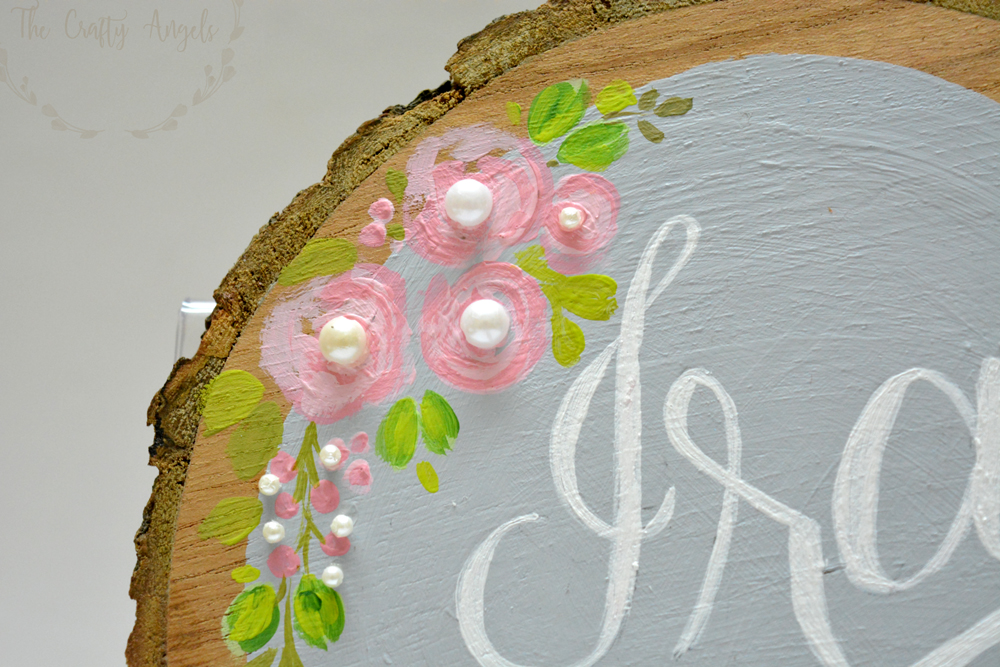
Once the lettering is over, have a final look to check if you need more symmetry or details. Add leaves or buds in the painting, add polka dots or paint splashes etc for added details. I gave it a special touch by adding white half pearls and beads at center of my rose flowers (with fabric glue).
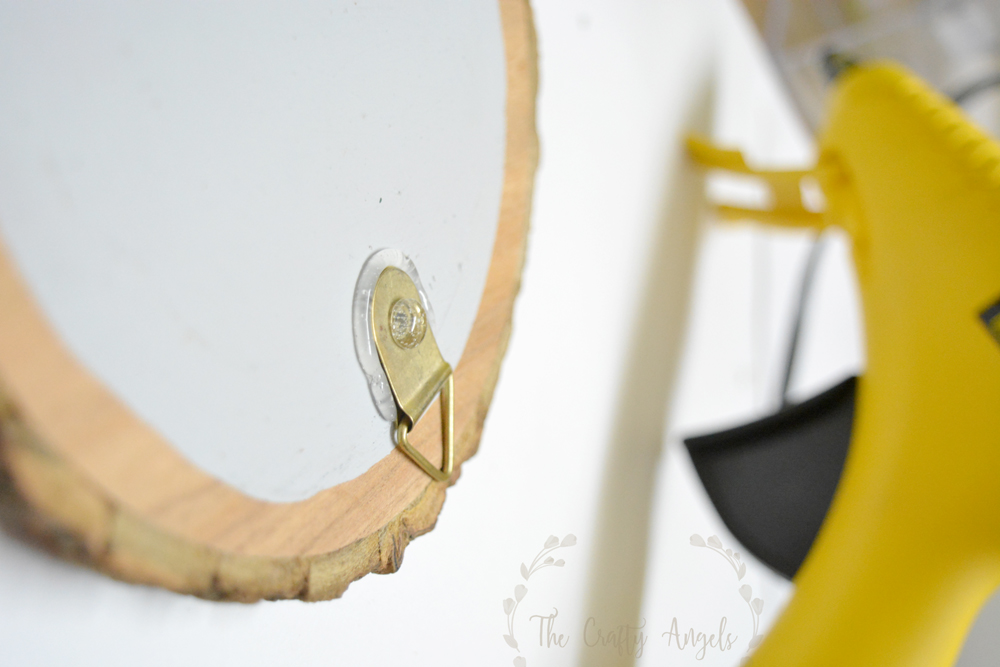
Give it sometime to dry out and then you can gather some hardware tools to fix a hook at the backside. I bought these triangle shape hooks used for photo frames and stuck them with generous amount of hotglue. The only thing you should be concerned is that when you stick the hook, make sure your lettering will lay parallel to floor while hanging it on the hook.
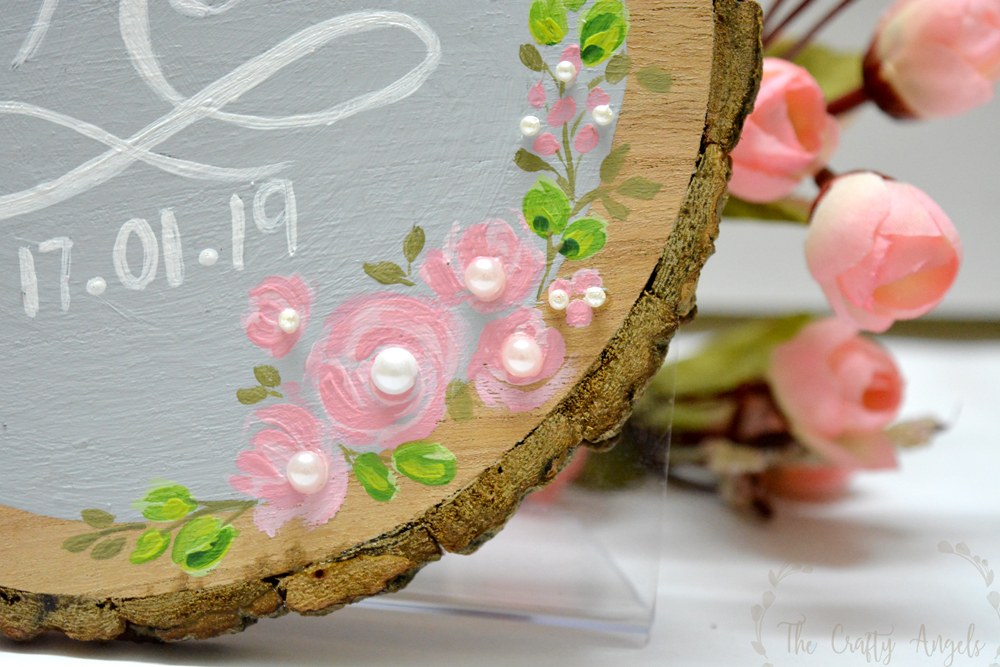
So now that you saw all my attempts at woodslice art, tell me which one did you like the most? I think I am most attracted towards the ones with black background because they are more vibrant. But I put in most of the effort and details into the pastel one with grey shade so I think I like it equally 🙂
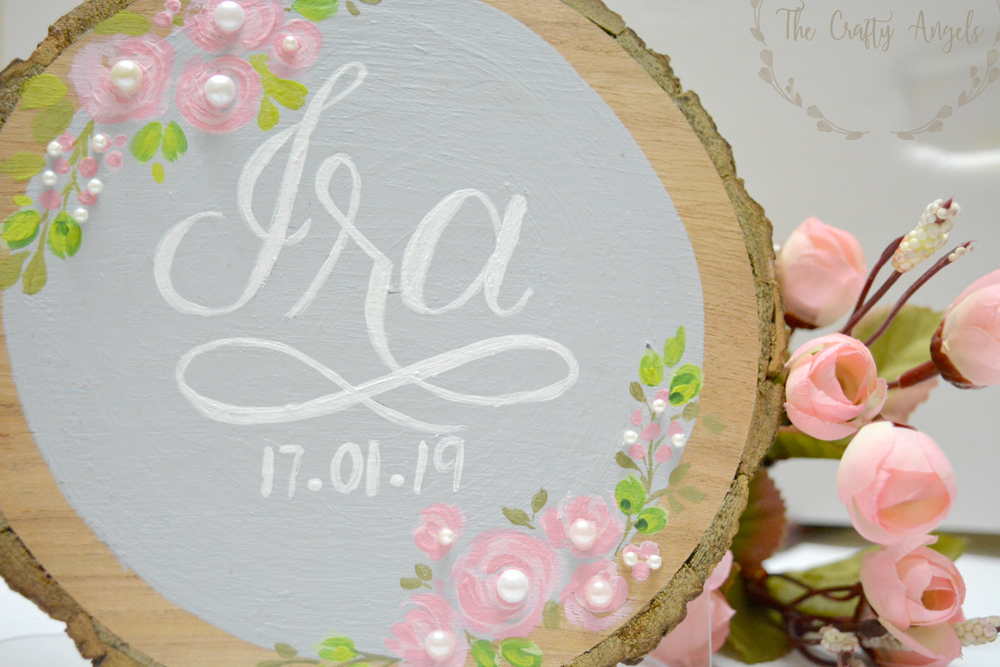
Will you be trying this for your home? I am planning to make a rectangular version of name board for our home next. Maybe I will shoot a video tutorial for that 😉
Until then ,
xoxo Angela

