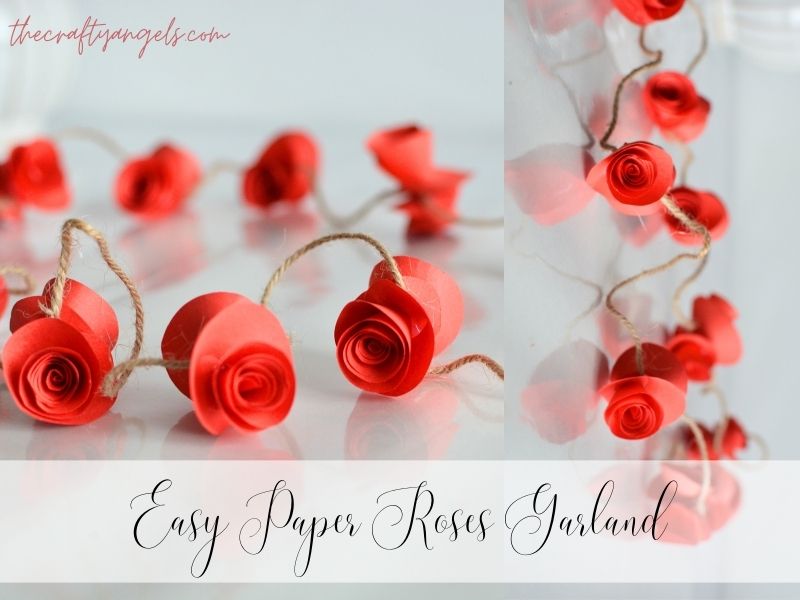
Easy Paper Roses tutorial for Valentines
Paper roses are one of the easiest and quickest crafts to make, perfect for adding a pop of color to your home decor or for creating beautiful handmade gifts. Not only are they simple to create, but they also require minimal materials and effort. If you find it difficult to get the shape right, you can print out a template to guide you. However, this step is optional since the process is quite straightforward.
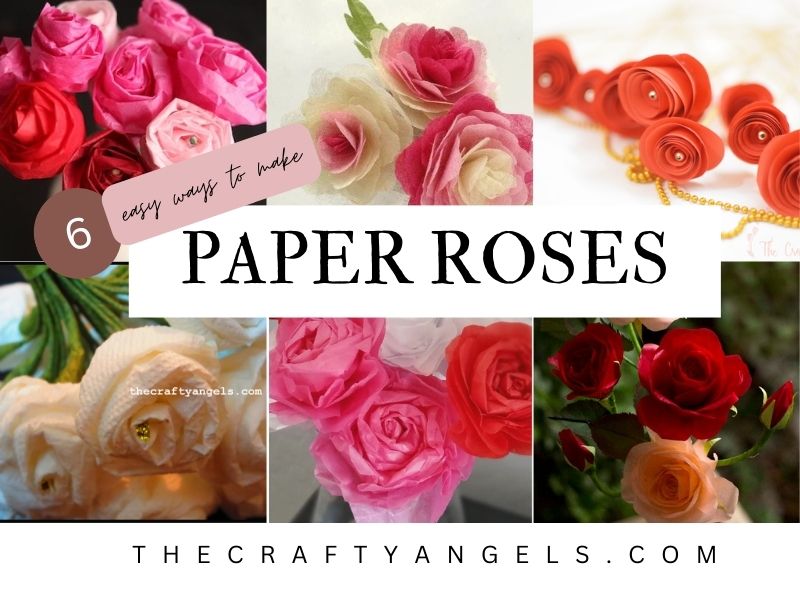
I had previously done a similar bouquet version of rose flowers and if that is interesting to you, please check out the tutorial here – SWIRL PAPER ROSES & 6 PAPER ROSES TUTORIALS
Materials Needed for Paper Roses :
- A4 sheet of paper (any color of your choice)
- Scissors
- Pencil
- Glue gun (or regular craft glue)
- Skewer sticks or dry twigs (optional, for stems)
- Minimalist vase (for display, optional)
Skill Level: Beginner
Approximate Time: 15-20 minutes per rose
Step-by-Step Instructions for Paper Roses :
Step 1: Preparing the Paper
To begin with, take an A4 sheet and fold it vertically along its breadth, dividing it into three equal parts. Next, fold it four times along its length, ensuring you create nearly perfect squares for the flower. Alternatively, you can simply cut squares of your preferred size.
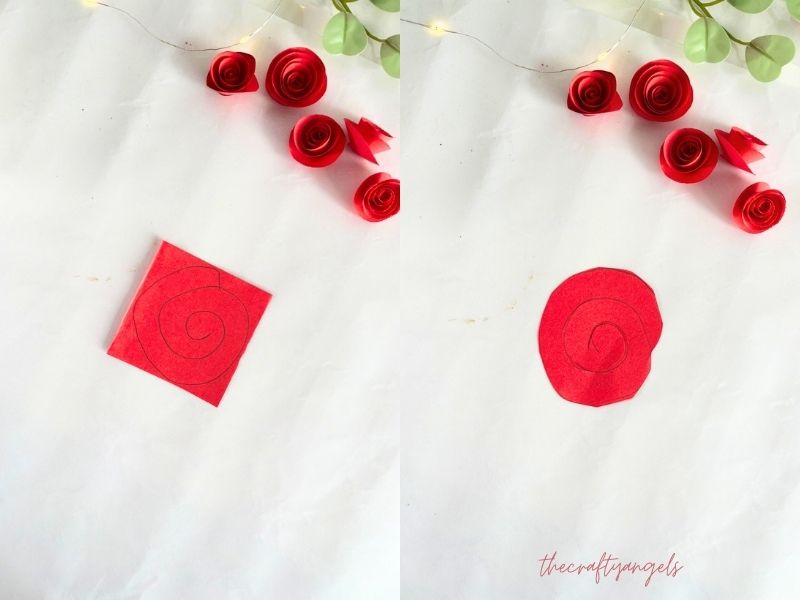
Step 2: Drawing the Template Swirls
Now, draw the template swirls on each square. If you are drawing them freehand, start by sketching a circle that touches the edges of the square. Continue drawing concentric circles, ensuring the width between the lines remains fairly consistent. Remember to leave a small circle at the center, as this will act as the base of your rose.
Step 3: Cutting the Swirls
Once your swirls are drawn, use scissors to carefully cut along the lines. To save time, you can stack two to three squares together and cut them at once. However, be mindful while separating them to avoid tearing the paper.
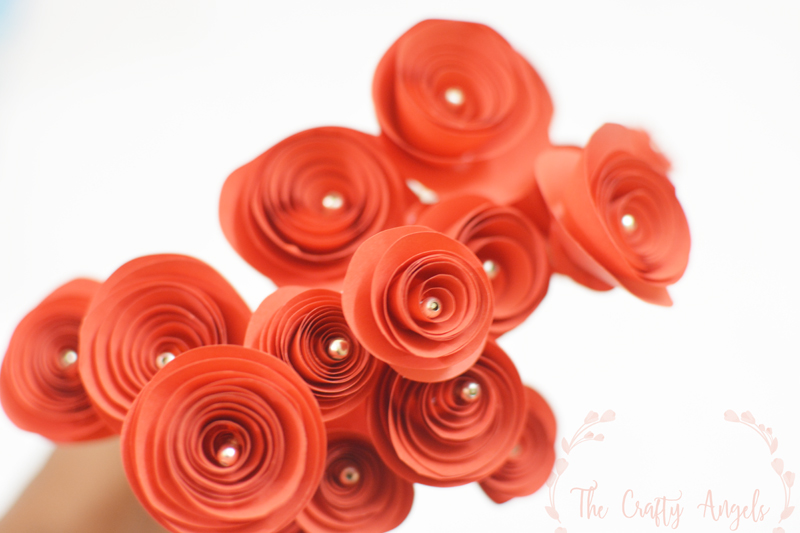
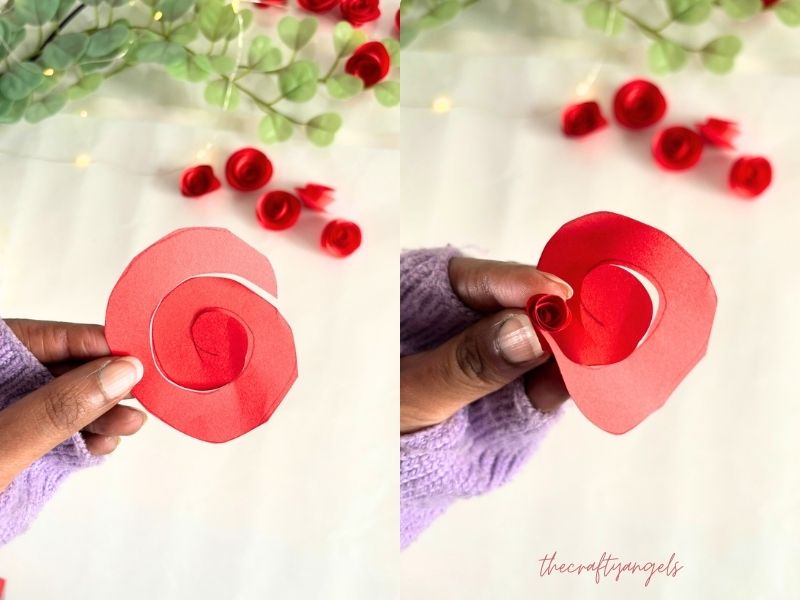
Step 4: Rolling the Paper Roses
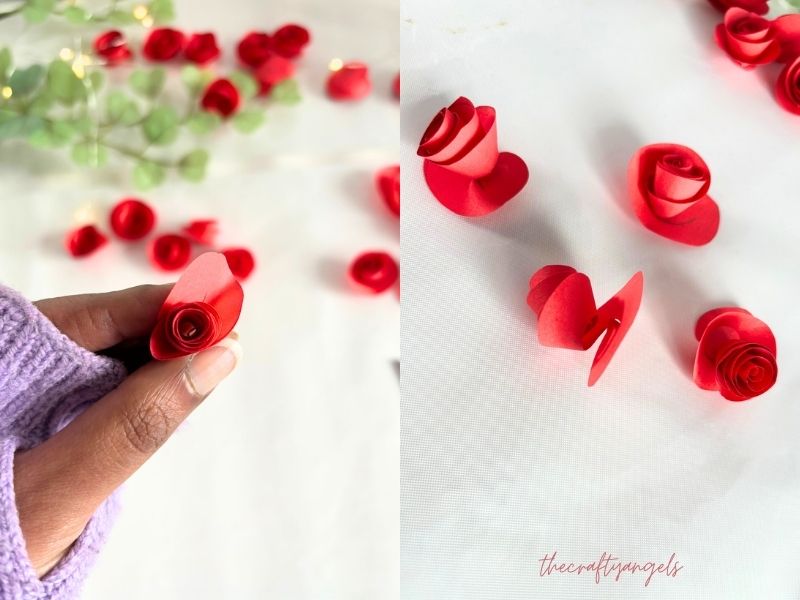
Now comes the fun part! Begin rolling the cutout from the outer edge toward the center. Since starting the roll can be tricky, a useful trick is to fold a small portion at the end and then fold it again to make it thicker. This makes it easier to grip and roll. Continue rolling until you reach the center, then let it unwind slightly so the petals form a natural shape.
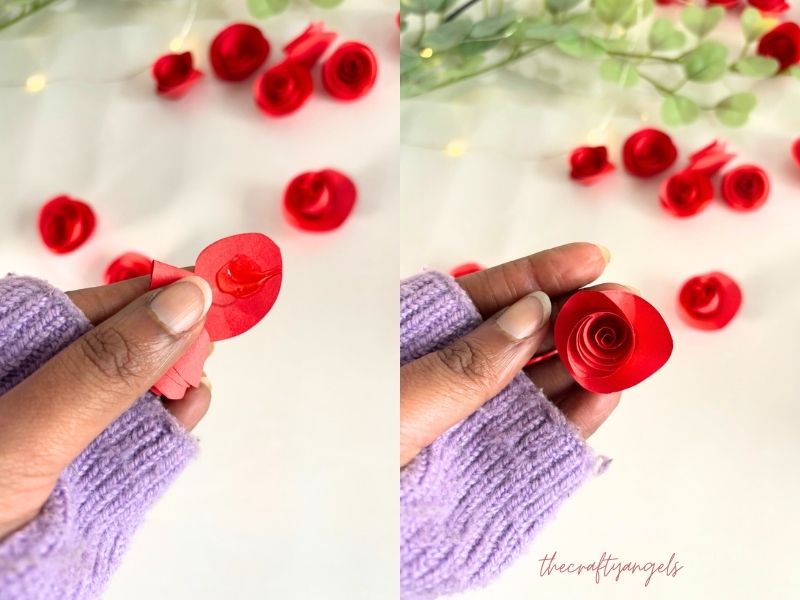
Step 5: Securing the Rose
Once you are happy with the shape, apply a small dollop of hot glue to the center circle and press the rolled paper onto it. If you are using regular glue, hold the rose in place for a few moments until it sticks securely.

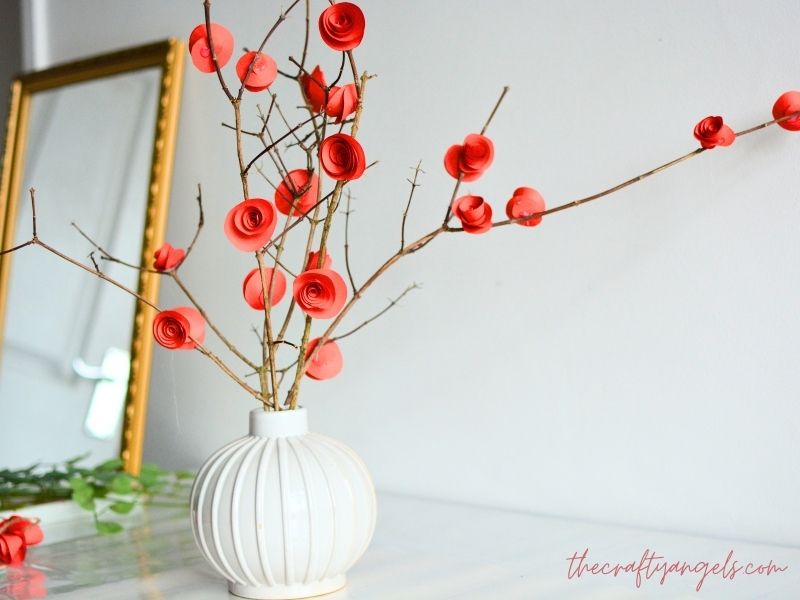
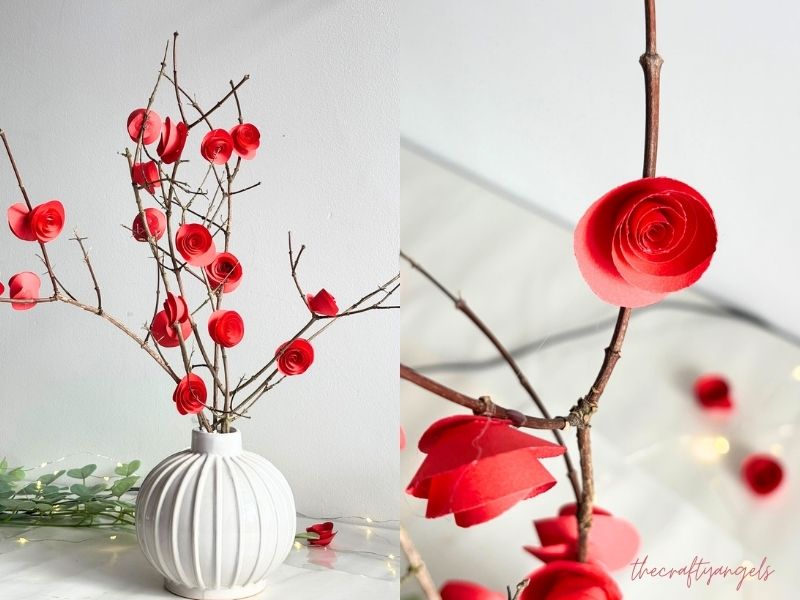
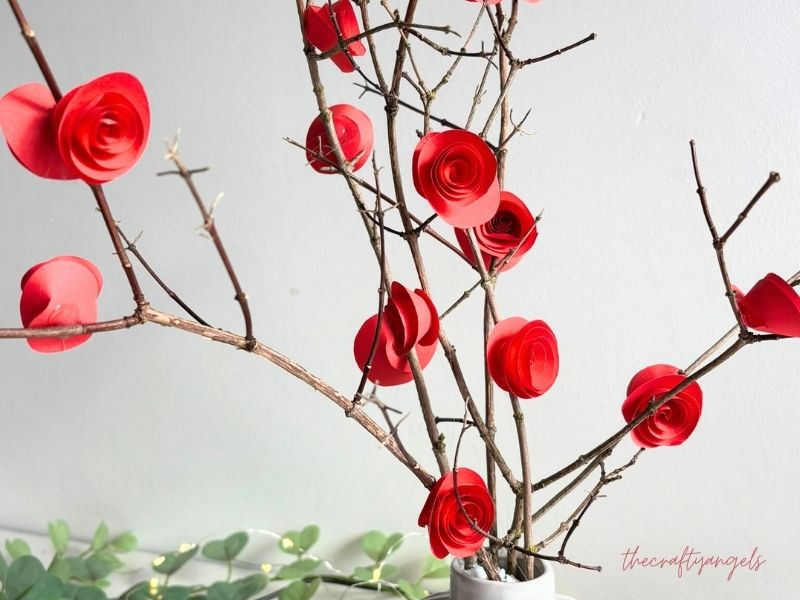
Adding a Rustic Touch
If you want to elevate the look, consider attaching your paper roses to dry twigs for a rustic, natural effect. Simply place a small drop of hot glue at the back of the rose and press it onto the twig. Hold it in place until it dries completely. Depending on your preference, you can arrange these in a vase or turn them into a bouquet.
Creative Ways to Use Your Paper Roses
- Paper Rose Bouquet: Attach the roses to skewer sticks and wrap them with floral tape to create a lovely bouquet.
- Rustic Twig Arrangement: Gather dry twigs and glue the roses onto them for a charming, rustic display.
- Gift Wrapping: Use paper roses as embellishments for gift wrapping.
- Wall Decor: Create a floral wall arrangement by gluing multiple roses onto a canvas or frame.
Last time I made these paper roses, I used skewer sticks to create a bouquet. This time, I decided to forage a few dry twigs and attach the roses to them, adding a rustic touch to my home decor. The contrast of deep red roses against neutral twigs looks absolutely stunning. I finished the arrangement by placing them in a minimalist white vase with groove details—picture perfect!
Paper roses are a delightful way to add charm and creativity to your space without much effort. Whether you use them for decorations, gifts, or DIY projects, they are both versatile and budget-friendly. If you’re looking for more inspiration, be sure to check out my Pinterest board for additional ideas on how to use these lovely paper flowers!
xoxo Angela