DIY wooden Key Hanger in under ten minutes
A DIY is always fun and when its minimalist and chic, its absolute fun – presenting DIY wooden key hanger! Make these simple and functional key holder in under ten minutes.
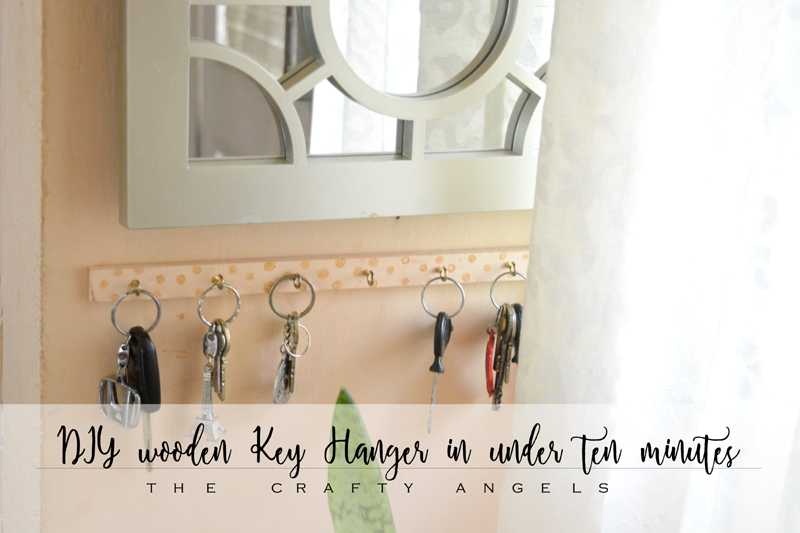
If you have been following my blog, you sure wouldve seen my earlier version of keyholder that I made with a burlap panel. I had that burlap keyholder for a year around and now I needed a change. I got these pretty mirror collage mirrors from decorkart for my entryway and I needed a keyhanger much smaller so that I couldve eneough space for the mirror on that small wall.
[irp posts=”5297″ name=”Handlettered Canvas quote – a simple wall decor project”]
This was a ten mins project and pretty easy to make.
Materials required to make DIY wooden Key Hanger :
- Wooden beading
- Cup Hooks
- chalkpaints
- Double sided sticky tapes
How to make DIY Wooden Key Hanger :
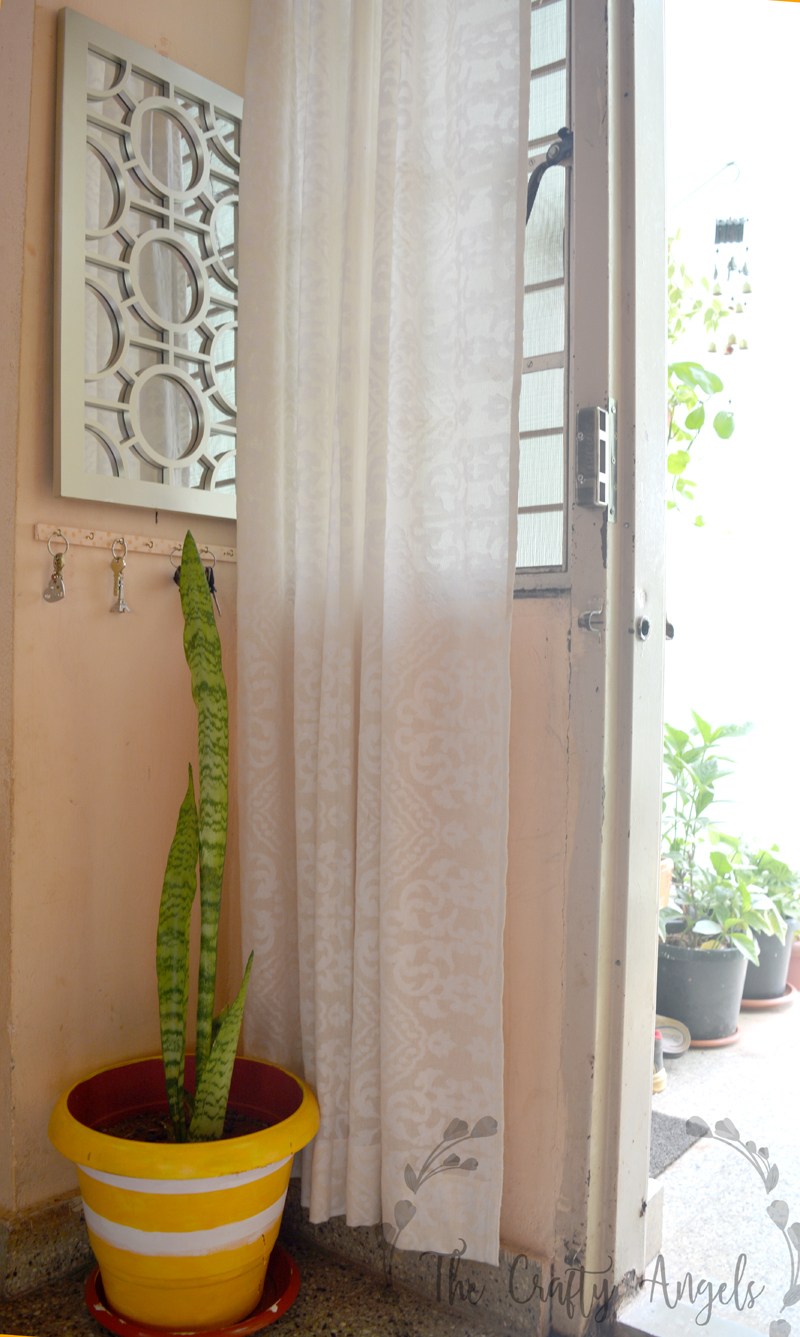
The only main supply you need for this project is a piece of wood. I know its hard to get such a small piece but I got these sets of beadings thats used for photo framing and I cut them into smaller piece just to fit into my wall space.
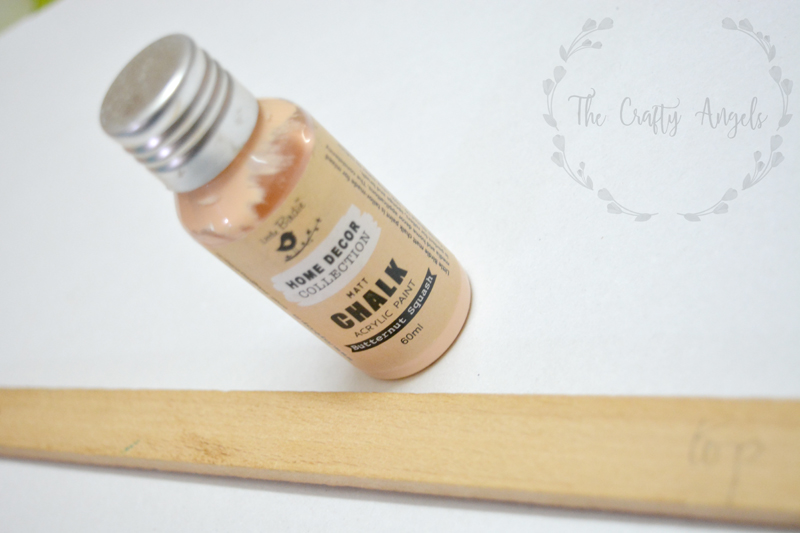
Since my beading was hardly an inch wide, I used my tiny hacksaw to cut it down. I painted it with the same shade as my wall which is a very mild peachish orangish shade. Since the mirror was going to be the prominent object on the wall, I wanted to downplay the keyholder and keep it more functional.
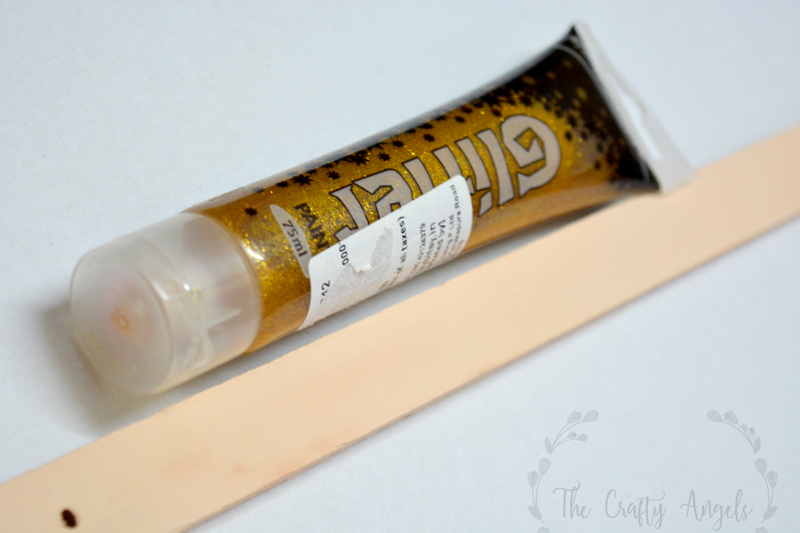
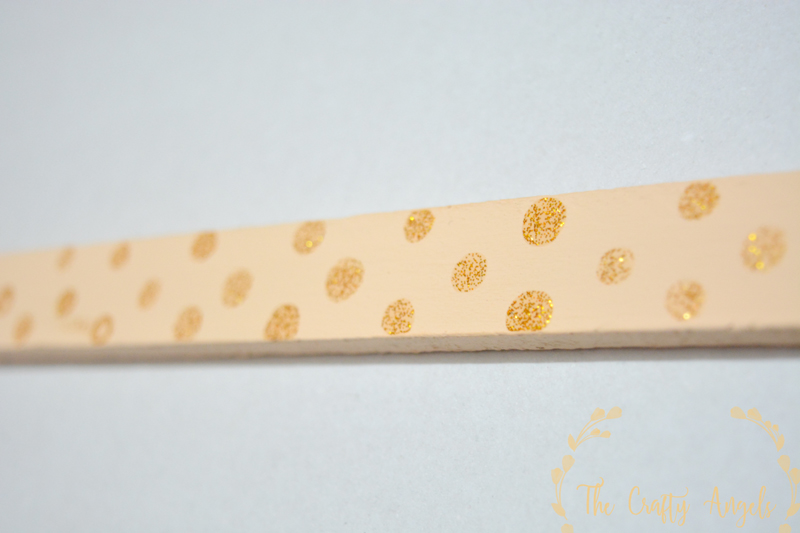
The shade chosen was butternut squash from Itsybitsy chalk paints and for a simple added interest, I put small glitter dots with monte marte glitter paint using a earbud.
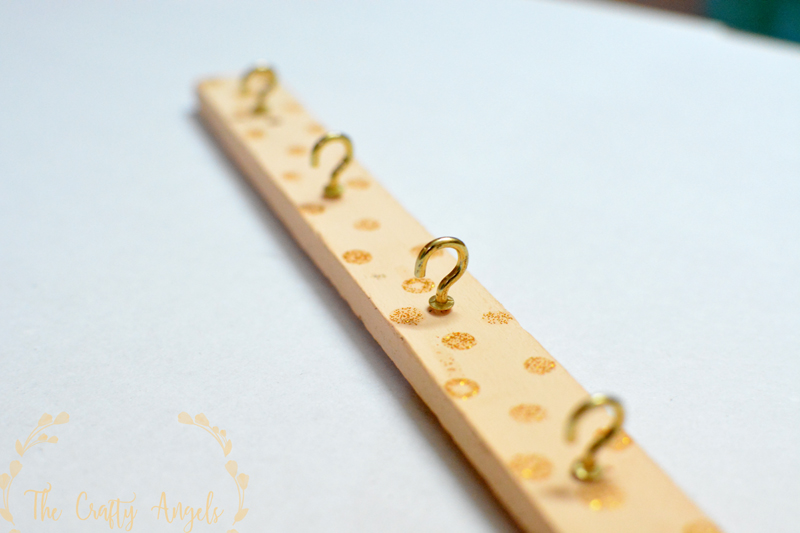
Once this was dry, I divided the entire length into equal pieces to mark the places where the hooks should go. First I used a small nail and hammer to put in a tiny mark so that I had a base into which I could screw in my hook. The C hook that i am using is from Itsybitsy (and they have a good variety of hardware stuffs especially when you want in shades like gold etc thats not available in local hardware shops). I placed the hook on the small mark made using the nail and started twisting it with a hard push so that it went all the way inside.
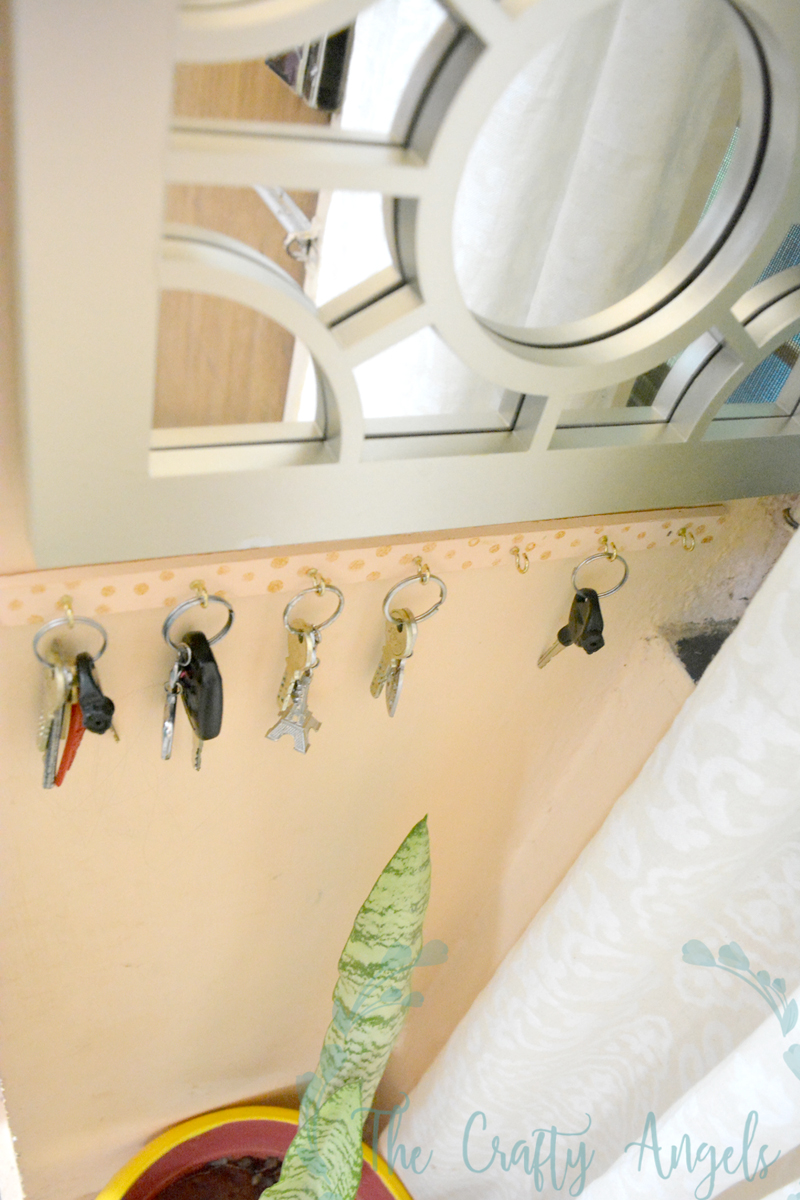
Well thats it. The DIY wooden holder was done and it is time to put it up. SInce we have a lot of keys to hand especially ones from office that are pretty heavy and bunched up, I used the double sided tape on the entire length and I put it up on the wall.
This is how it looks now. Pretty or not?
Until next DIY xoxo
Angela



Loved this one! though I don’t need a key hanger right at this moment…i will definitely try my hands on making one!
Thankyou Arnisha 🙂 Glad you enjoy DIYs 🙂