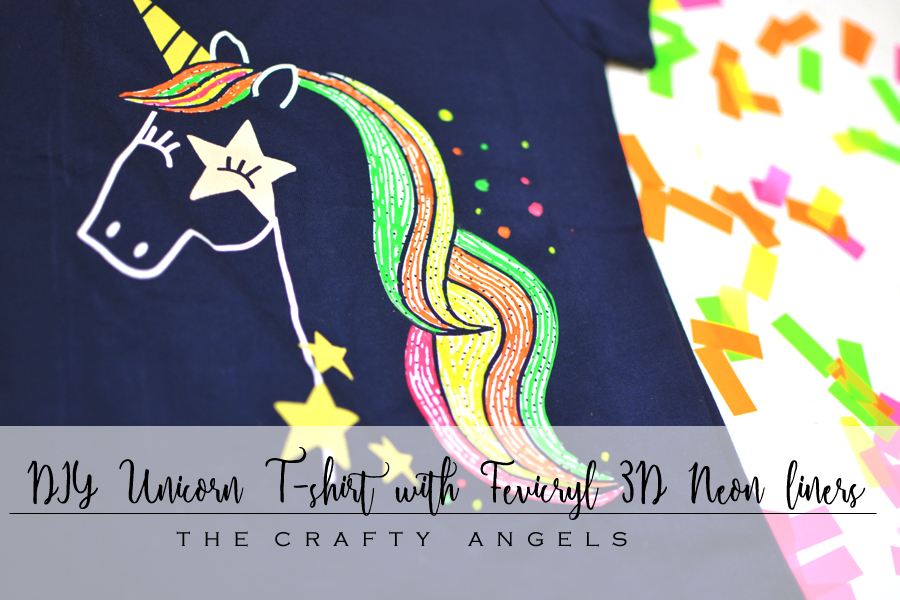
DIY Unicorn T-shirt prop with Fevicryl 3D Neon liners
Kids and unicorns are inseperable and with the recent advent of unicorn popularity, I couldnt wait to make these DIY Unicorn T-shirt prop with Fevicryl 3D Neon liners 🙂 The Fevicryl 3D neon liners are a recent launch in India and they also have a launch contest with prize worth Rs.1000. Read more in the post !
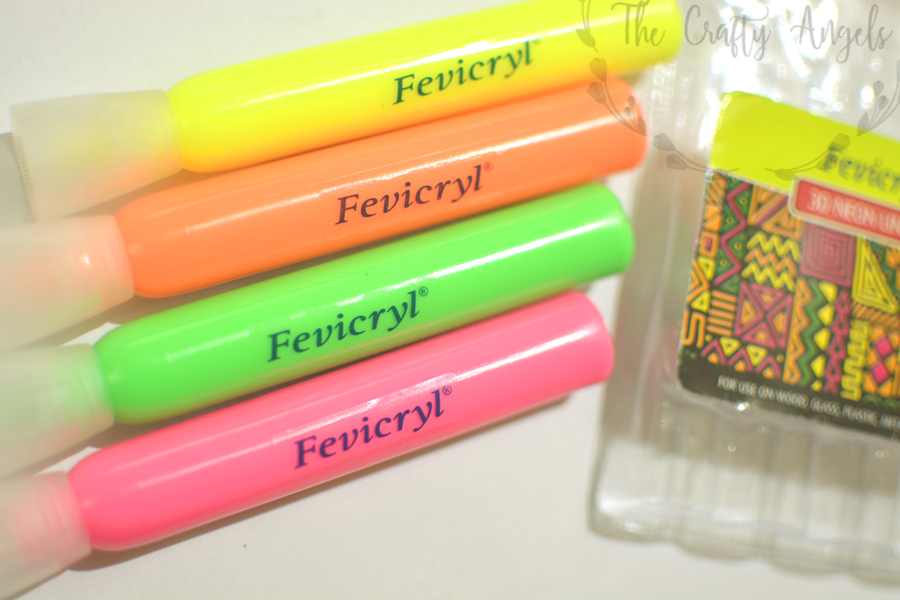
Fevicryl is a staple name in every household of India and I literally have a whole shelf dedicated to supplies from the brand. It is not surprising that I am excited about the launch of a new line of product from the brand – Fevicryl 3D neon liners!!
[irp posts=”5364″ name=”Making of Tanjore Painting : A simple tutorial”]
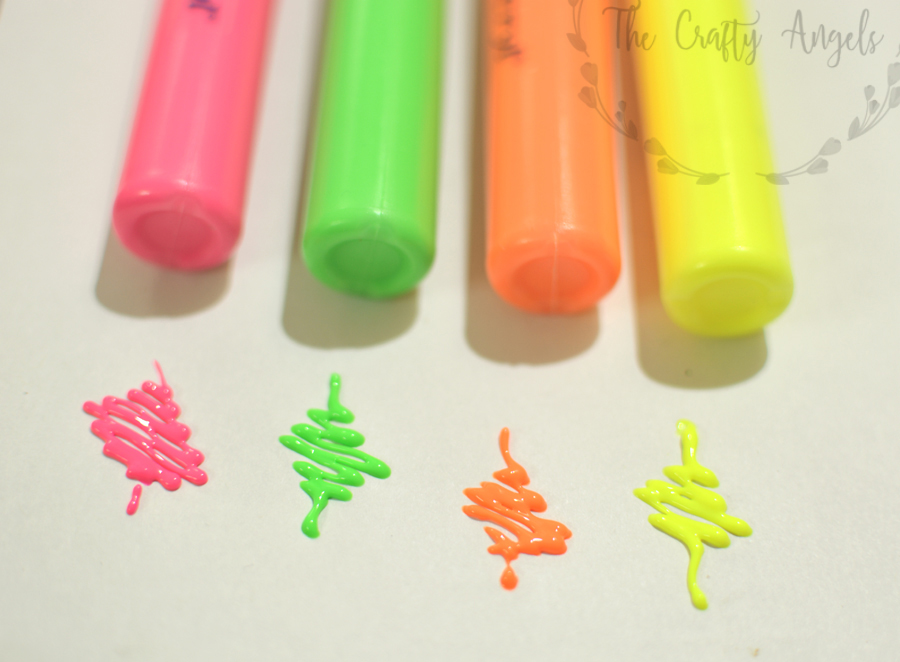
Neon has been in hot trend since spring of 2017 and is expected to stay on forever. The shades are vibrant, cheerful, and uber chic, multi surface applicant and above all, waterproof!
More about Fecycril 3D liners for DIY Unicorn :
- Fevicryl 3D neon liners true to its name, gives a 3D embossed effect on surfaces where applied. The shades launched are vibrant and versatile – green, pink , yellow and radium green.
- The Fevicryl 3D neon liner comes in a pack of these four shades and costs Rs.99/- per set which is absolutely pocket friendly.
- The Fevicryl 3D neon liners, unlike their bottled 3D liner predecessors come in a pen shape and hence are really easy to use. The flexible body helps in squeezing out the right amount of paint with least pressure and the pointed nib helps in precise & intricate application.
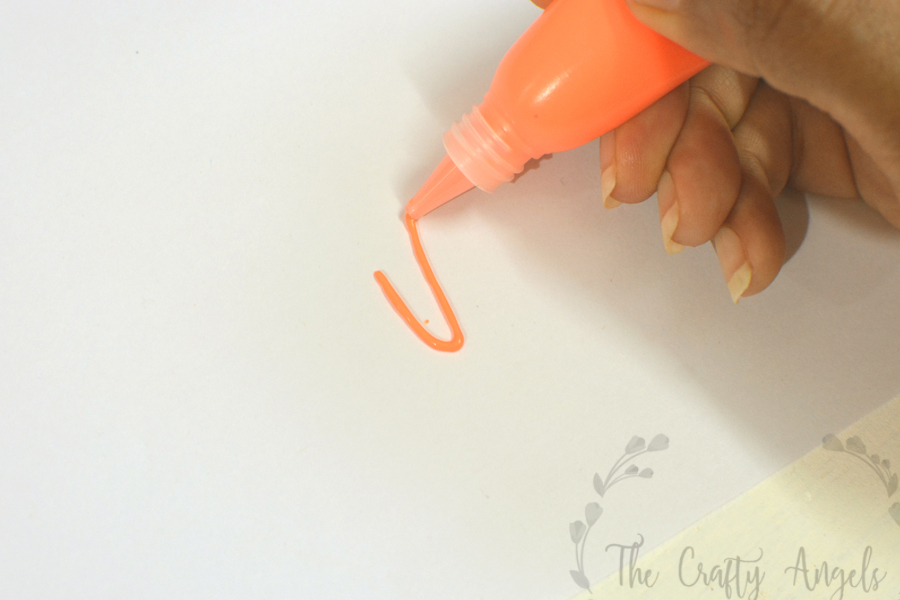
- The product is multi-surface applicant – be it glass/plastic/ceramic/fabric, the 3D neon liners stays well even during a good wash J
Neon Transformation for a colourful DIY Unicorn T-shirt :
My daughter loves Nella the Princess knight cartoon show and she was extremely disappointed when her ignorant mommy (which is me) bought her a t shirt with a white unicorn ( who chooses a white unicorn! – well me :P).
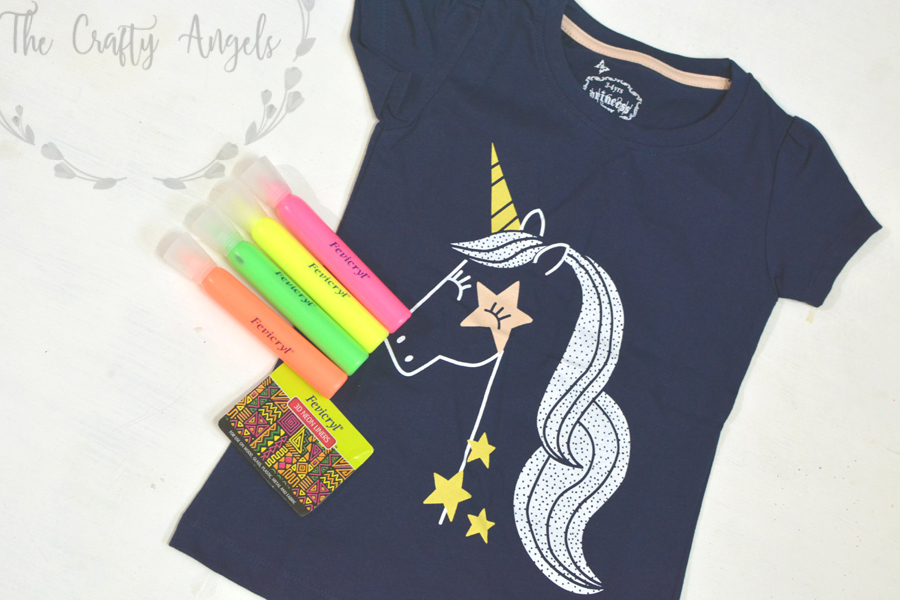
So she gave me a lecture on what a unicorn is – has golden horn, has rainbow hair, rainbow tail and pops out of a rainbow and I was like why does she have to believe in a non-existent rainbow colored unicorn! But then Fevicryl 3D neon liners came to my rescue and I can’t explain the transformation! From bland to pop-new! Here is how we did the DIY Unicorn Neon transformation :
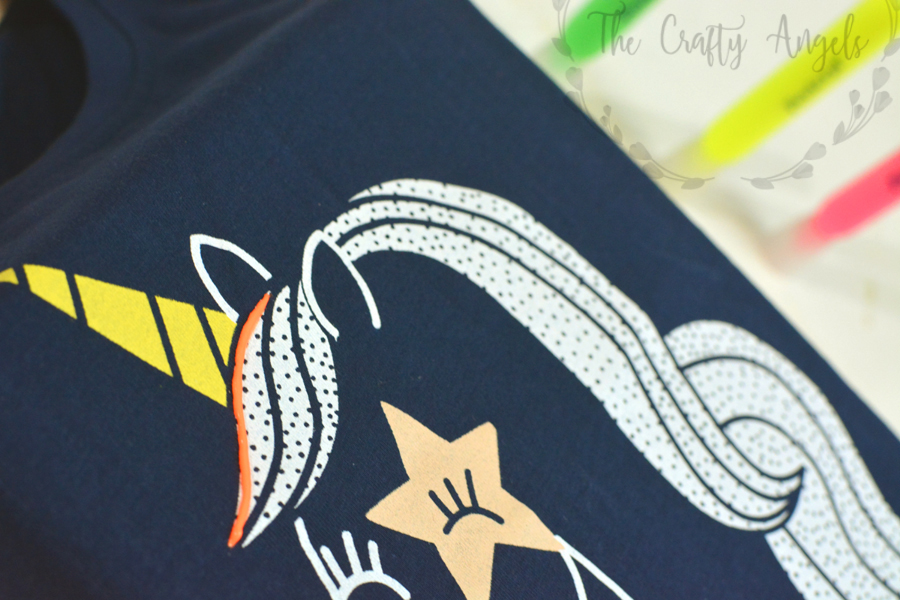
Before you start with any work on fabric, make sure its washed once and ironed well. Start by securing it on a flat surface – maybe clip it to a cardboard/table. Since mine was a t-shirt, I popped a big cardboard box inside to get the fabric straight.
The 3D neon liners comes with a great cap that is designed such that you can keep the liners upside down, that way allowing the paint inside to settle towards the nib area. I recommend that you store it upside down for a while before you start the work else, sometimes the air bubbles trapped in pops out, spoiling the outline you were making. I also recommend that you practice a few stokes on a surface to acquaint yourself with the flow of paint and pressure required for your strokes.
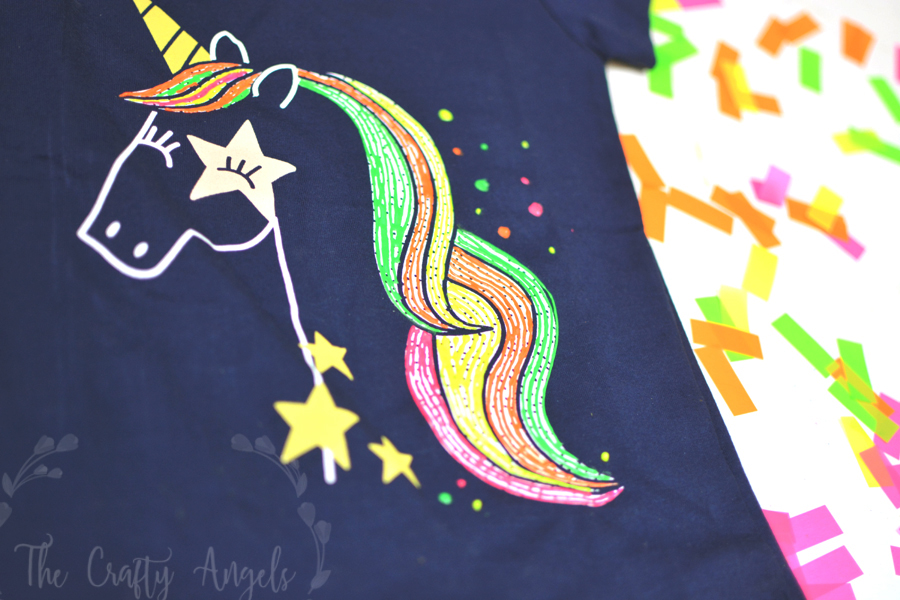
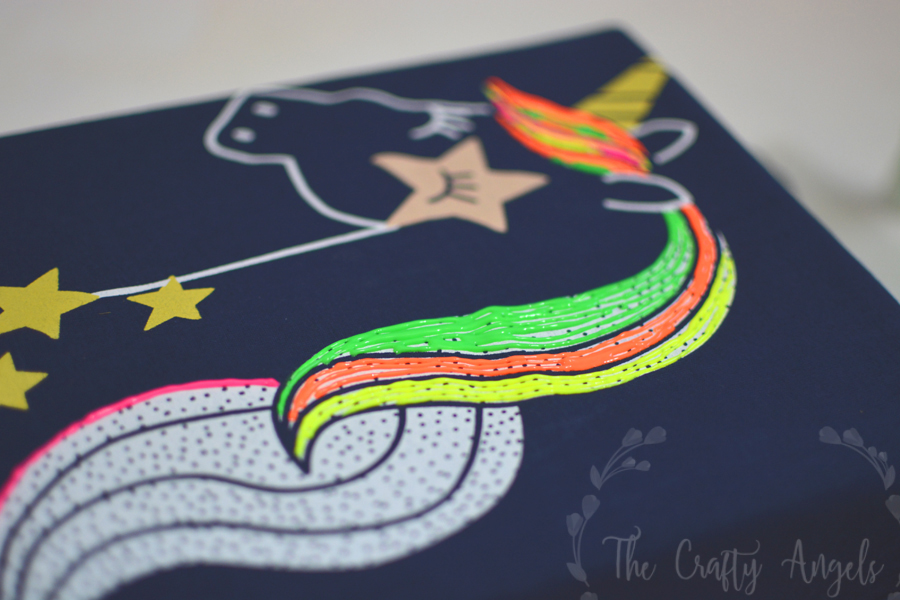
The work I had in mind was to make the white unicorn colourful and I decided I would draw outlines of colourful hair. I wanted to use all four shades and so I paired the shades in alternate dark and light order to bring out the contrast in them. Depending on your project and design, you can decide on whether to choose dots or lines with the 3D neon liners.
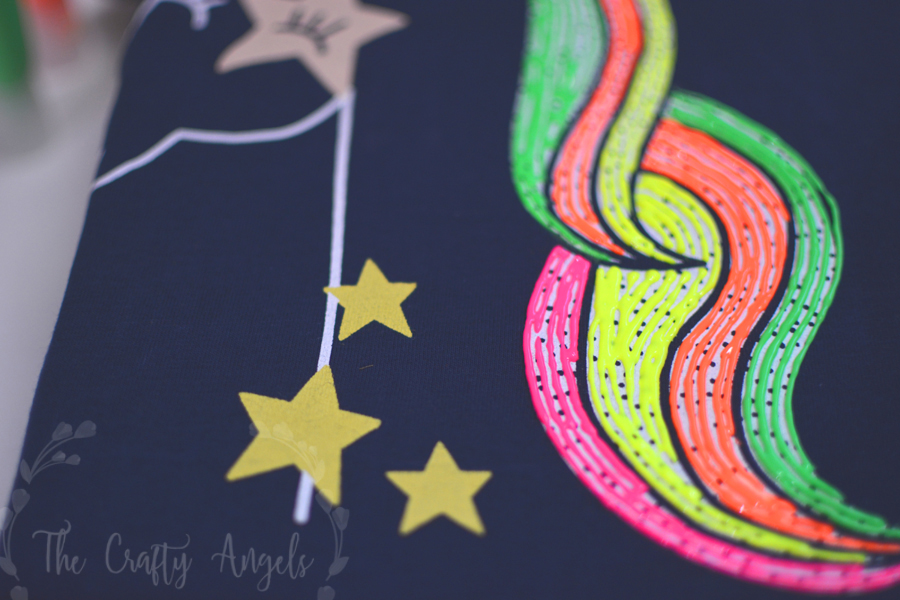
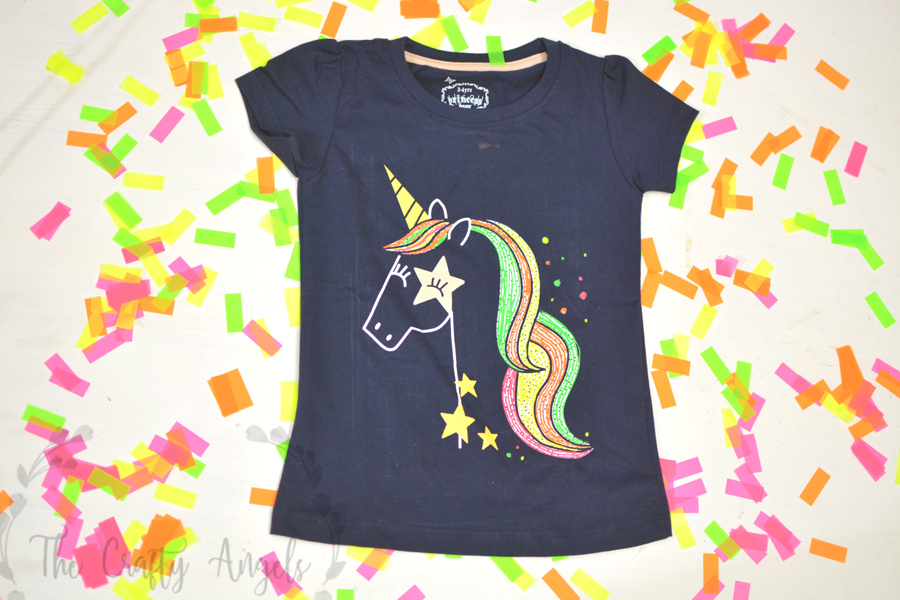
You need to give time for the liners to dry completely and as a general thumb rule for all things that dry slow, leave it over night . This is how the t-shirt looked after the neon transformation – isn’t it vibrant and cheerful?
So Hobby Ideas is having a launch party contest called the #TurnOnTheNeon challenge. All you need to do is, transform an ordinary item into something extraordinary using the new Fevicryl 3D liners and share it on social media with #TurnOnTheNeon, #AddExtraToTheOrdinary, tagging HobbyIdeas and stand a chance to voucher worth Rs.1000 from Team Hobby Ideas!
xoxo Angela

