DIY Stationery Storage for your desk – Repurpose cardboard box
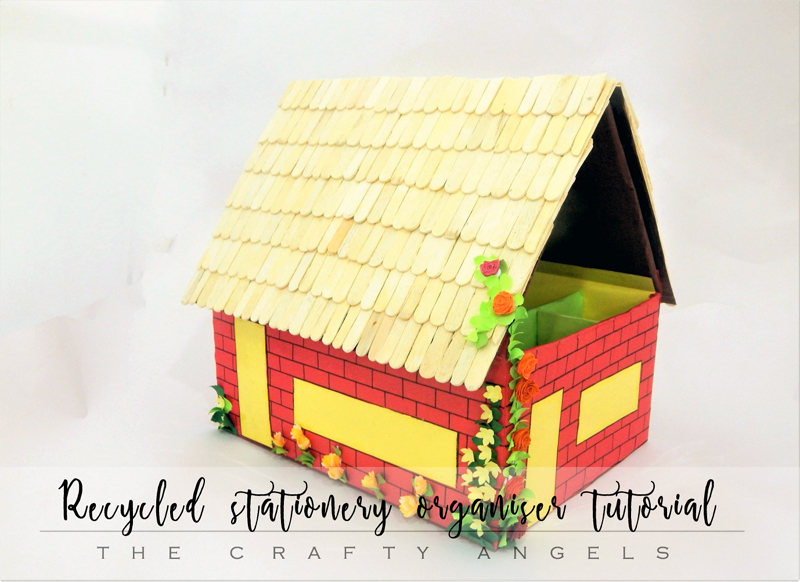
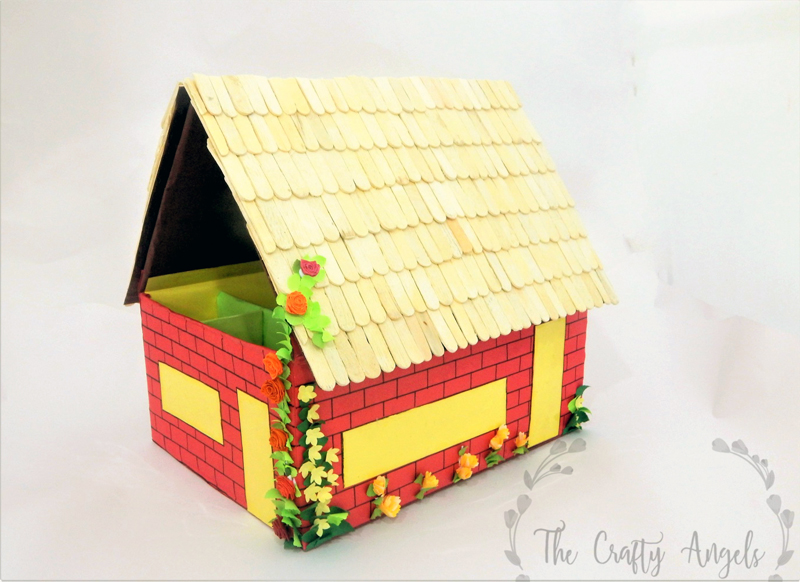
Recycle cardboard boxes to make this really cute mini house to store your stationery. Yes a DIY stationery storage for your desk but a cute and easy one.
This post is brought to you in collaboration with Hobby Ideas 🙂
There is an immense satisfaction in creating something beautiful out of nothing. We have so many things lying around which are deemed as waste, but with a wee bit of imagination, can be changed into something useful.
In fact after the advent of Makers Movement there has been huge trend of making best from waste with household trivia. Art and Craft scene has never been as exciting as the possibilities are endless. There are some fancy names which have been coined by crafters, for more serious projects, some call them reimagined projects some upcycled.
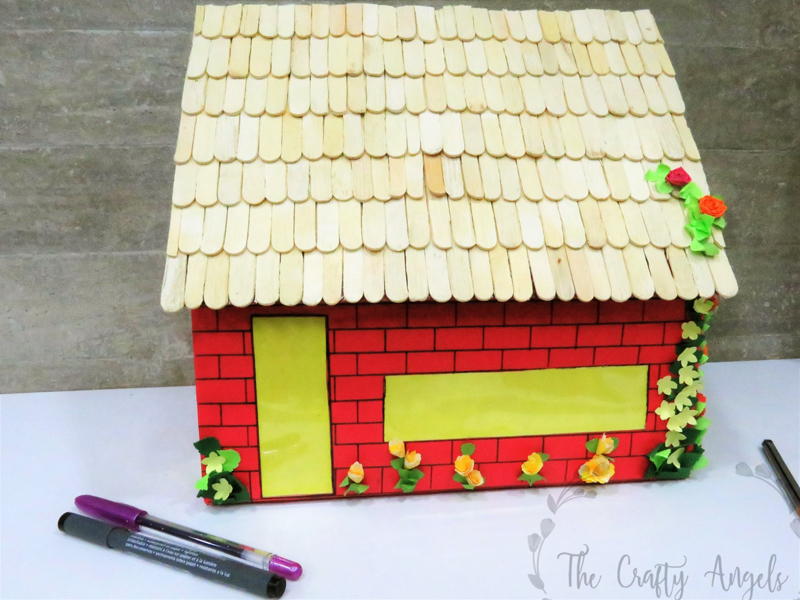
After dabbling into some serious projects lately I wanted to do a fun project on Best out of waste for kids. Some of my crafter friends too were looking for something different for the kids to do during the summer holidays, something to keep them busy for some hours. Looking at the stuff I had around the house, I had I decided to make a stationery box. Made from the box delivered to me with household supplies inside, from an online retailer the previous day, this DIY Stationery storage house sure was one crazy project.
[irp posts=”4144″ name=”Diwali Craft – Paper Diya Tutorial”]
What do you need for this project DIY Stationery storage house is one corrugated box, Fevicol, acrylic colours, brush , popsicle sticks, card paper – yellow, brown and red, paper punch, quilling strips and quilling needle (optional ), a string and 2 buttons, scale, scissors and a duct tape.
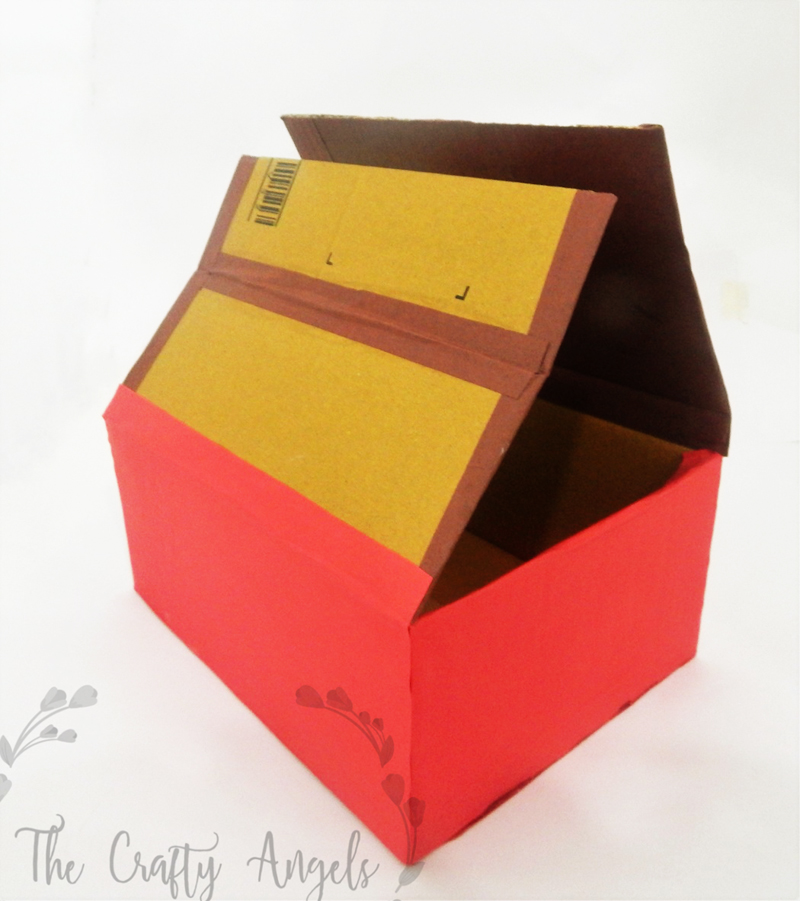
I started by cutting two alternate flaps which will subsequently become the walls of the house. The other two flaps will become the roof of the DIY Stationery storage house. I sealed the flaps at the bottom of the box with a duct tape. Then I measured the sides of the box and accordingly cut red card paper to be pasted on the walls. The red card paper should be one each more on each side so that it can be folded over the edges.
[irp posts=”4865″ name=”Making Hexagon wall shelf with Popsicles”]
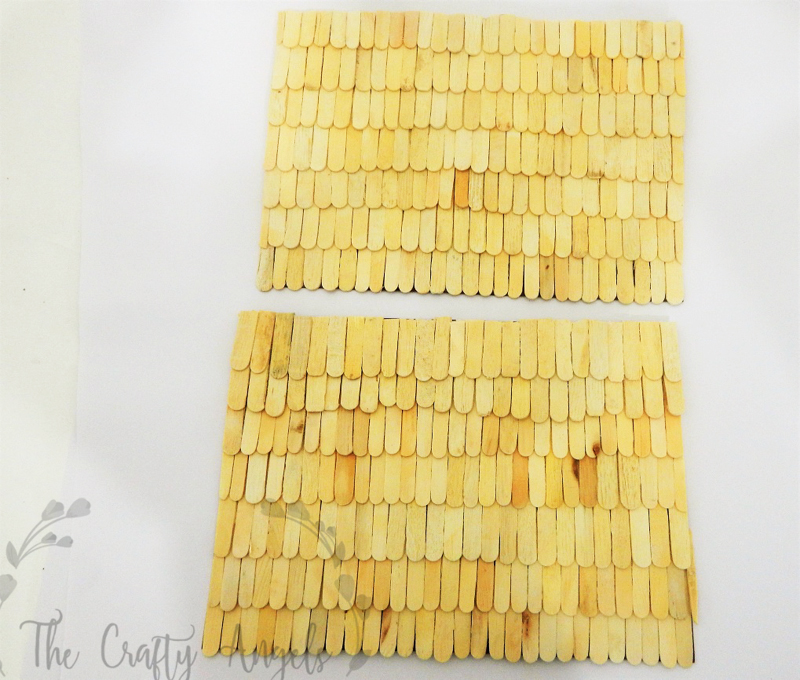
Similarly measure the flaps which will be the roof and take a card paper half inch longer than the measurement. Cut the Popsicle sticks and paste them on the paper in a way that they look like shingles roof. Leave them to dry.
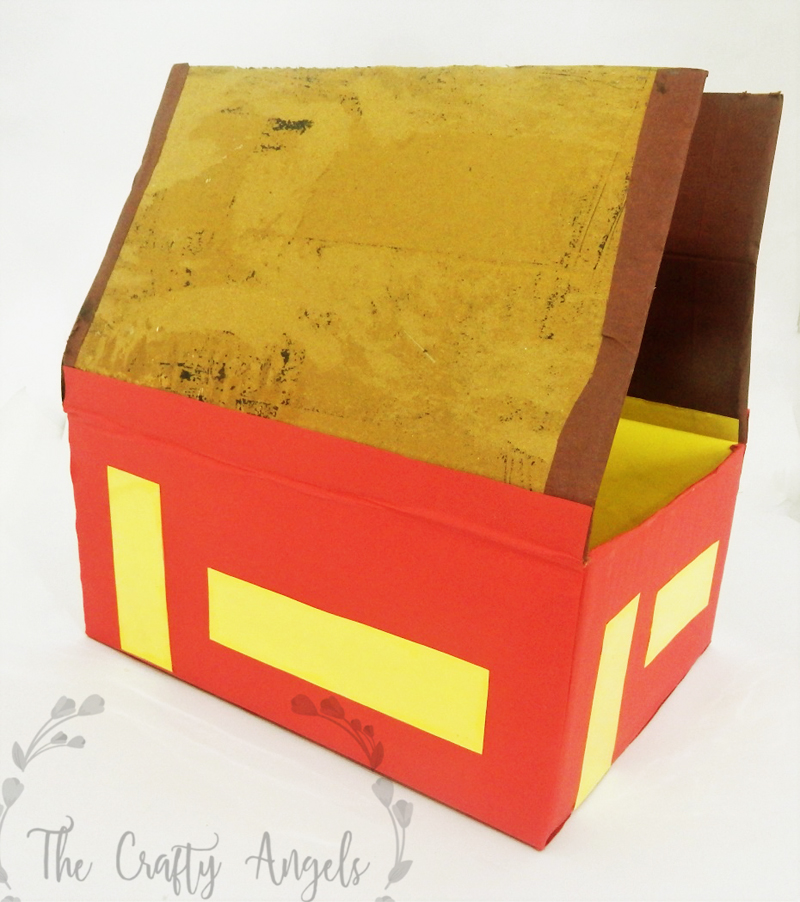
Cut a few rectangles for windows and doors for the DIY Stationery storage house in a contrasting colour. I have used yellow. Now colour the interior of the box with acrylic colours.
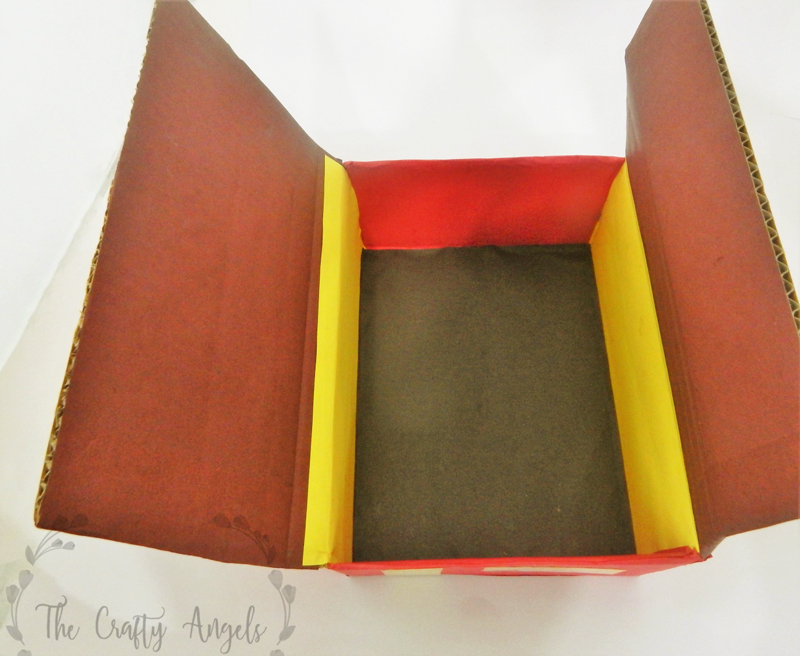
Stick paper on the partitions and place them in the box. Glue the pieces to each other and to the base. Using black acrylic colour make a few bricks shapes on the wall, and then stick the roof on the top.
[irp posts=”2284″ name=”Upcycled Tin Can Pen Holder”]
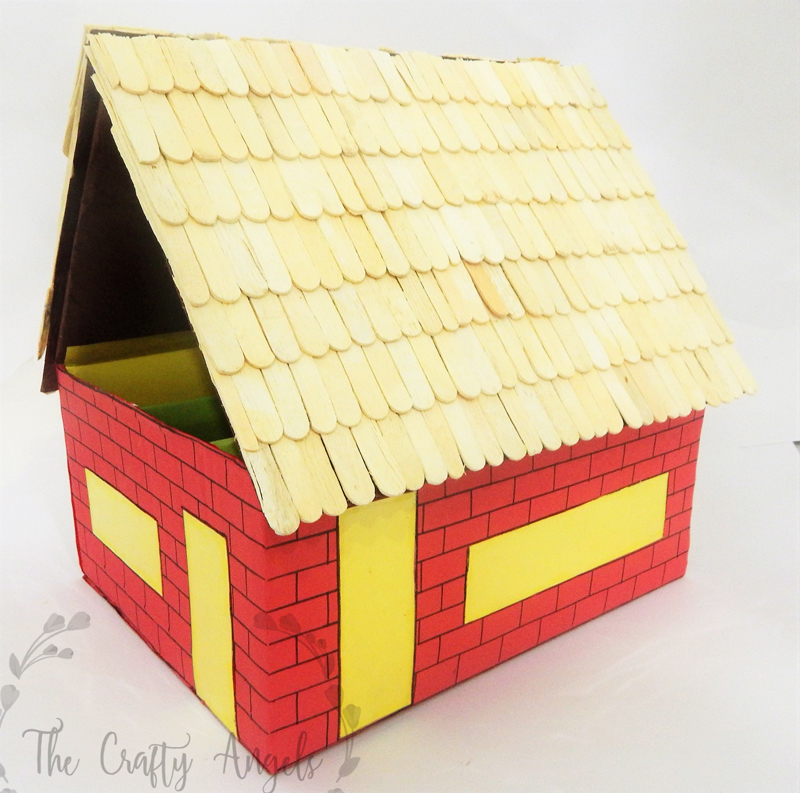
So we have the base ready for the DIY Stationery storage house. It can be used as it is or if the creative juices are overflowing, we can decorate it with a few flowers made with paper punch or quilled flowers.Use it store pens, pencils, erasers, crayons, brushes, and then it will still have space for some more.
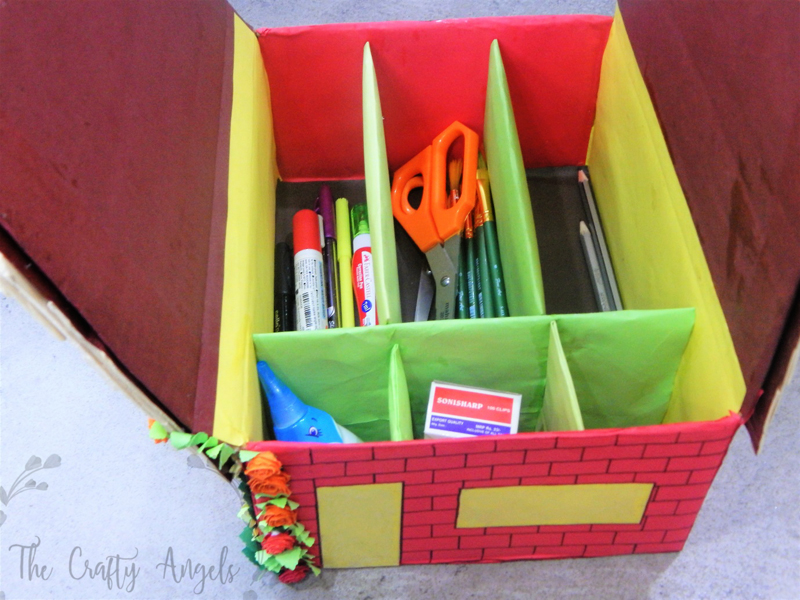
Isn’t it a great best out of waste for kids idea? The DIY Stationery storage house can be customised as per your requirement and taste, and it looks good sitting on that table or shelf. Go ahead get you kids to try this. I am sure they will love doing this art and craft project!
[irp posts=”4738″ name=”Darling DIY Dollhouse with Cardboard boxes”]
Ciao!

