DIY Planner Calendar for 2017
Do you use planner calendars? I feel planners & journals are a little time consuming so I made these Planner Calenders. Printable template is in post.
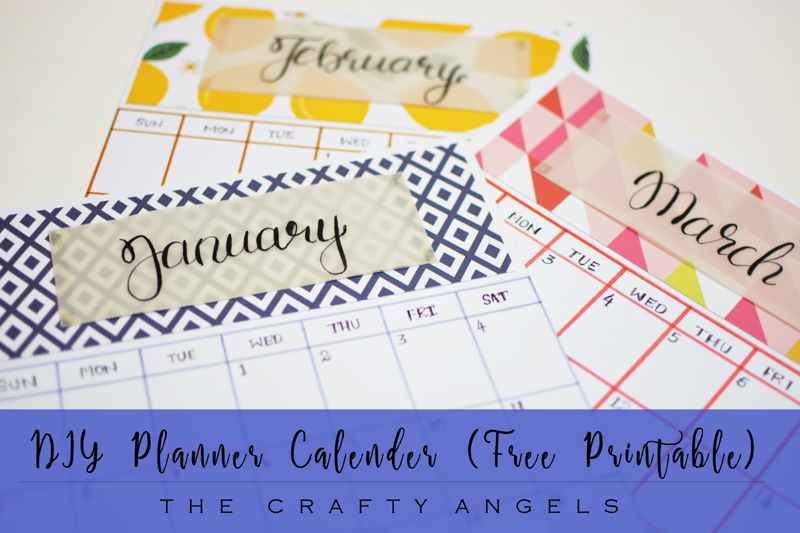
Do you use Planner Calendars? Planners and BuJos have become a hit thing last year and I did try my hands on both an failed utterly because I just did not have time to keep filling them 😛 So I resorted to these simple DIY Planner calendars and they are sure easy to make as well. Anyways coming to new year, how has 2017 been so far? Any resolutions? As for me, new hasn’t been awesome yet 🙁 but lets see might be just getting better 😀 And yeah I got selected as design team member for Itsybitsy for Jan-June 2017 and tenure and I am super happy. But that also means more crafting stress for me 😛 Anyways coming to the DIY planner calendar, I am sharing how I made them and also a little printable at the end in case you wanna print them out.
Materials required to make DIY planner Calendar :
- Cardstock paper in white shade (A4 size)
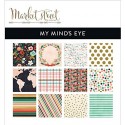
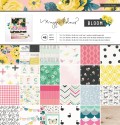
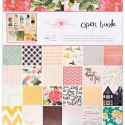
- Pattern paper of your choice
- Vellum paper
- Color pens, Pens, glue, ruler etc
How to make DIY planner Calendar :
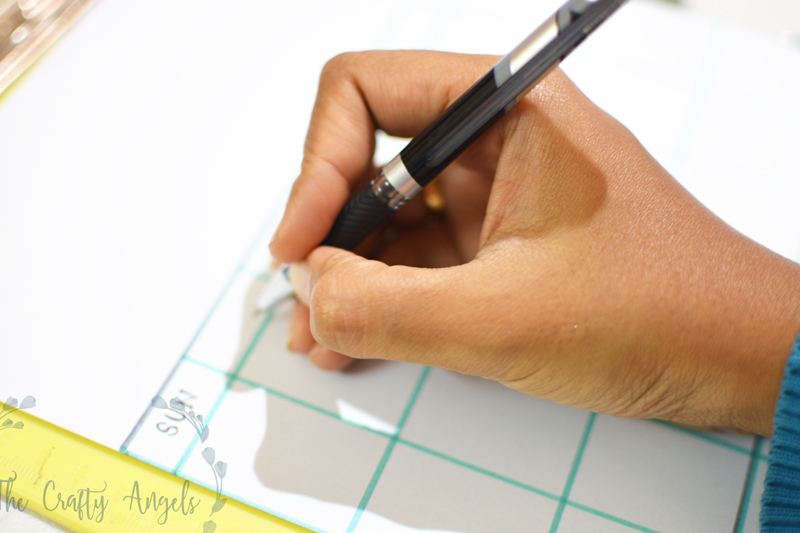
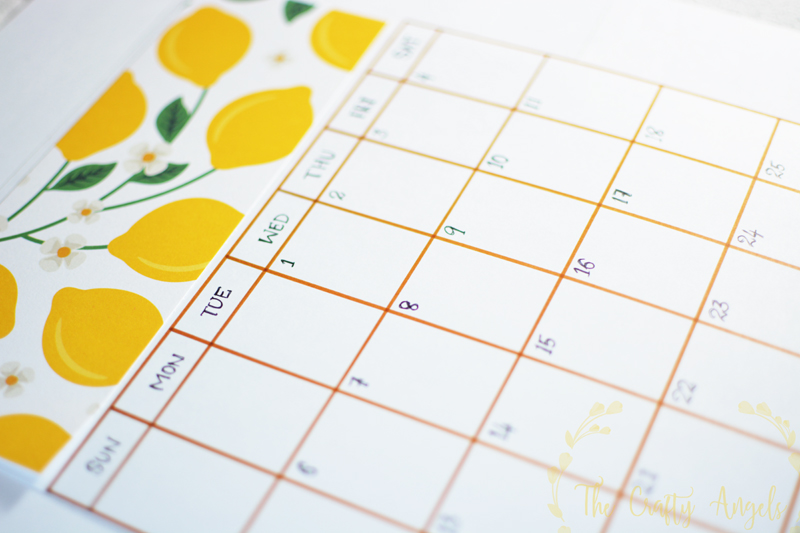
If you are using these measurements, you need to start with a paper in A4 size. Mark points across the width starting from edge of the paper, distanced at 3cm gap. Across the length, mark points starting from bottom edge at a distance of 4cm . Now join these points to make a calendar grid with 5 rows x 7 columns. ( I suggest that unlike in the photo below where I noted dates before adding name of month, you add month names first and later write dates & days. I made the mistake of sticking month labels to wrong months at the end and I had to redo all over again!)
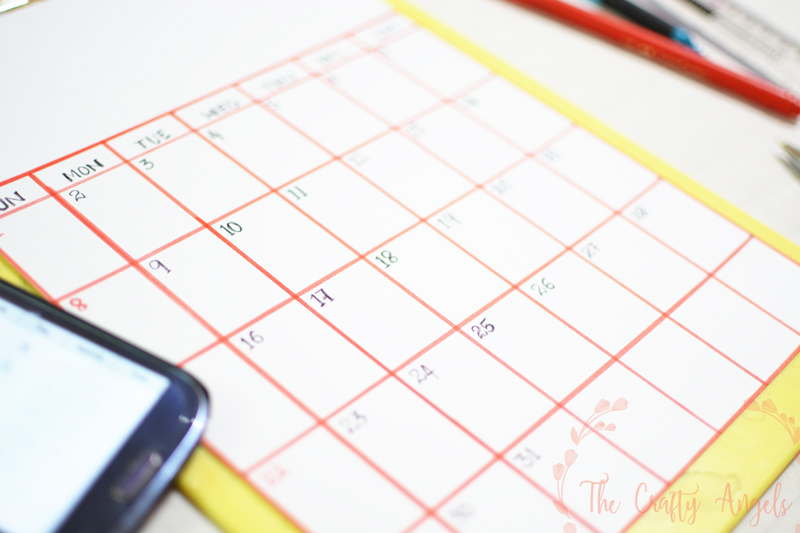
You have a blank space at the top that you can use to add the month name and also some colorful pattern paper. If you need more functional space, you can reduce this space and instead add it to calendar area by increasing row height from 4cm to 4.5cm or 5cm.
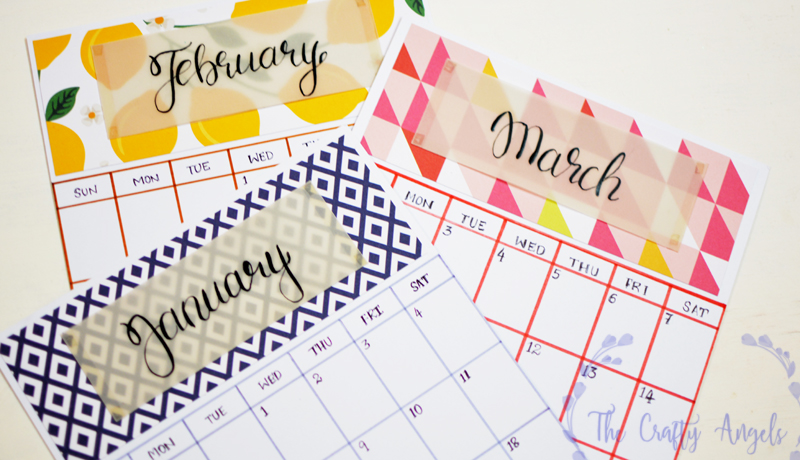
Once you finalize the blank space at the top, cut out your pattern paper in size that fits the space and stick with glue. I cut out some pretty pattern papers and used different ones for different months. I matched my calendar grid shade with the shade of my pattern paper – just for an added detail 🙂 I also added a small strip of same pattern paper at the bottom edge again because I wanted it to be pretty although its not 😛
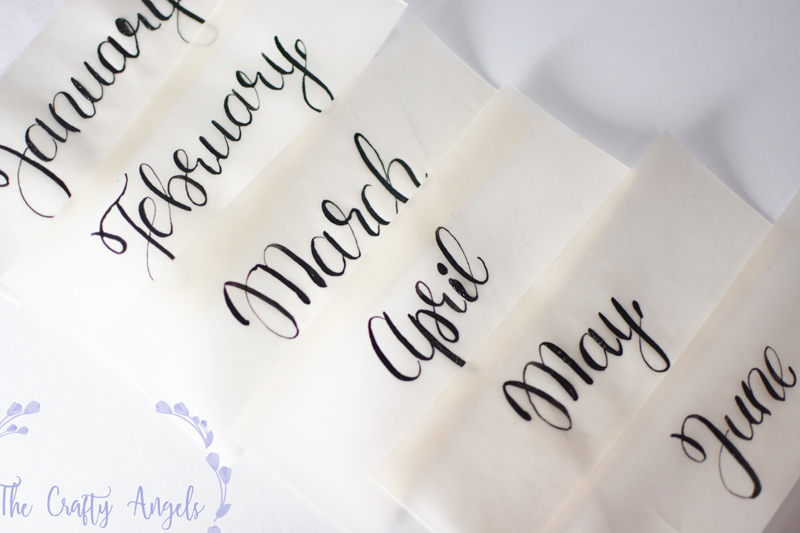
I cut out vellum paper in smaller size just to have a translucent layer where my month was going to be written. Using my nikko G and speedball black ink, I tried a little calligraphy while writing down the months. I am not very good at calligraphy so what I did was to try the scrip on plain paper and once I felt it was perfect, placed the vellum over it and traced with my inkpen.
I adhered the vellum paper with months name on to the center of the pattern paper area and let it dry. Once you finish this for all month, you can start writing in the dates. Take at a look at your calander and make sure which day your month starts, how many days are there etc before you jump in and start writing 🙂
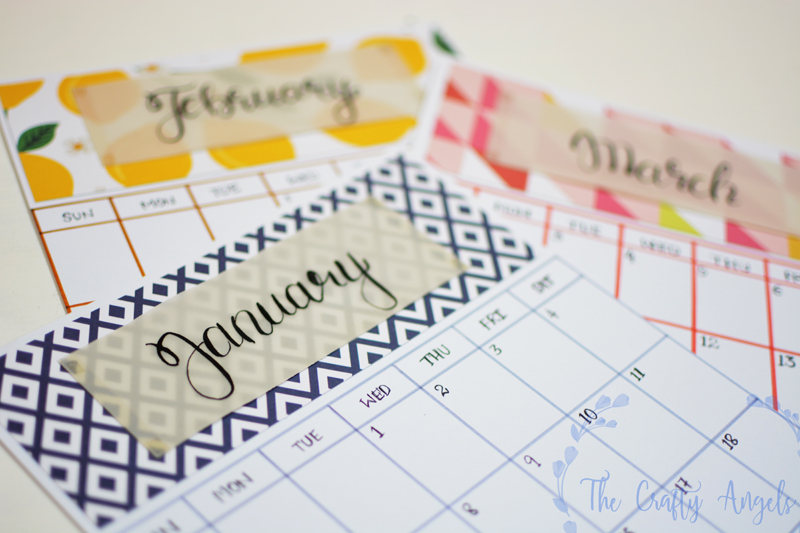
This is how your final calendar planner looks like. You can reduce or increase size of the boxes depending on how much you are planning to plan 😛 I just wanted a simple one to note down birthdays, blog posts, DT assignment, guest posts, and my house chores like garden manuring, pest control, bed sheet changing, bathroom cleaning etc. Hope you liked this and are ready to make your own! In case you need help, you can download and print the printable given at the end of this post. You only need to assemble the cutouts and stick them together to a planner calendar.
Download free planner calendar template (printable)
Supplies link :
Stay tuned for more crafts. Happy 2017!
xoxo Angela




Even though it’s mid-january already, somehow I still haven’t done my planner for the year, but I’ll definitely do it now after reading this. Love your post. Thank you so much!
Hello suzanne! Glad that you liked the post 🙂
Nice design and crafts, we also have a good crafts and products GudIndia brings the most authentic products across India to your doorsteps with most secured payment….. shopping experience at http://www.GudIndia.com where India is a click away.