Cards with Peekaboo designs stamps
I absolutely loved making card with these Indian make floral stamps from peekaboo designs. Hop on to know about these stamps & also some watercoloring tips
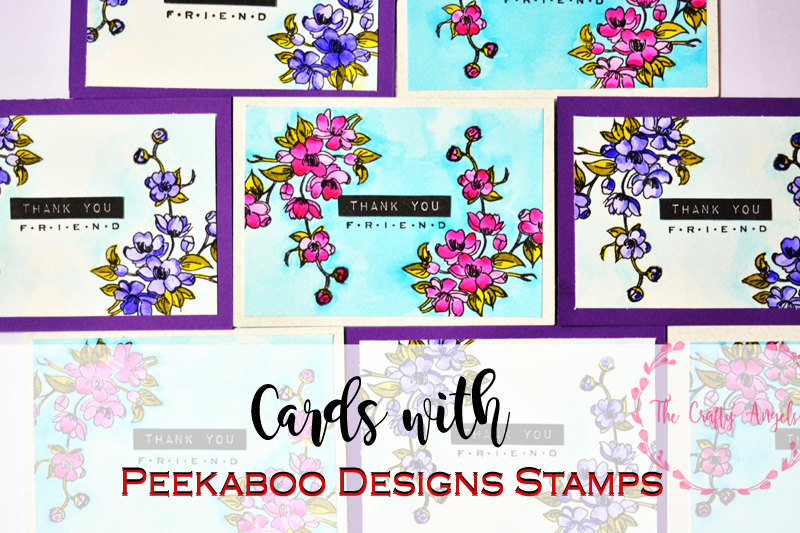
I have been doing only cards lately because I made a lotttt for my friends and I am yet to post them ( unfortunately late!). I promise there is only one more cards post ( apart from this one) and then I will move on to some posts on my daughters nursery and more. Todays card is using yet another Indian make stamps – peekaboo designs. If you remember, my previous post was also using another Indian make stamps from Mudra. Just love how affordable cardmaking has become this year, all thanks to new ventures by our crafting ladies 🙂 As always, I tried to play safe by making some simple cards with floral patterns but this time, I put in a lot of efforts in watercoloring phew!
Supplies used in making these cards with peekaboo designs stamps
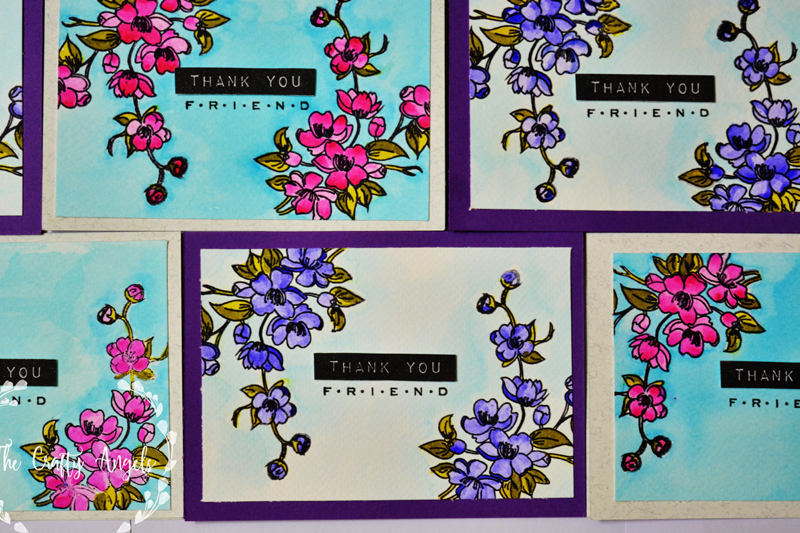
- peekaboo designs humming blossom stamps
- altenew label love stamps for sentiments
- wplus9 fanciful feather for sentiments
- archival black ink for stamping flower outline and sentiments
- for colors : camlim drawing inks pink and purple for flowers, distress inks for the leaves.
- cardstock : brustro watercolor for layer, fabrioano elle erre for the base.
- glue, double sided foam tape etc
How I made these pretty cards with peekaboo designs stamps :
If you have noticed, I have a huge crush for floral stamps and I couldnt stay away from not buying these pretty stamps from peekaboo designs. These stamps from peekaboo designs comes in set with humming birds and I think is intended to make a scenery or some sorts but I am too lazy to dwell too much into arts so I made them very simple. I used the flowers as a corner frame to my cardstock which is centered around a bold sentiment in the label form. I wanted to give it a small glitter touch but my glitter washi is over 🙁
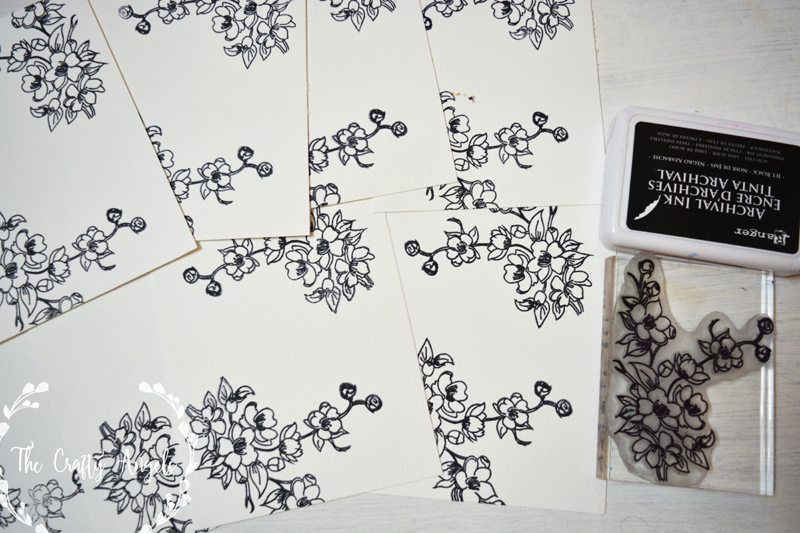
Anyways I started out with stamping the images on watercolor paper from brustro using black archival ink. The flowers arent really supposed to be a frame so while stamping, few parts of the image is going to be out of frame but thats okay. I had a couple of cards to make so I did all the stamping first. For coloring, I started with the flowers and I chose pink & purple as the shades.
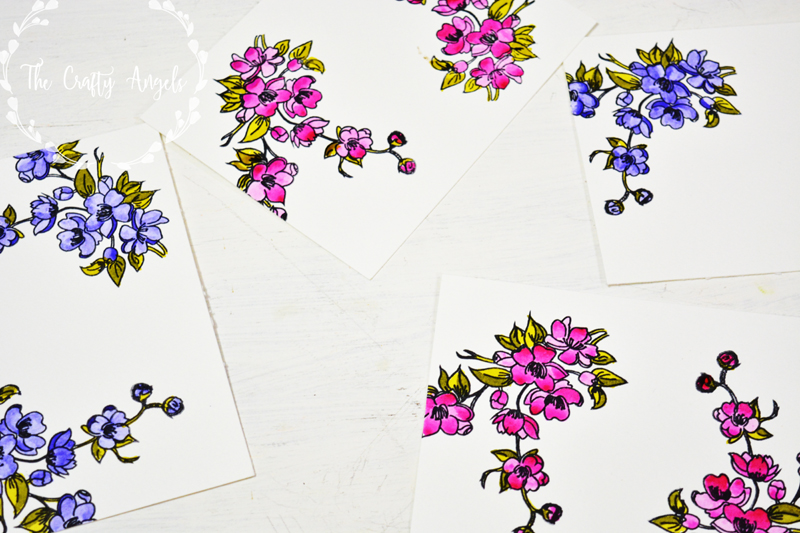
Start out by coloring it really light so that you can add details later. One trick I use while watercoloring is to color petals in random order. That way naturally you will have a gradient/shade in the colors. Once the first coat is over, its time for coat two wherein you can give all the details and shades. Since these flowers were really tiny, I used the ‘drop shading technique” ( ha ha there is no such technique 😛 I just made that up :D). I wet the petals really well with plain water and when you do this, make sure you do these on petals which arent adjacent to each other else the water will flow to next peal and ruin all the shading. Now that the petals are wet, add your color using a prush and bring the water towards the corner where you want the shade – outer or inner- you wish. Keep your card in slanting position so tht the water stays at the corner and dries off.
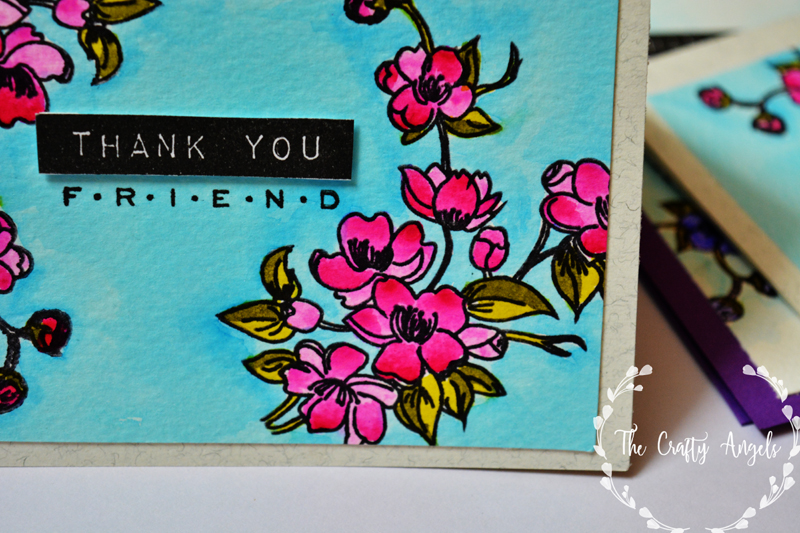
Its a little tedious work so generall I shade all the petals to botton side in card1, and while it is drying, I do it for card2 and by the time card1 will be dried so I will do the petals towards top side for card1 and so on. On the other hand, If you have a heat tool, just dry it off as and when you paint and proceed.
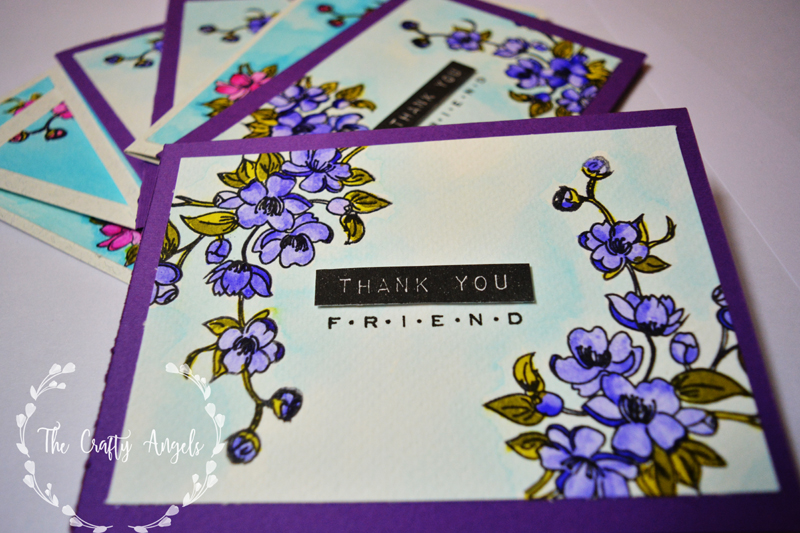
So now that the flowers are over, I moved on to the leaves. The green shades in the camln watercolor were blah so I used ones from my distress inks. After I was done withe all the leaves and flowers, I did the background which were the most tedious part for me.
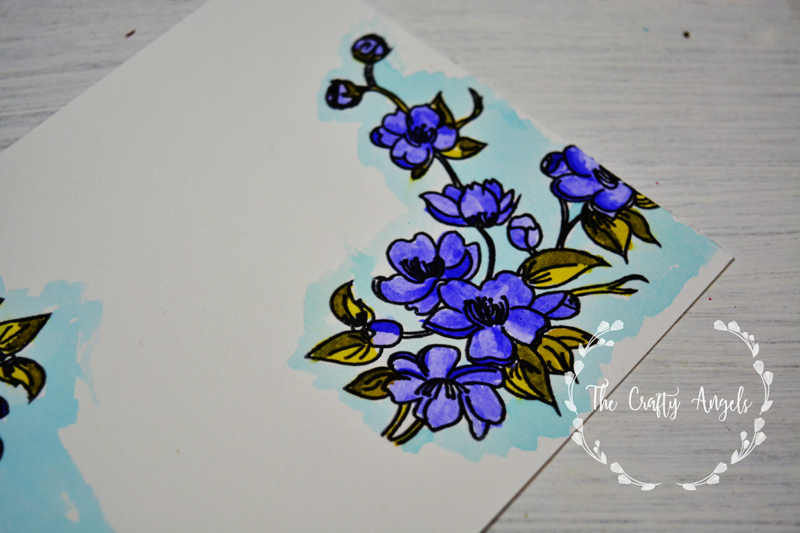
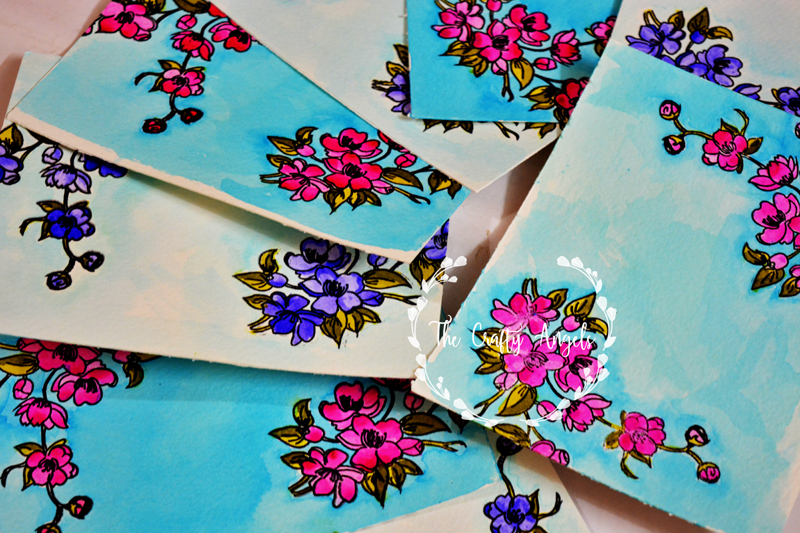
I have seen cards where the backgound is so well done and looks like the elements are popping out. I wanted that effect but eventually I got something but not that bad ( i think!) I first made a small boundary around my image using blue lagoon distress ink in a very light shade and later blended it to the other area using plain water. I kept the background light for the purple card because purple and blue do not quite compliment each other. Whereas for the pink one, I kept the background a little brighter and colorful.
The last part were the sentimets. I stamped the labels on a randon cardstock – and cut them out with scissors. I aligned the labels to the center of the flower frame and adhered them with double sided foam tape. Oh before that I had stamped the friends sentiment right below where the label had to come.
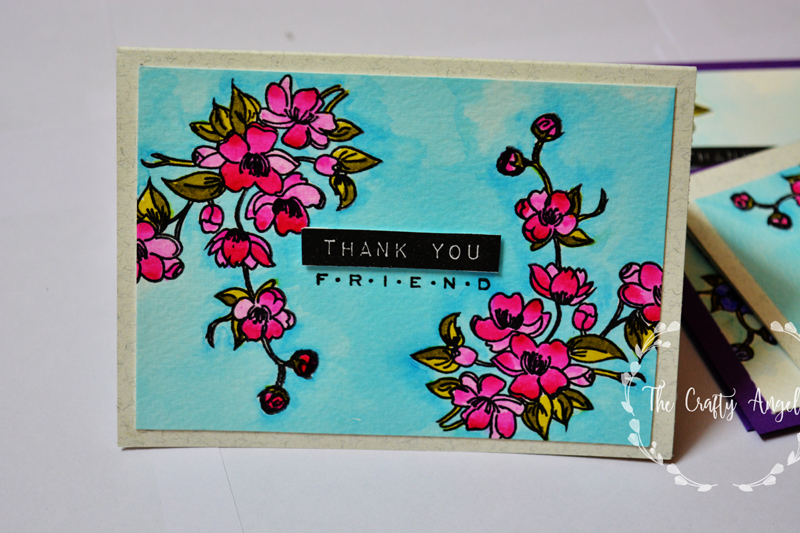
Tada. Finally the layer was pasted to base cardstock and done dana done dan!!!
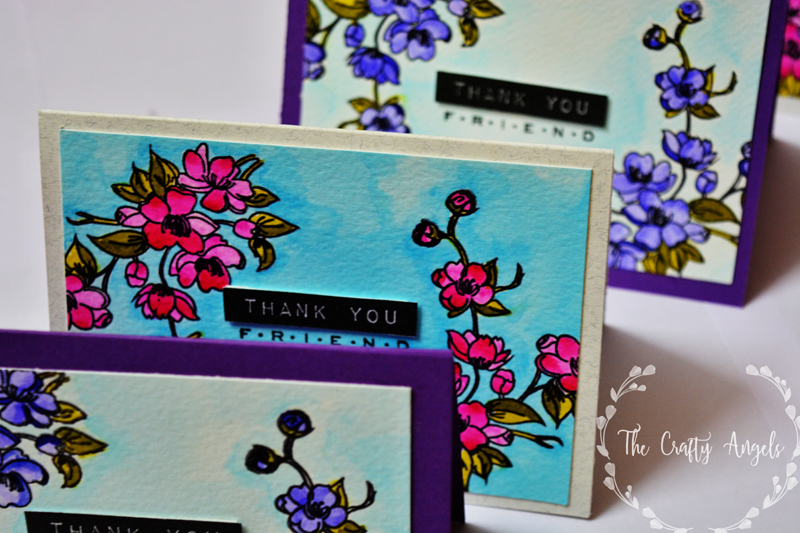
Hope you guys liked these cards :)I loved the flowers from peekaboo designs set. I also ordered 2 other sentiments stamps from peekaboo designs which I hopefully will be using in my cards :D. Do you own any peekaboo designs stamps? If yes, do let us know how you used them 🙂
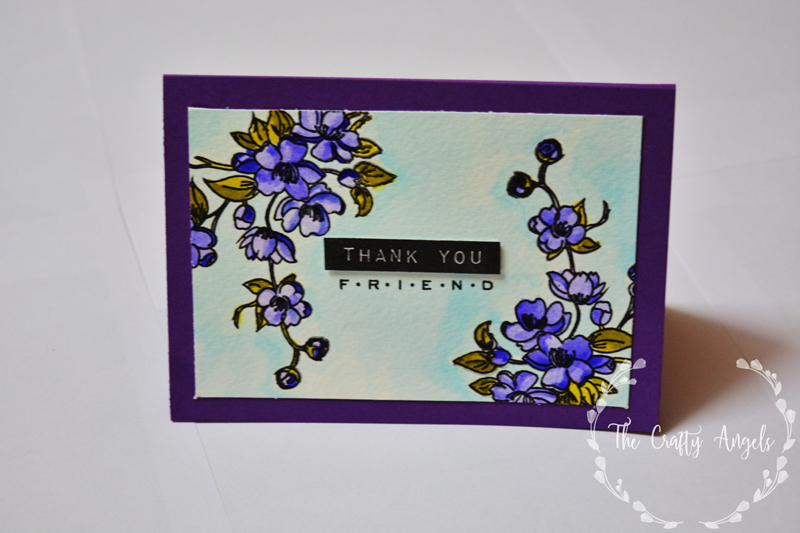
I also wanted you guys to please please let me know what you would like me to post on? I would love to bring out posts that could be helpful to you. Please do list out in comments or email 🙂
xoxo
Angela

Nice work… The flowers look beautiful…
Thankyou so much nena 🙂